GratefulChat is a Support Chat System for every site
- NodeJS >= ver10
- MySQL >= ver5.7
- Firebase
- AWS CLI
Before installing, you need to setup NodeJS, MySQL and Web server.
npm installEdit configs for your env, after copy from sample.
cp src/server/config/config.json.sample src/server/config/config.json
cp src/client/js/config/config.json.sample src/client/js/config/config.json
cp src/client/js/config/firebase_config.js.sample src/client/js/config/firebase_config.js
Edit server side setting for your environment
// src/server/config/config.json
{
  "port": 8080,
  "session": {
    "secretKey": "secret-key",
    "cookie": {
      "maxAgeHours": 24,
      "secure": false
    }
  },
  "dbs": {
    "mysql": {
      "host": "localhost",
      "port": "3306",
      "user": "username",
      "password": "password",
      "database": "db-name",
      "logging": false
    }
  },
Edit client side setting for your environment
// src/client/js/config/config.json
{
  "domain": "localhost",
  "port": 8080,
  "baseUrl": "/",
  "isSSL": false,
"siteName": "Sample Site",echo "CREATE DATABASE DB-name DEFAULT CHARACTER SET utf8" | mysql -u user-name -p
mysql -u user-name -p DB-name < data/sql/setup.sqlYou need register and sign in to Firebase, before below settings
- Set project name
- Set to use GoogleAnalytics, if you need
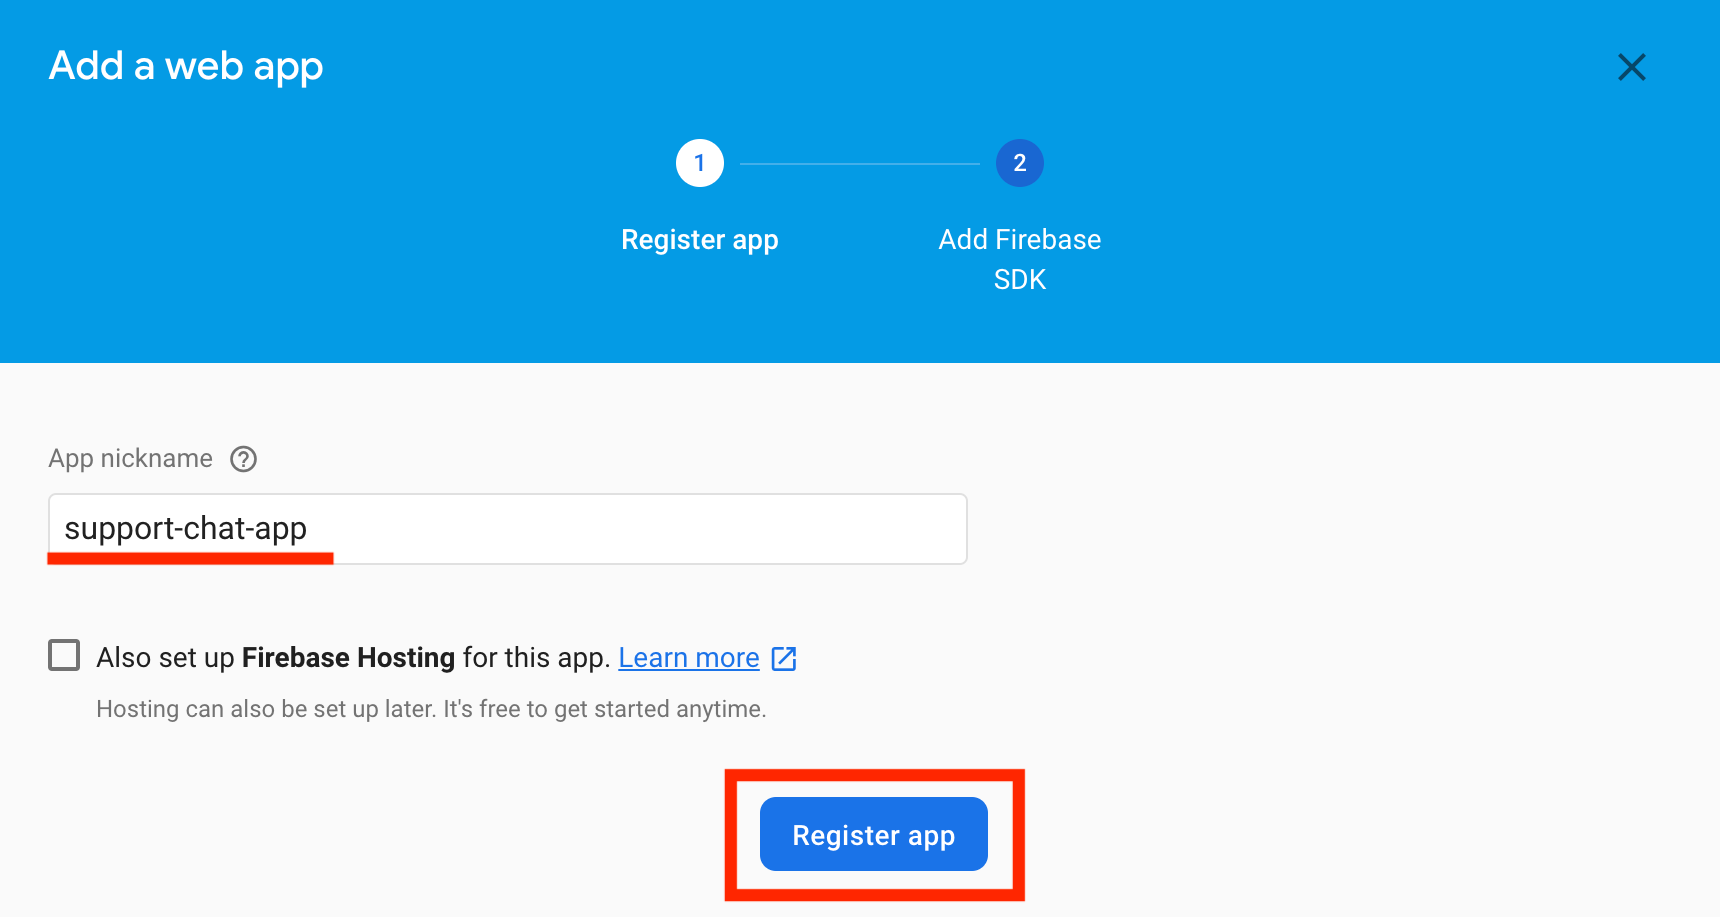
Input app-nickname and push "Register app" button
After registered, push "Next" button
And press "Continue to console" button, then you go back to the project top
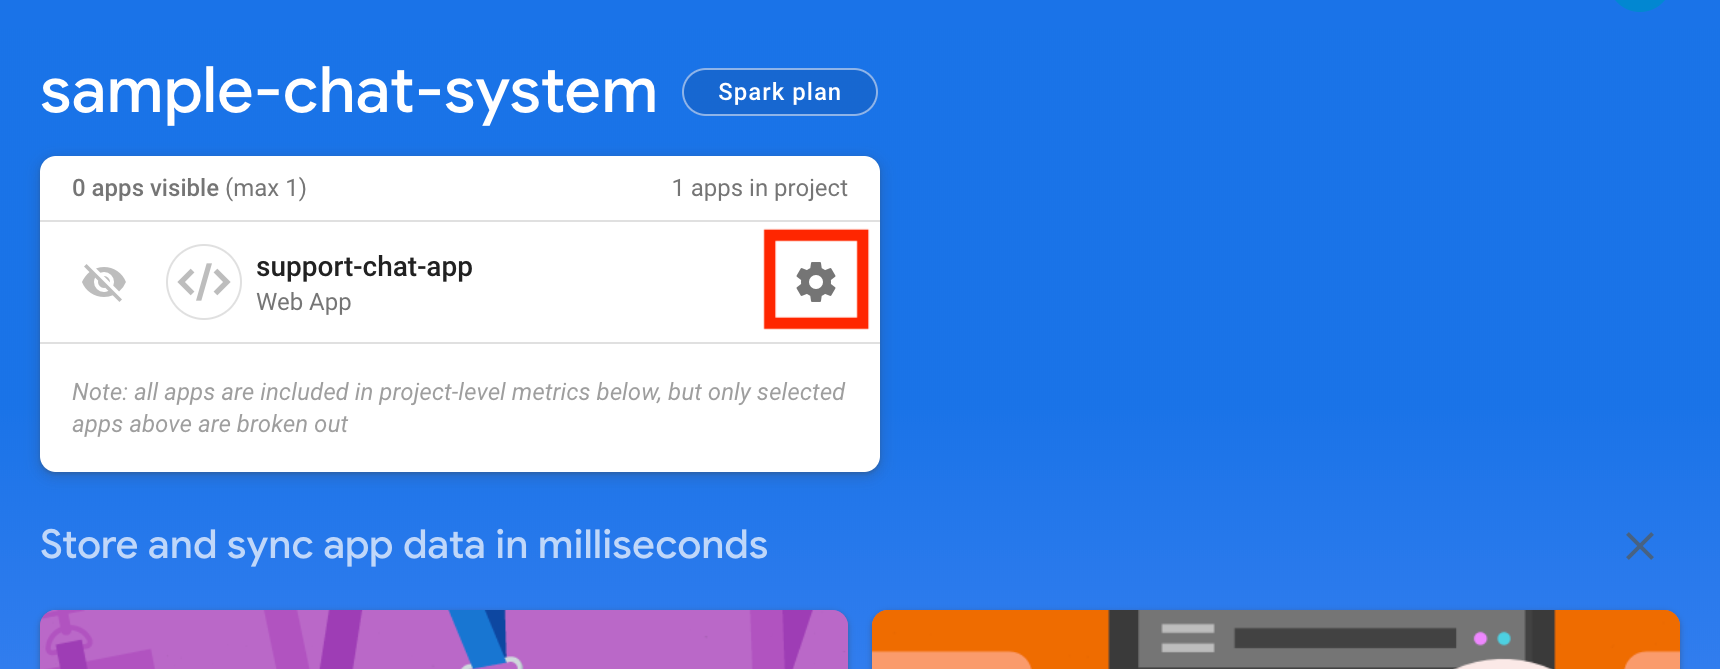
Press "1 app" label, and press the cog icon of registered Web App 
Scroll to "Firebase SDK snippet" section, and select "config" radio button 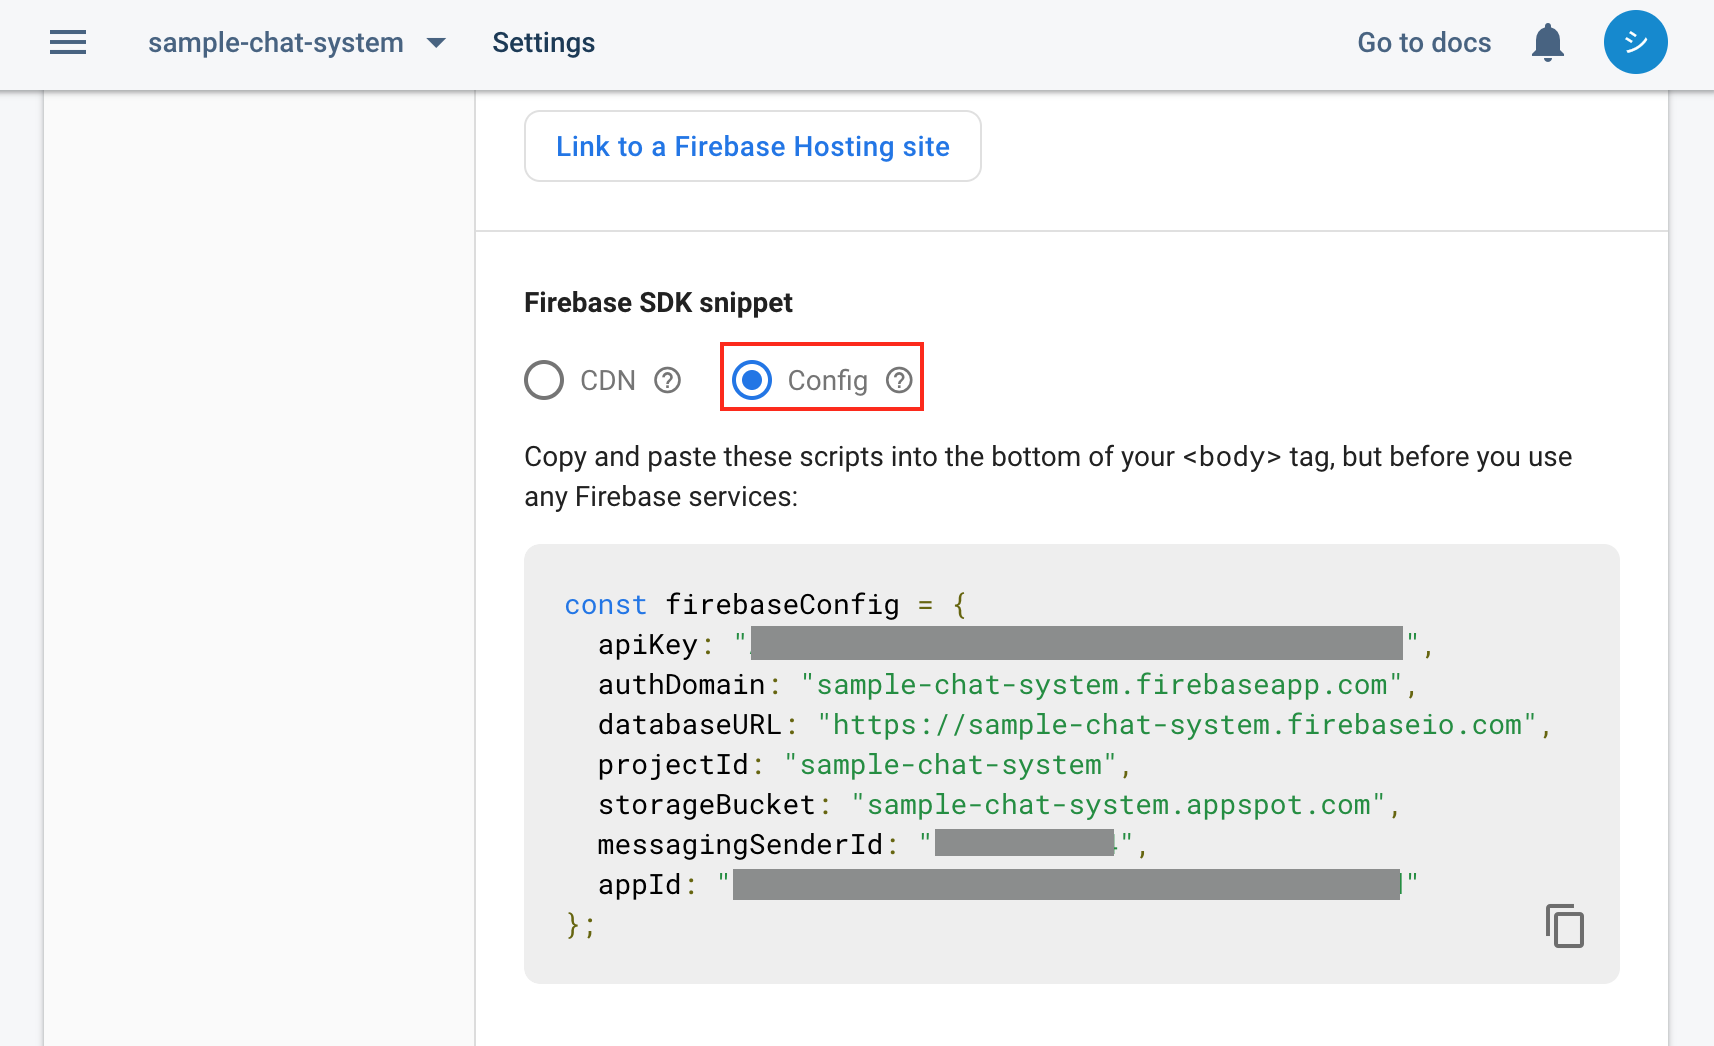
Copy rows in "const firebaseConfig" object on the source code, and paste to src/client/js/config/firebase_config.js
// src/client/js/config/config.json

const firebaseConfig = {
  // Paste Here!
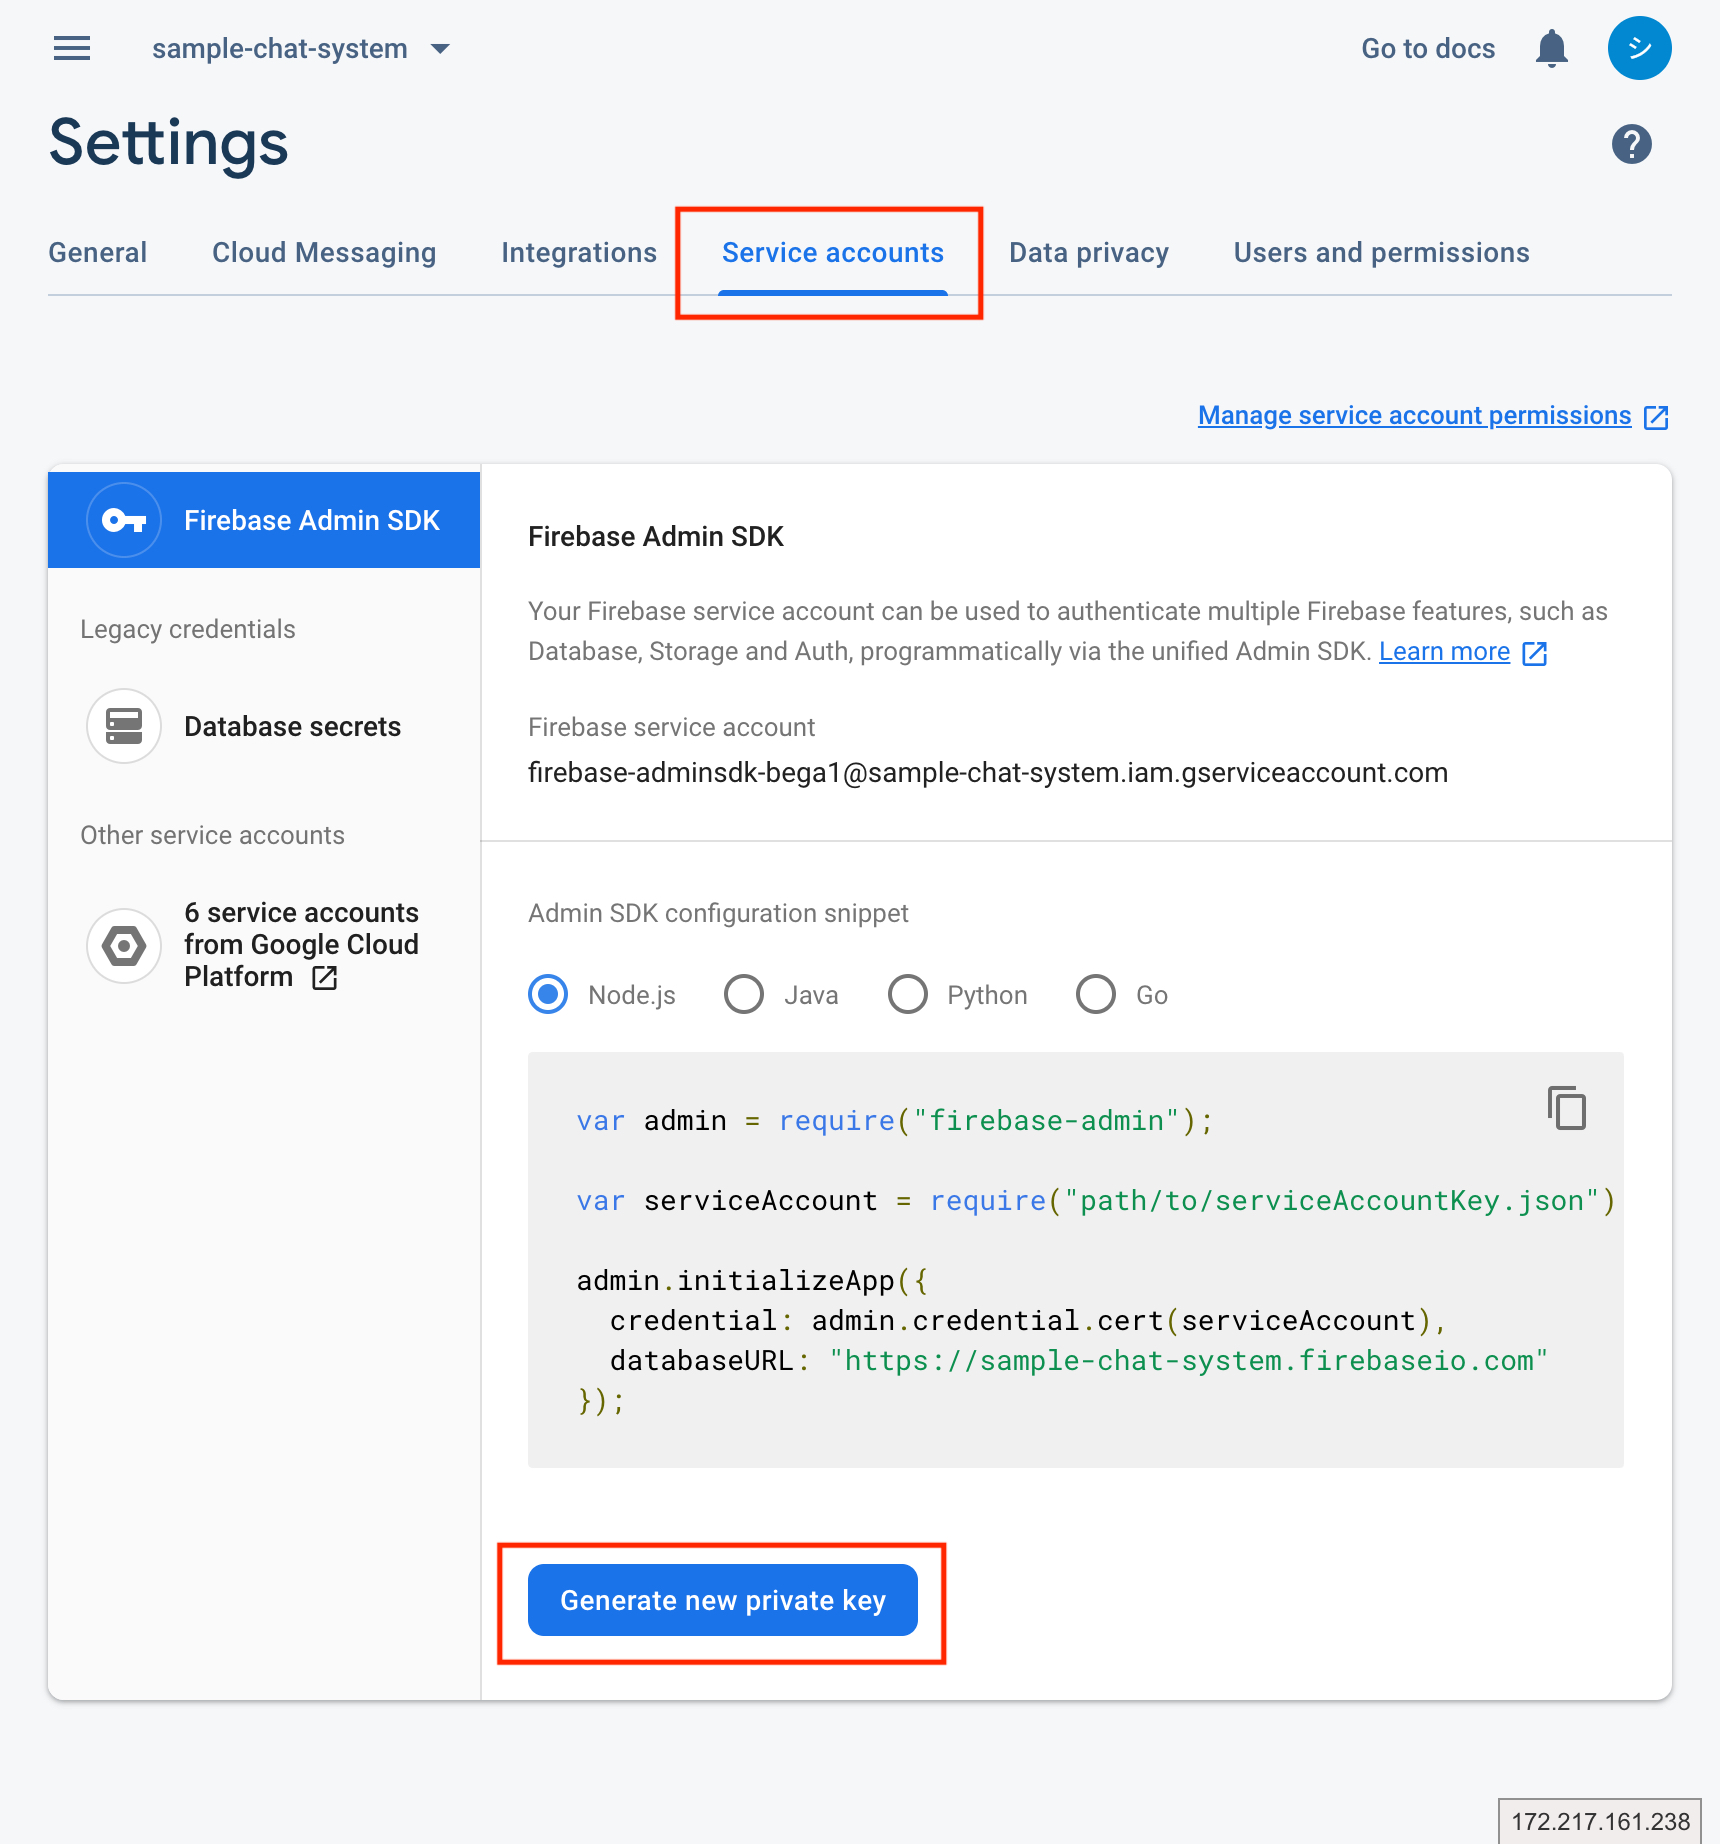
}Press "Service account" tab on "Settings" page, and press "Generate new private key" button
After downloaded, move the file to "src/server/config/" and rename "firebase-admin-credentials.json"
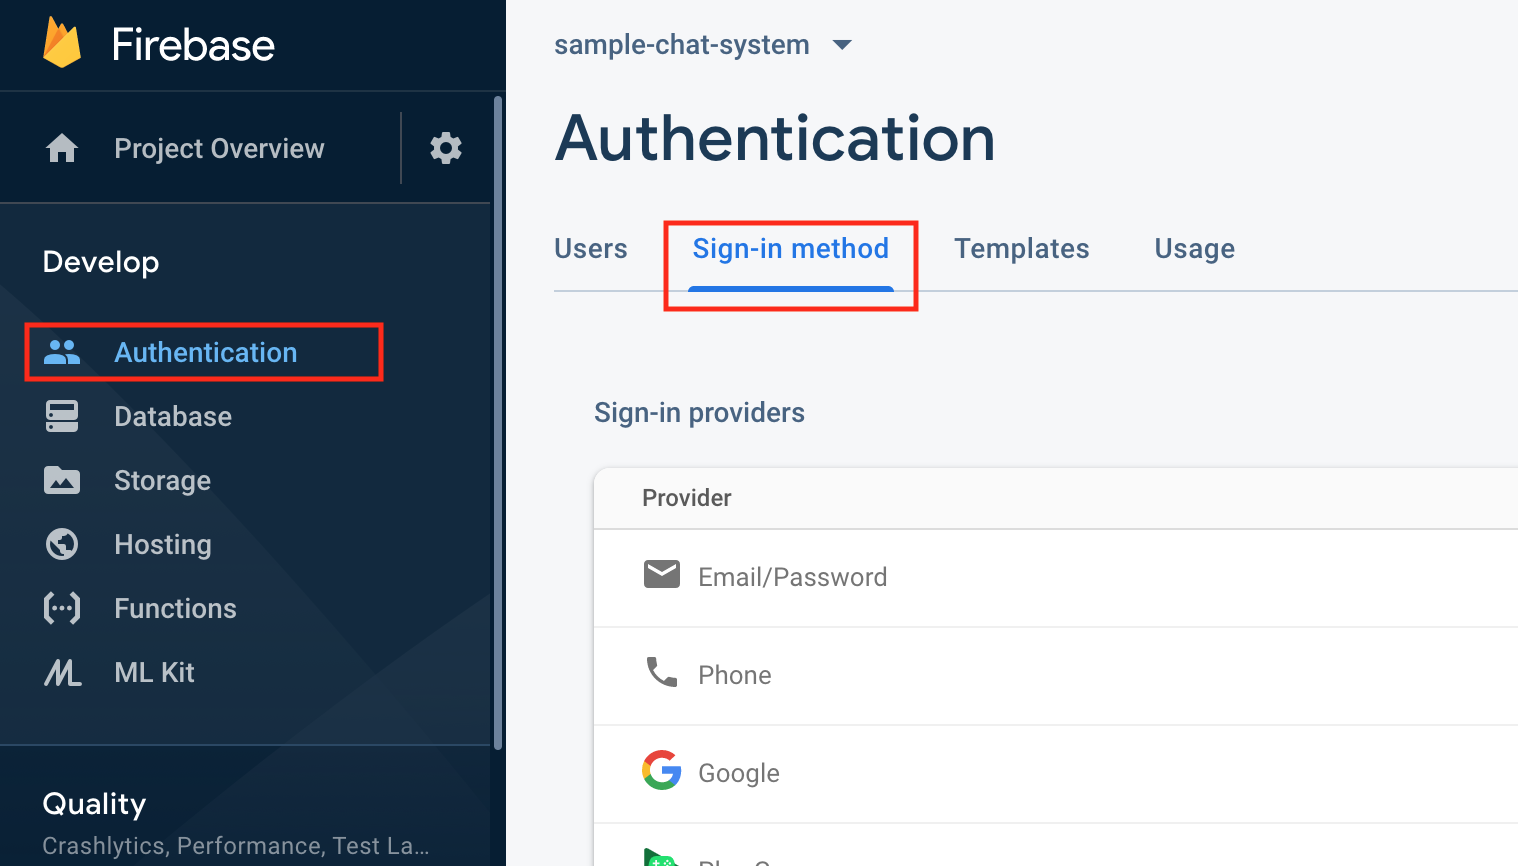
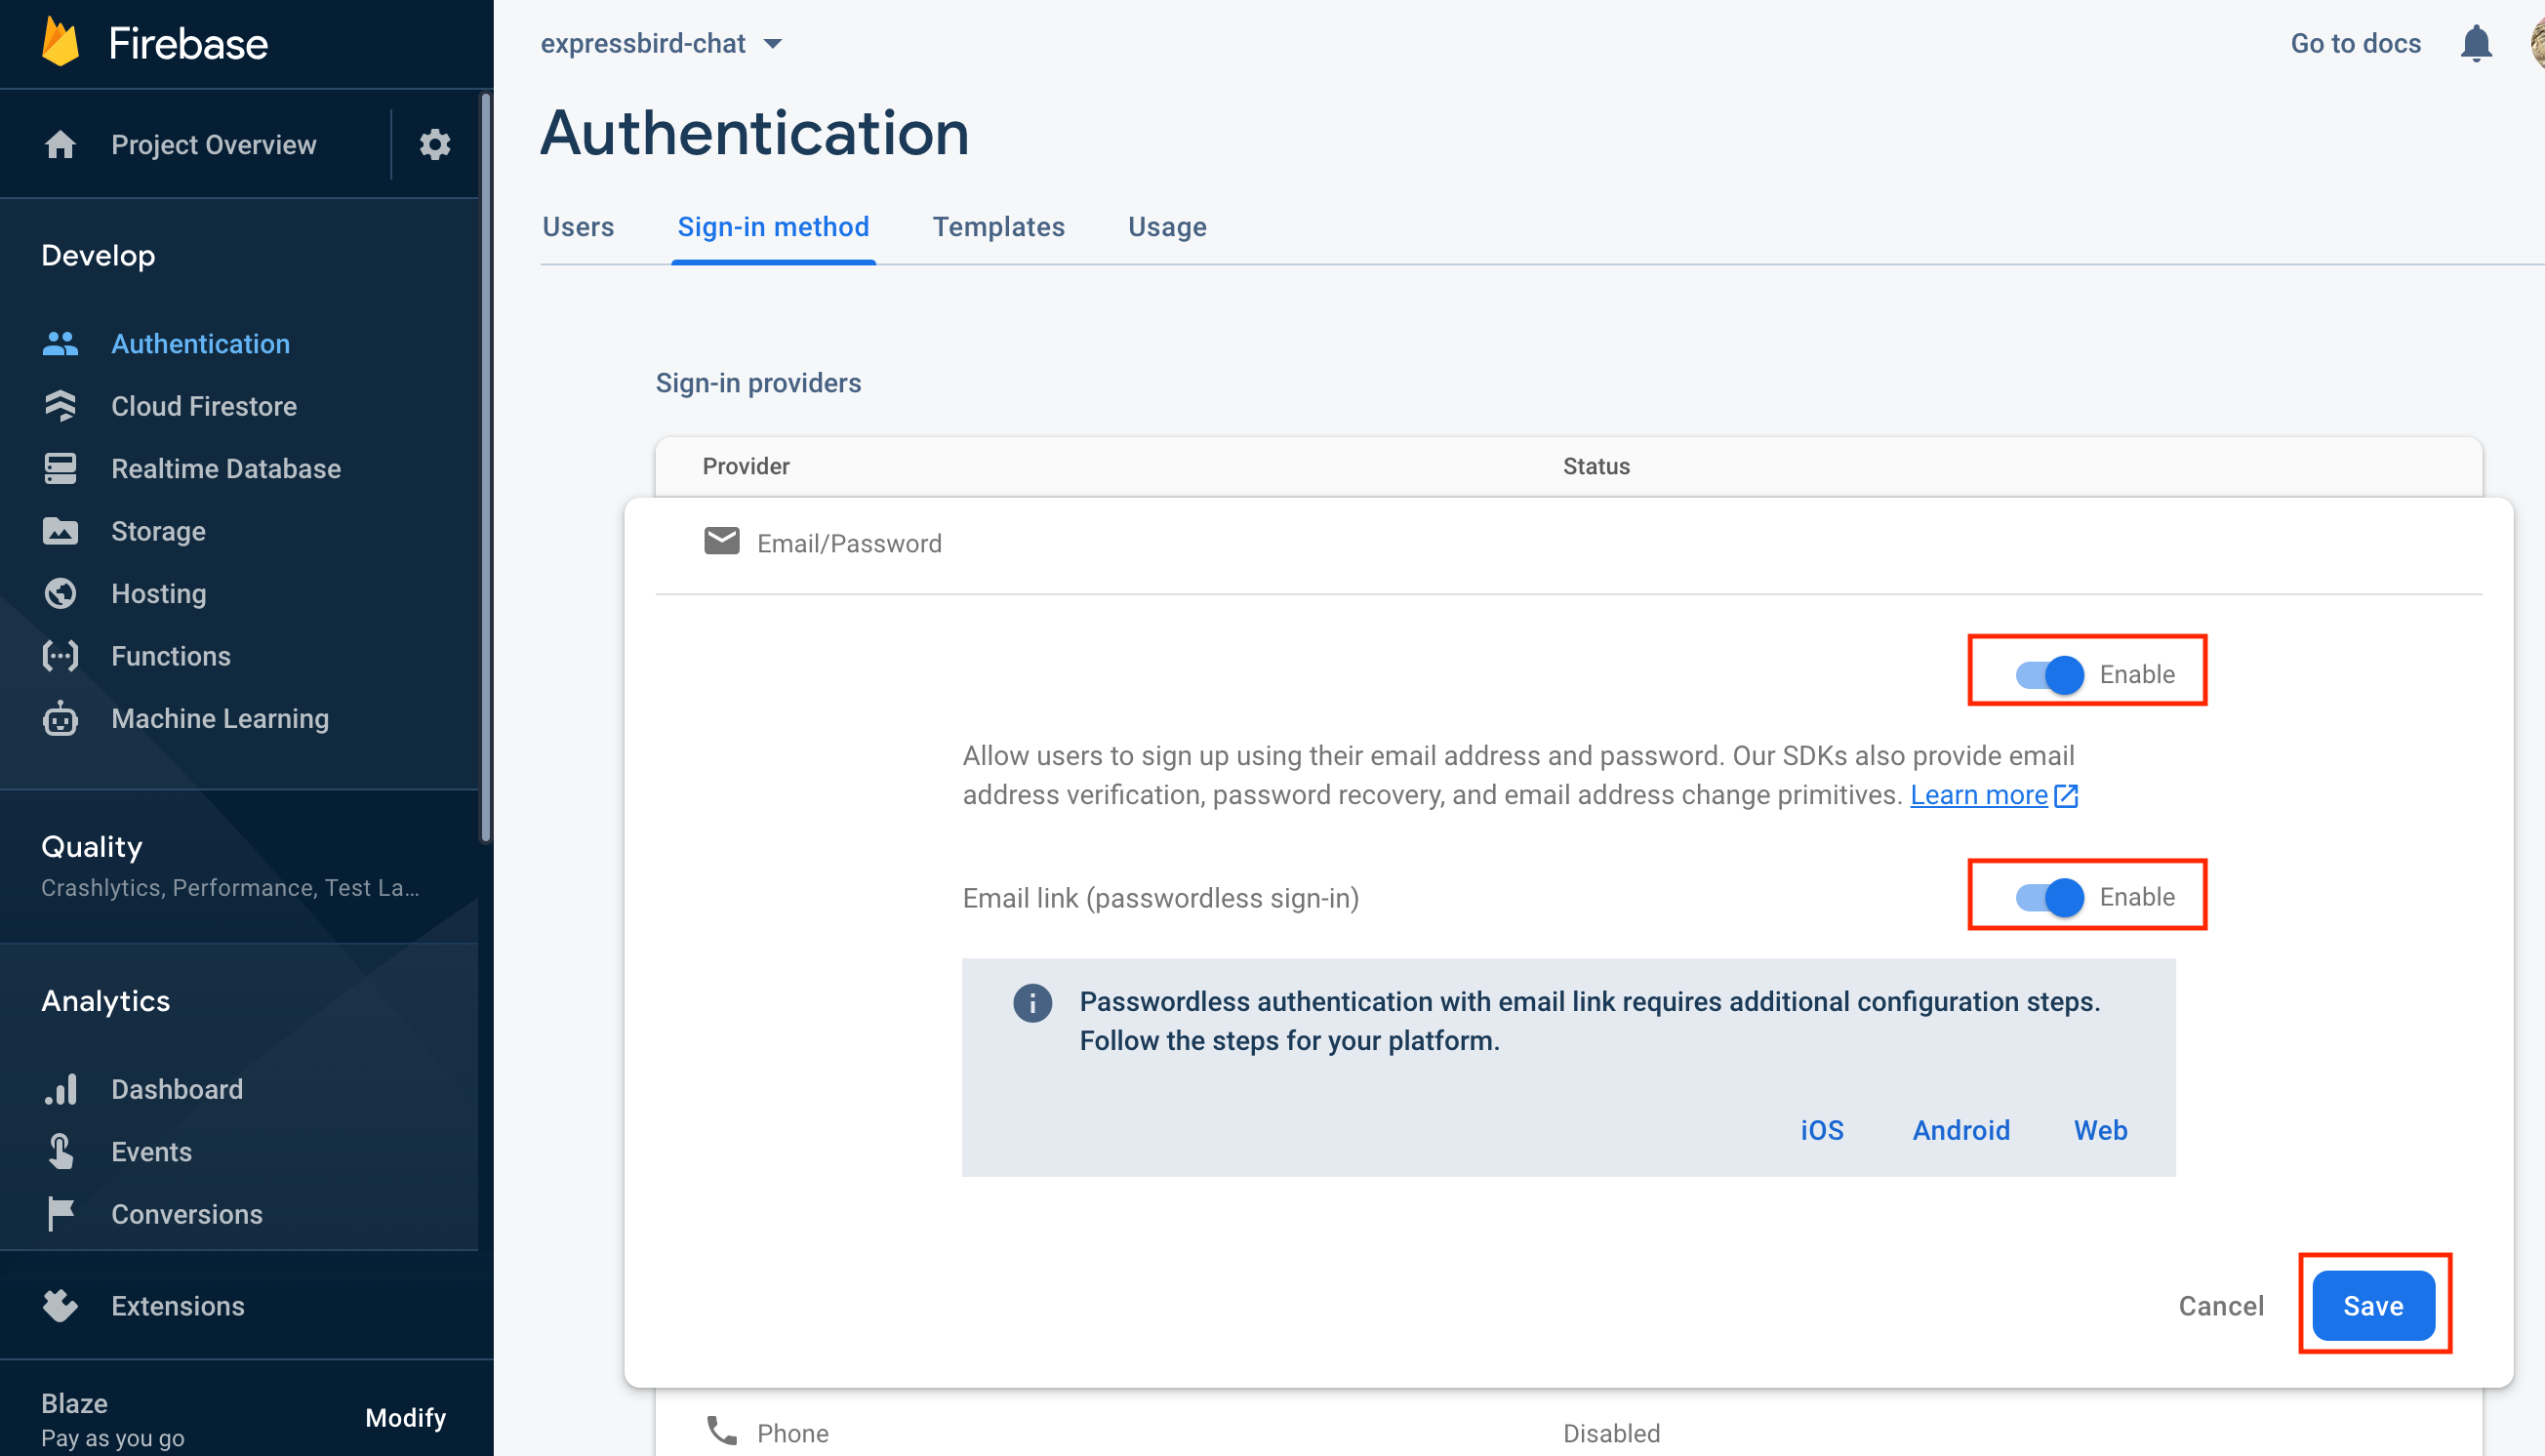
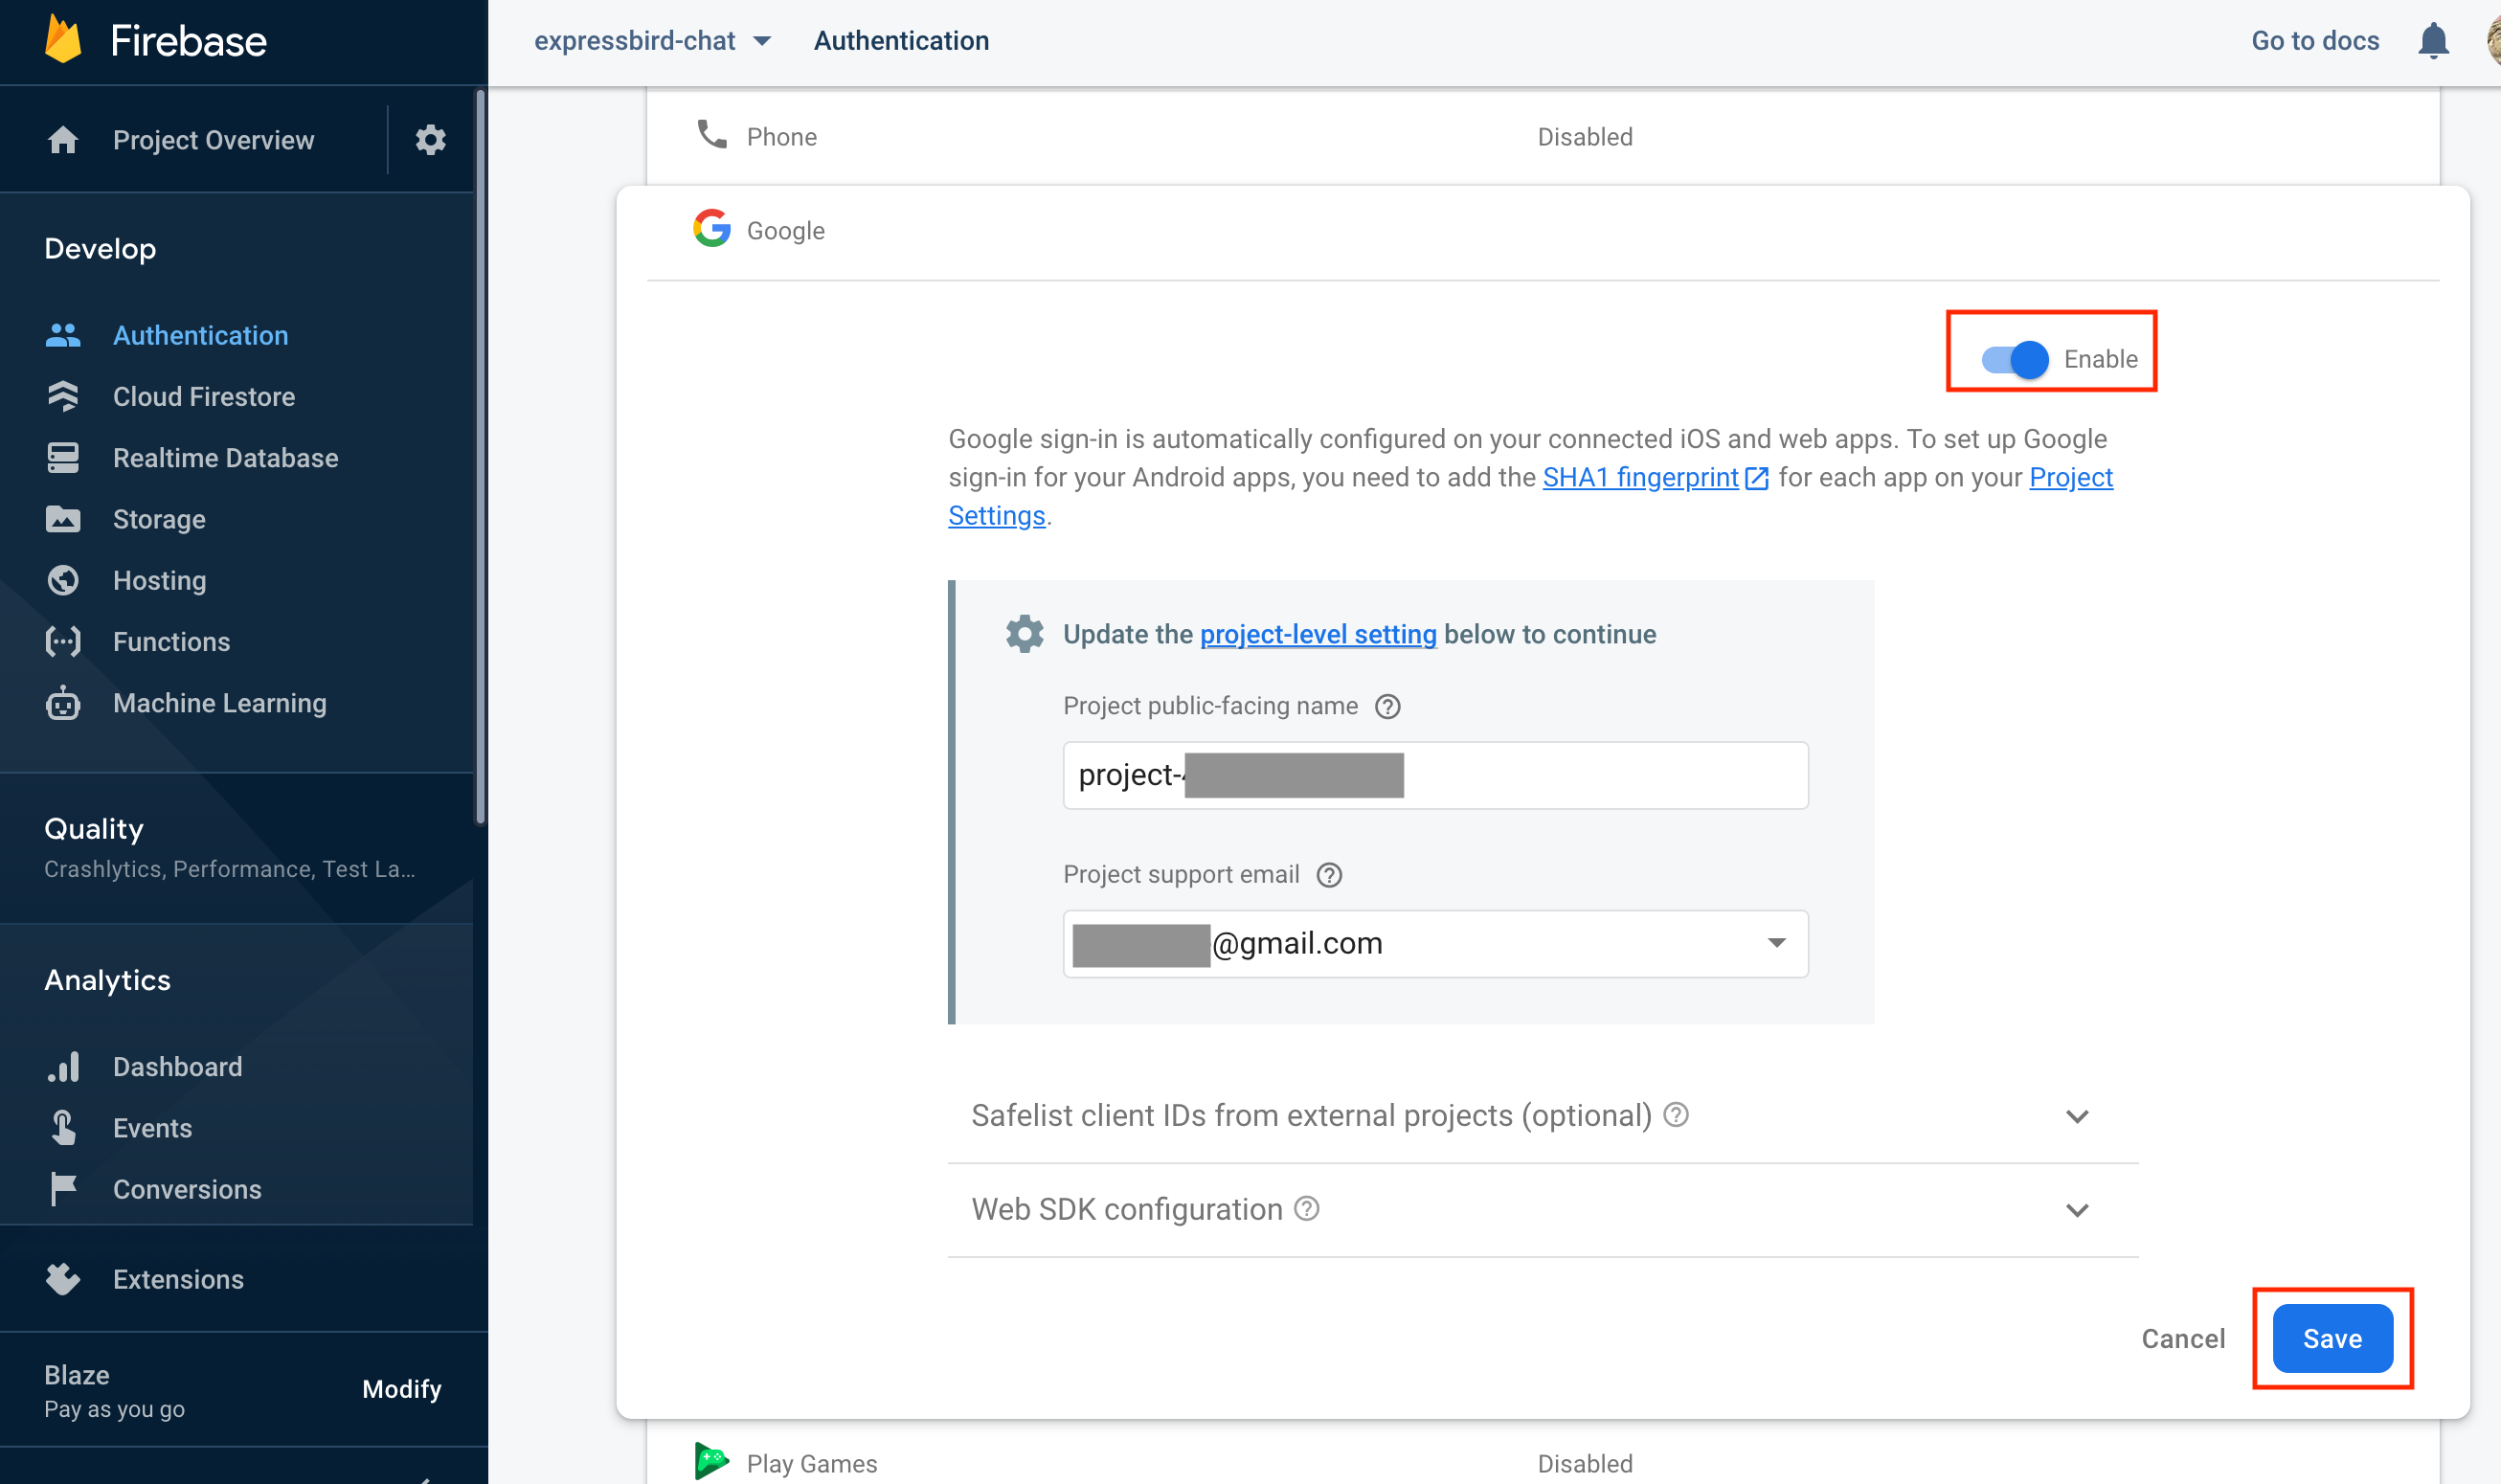
mv /path-to-downloaded-file src/server/config/firebase-admin-credentials.jsonOpen Authentication page.
Register "Email/Password" and "Anonymous" for "Sign-in providers"
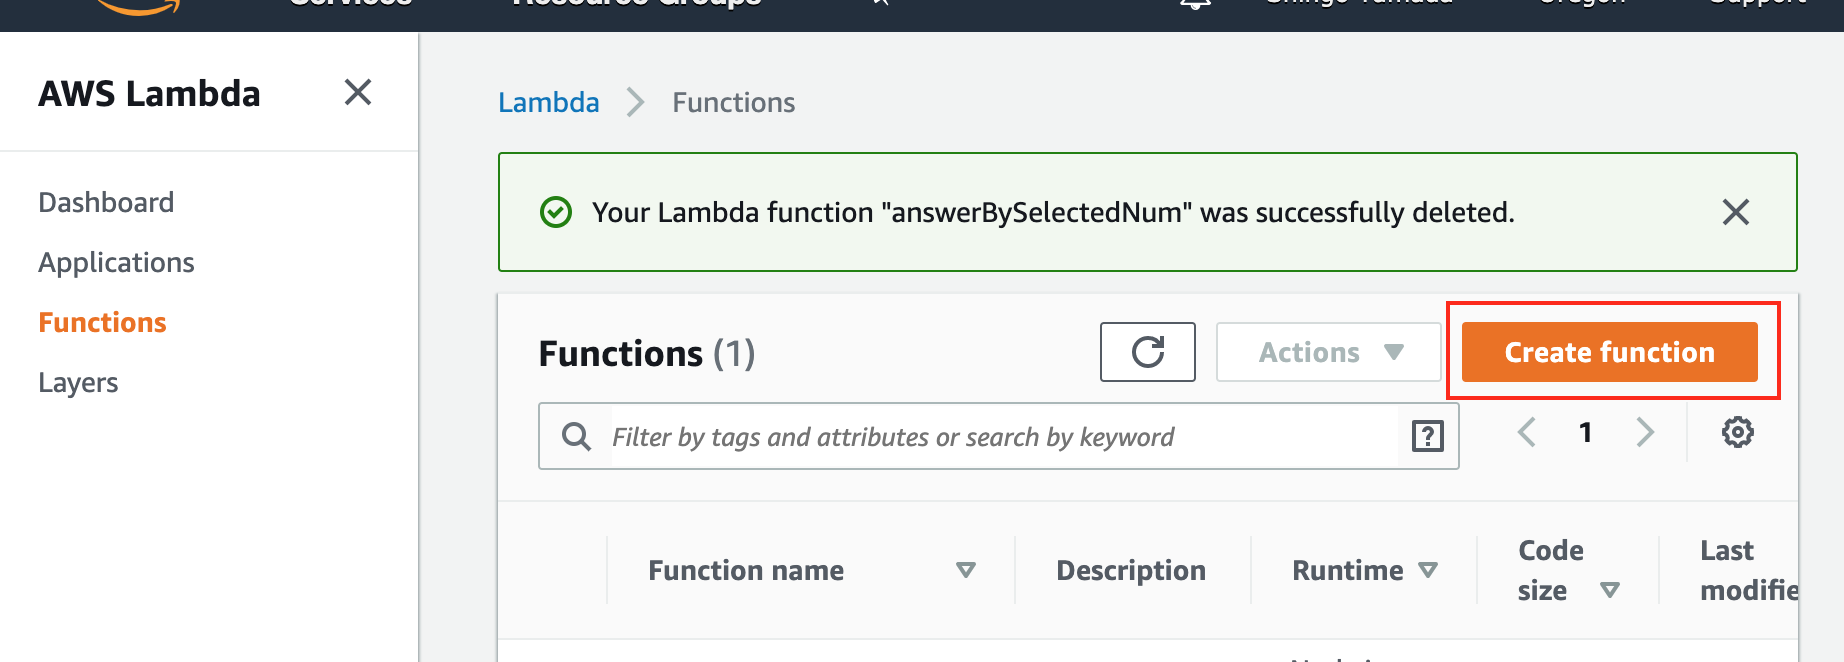
Create new function.
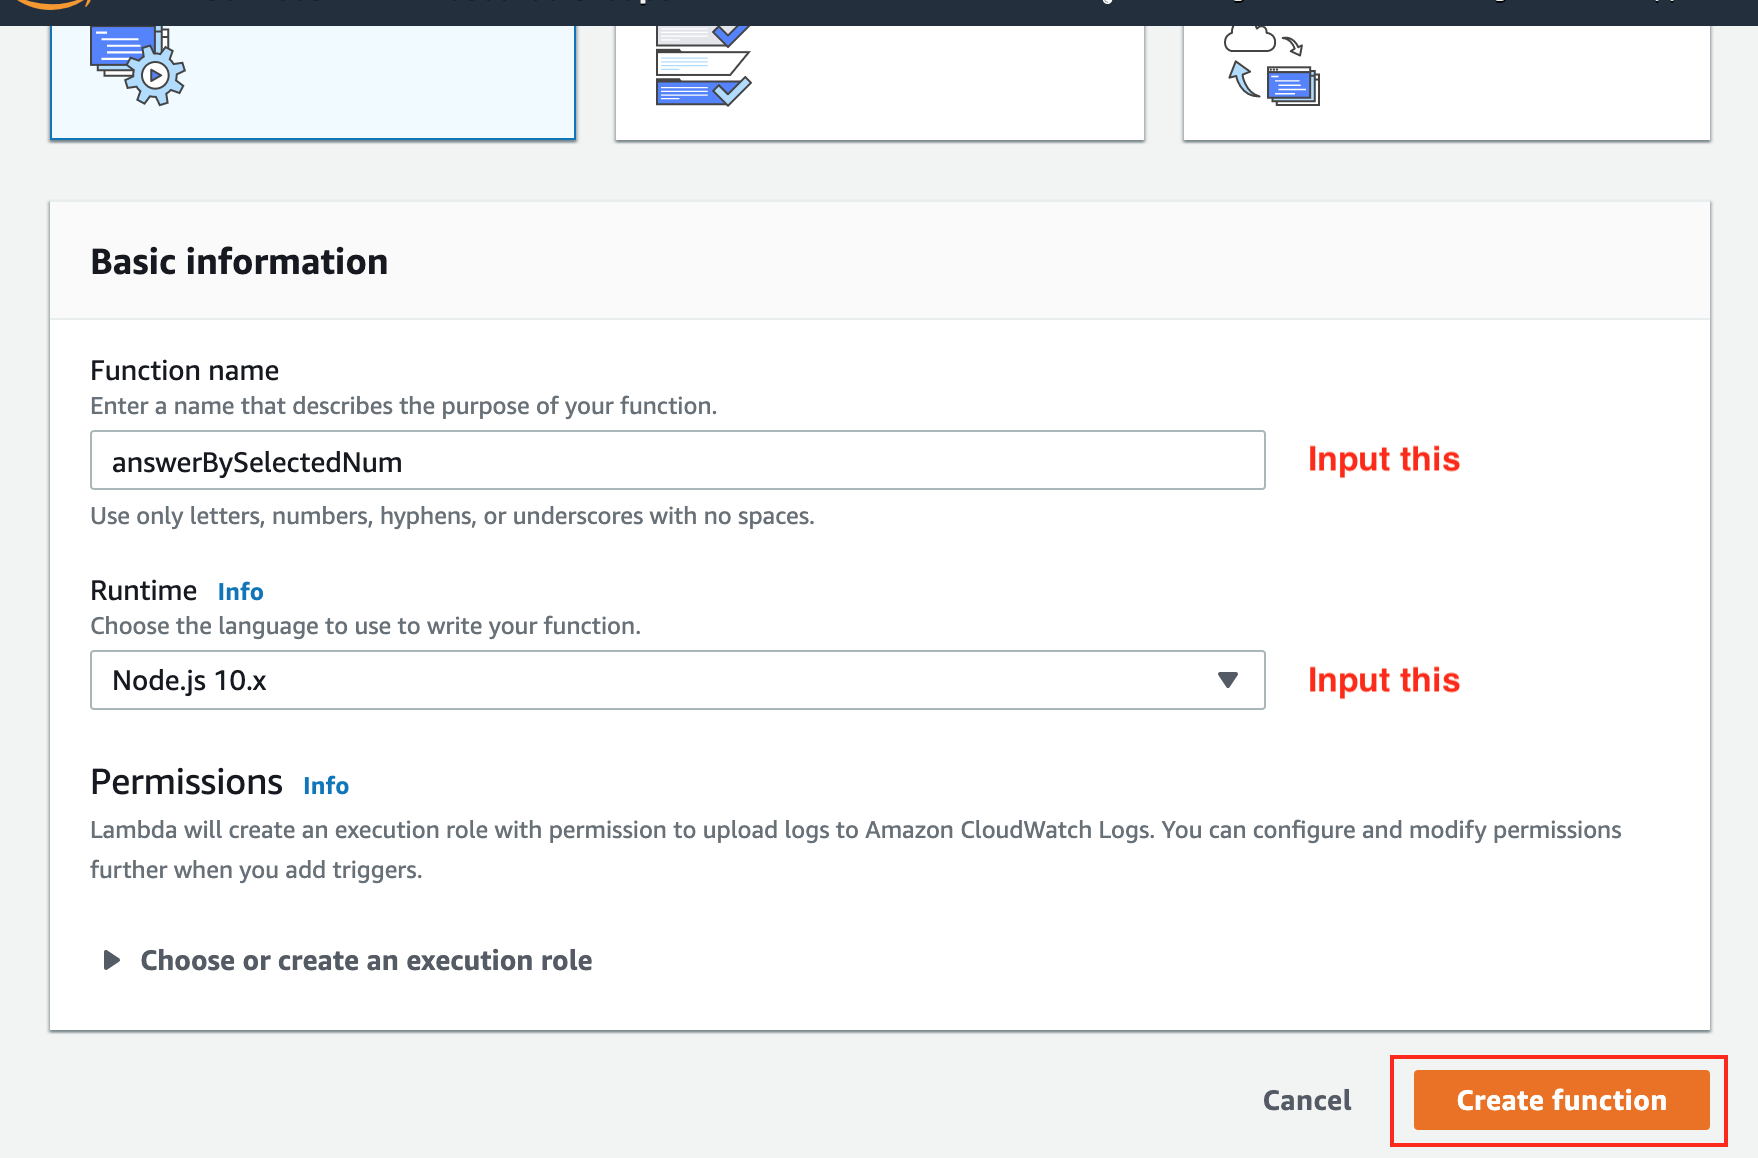
Select "Auter from scrach", input "Function name" and select "Node.js 10.x" for Runtime" And push "Create function"
Before execute this section, you have to setup AWS CLI on your env. Refer to AWS Document
Clone Lex Bot Function from Github, and execute deploy command.
cd /path-to-your-dir
git clone git@github.com:uzura8/gc-support-chat-lex-bot.git
cd gc-support-chat-lex-bot
cp setup.conf.sample setup.conf
vi setup.conf
# Edit for your env
sh deploy.shSingn in AWS console, and move to Amazon Lex page.
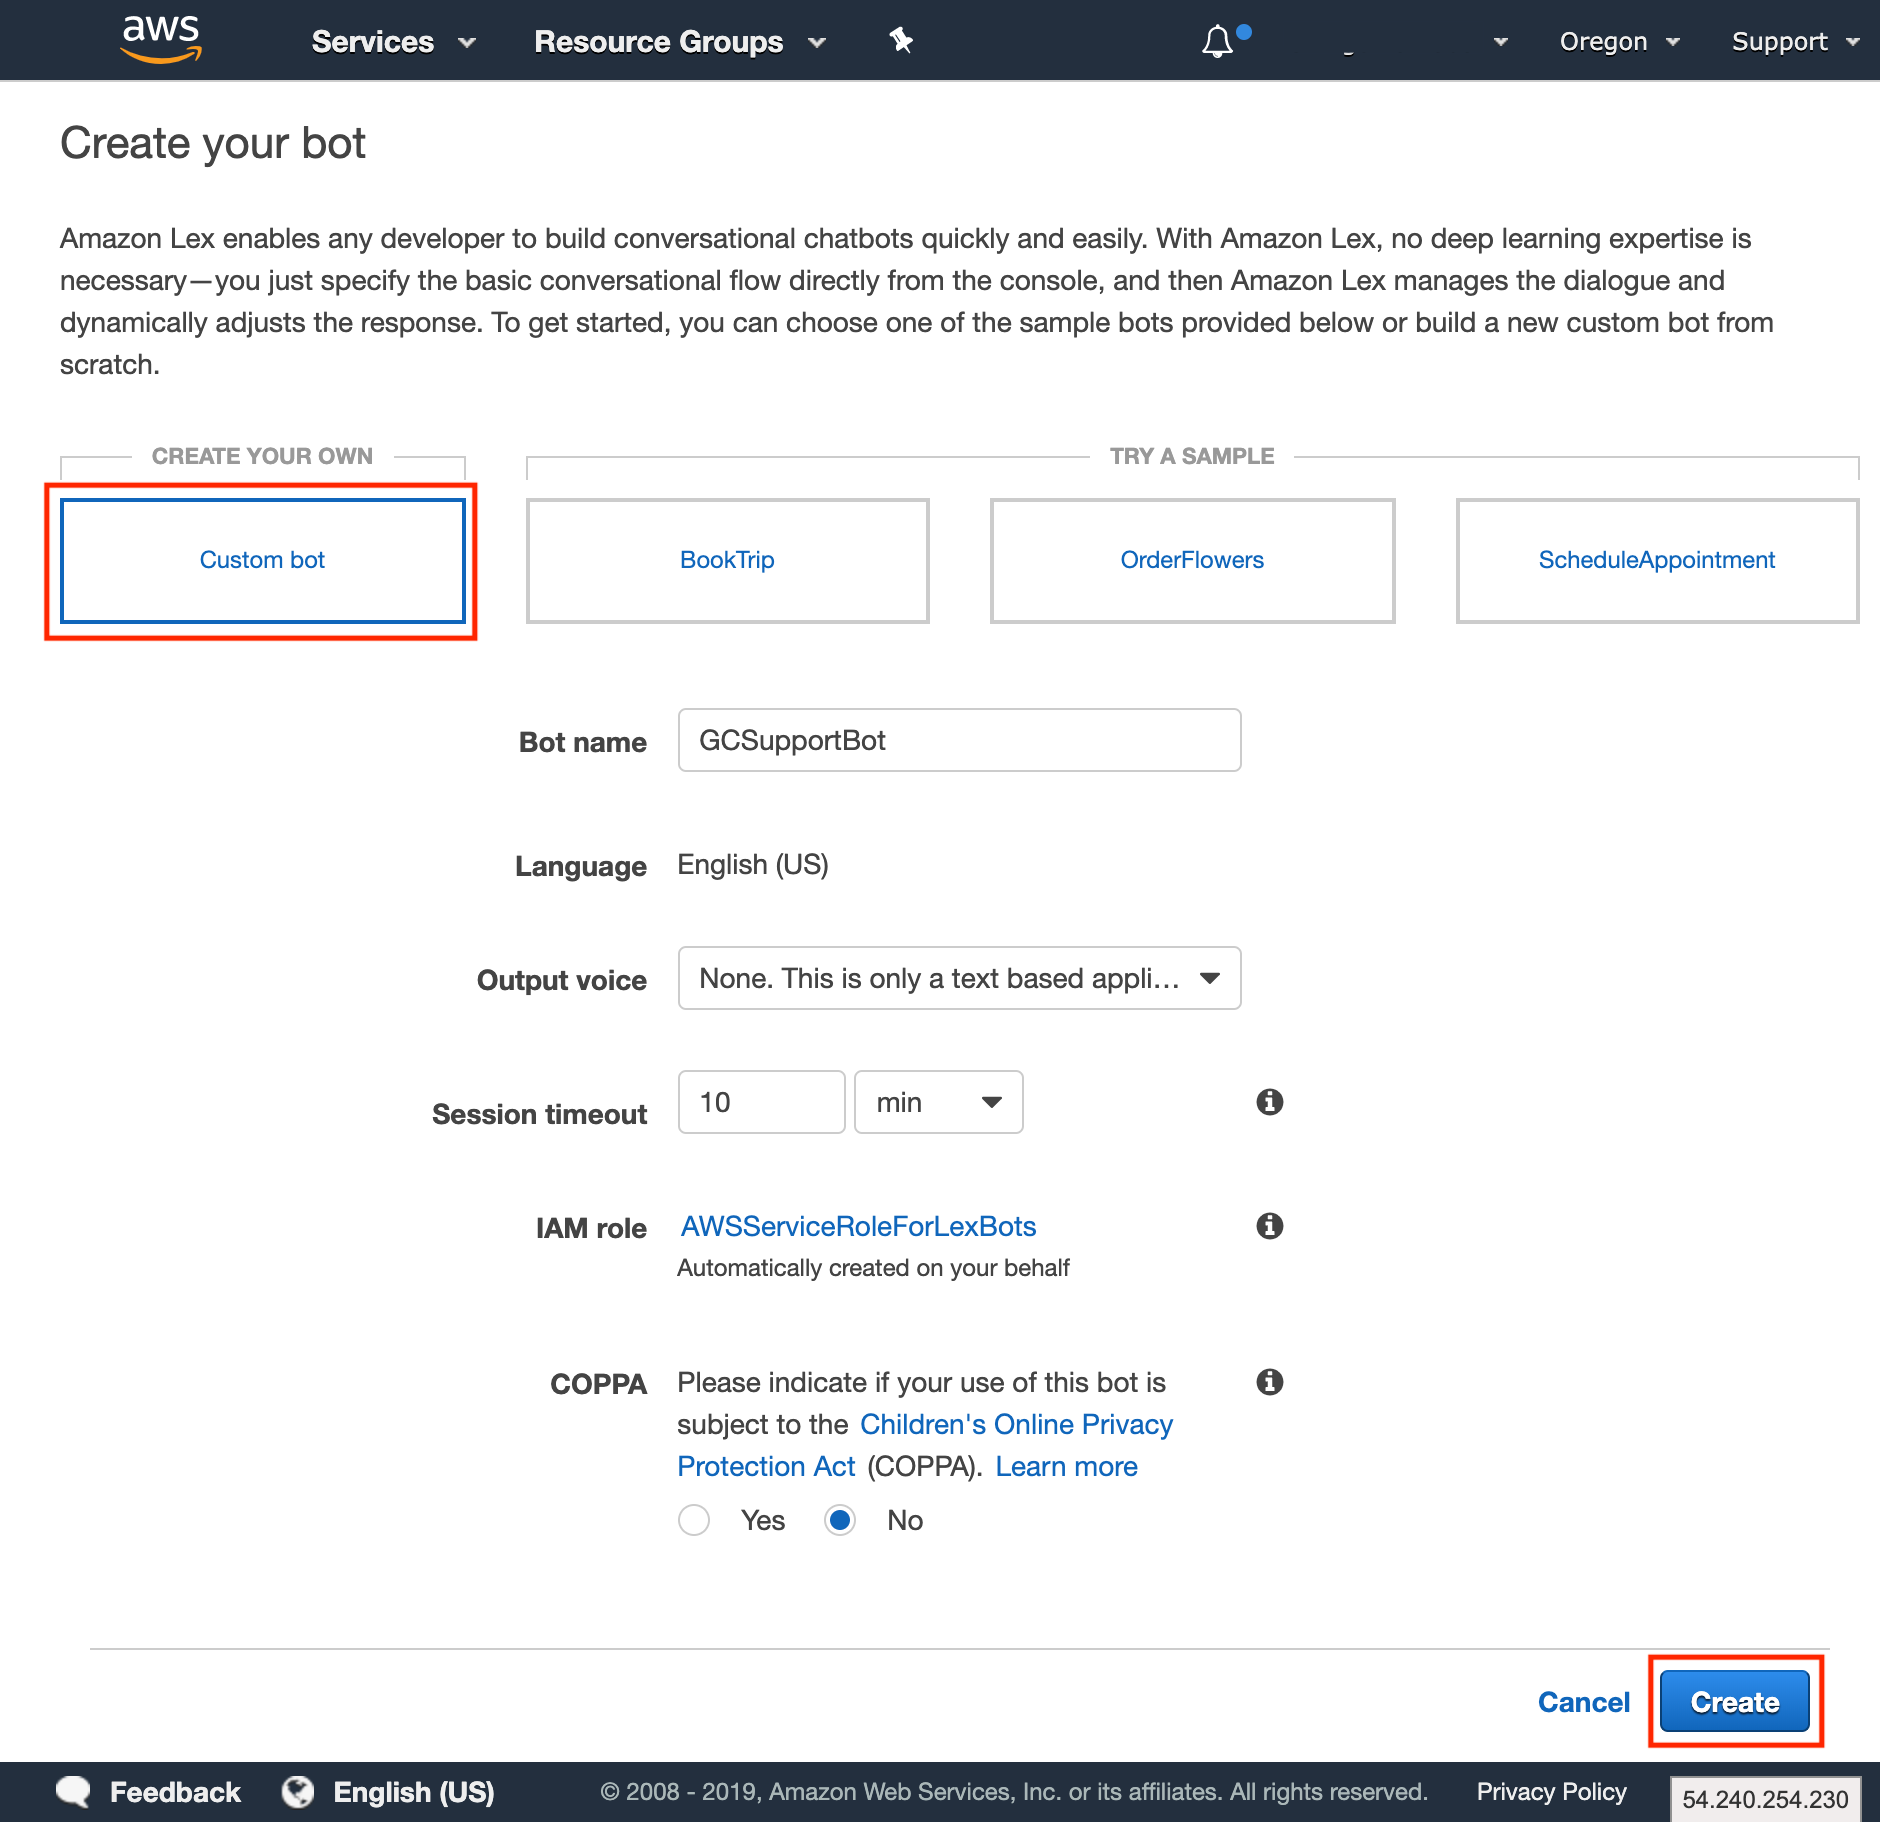
Put create bot button
Select "Custom bot", and input Bot name, Output voice and COPPA, then push "Create" button.
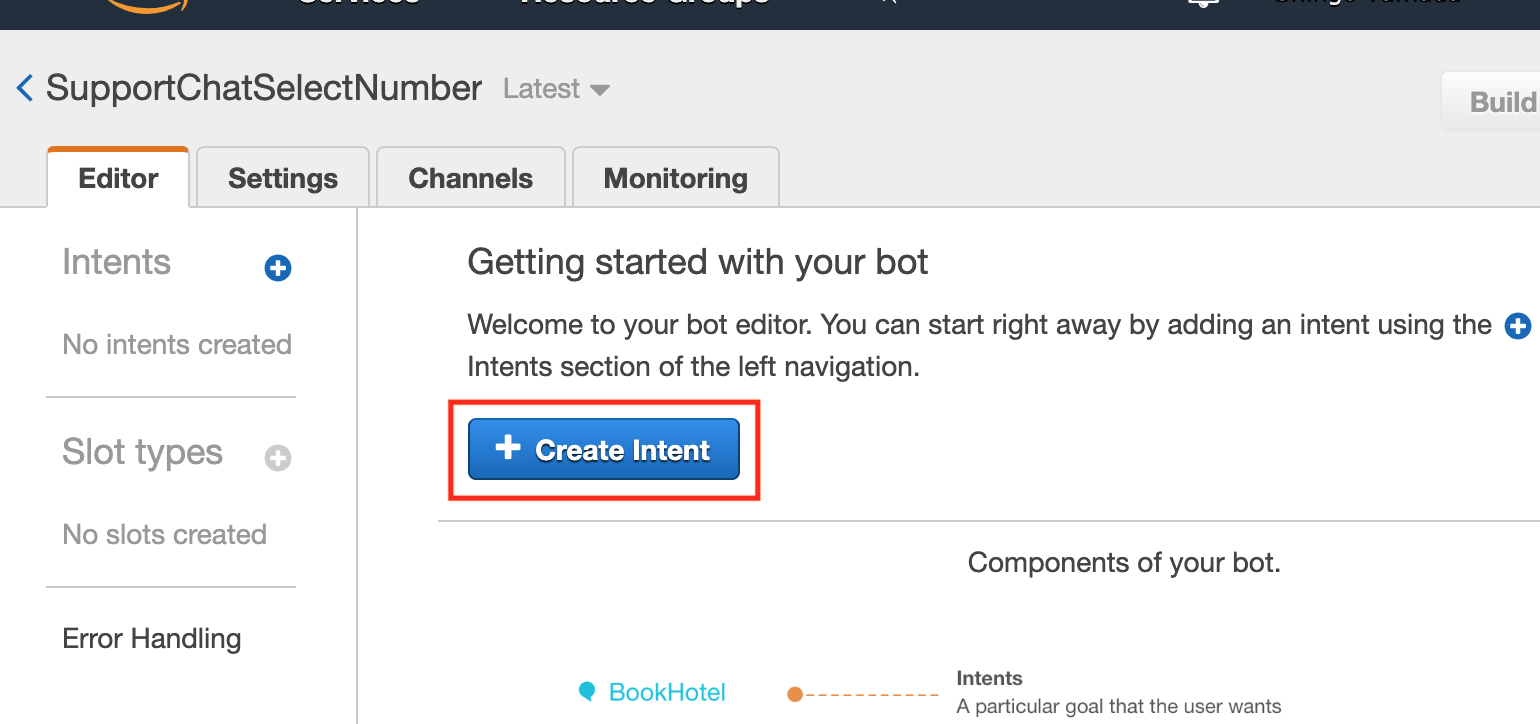
Push "Create Intent" button
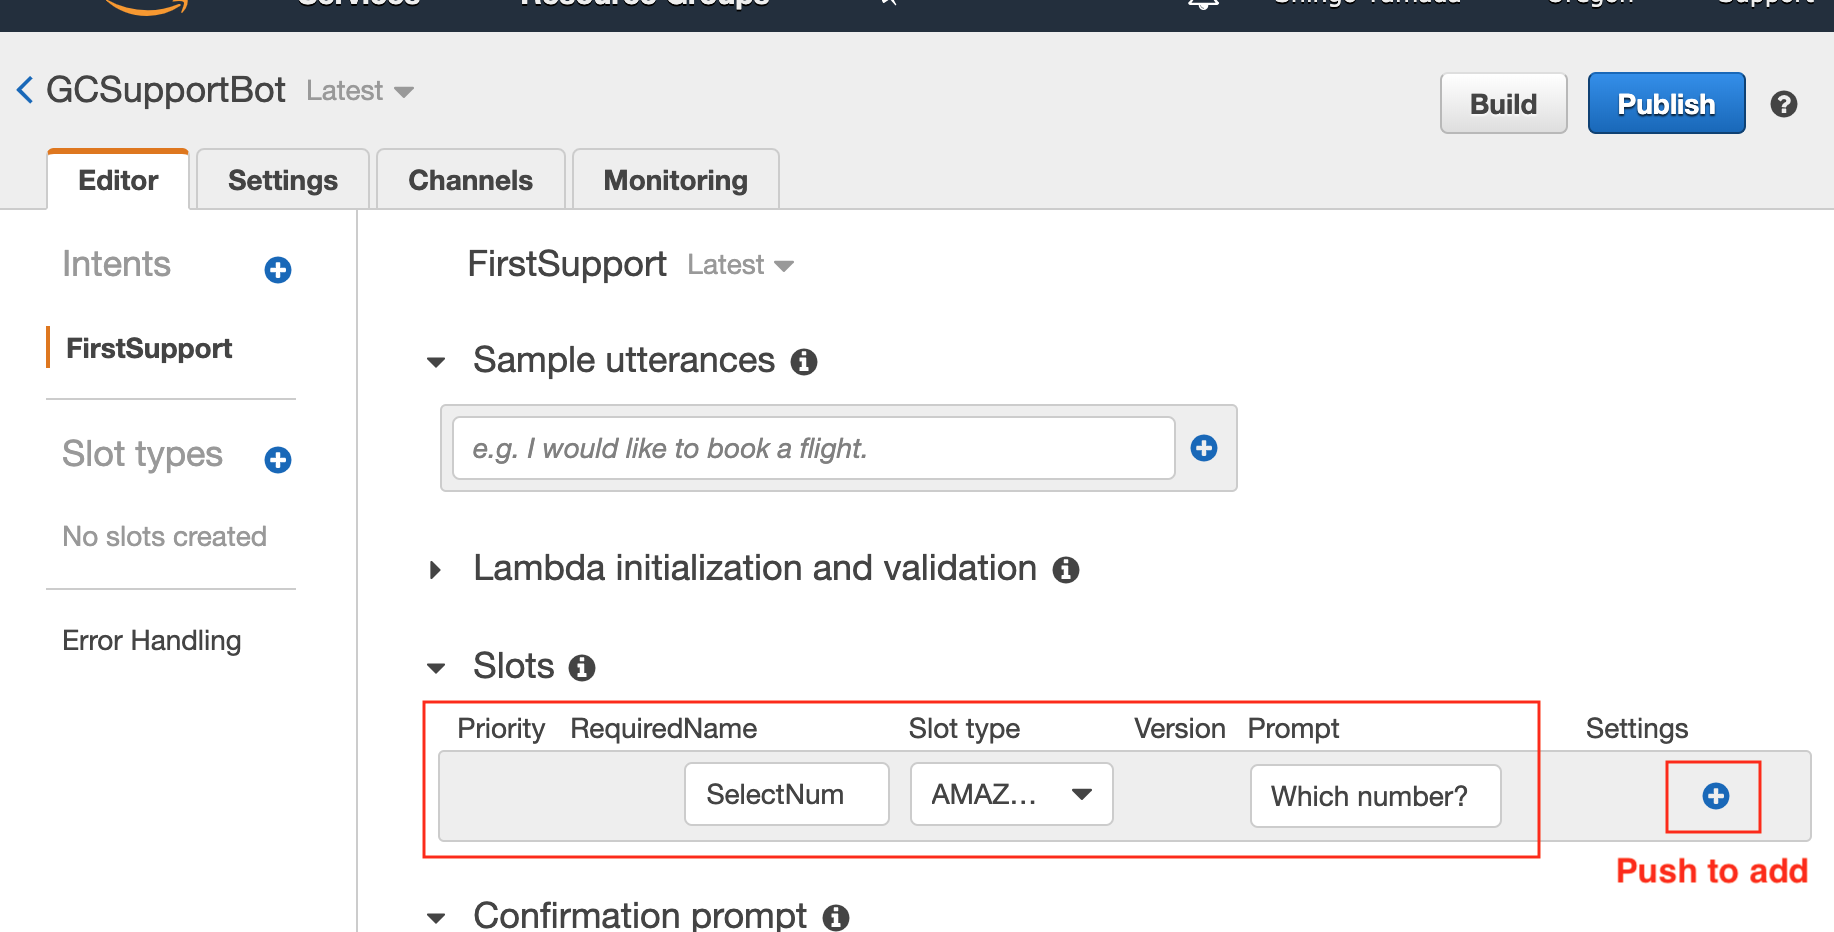
Create Slot to select number like below.
- Name: "SelectNum"
- Slot type: AMZAON.NUMBER
- Prompt: Which number?
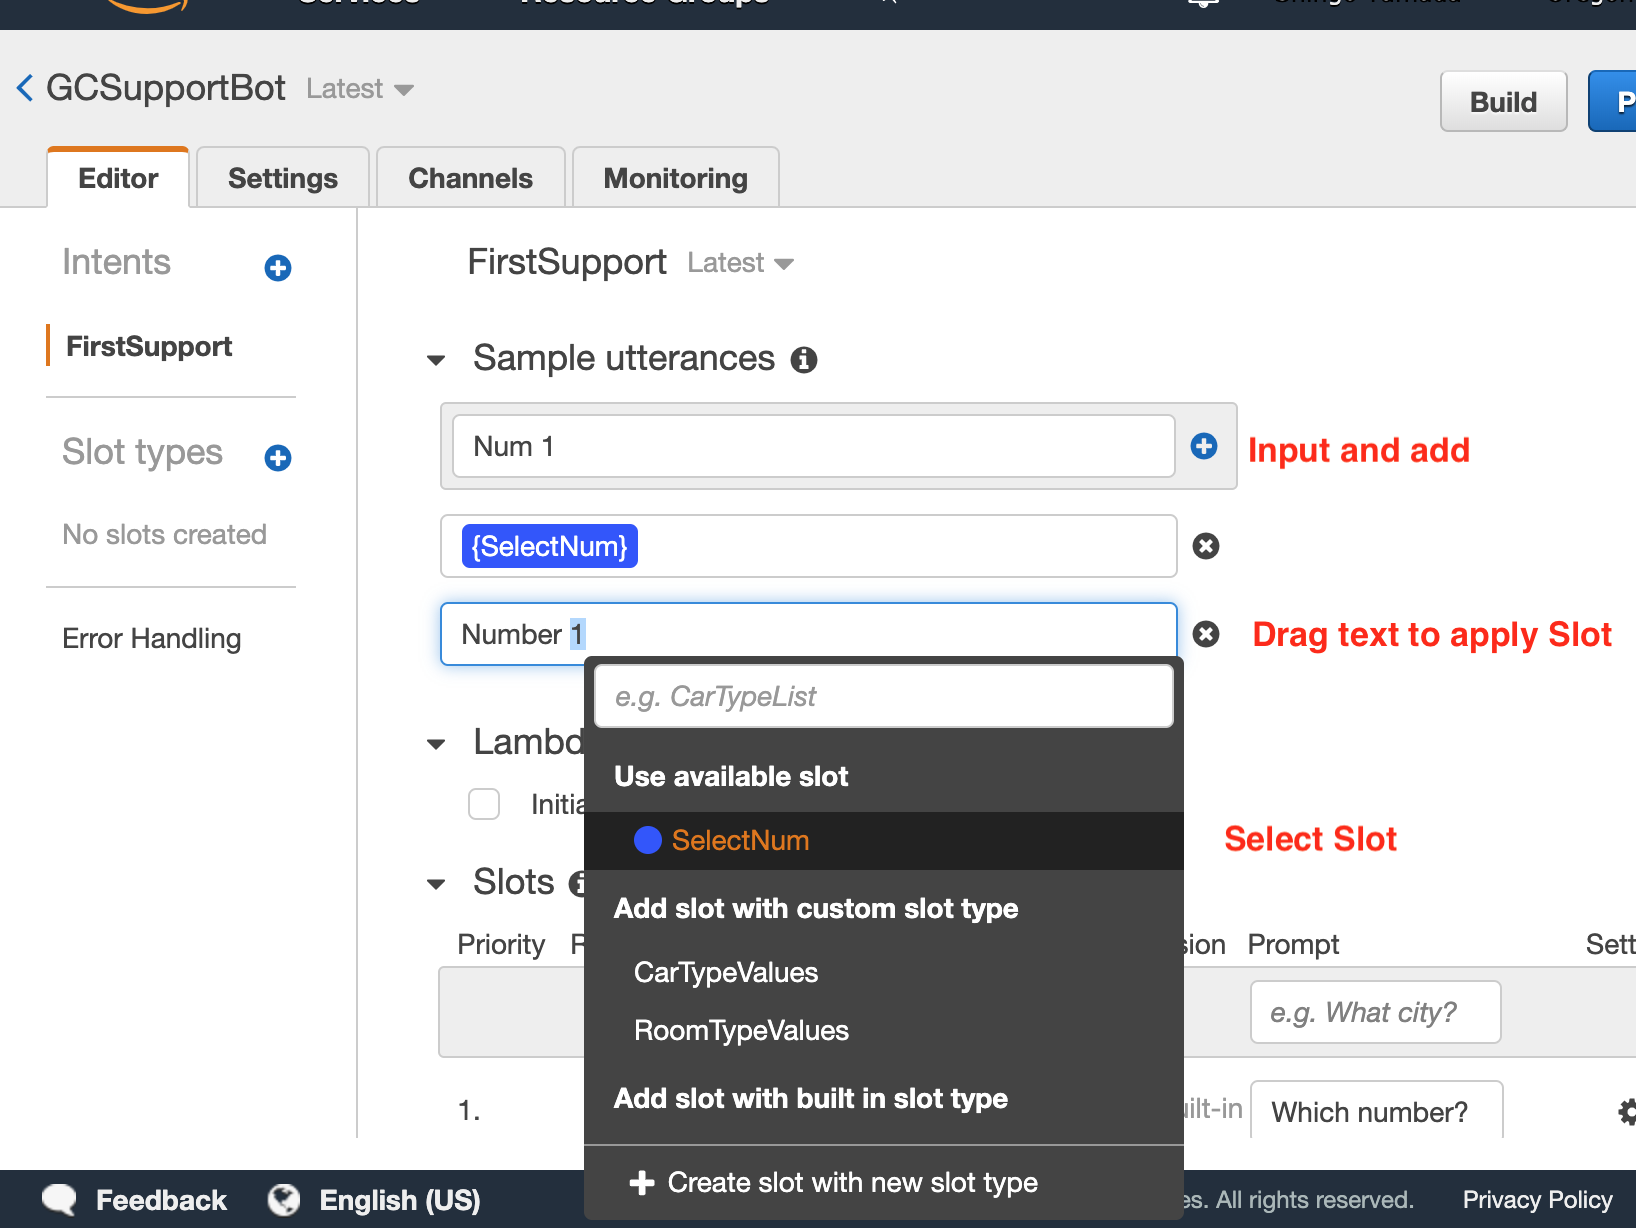
Register sample utterance.
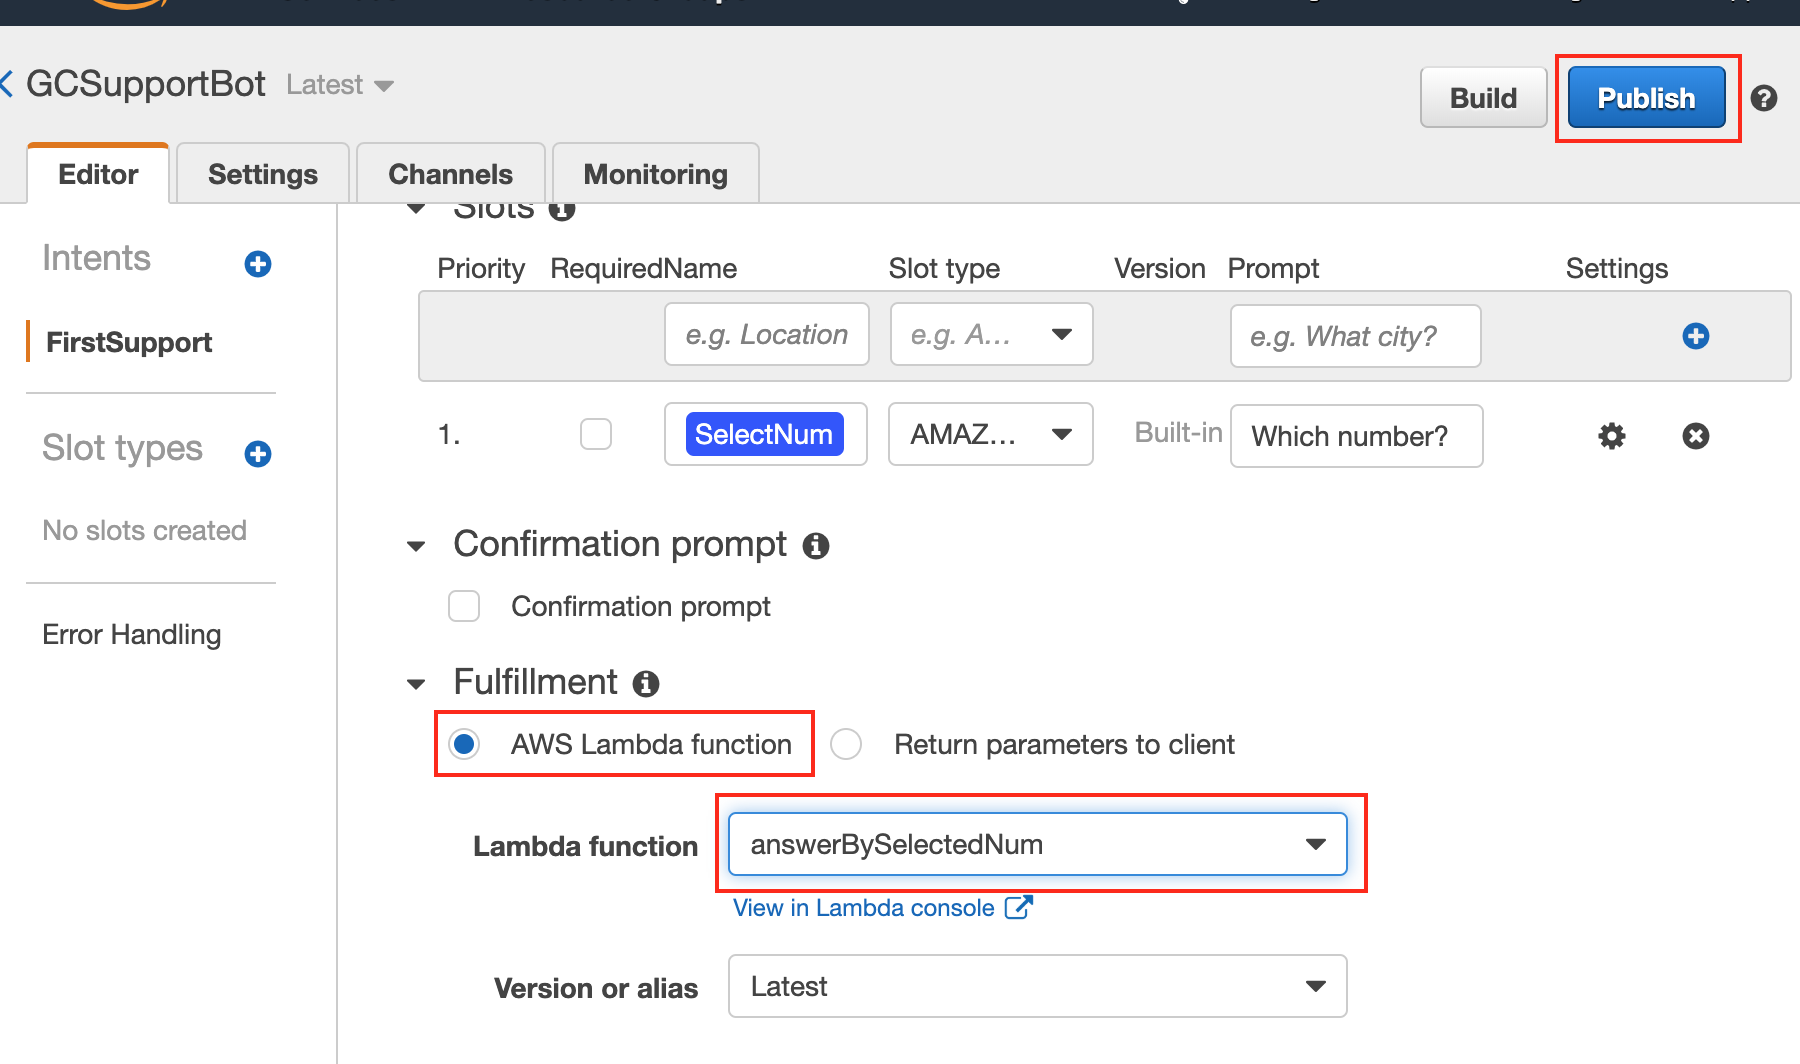
In "Fulfillment" section, select "Lambda function" and select your lambda function.
And Build and test.
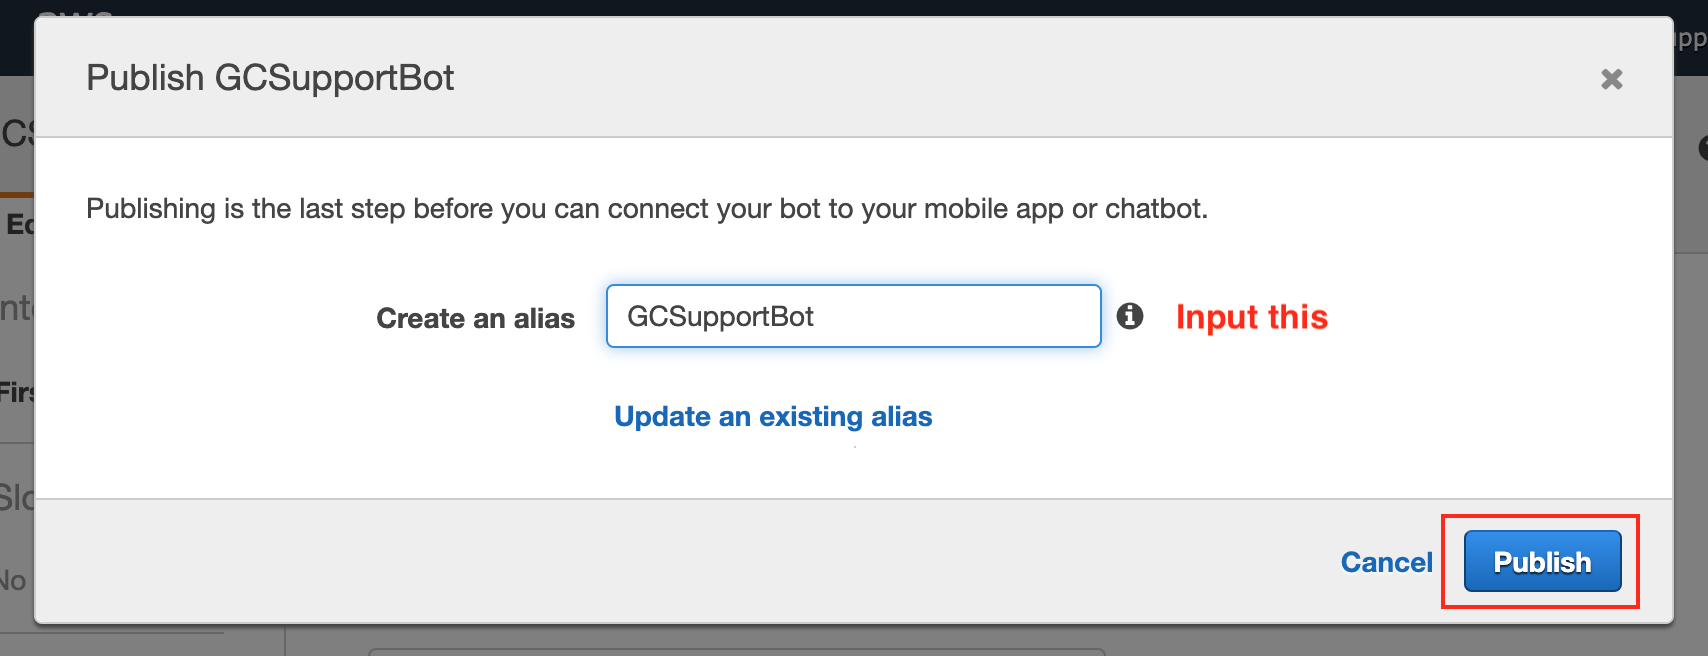
And publish.
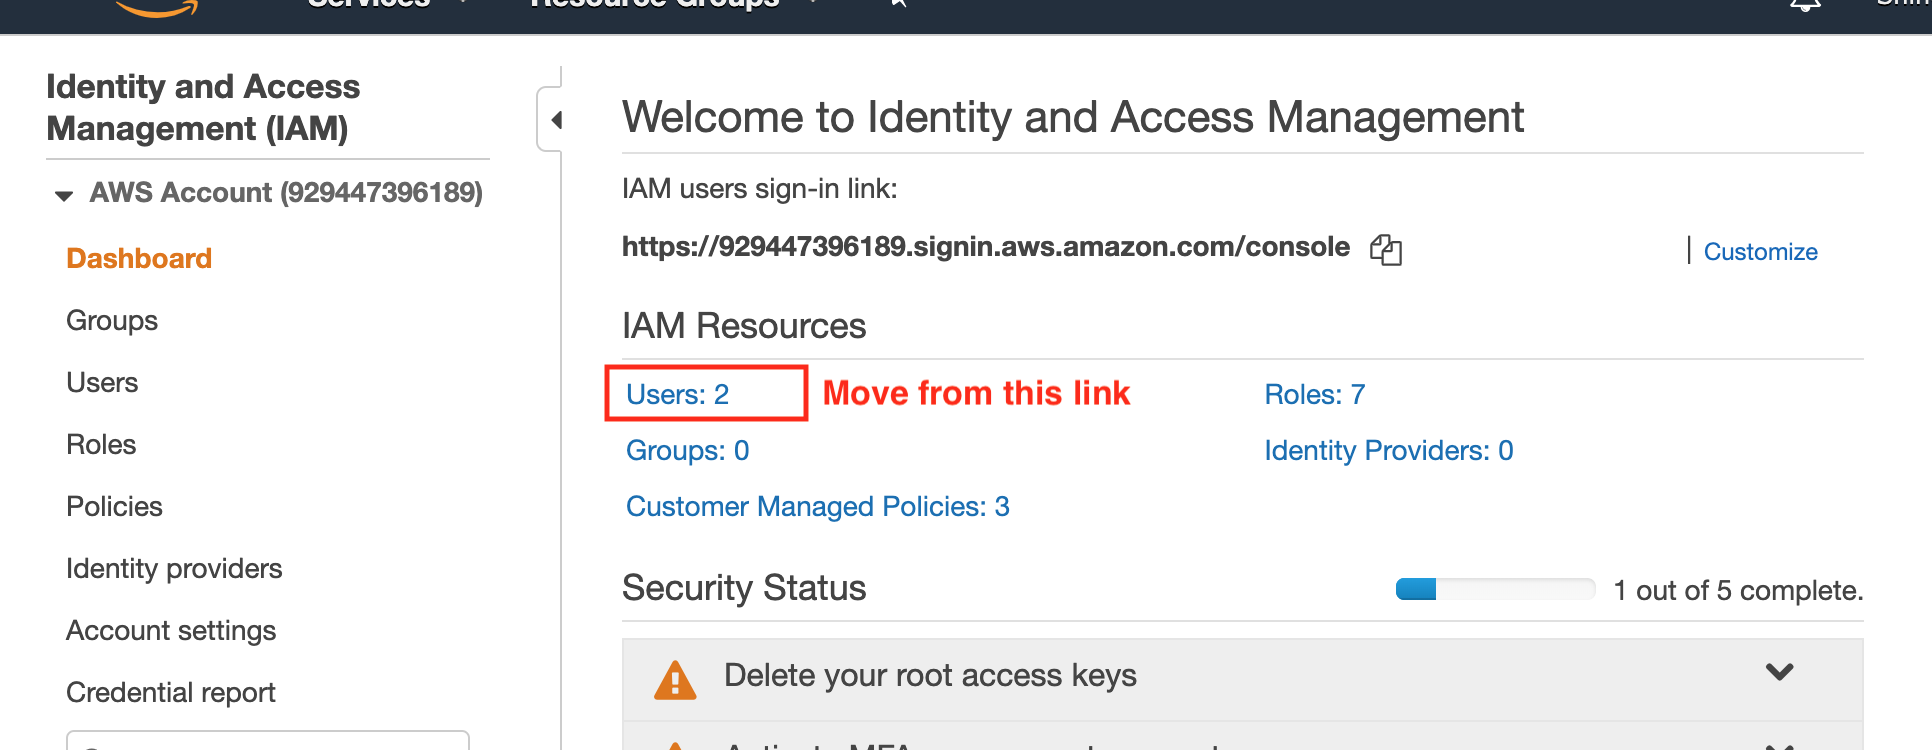
Open AIM page on AWS console and press "Users" link.
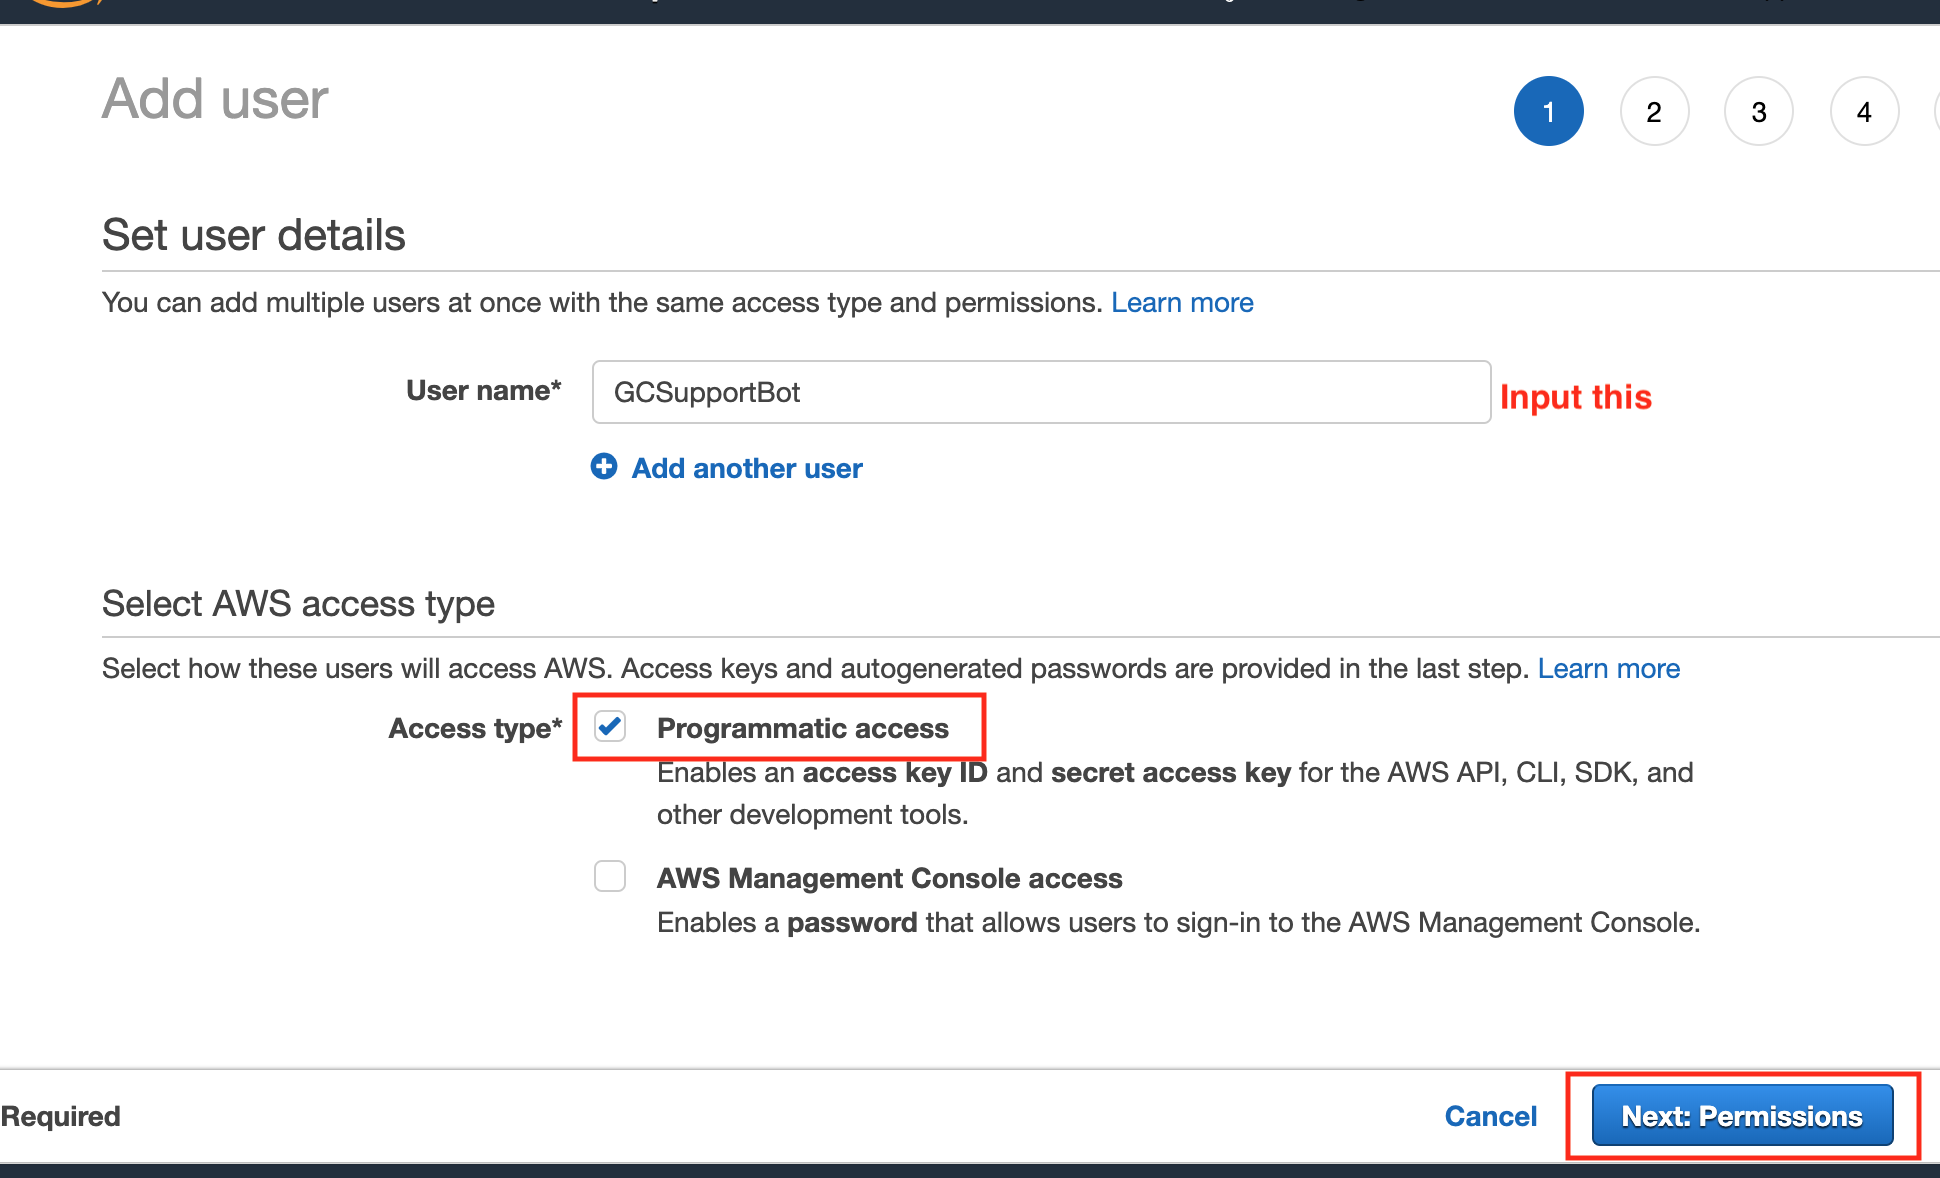
Press "Add User" button.
Input "User name" and select "Programatic access" for access type.
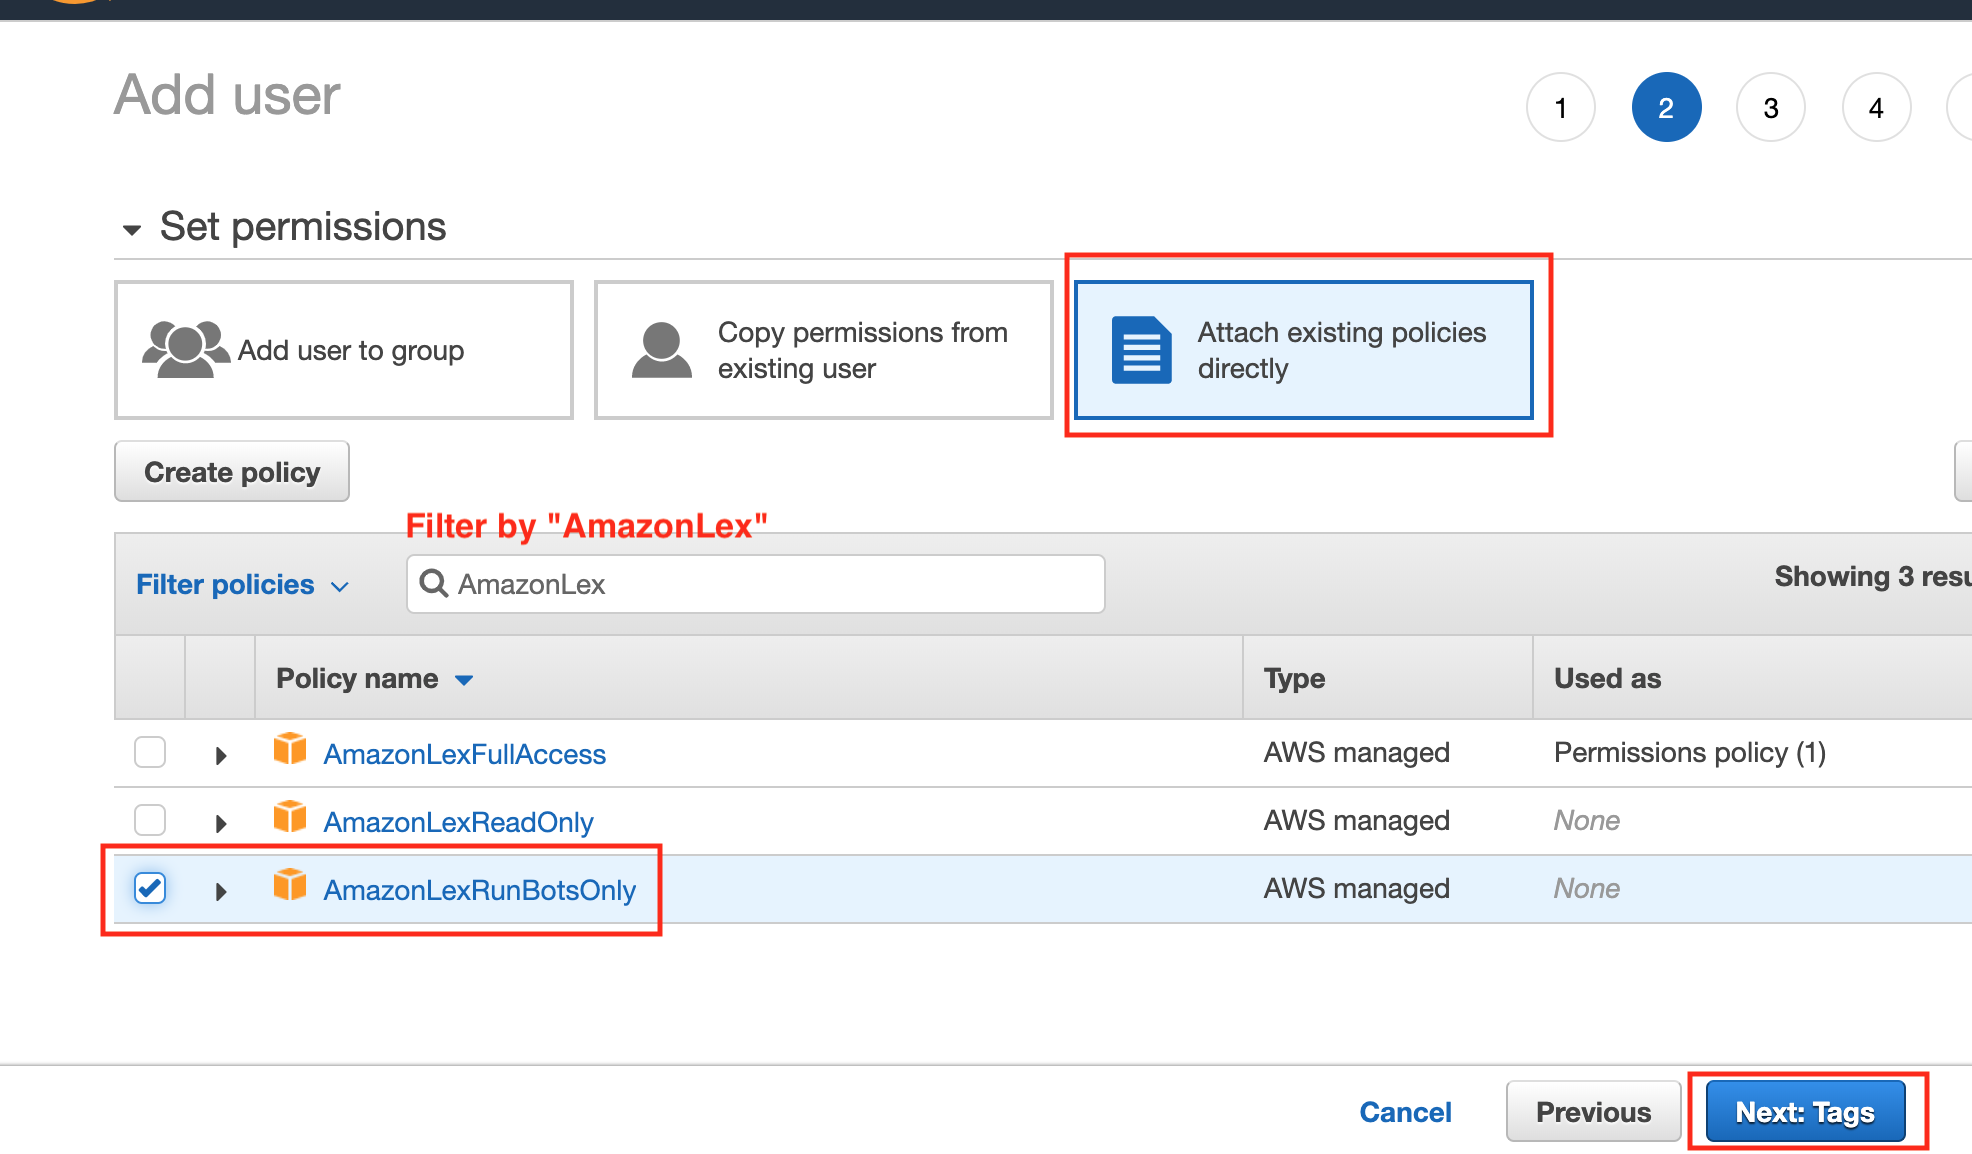
Select "Attach existing policies directly", and Check "AmazonLexRunBotsOnly" forPollicy name
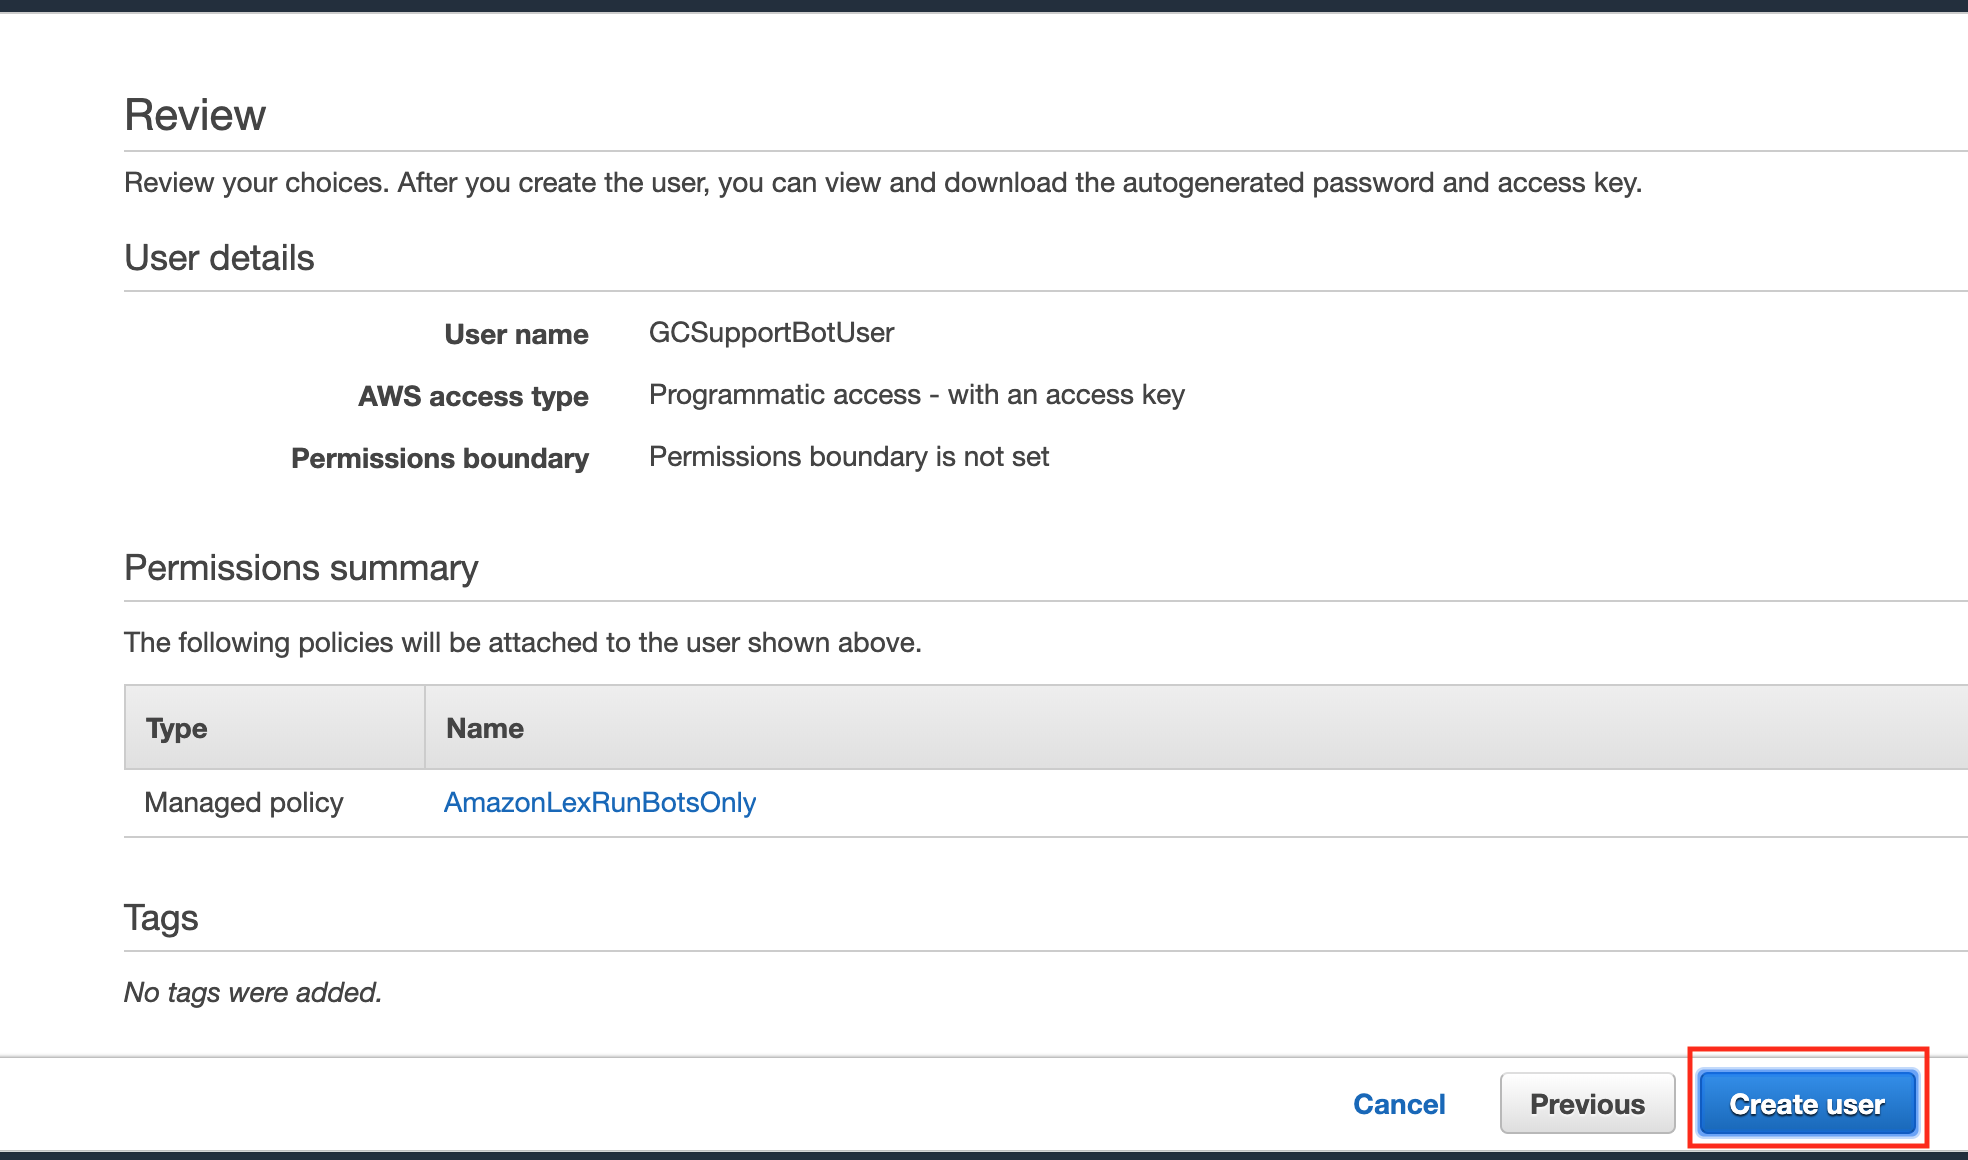
Press "Create user" button.
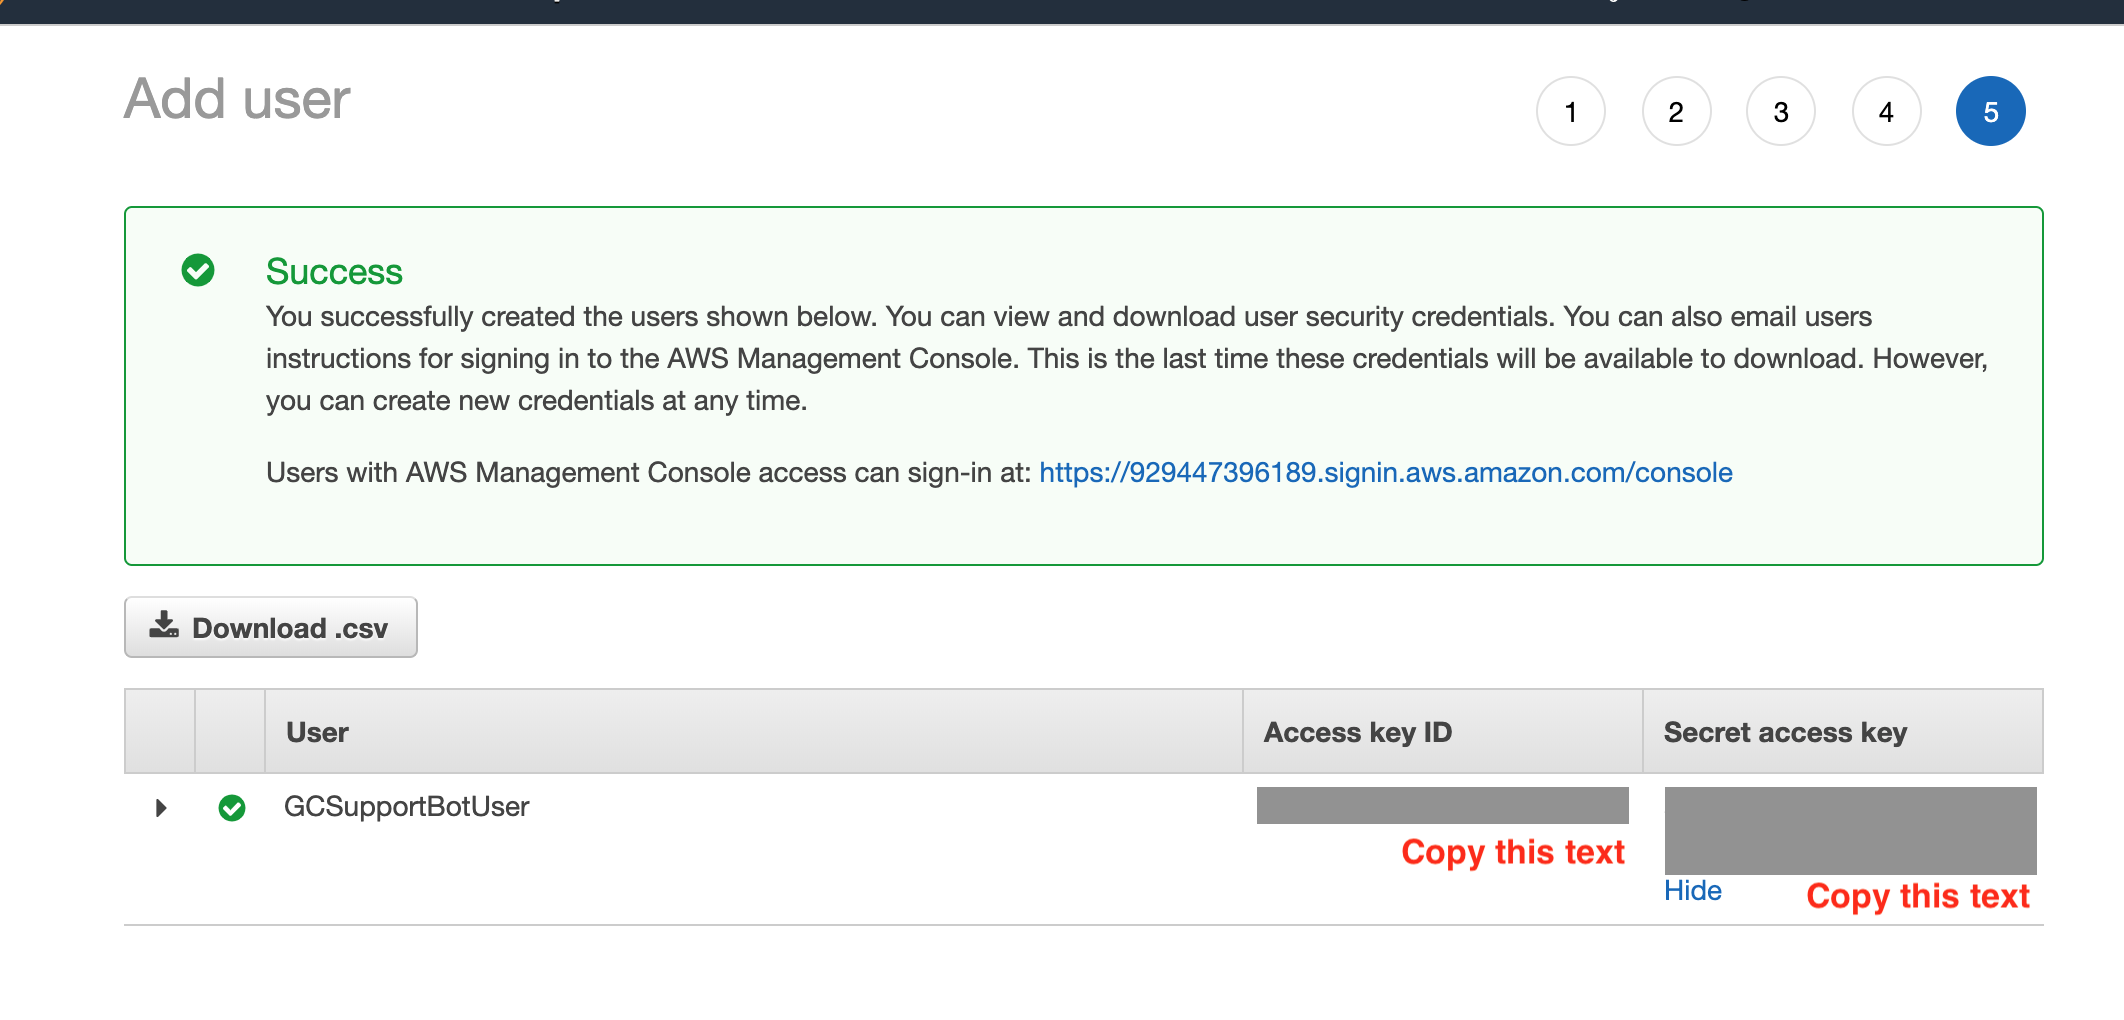
Copy "Access key ID" and "Secret access key" on complete page.
Copy from sample file.
cp src/server/config/aws-config.json.sample src/server/config/aws-config.json
vi src/server/config/aws-config.json
Edit config.
Paste accessKeyId and secretAccessKey.
{
  "lex": {
    "credential": {
      "accessKeyId": "Paste here!",
      "secretAccessKey": "Paste here!",
      "region": "us-west-2"
    },
    "bots": {
      "initialSupport": "GCSupportBot"
    }
  }
}npm run buildnode server/create_admin_user.js admin@example.com password 'AdminUser'npm run start
