- This article explains how to perform AI face detection on KD240
Last update: 2024/05/18
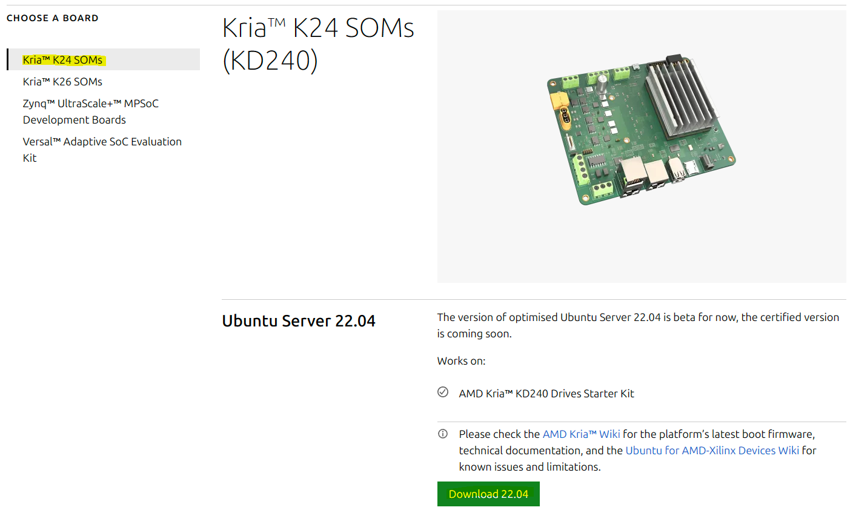
You can download the file from the following link Install Ubuntu on AMD | Ubuntu
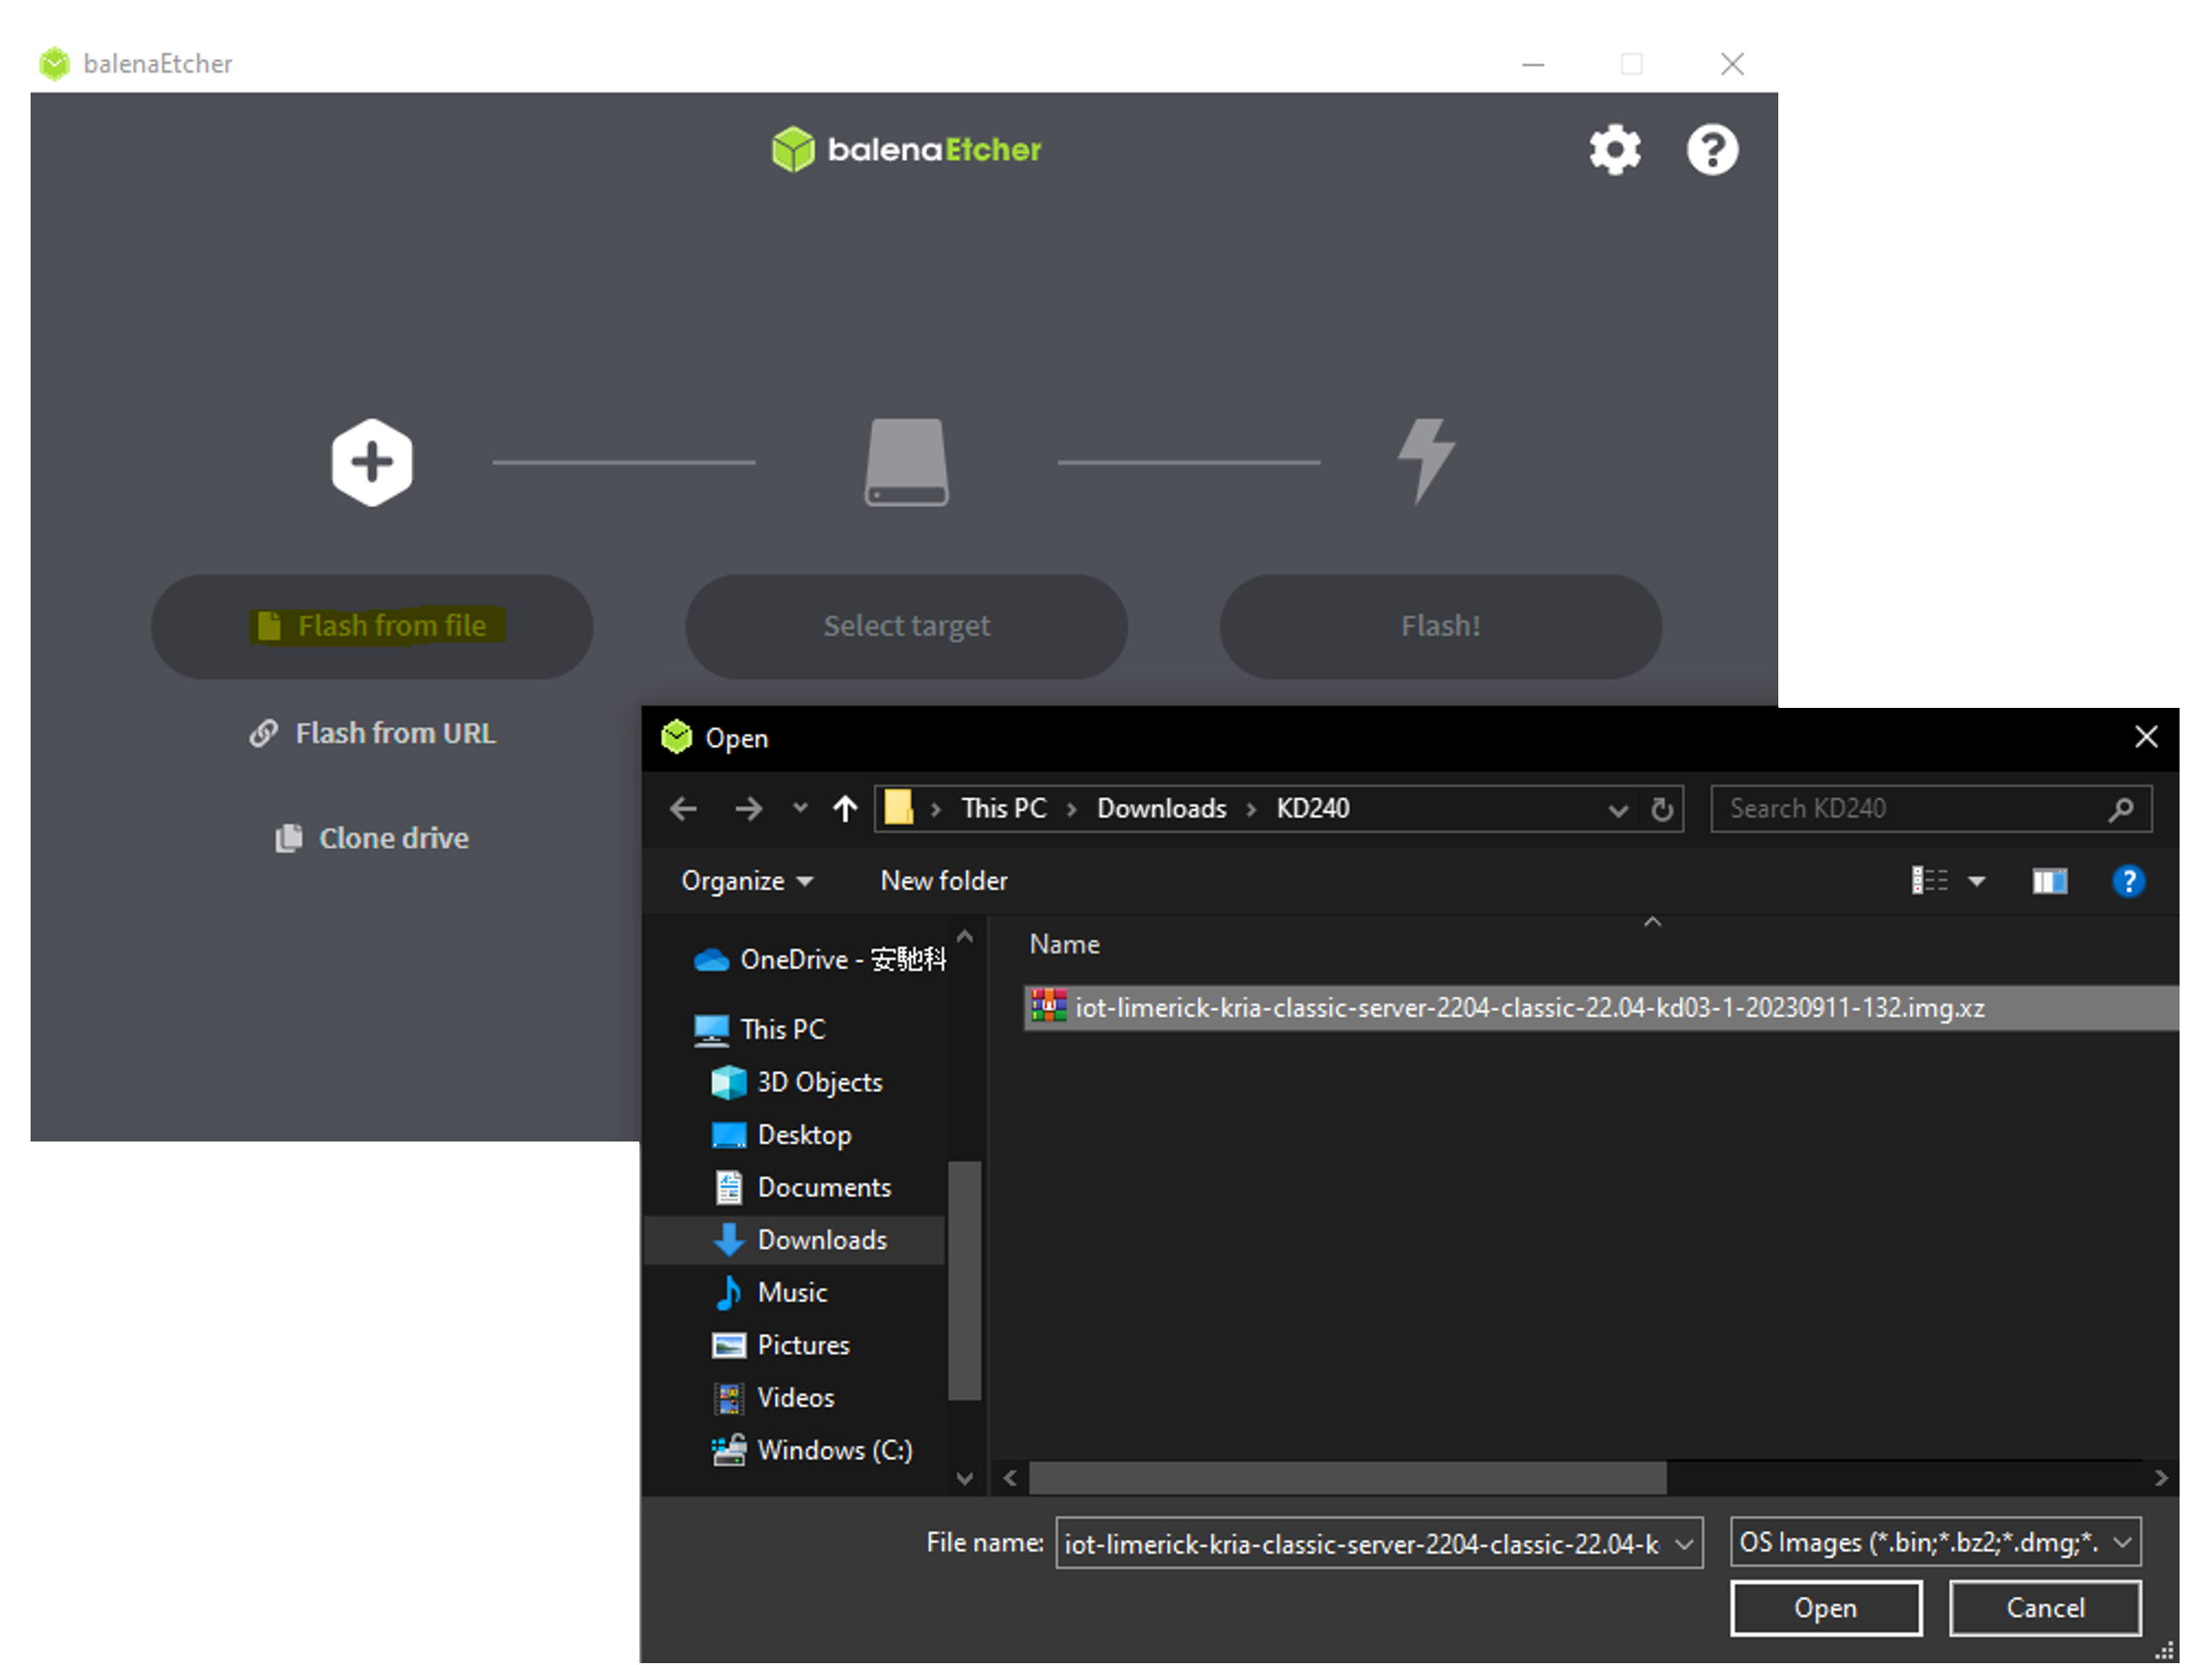
Use balenaEtcher to burn the downloaded file to the SD card
You can also refer to the official steps for burning
Setting up the SD Card Image (xilinx.com)
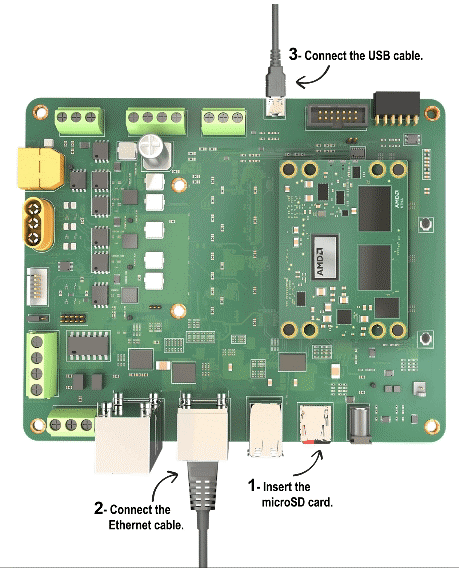
Insert the SD card into the SD card slot of the KD240 as shown below
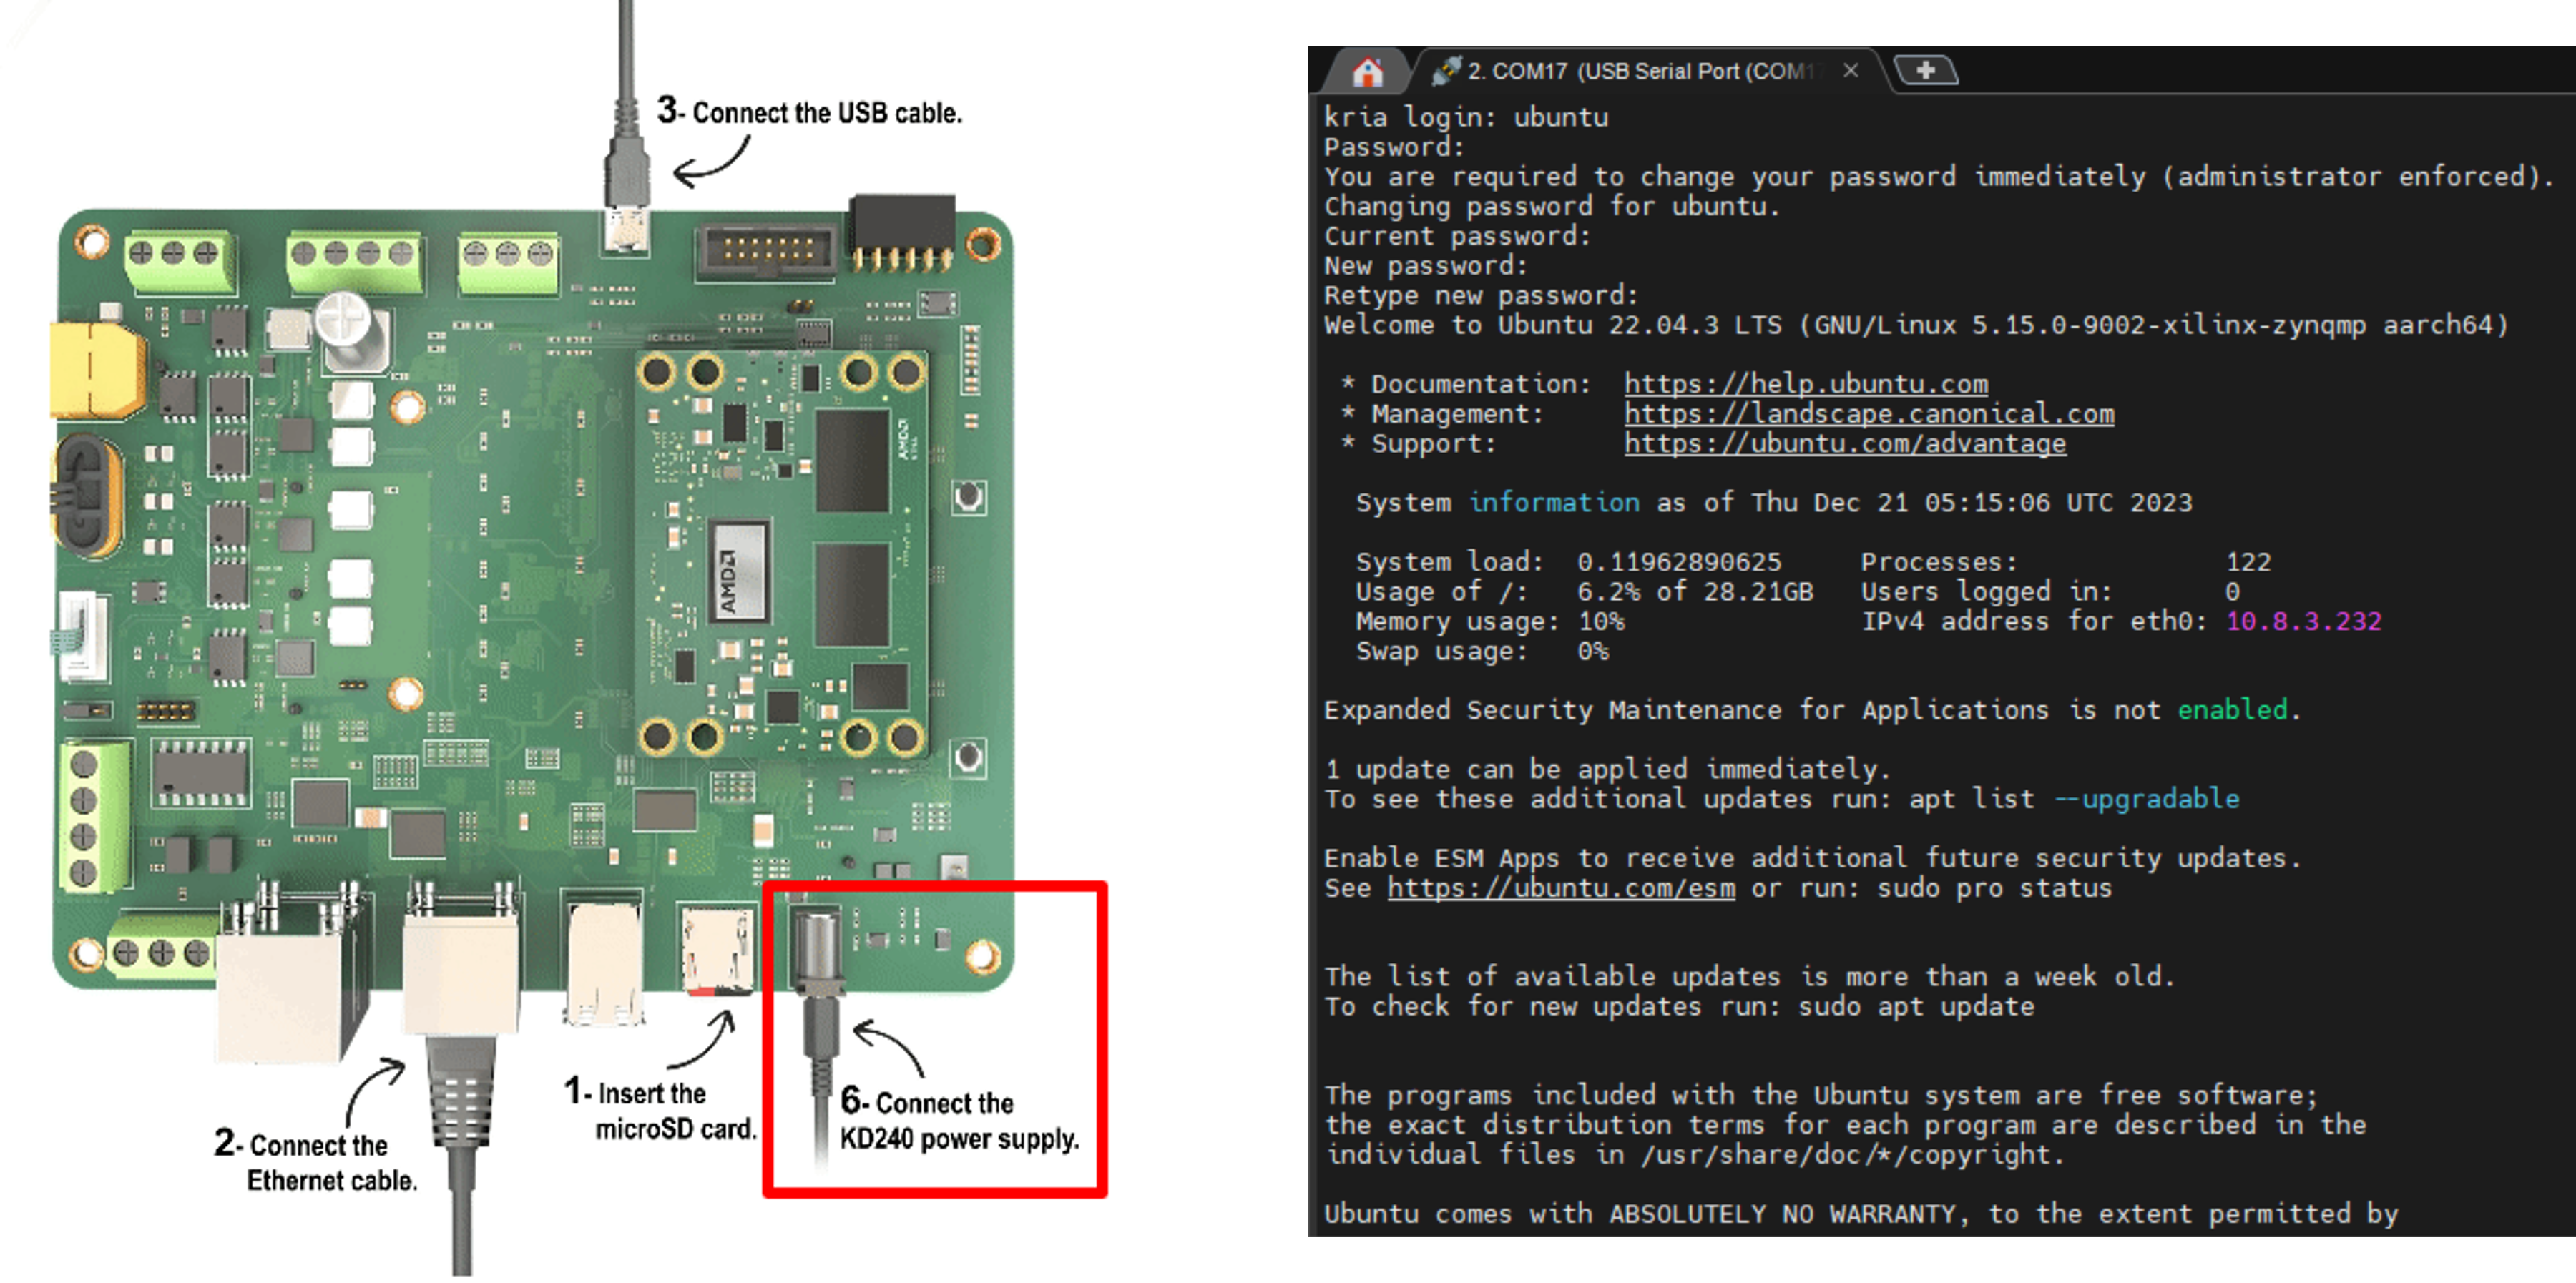
After powering on as shown below, open MobaXtern and communicate with KD240 via UART
Account: ubuntu
Password: ubuntu
sudo apt update
sudo apt upgrade
git clone https://github.com/Xilinx/Kria-PYNQ.git
cd Kria-PYNQ
~~Change line 242 in install.sh ---> cp -r pynq_dpu/kd240_notebooks /root/jupyter_notebooks/ (This issue has been fixed by the manufacturer)~~
sudo bash install.sh -b KD240
sudo reboot
- After successful installation, you will see the following message
1. Enter the provided URL, e.g., 10.8.3.232:9090/lab, and enter the password: xilinx. You will see the following screen
- Enter run_face_detection.ipynb, where you will find that the file calls faceDetection.py, which in turn imports utils.py
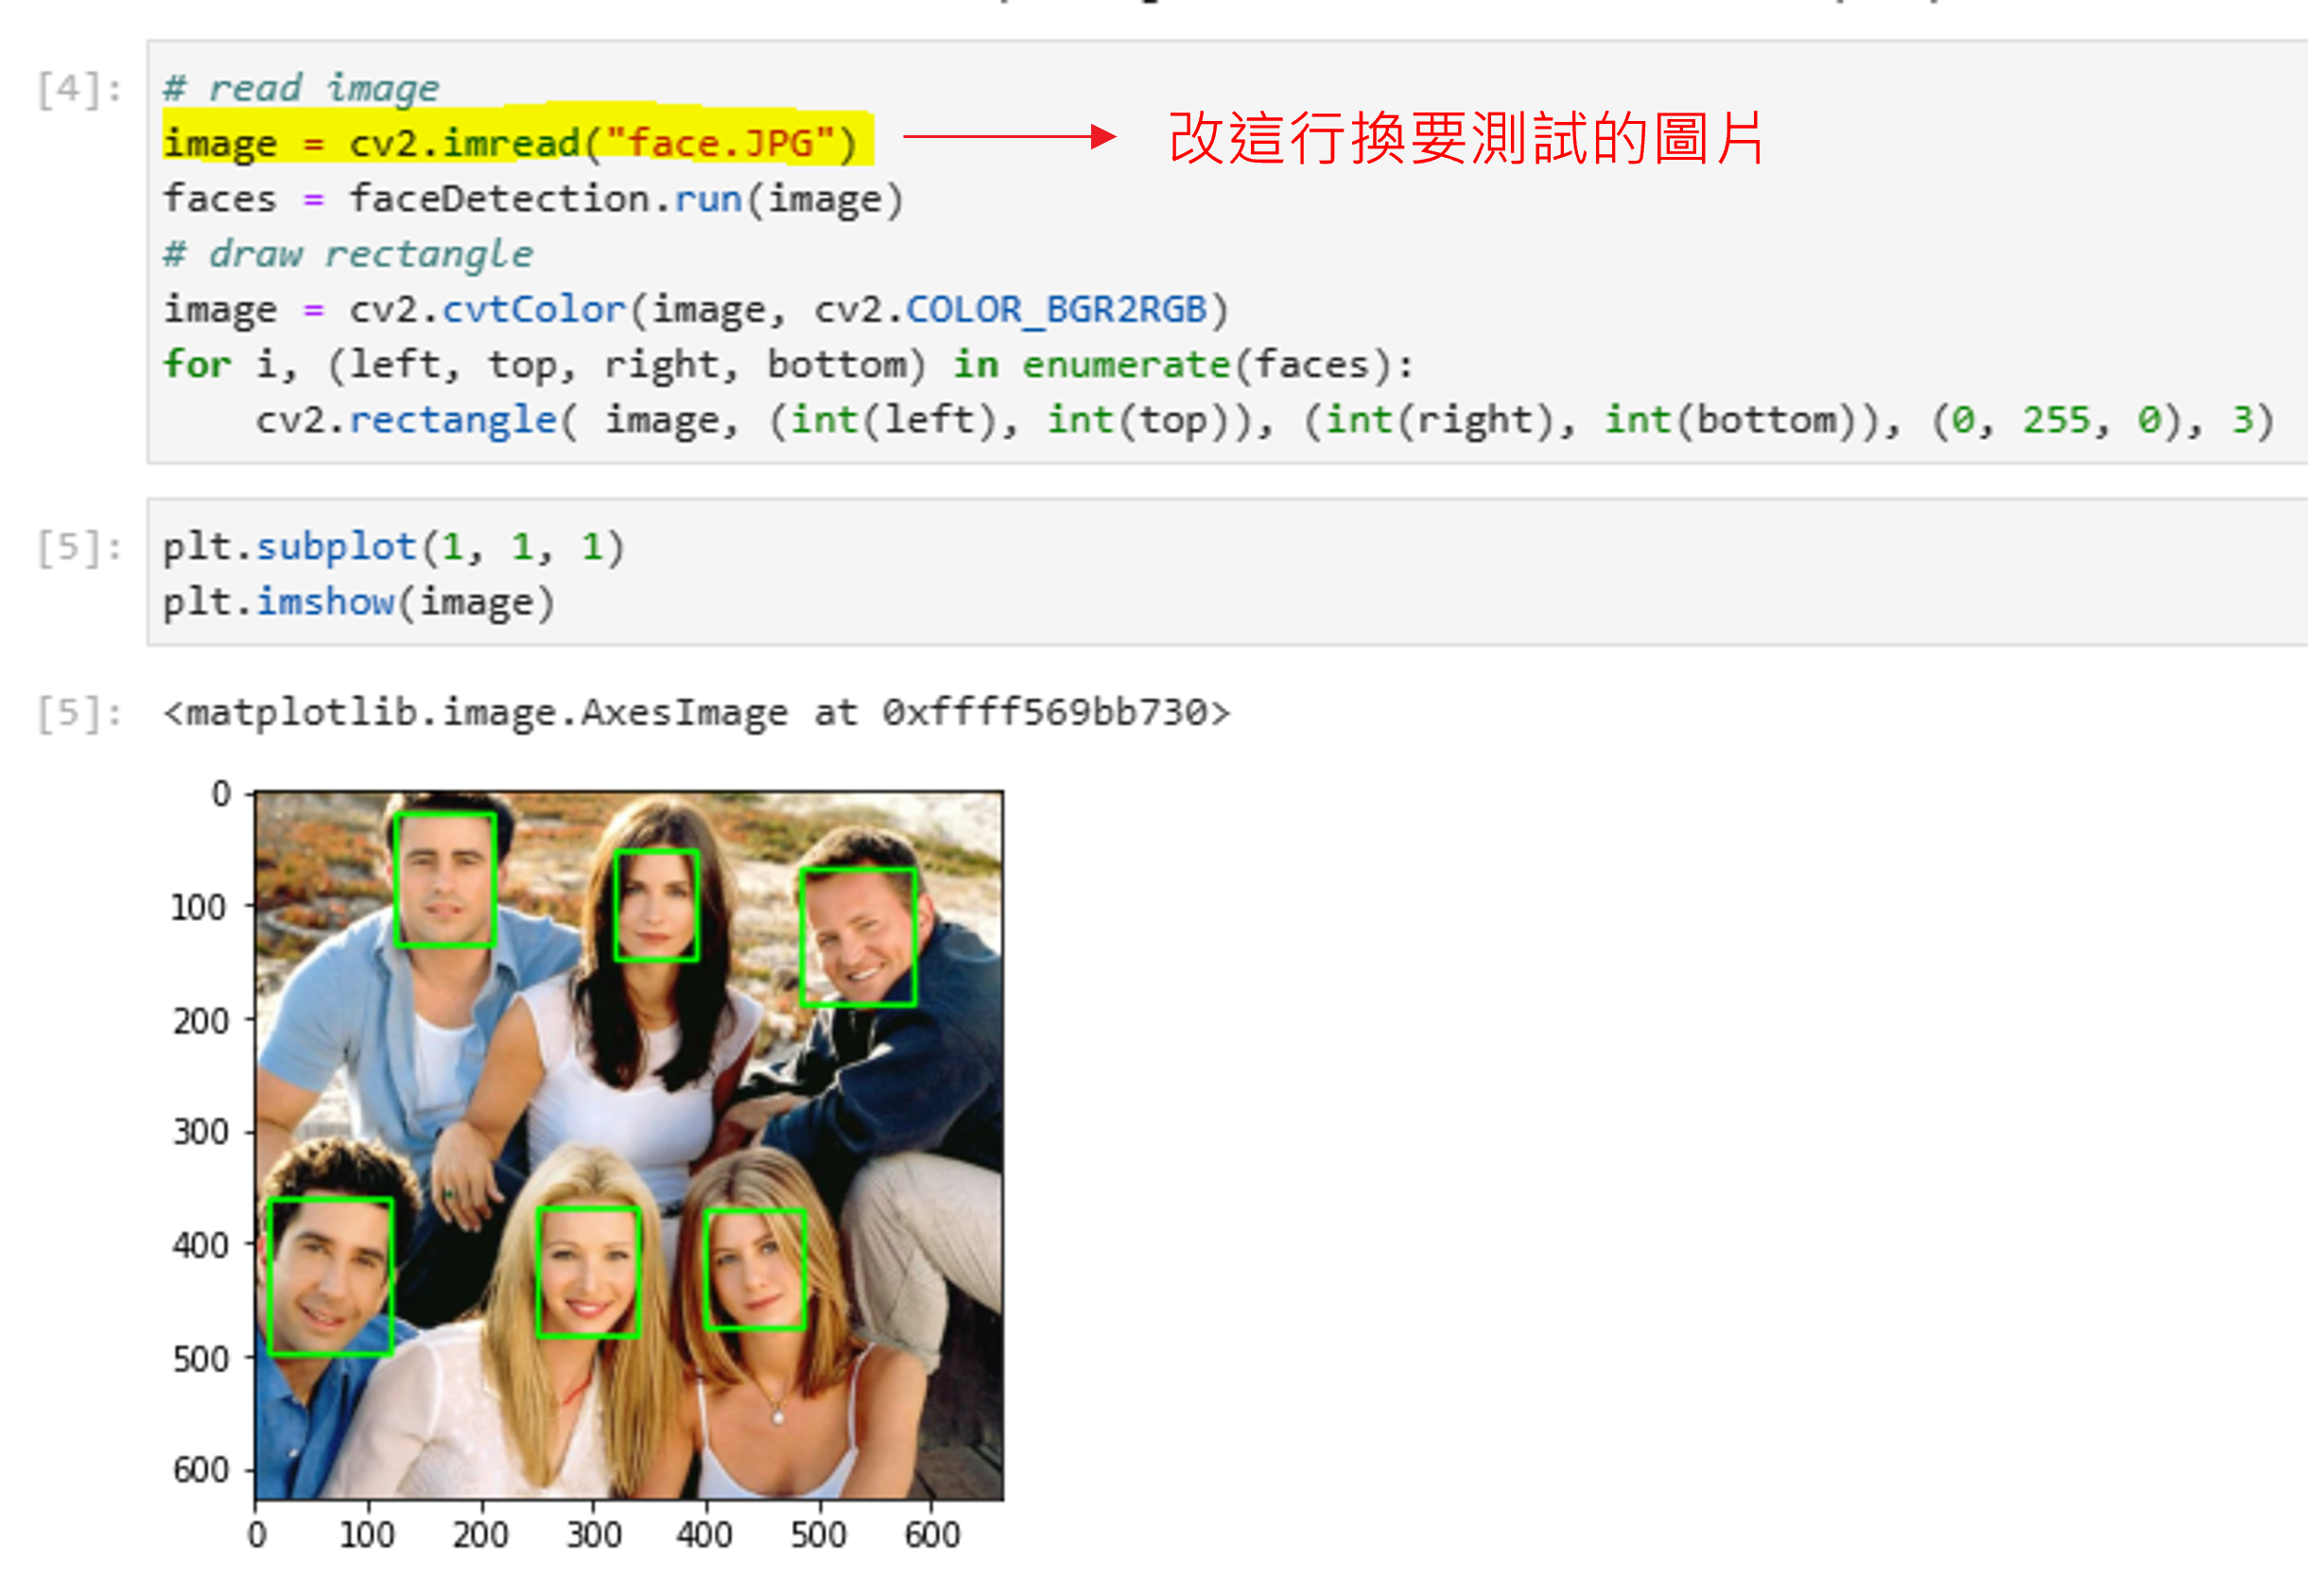
- Click on the yellow play button in run_face_detection.ipynb to execute the program step by step
- The results will be displayed on the screen, and you can test with your own images
