
An AI assistant built specifically to help student and researcher with their study by giving them the precise answer based on papers on our database.
Explore the docs »
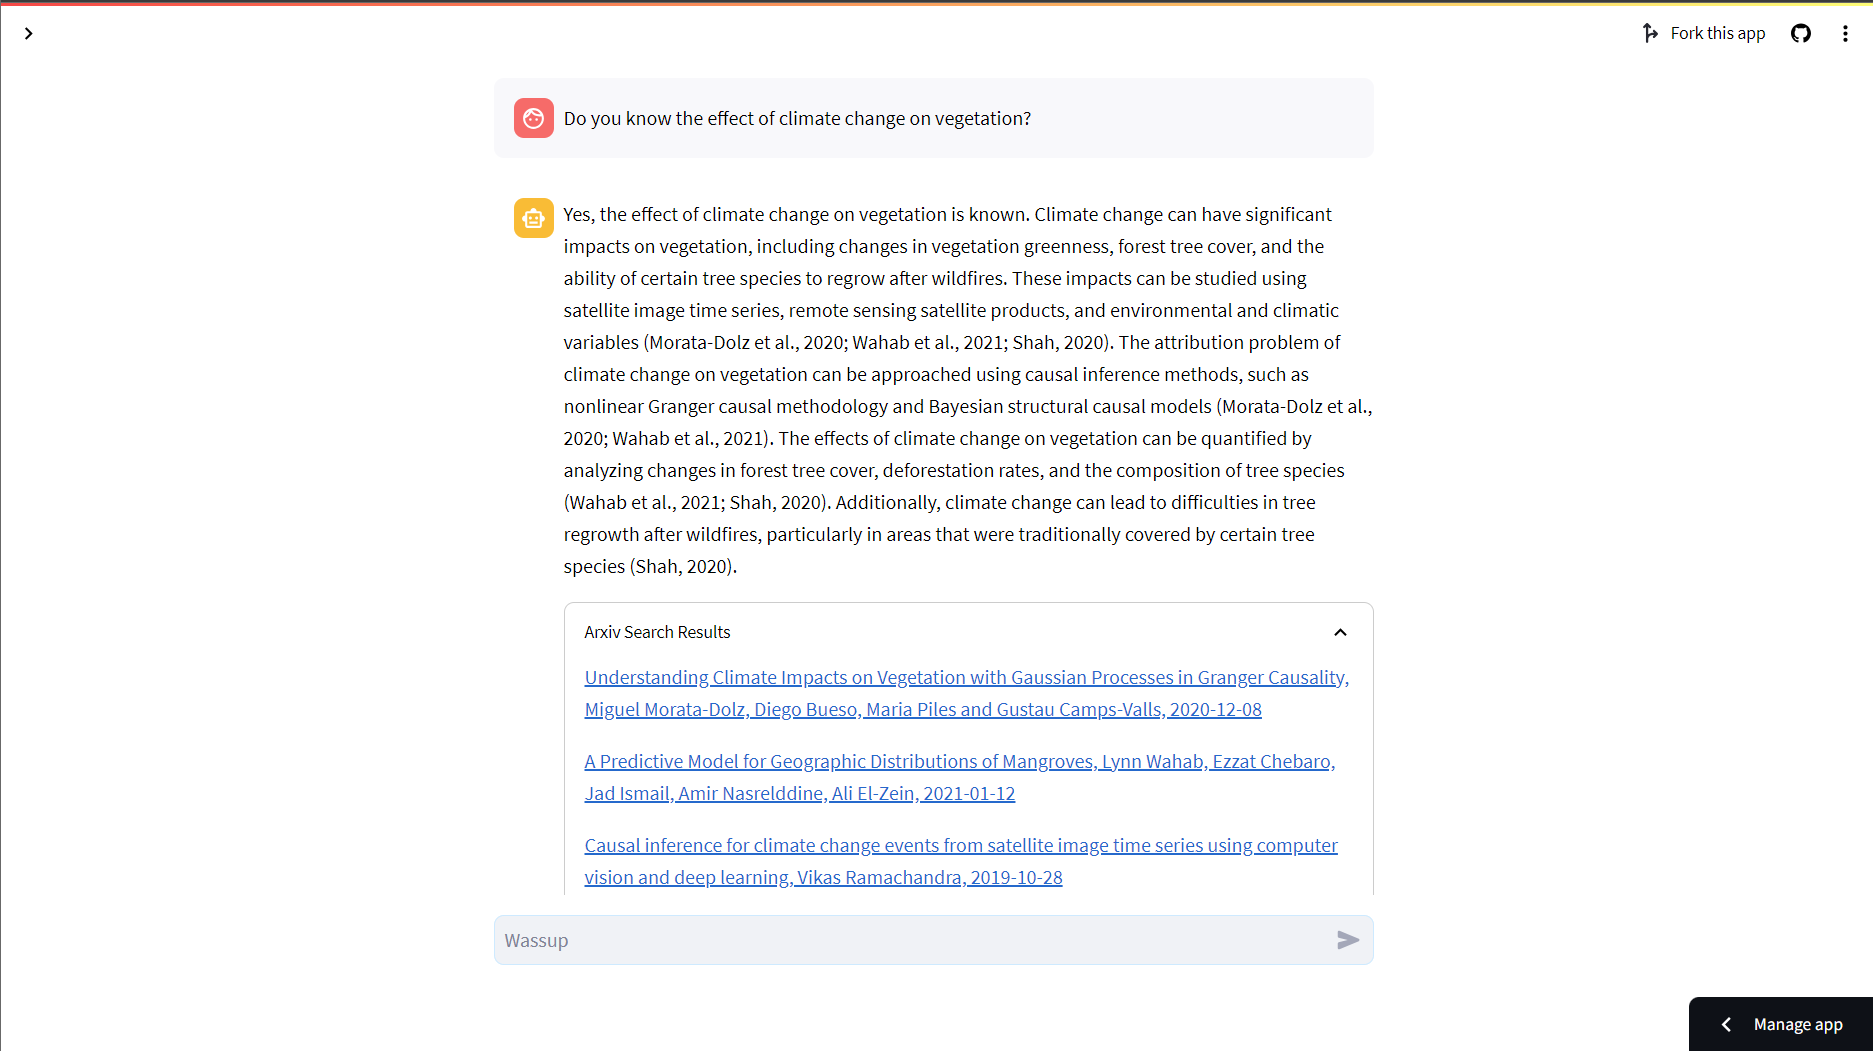
View Demo
·
Report Bug
·
Request Feature
Table of Contents
Genta Academic Assistant is an AI assistant built specifically to help student and researcher with their study by giving them the precise answer based on papers on our database. We built our app because we know how painful it is to search or find the right academic literature , quickly, and precisely for our research/courses using traditional methods; like using google scholar or a library. Unlike library's that uses filters to find papers, which sometimes can be unreliable, this app can precisely pinpoint the top papers, from the database, that is the most relevant to the prompt that is passed to it. Due to this the hustle of finding the right research papers is reduce and will be way more easier than ever before.
To get a local copy up and running follow these simple example steps.
Make sure you have >=python-3.8 installed on your machine. If you don't have it installed, you can download it here.
- Clone the repository
git clone https://github.com/Genta-Technology/Academic-Assistant.git
- Install the dependencies
pip install -r requirements.txt
- Setup the environment variables, by copying the
.env.examplefile to.envThen fill in the values in thecp .env.example .env
.envfile with your own values. For theWEAVIATE_CLIENT_ENDPOINT, you can use your own new database (local or cloud) in Weaviate and fill it up using thedatabase_initialization.py, or email us atrbisri@student.ubc.ca. - Run the app
streamlit run app.py
Follow these setup if you want to setup a new database locally, and already followed the steps above.
-
Initialize a database
-
Insert your database endpoint to the
.envfileWEAVIATE_CLIENT_ENDPOINT=<your_database_endpoint>
-
Download any dataset you want to use to fill up the database. For example, you can download the arxiv dataset from Kaggle. Then, put the dataset in the
datafolder. -
Fill up the database
python database_initialization.py --data <path_to_dataset>
Once you run the app, simply open the application on your favorite browser and fill the token input with your OpenAI API key. Then, you can start using the app by filling the query input with your prompt. For example, if you want to find the top papers that is the most relevant to the question What is the best way to reduce the spread of COVID-19?, you can fill the query input with that question and click the Submit button. Then, the app will try to answer your question based on the search result, and show you the top papers that is the most relevant to the prompt.
See the open issues for a full list of proposed features (and known issues).
Contributions are what make the open source community such an amazing place to learn, inspire, and create. Any contributions you make are greatly appreciated.
If you have a suggestion that would make this better, please fork the repo and create a pull request. You can also simply open an issue with the tag "enhancement". Don't forget to give the project a star! Thanks again!
- Fork the Project
- Create your Feature Branch (
git checkout -b feature/AmazingFeature) - Commit your Changes (
git commit -m 'Add some AmazingFeature') - Push to the Branch (
git push origin feature/AmazingFeature) - Open a Pull Request
Distributed under the GPL-2.0 License. See LICENSE.txt for more information.
- Rifky Bujana Bisri - @rifkybujanabisri - rbisri@student.ubc.ca
- Alifais Farrel Ramdhani - @farrel_ramdhani - alifais@student.ubc.ca
- Evint Leovonzko - @evint_leo - evintkoo@student.ubc.ca
- Muhammad Hilmy Abdurrahim - @mhilmya04 - mabdurra@student.ubc.ca
Project Link: https://github.com/Genta-Technology/Academic-Assistant