This demo project will helps you in integrating your appium tests with Jenkins. This project contains an iOS demo appliation, test examples written in ruby using rspec, instructions and explaination for basic setup.
After completing this demo you will be able to create a system in which your appium tests will be automatically triggered on simulator or real devices just after any change is made on your master branch.
Note: If you do not have any experience in writing test using appium before please go through these tutorials
This repository contains iOS and Android demo applications in ios and android directory respectively.
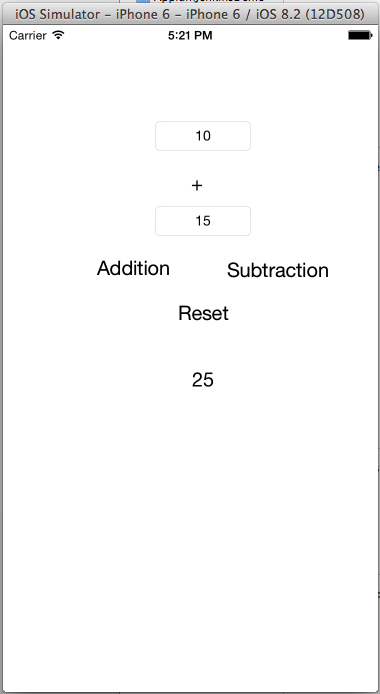
The current iOS demo application is a simple single view calculator app which can add and subtract two numbers. I intentionally put a bug in subtraction feature. Instead of subtracting, it is adding them. Lets see how appium catch this bug.
TODO
-
Mac OS X (Tested with Version 10.9.5)
-
Xcode (Tested with Version 6.2)
-
Xcode command line tools
-
Node (Tested with Version 0.10.29 installed using Homebrew)
brew install node
-
Ruby (Tested with Version 2.1.5 installed using rbenv)
git clone https://github.com/vbanthia/appium-jenkins-demo.git
cd appium-jenkins-demo-
iOS Simulator
cd ios

# Run xcodebuild command
xcodebuild -target AppiumJenkinsDemo -sdk   iphonesimulator -configuration Debug clean build
- This will create a binary file in ./build/Debug-iphonesimulator/AppiumJenkinsDemo.app
-
iOS real device
- For real device you have to first add yourprovisioning profile and Developer team in project.
- Open AppiumJenkinsDemo.xcodeproj in Xcode and update Team and Provisioning profile.
- Run below command
cd ios

# Run xcodebuild command
xcodebuild -target AppiumJenkinsDemo -sdk   iphoneos -configuration Debug clean build
- This will create a binary file in ./build/Debug-iphoneos/AppiumJenkinsDemo.app
TODO
Instead of installing appium globally, I suggest it to install project specific using npm. Appium version is set in package.json file. If you want to change version, update this file.
Install appium using following command
npm installInstall ruby gems using following command
bundle install --path=vendorNow you are ready to run test locally. Confirm if every thing is okay by running following command.
bundle exec rake -TIt will return something like below
rake spec:addition     # Run test for addition feature
rake spec:subtraction  # Run test for subtraciton feature
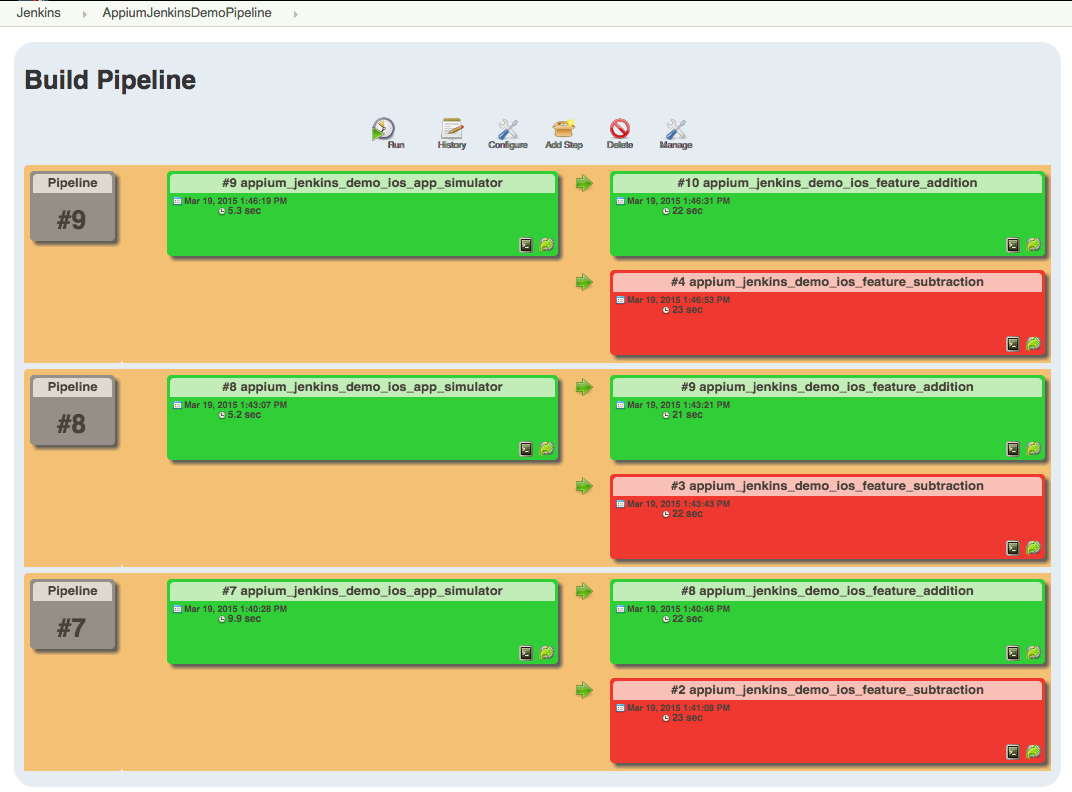
As I explained above, iOS demo app has two features of addition and subtraction. I wrote two different spec files addition_spec.rb and subtraction_spec.rb and created corresponding rake task to test both the features. As I told before there is a bug in subtraction feature so spec:subtraction task will fail while spec:addition will pass.
Run test using following command
APP_PATH=./ios/build/Debug-iphonesimulator/AppiumJenkinsDemo.app bundle exec rake spec:(addition|subtraction)You can see the result in html format in result.html file. It will also embed screenshot of the device if test fails.
If you do not have any experience in using jenkins, I will suggest you to first read about it before going further.
There are many ways to install Jenkins for mac osx. But I will recommend you to install it using Homebrew
brew install jenkinsFollowing plugins will be required to run this demo project.
If you do not know how to install plugin. Please read this.
I have uploaded Jenkins jobs config file in jobs directory. You can create jobs by using those config files.
There are three kind of jobs.
- appium_jenkins_demo_ios_app_simulator
- It will build test application binary for simulator.
- appium_jenkins_demo_ios_feature_addition
- It will run test for addition feature.
- appium_jenkins_demo_ios_feature_subtraction
- It will run test for subtraction feature.
Finally you can create a pipeline view using build pipeline plugin by selecting initial job as appium_jenkins_demo_ios_app_simulator.

