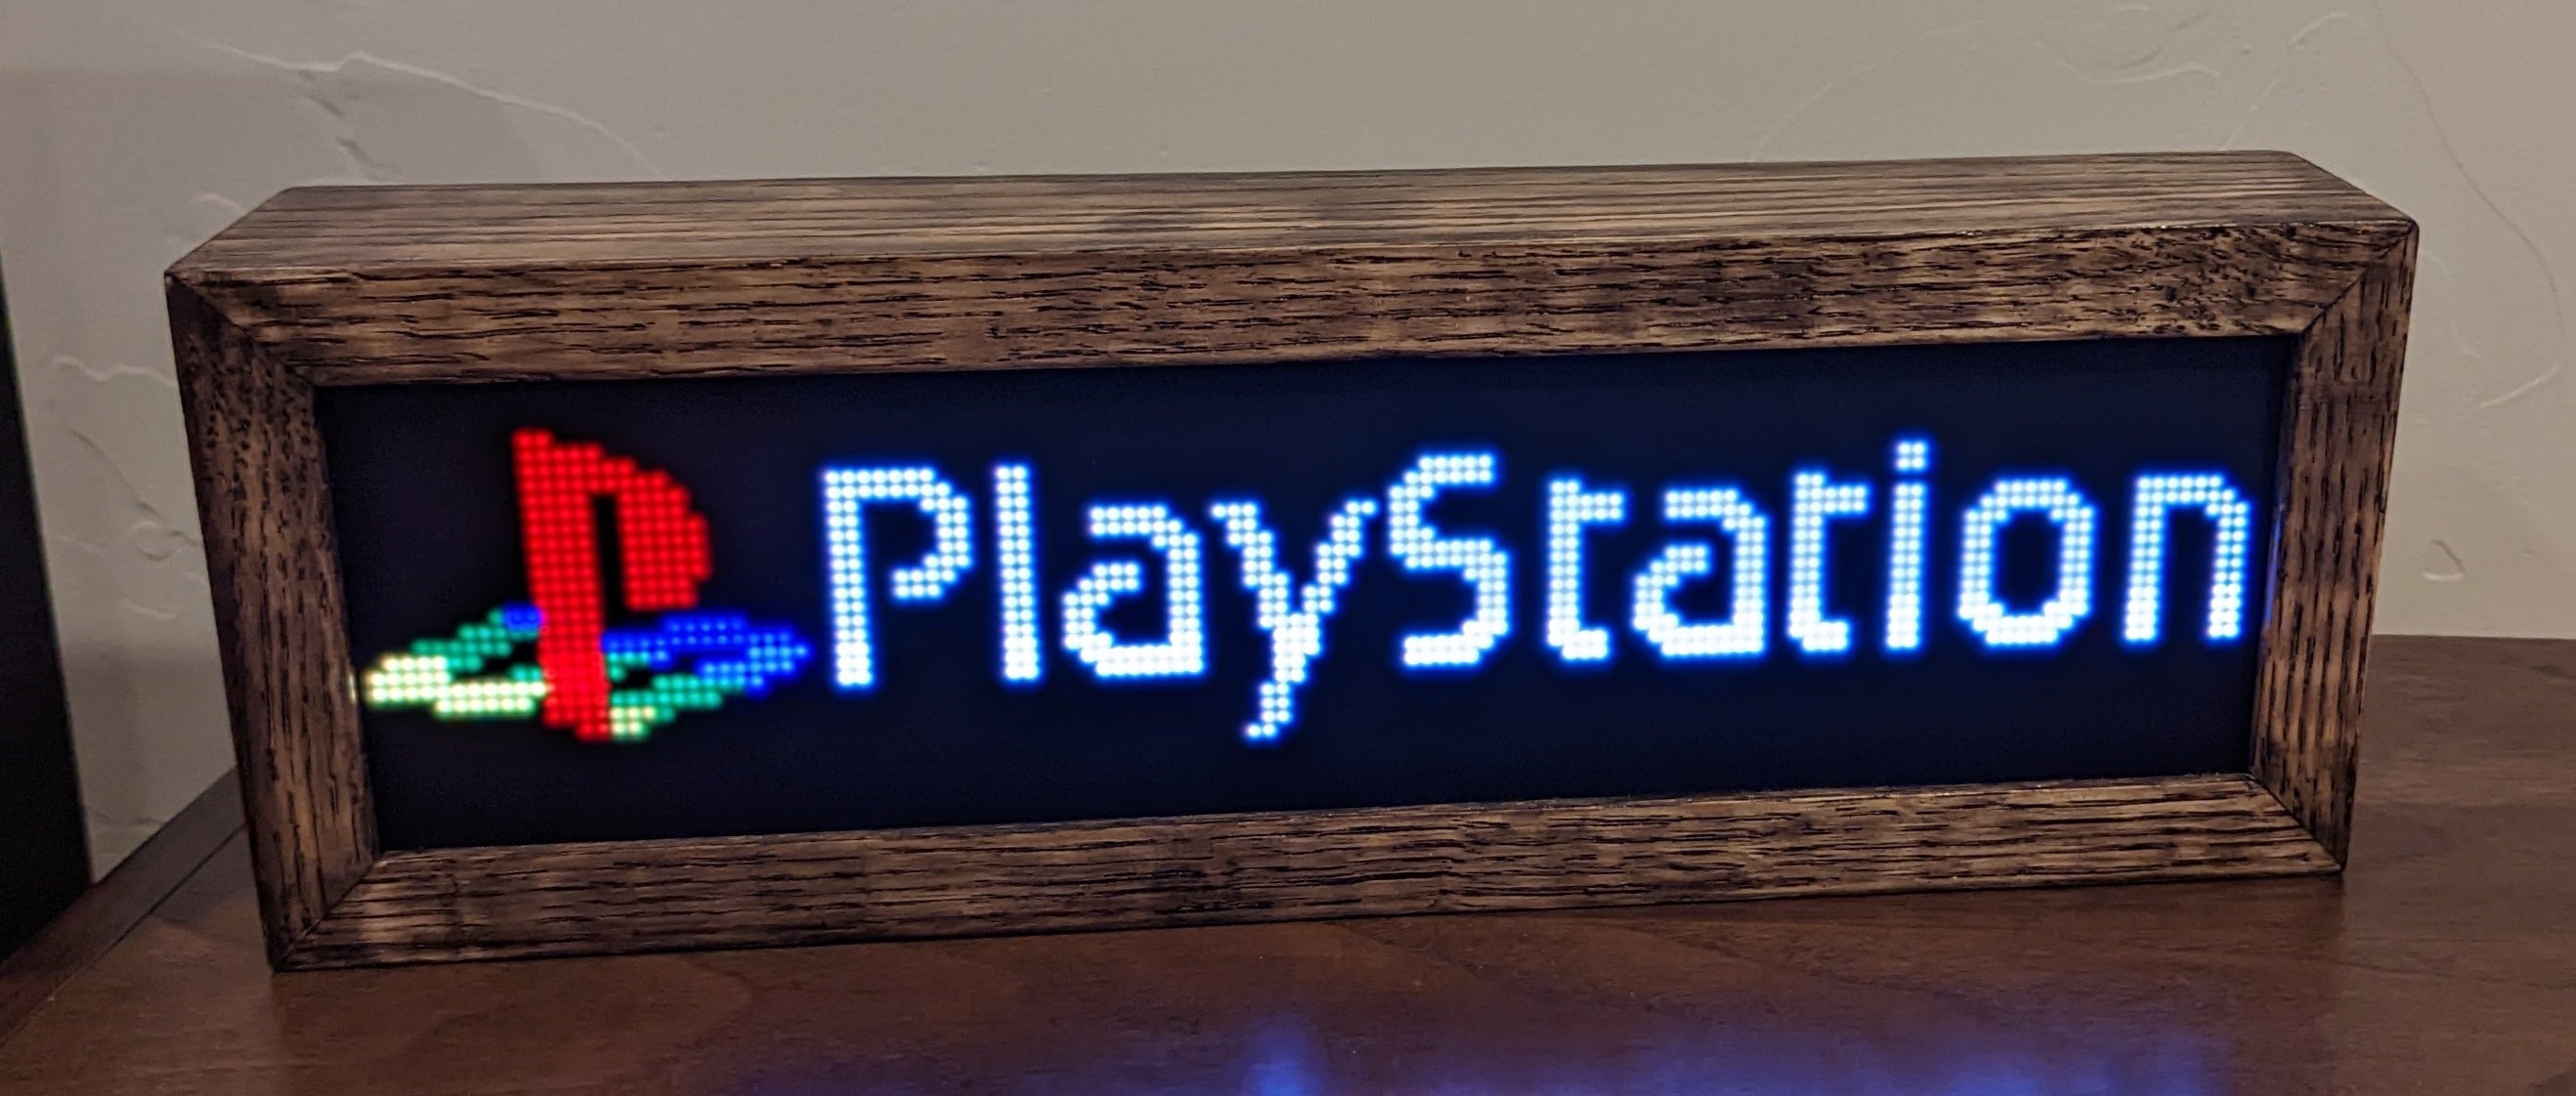
MiSTer_web2rgbmatrix is a hardware and software addon for the MiSTer FPGA that displays an animated or static GIF logo of the current running MiSTer FPGA core on an RGB LED Matrix.
- Display active MiSTer Core logo, or text if not available.
- Store GIFs on an SD Card or on the MiSTer, storing on the MiSTer introduces a delay due to the transfer.
- Plays animated GIF then displays the static GIF if available
- Turns off the display if requesting client is off for 1 minute
- Displays network and SD card status at boot for 1 minute
- MiSTer: Update Script
- Web: Status display of Wifi, SD Card, loaded GIF, and connected client
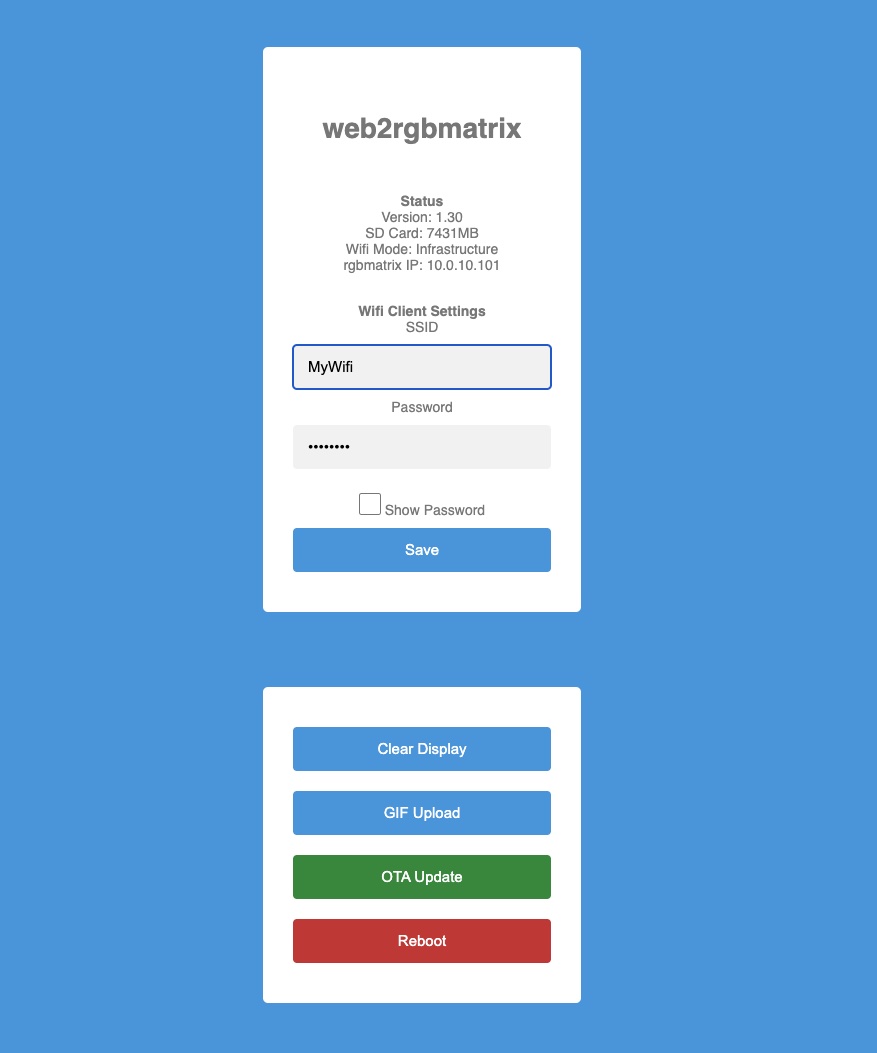
- Web: Wifi Configuration
- Web: GIF uploads to SD Card
- Web: OTA updates
- FTP: FTP Server for file uploads, FTP client must be set to only use 1 connection.
- Serial: MiSTer_tty2x service support, requires GIFs installed on rgbmatrix SD Card.
Hardware
- ESP32-Trinity or similar device
- (2) 64x32 HUB75 compatible RGB matrix or matrices. ie.
- SD Card module(optional) ie.
- SD Card(optional), any size, the one that came with the DE10-Nano works great
- 5V Power Supply, the one that came with the DE10-Nano works great
Software
- Arduino IDE 2.0+
- ESP32 Board Support Package
- Library Dependencies: AnimatedGIF, ArduinoJson, ESP32-HUB75-MatrixPanel-I2S, ESP32FTPServer, ESP32Ping
ESP32 Setup
Flash the Arduino sketch to the ESP32-Trinity using Arduino IDE. If using another ESP32 board you may need to adjust pin assignments in the ino file.
rgbmatrix SD Card Setup
Format an SD card as FAT and copy the "gifs" and "agifs" folders to its root. The "agifs" folder contains animated GIFs while the "gifs" folder contains the static GIFs. GIFs must be 128x32px and the file names must match the core name exactly, ie. Minimig.gif. For animated GIFs its best for the last frame be the Core logo.
Example SD card folder structure:
.
├── agifs
│   ├── 0
│   ├── 1
│   │   └── 1944.gif
│   ├── 2
│   ├── 3
│   ├── 4
│   ├── 5
│   ├── 6
│   ├── 7
│   ├── 8
│   ├── 9
│   ├── A
│   ├── B
│   ├── C
│   ├── D
│   ├── E
│   ├── F
│   ├── G
│   ├── H
│   ├── I
│   ├── J
│   ├── K
│   ├── L
│   ├── M
│   ├── N
│   ├── O
│   ├── P
│   ├── Q
│   ├── R
│   ├── S
│   ├── T
│   ├── U
│   ├── V
│   ├── W
│   ├── X
│   ├── Y
│   └── Z
└── gifs
    ├── 0
    ├── 1
    │   └── 1944.gif
    ├── 2
    ├── 3
    ├── 4
    ├── 5
    ├── 6
    ├── 7
    ├── 8
    ├── 9
    ├── A
    ├── B
    ├── C
    ├── D
    ├── E
    ├── F
    ├── G
    ├── H
    ├── I
    ├── J
    ├── K
    ├── L
    ├── M
    ├── N
    ├── O
    ├── P
    ├── Q
    ├── R
    ├── S
    ├── T
    ├── U
    ├── V
    ├── W
    ├── X
    ├── Y
    └── Z
Assembly
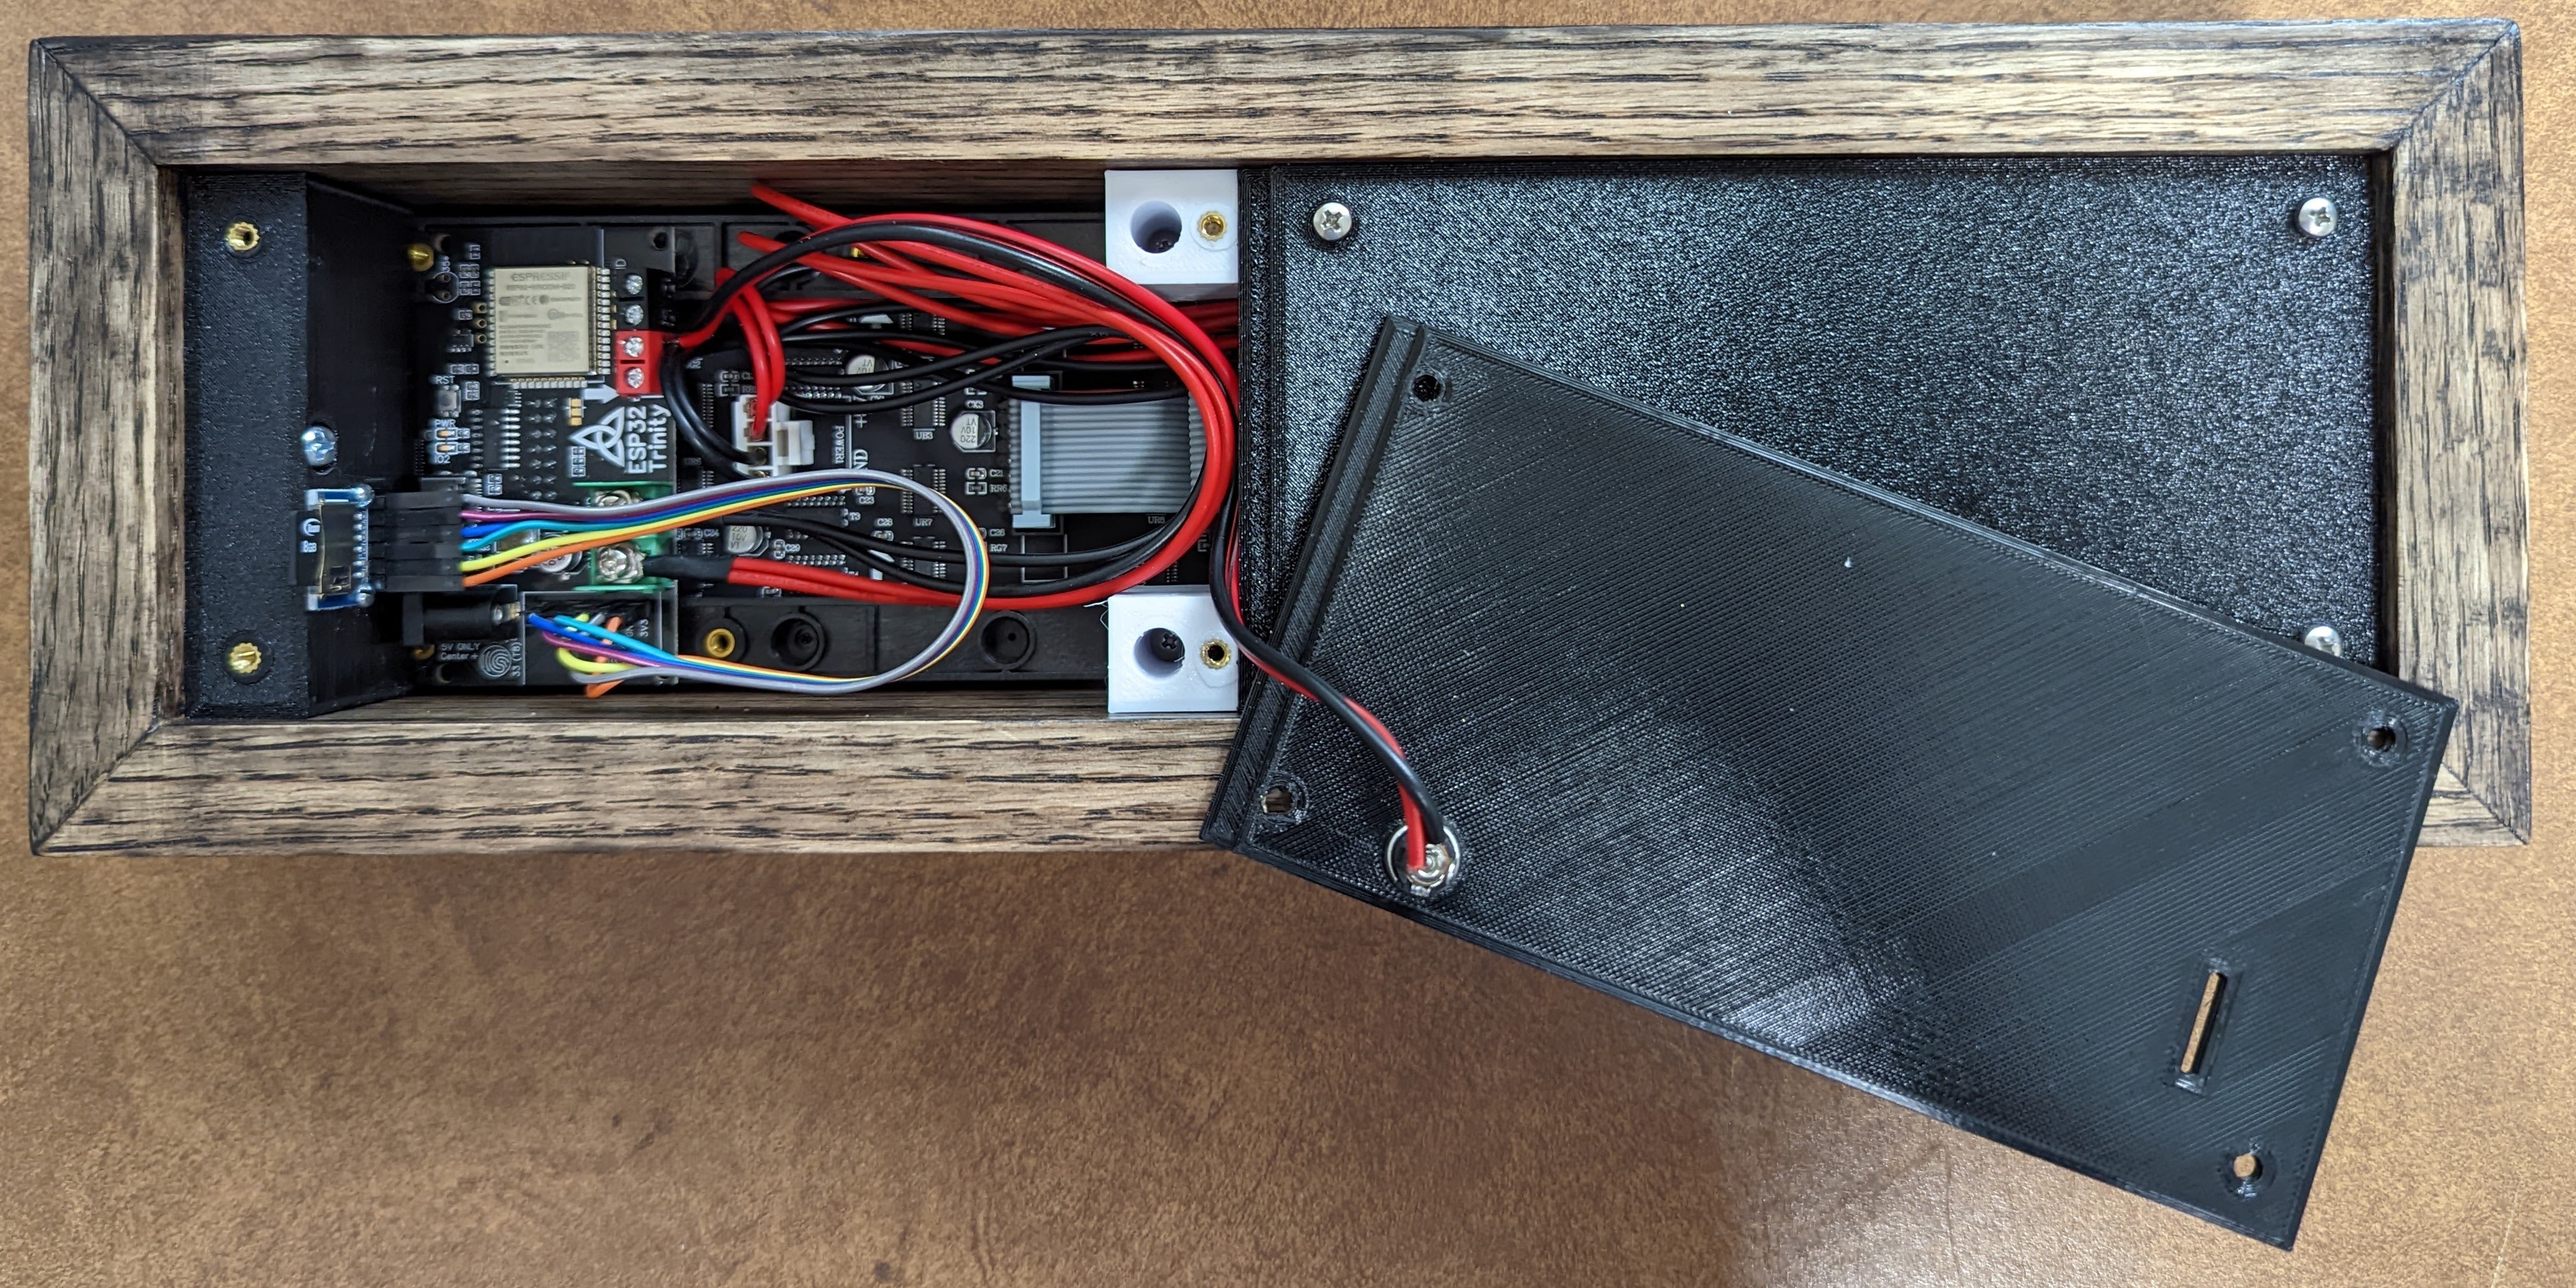
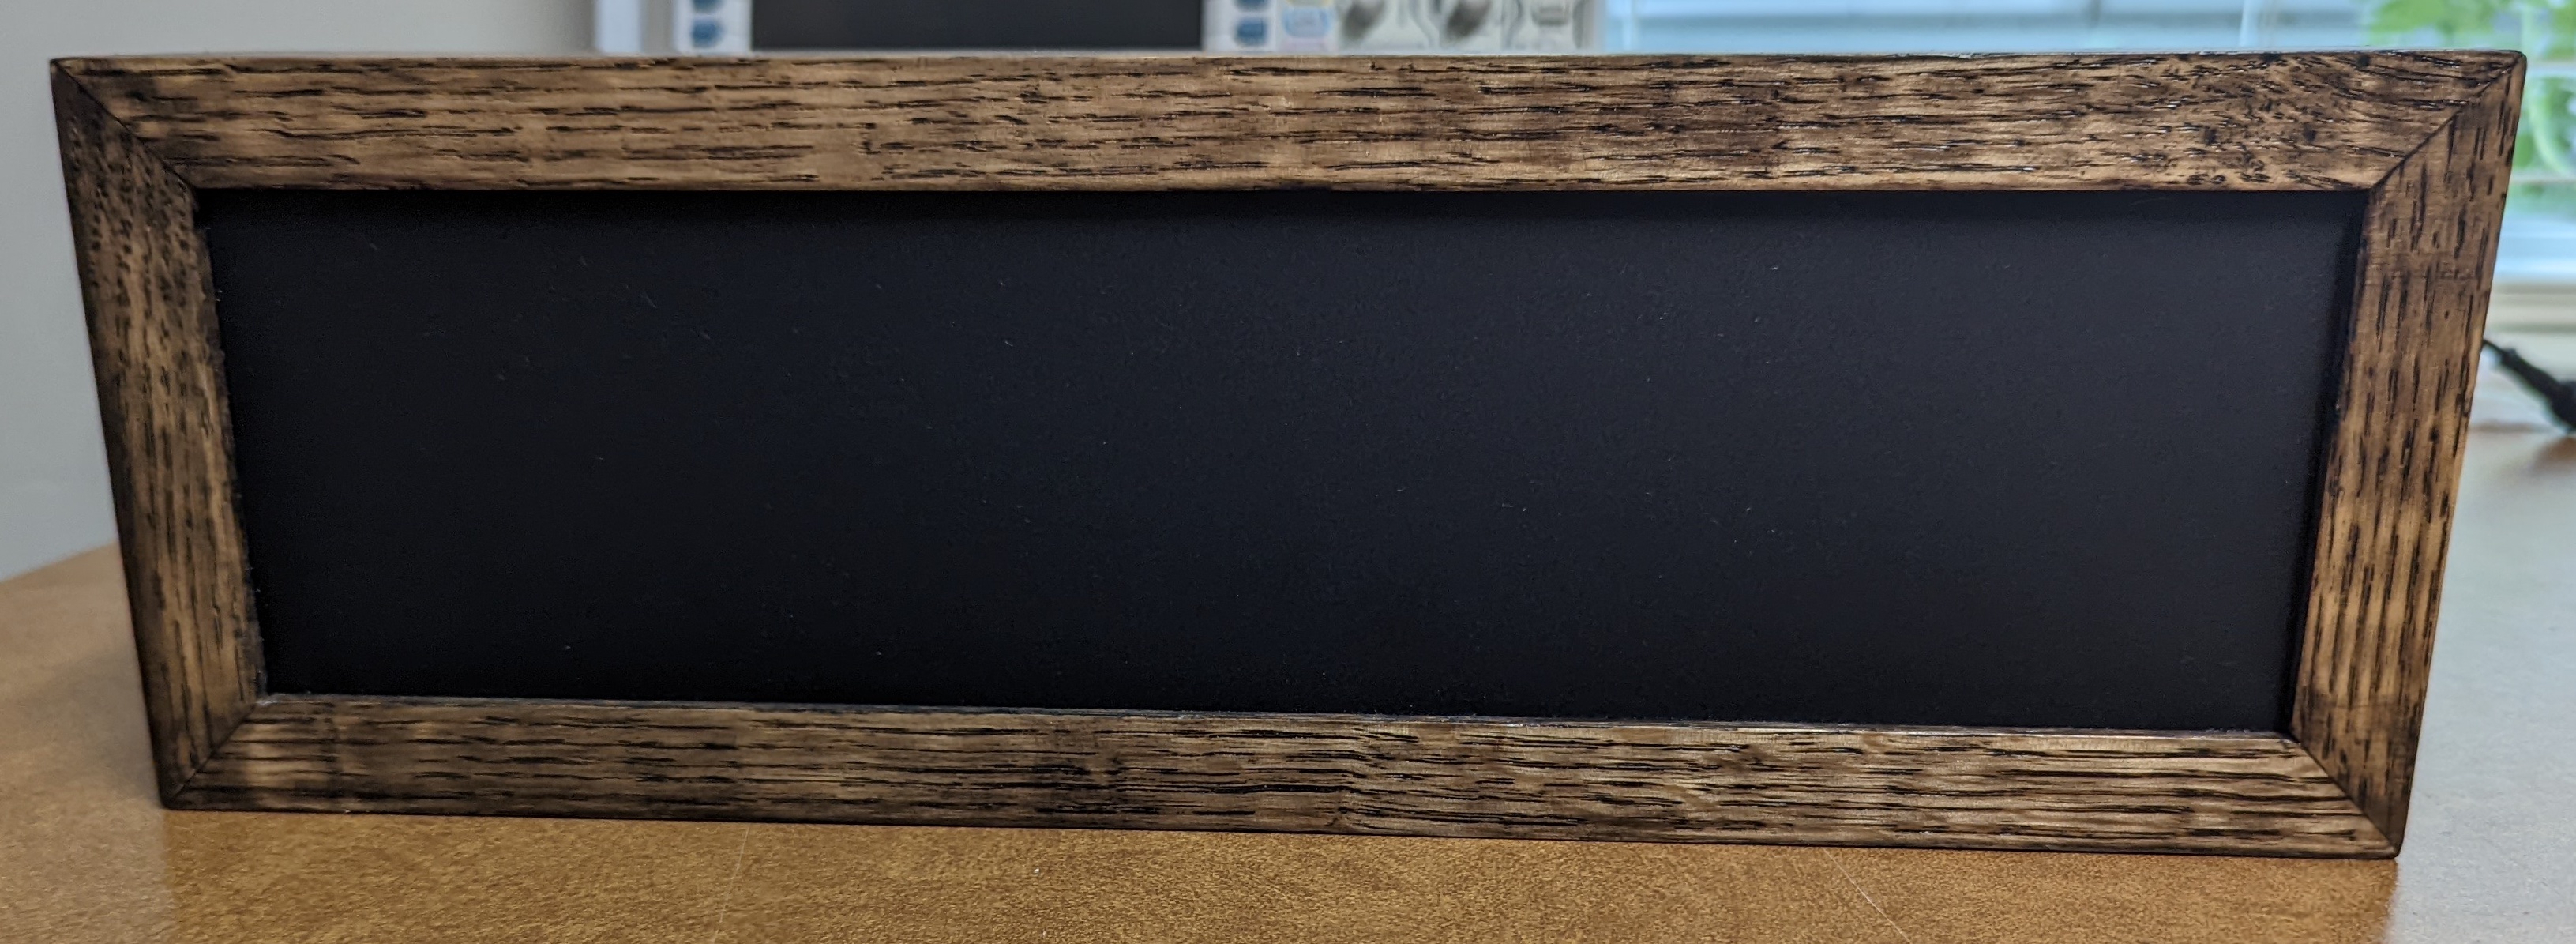
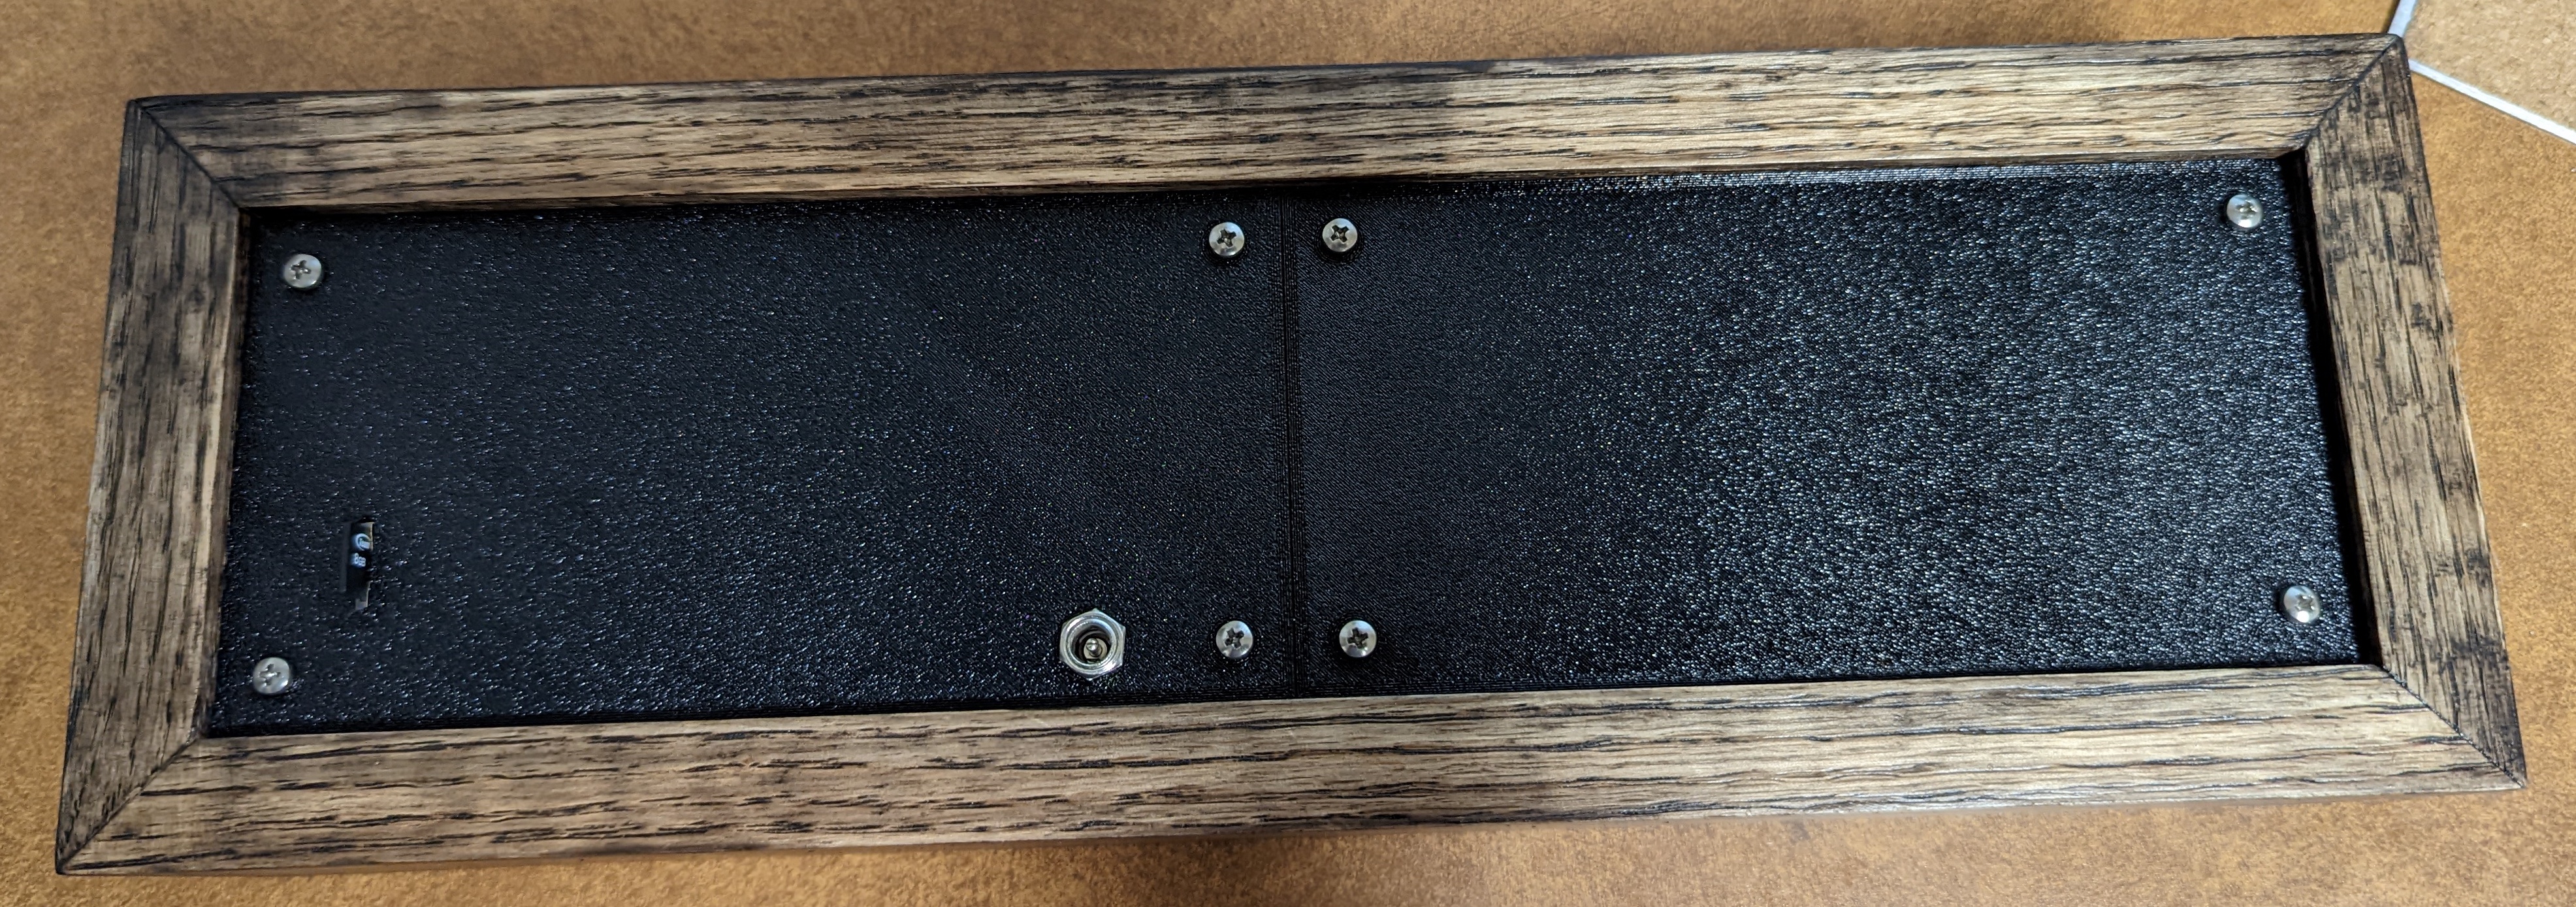
The wiring should look like the following and the enclosure is up to you. Details on my enclosure can be found here.
rgbmatrix Setup
Initially, the rgbmatrix starts up in AP mode with an SSID of "rgbmatrix" and the password "password". Once connected to its SSID go to http://rgbmatrix.local/ in your web browser and configure the wifi client to connect to your Wifi infrastructure.
You'll want to create a DHCP reservation on your DHCP server so that your IP doesn't change. Add this IP to the "HOSTNAME" variable in the web2rgbmatrix-user.ini file on the MiSTer.
MiSTer Setup
Copy linux/update_web2rgbmatrix.sh to your MiSTer Scripts folder. ie. /media/fat/Scripts/
Run "update_web2rgbmatrix.sh" on your MiSTer. This can be done from the console, ssh, or TV.
Modify your "/media/fat/web2rgbmatrix/web2rgbmatrix-user.ini" to include your rgbmatrix IP address or hostname. MiSTer does not support MDNS resolution.
Test
After configuring your MiSTer and rgbmatrix, reboot both of them and test by changing cores.
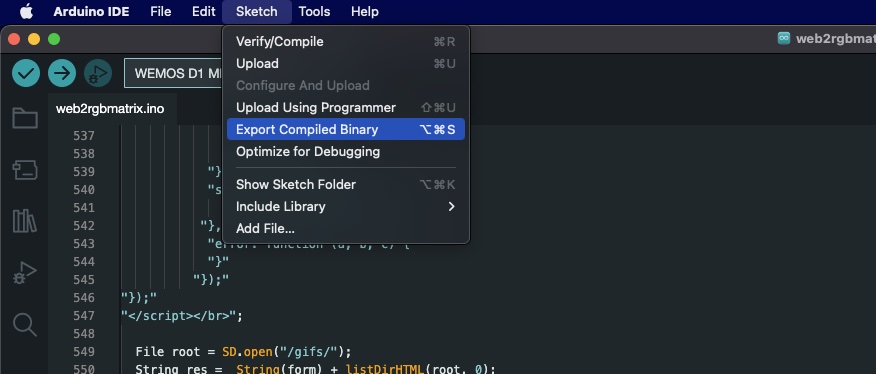
To build an OTA update file, use the "Sketch"-->"Export Compiled Binary" menu option in the Arduino IDE. The resulting "web2rgbmatrix.ino.bin" file will be under the build folder within the project folder.
Inspired by the tty2rgbmatrix and MiSTer_tty2oled projects.
Linux/MiSTer service code and update scripts from the MiSTer_tty2oled project with modifications.
Most GIFS are sourced from the pixelcade art repo, tty2rgbmatrix, and RPI2DMD GIF Thread
