The goal of this project is to create a simple Spring Boot REST API, called simple-service, and secure it with Keycloak. Furthermore, the API users will be loaded into Keycloak from OpenLDAP server.
Note 1: In
springboot-react-keycloakrepository, we have implemented amovies-appusingKeycloak(withPKCE). This application consists of two services: the backend that was implemented usingSpring Bootand the frontend implemented withReactJS.
Note 2: In
docker-swarm-environmentrepository, it's shown how to deploy this project into a cluster of Docker Engines in swarm mode. Besides, we will be running a Keycloak cluster with more than one instance.
-
Spring BootWeb Java application that exposes two endpoints:/api/public: endpoint that can be access by anyone, it is not secured;/api/private: endpoint that can just be accessed by users that provide aJWTtoken issued byKeycloakand the token must contain the roleUSER.
-
Open a terminal and inside
springboot-keycloak-openldaproot folder rundocker-compose up -d -
Wait until
MySQLandKeycloakcontainers areUp (healthy). In order to check it rundocker-compose ps
The LDIF file that we will use, springboot-keycloak-openldap/ldap/ldap-mycompany-com.ldif, contains a pre-defined structure for mycompany.com. Basically, it has 2 groups (developers and admin) and 4 users (Bill Gates, Steve Jobs, Mark Cuban and Ivan Franchin). Besides, it's defined that Bill Gates, Steve Jobs and Mark Cuban belong to developers group and Ivan Franchin belongs to admin group.
Bill Gates > username: bgates, password: 123
Steve Jobs > username: sjobs, password: 123
Mark Cuban > username: mcuban, password: 123
Ivan Franchin > username: ifranchin, password: 123
There are two ways to import those users: running a script or using phpldapadmin website
In a terminal and inside springboot-keycloak-openldap root folder run
./import-openldap-users.sh
-
Access https://localhost:6443
-
Login with the credentials
Login DN: cn=admin,dc=mycompany,dc=com Password: admin -
Import the file
springboot-keycloak-openldap/ldap/ldap-mycompany-com.ldif -
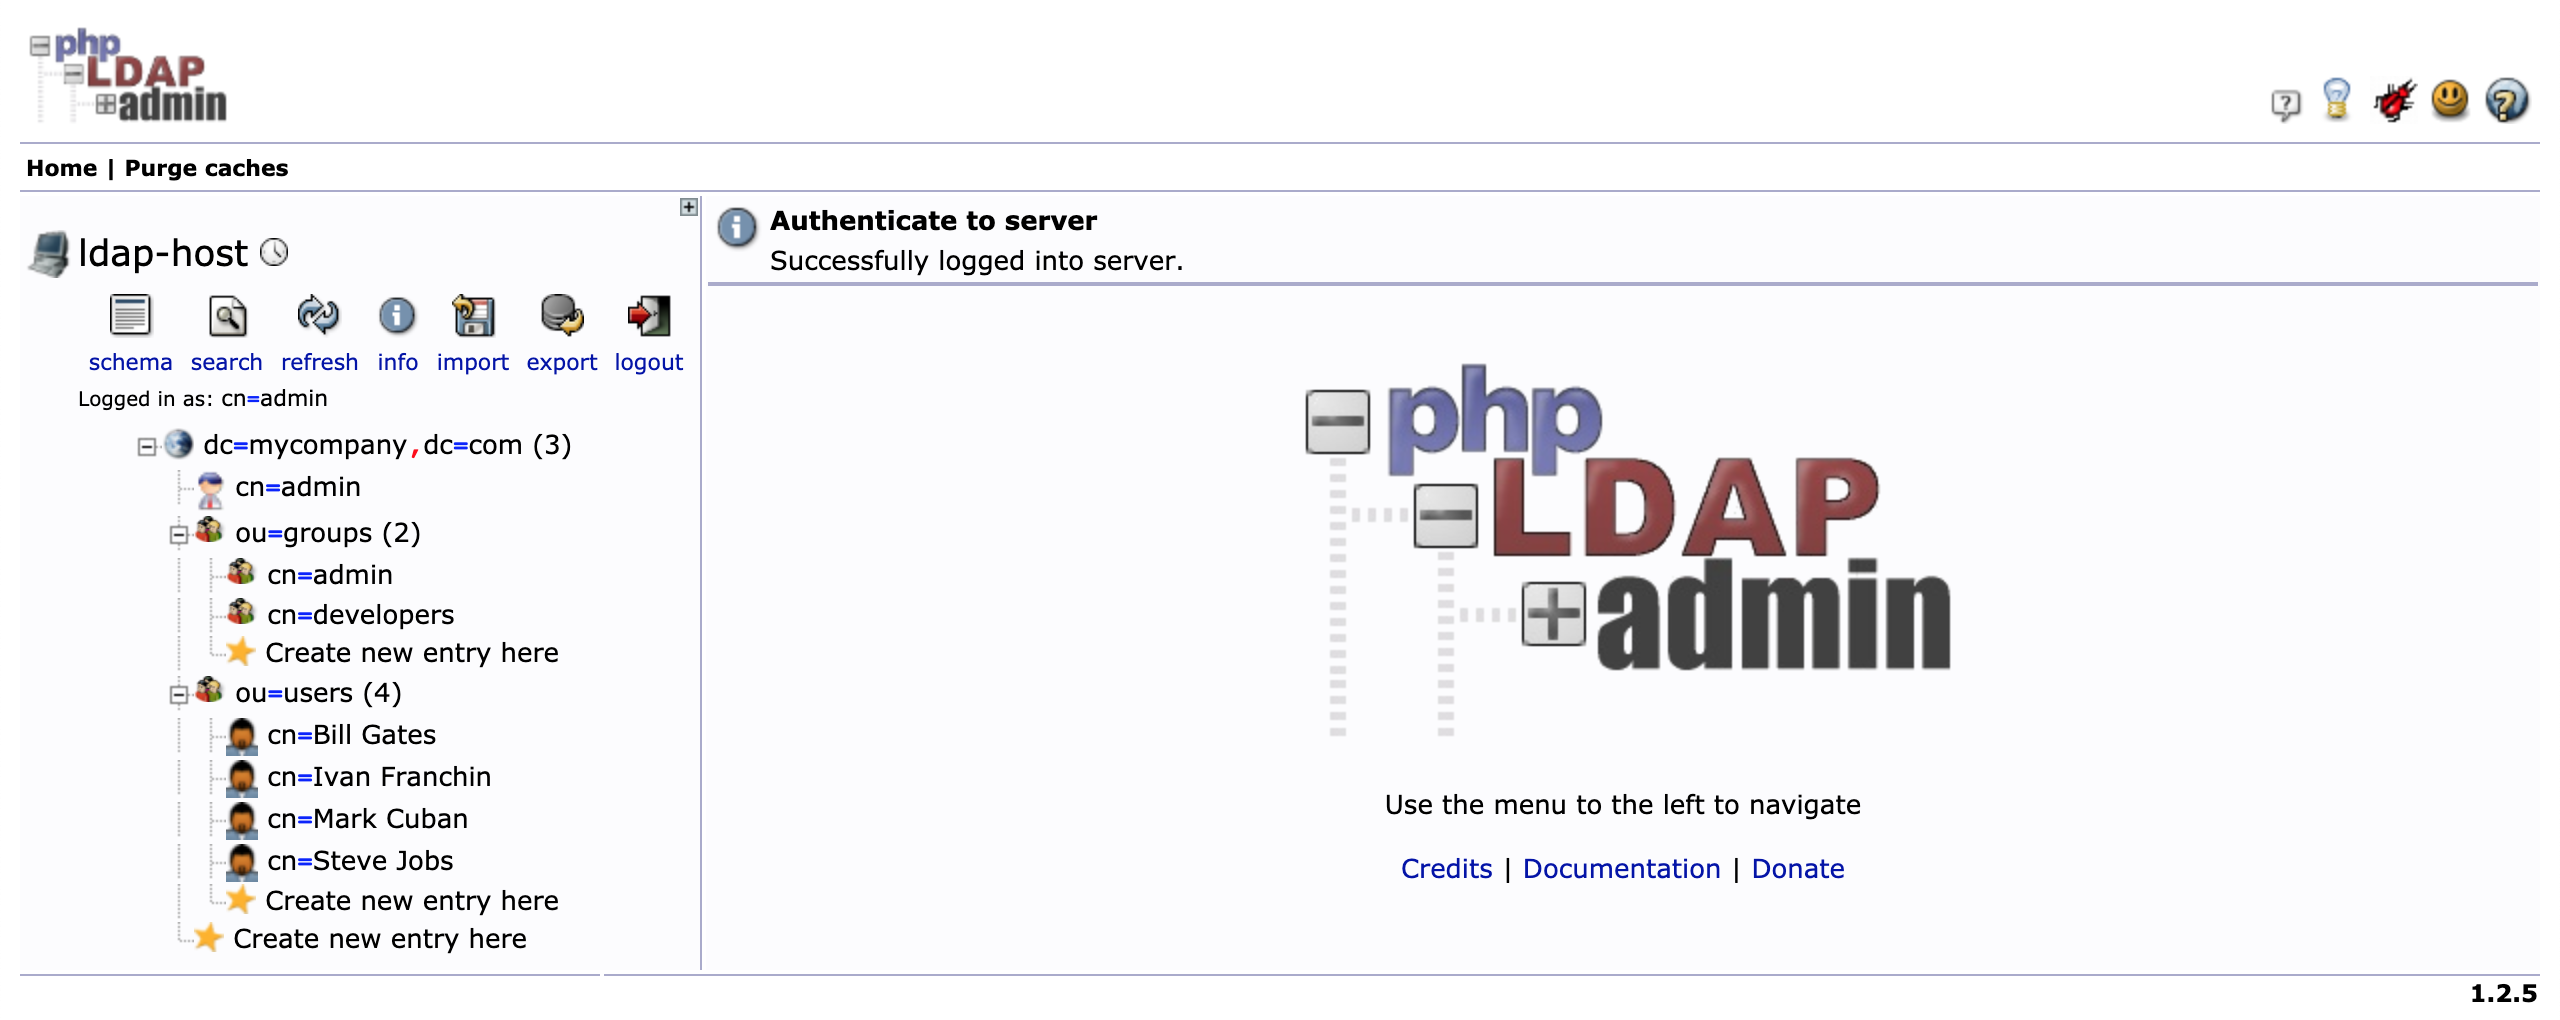
You should see a tree like the one shown in the picture below
There are two ways: running a script or using Keycloak website
-
In a terminal, make sure you are inside
springboot-keycloak-openldaproot folder -
Run the script below to configure
Keycloakforsimple-serviceapplication./init-keycloak.shIt creates
company-servicesrealm,simple-serviceclient,USERclient role,ldapfederation and the usersbgatesandsjobswith the roleUSERassigned. -
Copy
SIMPLE_SERVICE_CLIENT_SECRETvalue that is shown at the end of the script. It will be needed whenever we callKeycloakto get a token to accesssimple-service
-
Login with the credentials
Username: admin
Password: admin
- Go to top-left corner and hover the mouse over
Masterrealm. Click theAdd realmblue button that will appear - Set
company-servicesto theNamefield and clickCreatebutton
- On the left menu, click
Clients - Click
Createbutton - Set
simple-servicetoClient IDand clickSavebutton - In
Settingstab- Set
confidentialtoAccess Type - Set
http://localhost:9080toValid Redirect URIs - Click
Savebutton
- Set
- In
Credentialstab you can find the secretKeycloakgenerated forsimple-service - In
Rolestab- Click
Add Rolebutton - Set
USERtoRole Nameand clickSavebutton
- Click
- On the left menu, click
User Federation - Select
ldap - Select
OtherforVendor - Set
ldap://openldaptoConnection URL - Click
Test connectionbutton, to check if the connection is OK - Set
ou=users,dc=mycompany,dc=comtoUsers DN - Set
(gidnumber=500)toCustom User LDAP Filter(filter just developers) - Set
cn=admin,dc=mycompany,dc=comtoBind DN - Set
admintoBind Credential - Click
Test authenticationbutton, to check if the authentication is OK - Click
Savebutton - Click
Synchronize all usersbutton
- On the left menu, click
Users - Click
View all usersbutton. 3 users should be shown - Edit user
bgatesby clicking on itsIDorEditbutton - In
Role Mappingstab- Select
simple-serviceinClient Rolescombo-box - Select
USERrole present inAvailable Rolesand clickAdd selected bgateshas nowUSERrole as one of hisAssigned Roles
- Select
- Do the same for the user
sjobs - Let's leave
mcubanwithoutUSERrole
-
Open a new terminal and make sure you are in
springboot-keycloak-openldaproot folder -
Start the application by running the following command
./mvnw clean spring-boot:run --projects simple-service -Dspring-boot.run.jvmArguments="-Dserver.port=9080"
-
Open a new terminal
-
Call the endpoint
GET /api/publiccurl -i http://localhost:9080/api/publicIt should return
HTTP/1.1 200 It is public. -
Try to call the endpoint
GET /api/privatewithout authenticationcurl -i http://localhost:9080/api/privateIt should return
HTTP/1.1 302Here, the application is trying to redirect the request to an authentication link
-
Create an environment variable that contains the
Client Secretgenerated byKeycloaktosimple-serviceat Configure Keycloak stepSIMPLE_SERVICE_CLIENT_SECRET=... -
Run the command below to get an access token for
bgatesuserBGATES_ACCESS_TOKEN=$(curl -s -X POST \ "http://localhost:8080/auth/realms/company-services/protocol/openid-connect/token" \ -H "Content-Type: application/x-www-form-urlencoded" \ -d "username=bgates" \ -d "password=123" \ -d "grant_type=password" \ -d "client_secret=$SIMPLE_SERVICE_CLIENT_SECRET" \ -d "client_id=simple-service" | jq -r .access_token) -
Call the endpoint
GET /api/privatecurl -i -H "Authorization: Bearer $BGATES_ACCESS_TOKEN" http://localhost:9080/api/privateIt should return
HTTP/1.1 200 bgates, it is private. -
Run the command below to get an access token for
mcubanuserMCUBAN_ACCESS_TOKEN=$(curl -s -X POST \ "http://localhost:8080/auth/realms/company-services/protocol/openid-connect/token" \ -H "Content-Type: application/x-www-form-urlencoded" \ -d "username=mcuban" \ -d "password=123" \ -d "grant_type=password" \ -d "client_secret=$SIMPLE_SERVICE_CLIENT_SECRET" \ -d "client_id=simple-service" | jq -r .access_token) -
Try to call the endpoint
GET /api/privatecurl -i -H "Authorization: Bearer $MCUBAN_ACCESS_TOKEN" http://localhost:9080/api/privateAs
mcubandoes not have theUSERrole, he cannot access this endpoint.The endpoint return should be
HTTP/1.1 403 {"timestamp":"...","status":403,"error":"Forbidden","path":"/api/private"} -
Go to
Keycloakand add the roleUSERto themcuban -
Run the command mentioned in
step 7)again to get a new access token formcubanuser -
Call again the endpoint
GET /api/privateusing thecurlcommand presented instep 8It should return
HTTP/1.1 200 mcuban, it is private. -
The access token default expiration period is
5 minutes. So, wait for this time and, using the same access token, try to call the private endpoint.It should return
HTTP/1.1 401 WWW-Authenticate: Bearer realm="company-services", error="invalid_token", error_description="Token is not active"
-
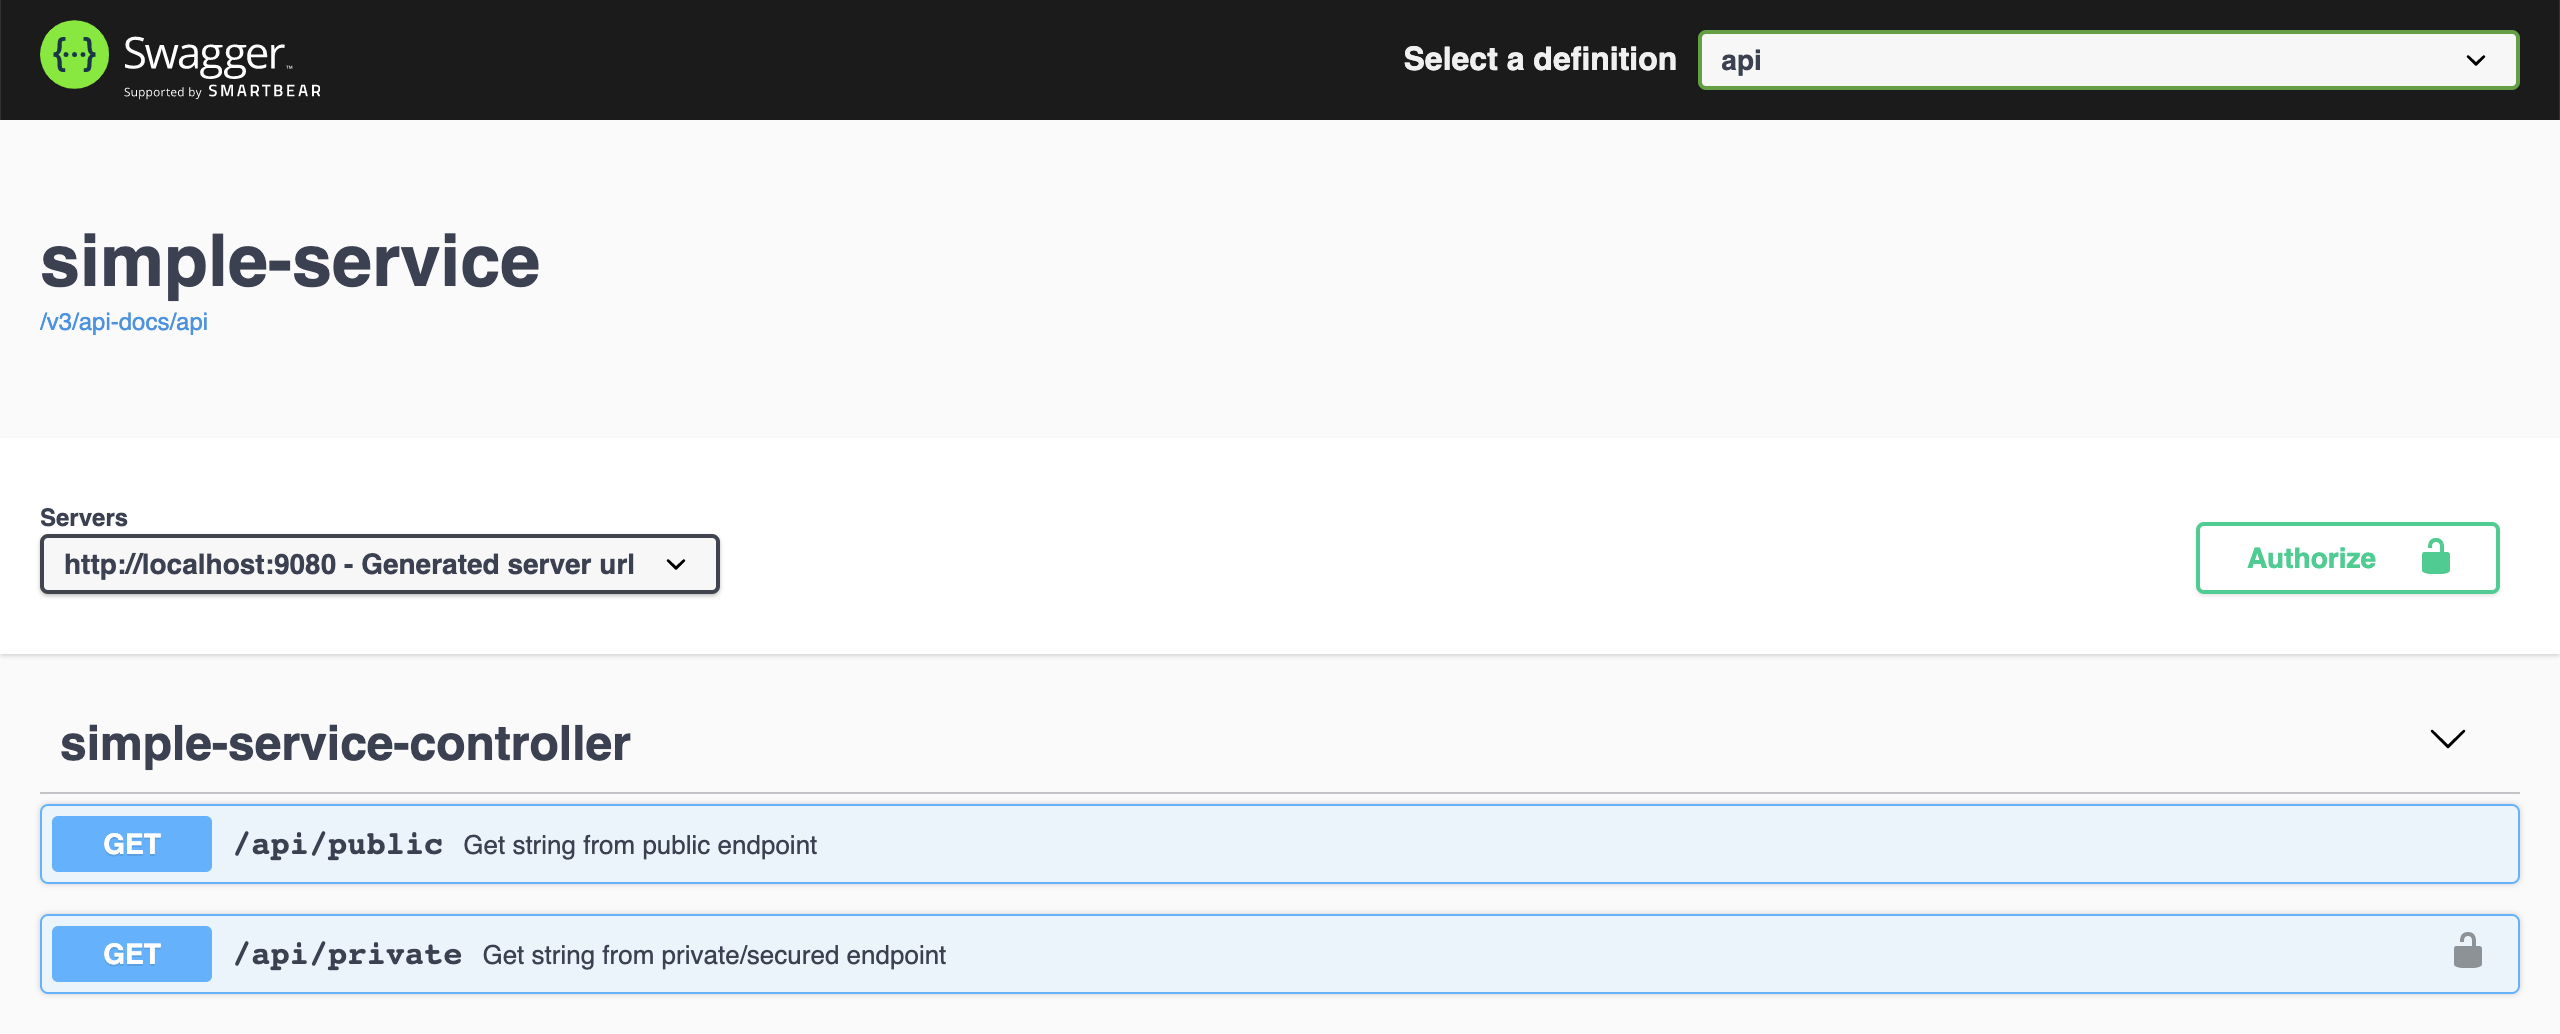
Click
GET /api/publicto open it. Then, clickTry it outbutton and, finally, clickExecutebuttonIt should return
Code: 200 Response Body: It is public. -
Now click
GET /api/privatesecured endpoint. Let's try it without authentication. Then, clickTry it outbutton and, finally, clickExecutebuttonIt should return
Failed to fetch -
In order to access the private endpoint, you need an access token. So, open a terminal
-
Create an environment variable that contains the
Client Secretgenerated byKeycloaktosimple-serviceat Configure Keycloak stepSIMPLE_SERVICE_CLIENT_SECRET=... -
Run the following commands
BGATES_ACCESS_TOKEN=$(curl -s -X POST \ "http://localhost:8080/auth/realms/company-services/protocol/openid-connect/token" \ -H "Content-Type: application/x-www-form-urlencoded" \ -d "username=bgates" \ -d "password=123" \ -d "grant_type=password" \ -d "client_secret=$SIMPLE_SERVICE_CLIENT_SECRET" \ -d "client_id=simple-service" | jq -r .access_token) echo $BGATES_ACCESS_TOKEN -
Copy the token generated and go back to
Swagger -
Click
Authorizebutton and paste the access token in theValuefield. Then, clickAuthorizebutton and, to finalize, clickClose -
Go to
GET /api/privateand call this endpoint again, now with authenticationIt should return
Code: 200
Response Body: bgates, it is private.
You can get an access token to simple-service using client_id and client_secret
- Access http://localhost:8080/auth/admin/
- Select
company-servicesrealm (if it is not already selected) - On the left menu, click
Clients - Select
simple-serviceclient - In
Settingstab- Turn
ONthe fieldService Accounts Enabled - Click
Savebutton
- Turn
- In
Service Account Rolestab- Select
simple-serviceinClient Rolescombo-box - Select
USERrole present inAvailable Rolesand clickAdd selected
- Select
-
Open a terminal
-
Create an environment variable that contains the
Client Secretgenerated byKeycloaktosimple-serviceat Configure Keycloak stepSIMPLE_SERVICE_CLIENT_SECRET=... -
Run the following command
CLIENT_ACCESS_TOKEN=$(curl -s -X POST \ "http://localhost:8080/auth/realms/company-services/protocol/openid-connect/token" \ -H "Content-Type: application/x-www-form-urlencoded" \ -d "grant_type=client_credentials" \ -d "client_secret=$SIMPLE_SERVICE_CLIENT_SECRET" \ -d "client_id=simple-service" | jq -r .access_token) -
Try to call the endpoint
GET /api/privatecurl -i http://localhost:9080/api/private -H "authorization: Bearer $CLIENT_ACCESS_TOKEN"It should return
HTTP/1.1 200
service-account-simple-service, it is private.
-
In a terminal, make sure you are in
springboot-keycloak-openldaproot folder -
Build Docker Image
- JVM
./docker-build.sh - Native
./docker-build.sh native
- JVM
-
Environment Variables
Environment Variable Description KEYCLOAK_HOSTSpecify host of the Keycloakto use (defaultlocalhost)KEYCLOAK_PORTSpecify port of the Keycloakto use (default8080) -
Run Docker Container
Warning: Native is not working yet, see Issues
docker run --rm --name simple-service \ -p 9080:8080 \ -e KEYCLOAK_HOST=keycloak \ --network=springboot-keycloak-openldap_default \ ivanfranchin/simple-service:1.0.0 -
Open a new terminal
-
Create an environment variable that contains the
Client Secretgenerated byKeycloaktosimple-serviceat Configure Keycloak stepSIMPLE_SERVICE_CLIENT_SECRET=... -
Run the commands below to get an access token for
bgatesuserBGATES_TOKEN=$( docker exec -t -e CLIENT_SECRET=$SIMPLE_SERVICE_CLIENT_SECRET keycloak bash -c ' curl -s -X POST \ http://keycloak:8080/auth/realms/company-services/protocol/openid-connect/token \ -H "Content-Type: application/x-www-form-urlencoded" \ -d "username=bgates" \ -d "password=123" \ -d "grant_type=password" \ -d "client_secret=$CLIENT_SECRET" \ -d "client_id=simple-service"') BGATES_ACCESS_TOKEN=$(echo $BGATES_TOKEN | jq -r .access_token) -
Call the endpoint
GET /api/privatecurl -i -H "Authorization: Bearer $BGATES_ACCESS_TOKEN" http://localhost:9080/api/private
- To stop
simple-serviceapplication, go to the terminal where it is running and pressCtrl+C - To stop and remove docker-compose containers, network and volumes, go to a terminal and inside
springboot-keycloak-openldaproot folder, run the following commanddocker-compose down -v
To remove the Docker image create by this project, go to a terminal and run the following command
docker rmi ivanfranchin/simple-service:1.0.0
-
jwt.io
With jwt.io you can inform the JWT token received from
Keycloakand the online tool decodes the token, showing its header and payload. -
ldapsearch
It can be used to check the users imported into
OpenLDAPldapsearch -x -D "cn=admin,dc=mycompany,dc=com" \ -w admin -H ldap://localhost:389 \ -b "ou=users,dc=mycompany,dc=com" \ -s sub "(uid=*)"
IMPORTANT: The environment variable
JAVA_HOMEmust be set to aGraalVMinstallation directory (Install GraalVM), and thenative-imagetool must be installed (Install Native Image).
TIP: For more information
Tracing Agentsee Spring Native documentation
- Run the following steps in a terminal and inside
springboot-keycloak-openldaproot folder./mvnw clean package --projects simple-service -DskipTests cd simple-service java -jar -agentlib:native-image-agent=config-merge-dir=src/main/resources/META-INF/native-image -Dserver.port=9080 target/simple-service-1.0.0.jar - Once the application is running, exercise it by calling its endpoints using
curlandSwaggerso thatTracing Agentobserves the behavior of the application running on Java HotSpot VM and writes configuration files for reflection, JNI, resource, and proxy usage to automatically configure the native image generator. - It should generate
JSONfiles insimple-service/src/main/resources/META-INF/native-imagesuch as:jni-config.json,proxy-config.json,reflect-config.json,resource-config.jsonandserialization-config.json.
The Docker native image is built successfully. However, the following exception is thrown at application startup
ERROR 1 --- [           main] o.s.boot.SpringApplication               : Application run failed

org.springframework.context.ApplicationContextException: Unable to start web server; nested exception is java.lang.IllegalArgumentException: Duplicate context initialization parameter [keycloak.config.resolver]
	at org.springframework.boot.web.servlet.context.ServletWebServerApplicationContext.onRefresh(ServletWebServerApplicationContext.java:163) ~[na:na]
	at org.springframework.context.support.AbstractApplicationContext.refresh(AbstractApplicationContext.java:577) ~[na:na]
	at org.springframework.boot.web.servlet.context.ServletWebServerApplicationContext.refresh(ServletWebServerApplicationContext.java:145) ~[na:na]
	at org.springframework.boot.SpringApplication.refresh(SpringApplication.java:754) ~[com.mycompany.simpleservice.SimpleServiceApplication:2.5.4]
	at org.springframework.boot.SpringApplication.refreshContext(SpringApplication.java:434) ~[com.mycompany.simpleservice.SimpleServiceApplication:2.5.4]
	at org.springframework.boot.SpringApplication.run(SpringApplication.java:338) ~[com.mycompany.simpleservice.SimpleServiceApplication:2.5.4]
	at org.springframework.boot.SpringApplication.run(SpringApplication.java:1343) ~[com.mycompany.simpleservice.SimpleServiceApplication:2.5.4]
	at org.springframework.boot.SpringApplication.run(SpringApplication.java:1332) ~[com.mycompany.simpleservice.SimpleServiceApplication:2.5.4]
	at com.mycompany.simpleservice.SimpleServiceApplication.main(SimpleServiceApplication.java:17) ~[com.mycompany.simpleservice.SimpleServiceApplication:na]
Caused by: java.lang.IllegalArgumentException: Duplicate context initialization parameter [keycloak.config.resolver]
	at org.apache.catalina.core.StandardContext.addParameter(StandardContext.java:3168) ~[com.mycompany.simpleservice.SimpleServiceApplication:9.0.52]
	at org.keycloak.adapters.springboot.KeycloakBaseSpringBootConfiguration$KeycloakBaseTomcatContextCustomizer.customize(KeycloakBaseSpringBootConfiguration.java:296) ~[na:na]
	at org.springframework.boot.web.embedded.tomcat.TomcatServletWebServerFactory.configureContext(TomcatServletWebServerFactory.java:389) ~[com.mycompany.simpleservice.SimpleServiceApplication:2.5.4]
	at org.springframework.boot.web.embedded.tomcat.TomcatServletWebServerFactory.prepareContext(TomcatServletWebServerFactory.java:246) ~[com.mycompany.simpleservice.SimpleServiceApplication:2.5.4]
	at org.springframework.boot.web.embedded.tomcat.TomcatServletWebServerFactory.getWebServer(TomcatServletWebServerFactory.java:198) ~[com.mycompany.simpleservice.SimpleServiceApplication:2.5.4]
	at org.springframework.boot.web.servlet.context.ServletWebServerApplicationContext.createWebServer(ServletWebServerApplicationContext.java:182) ~[na:na]
	at org.springframework.boot.web.servlet.context.ServletWebServerApplicationContext.onRefresh(ServletWebServerApplicationContext.java:160) ~[na:na]
	... 8 common frames omitted


