main.py - это пограммка для теста среды (environment), настроенной для PyTorch.
Код программы взщят из примера по ссылке
Проецесс описан в статье по ссыле
I’ve spent so much time configuring the M1 Mac for data science. It never worked without a flaw. Until I found this option. It will take you between 5 and 10 minutes to set up completely, depending on the Internet speed.
To start, you’ll need to install [Homebrew](I’ve spent so much time configuring the M1 Mac for data science. It never worked without a flaw. Until I found this option. It will take you between 5 and 10 minutes to set up completely, depending on the Internet speed.
To start, you’ll need to install Homebrew. It’s a package manager for Mac, and you can install it by executing the following line from the Terminal:
/bin/bash -c "$(curl -fsSL https://raw.githubusercontent.com/Homebrew/install/HEAD/install.sh)"
Keep in mind — if you’re setting up a new M1 Mac, it’s likely you won’t have XCode build tools installed, which are required for Homebrew. The Terminal will inform you if these are missing and will ask if you want to install them.
Once both XCode build tools and Homebrew are installed, you can restart the Terminal and install Miniforge:
brew install miniforge
It’s a couple of hundred MB download, so it will take some time to complete. Once done, initialize the conda for the Z shell (zsh):
conda init zsh
Finally, restart the Terminal. That’s it! Miniforge is now installed and you’re ready to create virtual environments. Let’s do so next.)
The following Terminal command will create a new virtual environment named pytorch_env based on Python 3.8:
conda create --name pytorch_env python=3.8
Once created, activate it with the following command:
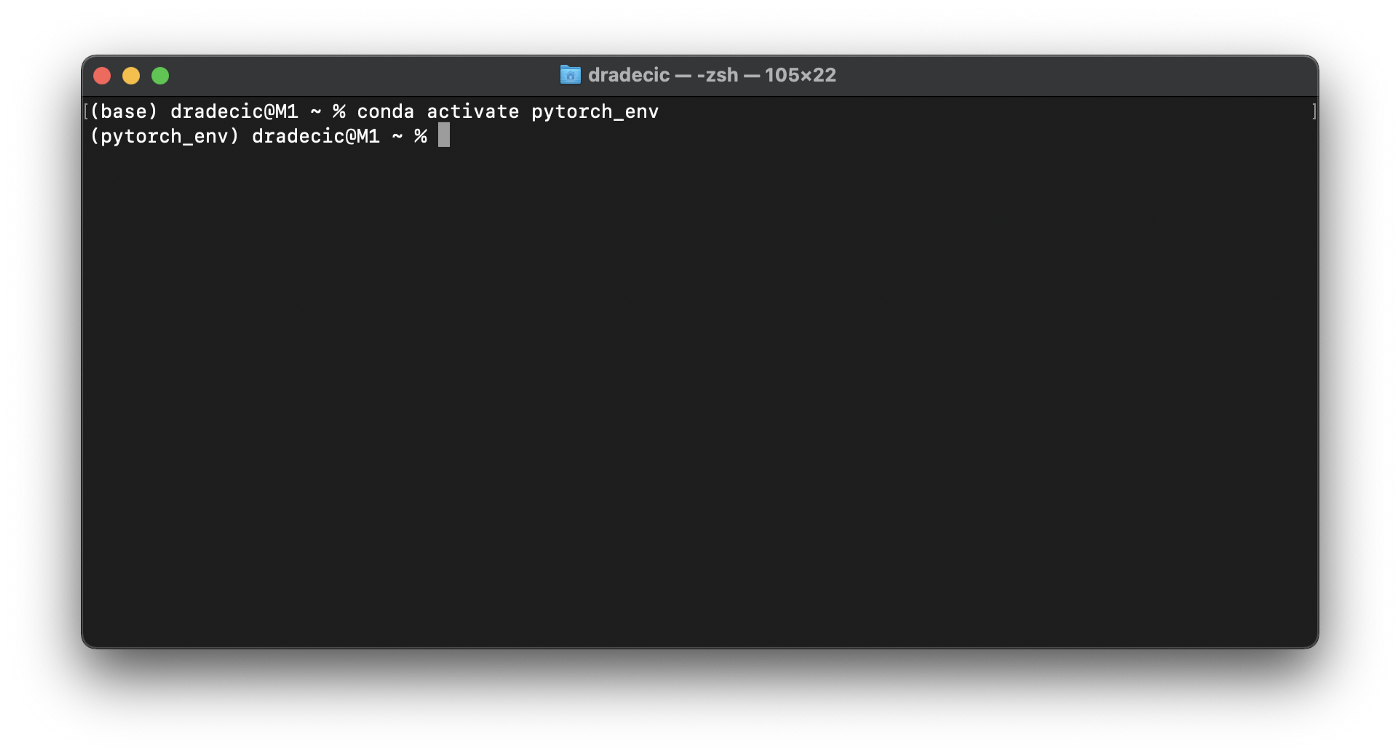
conda activate pytorch_env
You should see something like this:
Let’s install the libraries next.
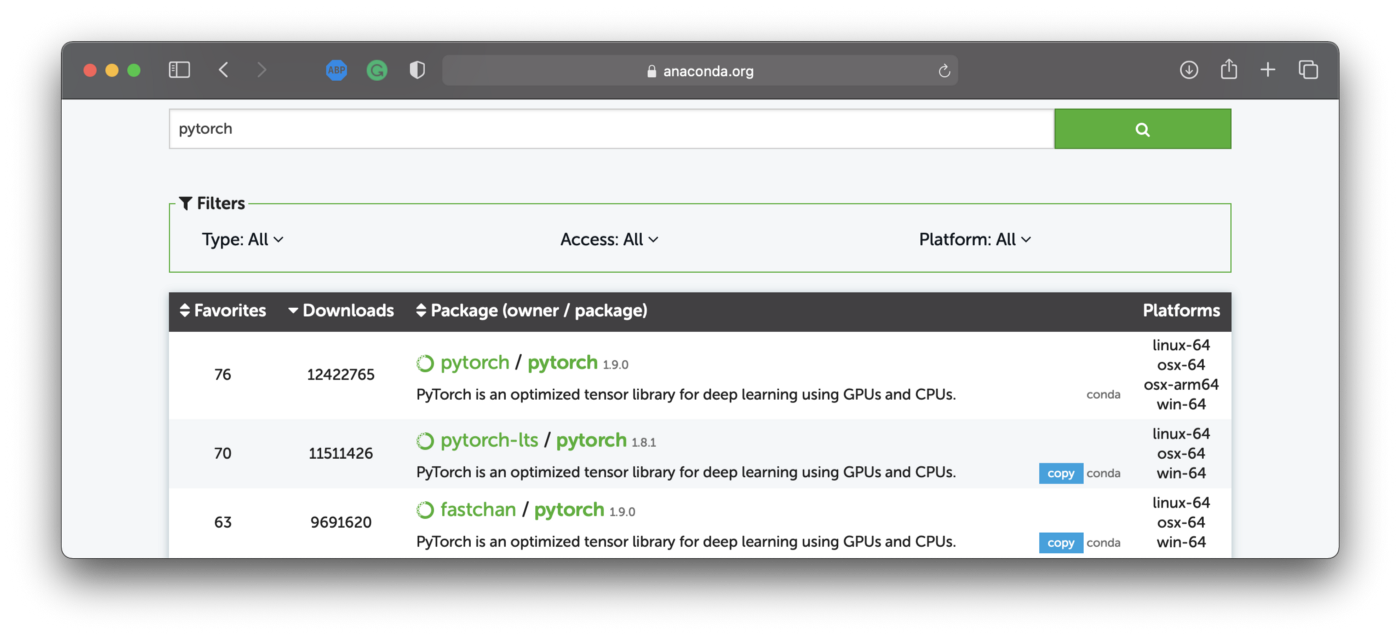
You can find a native PyTorch package on Anaconda’s website. You should look for osx-arm64 under Platform — that tells you it’s M1 compatible:
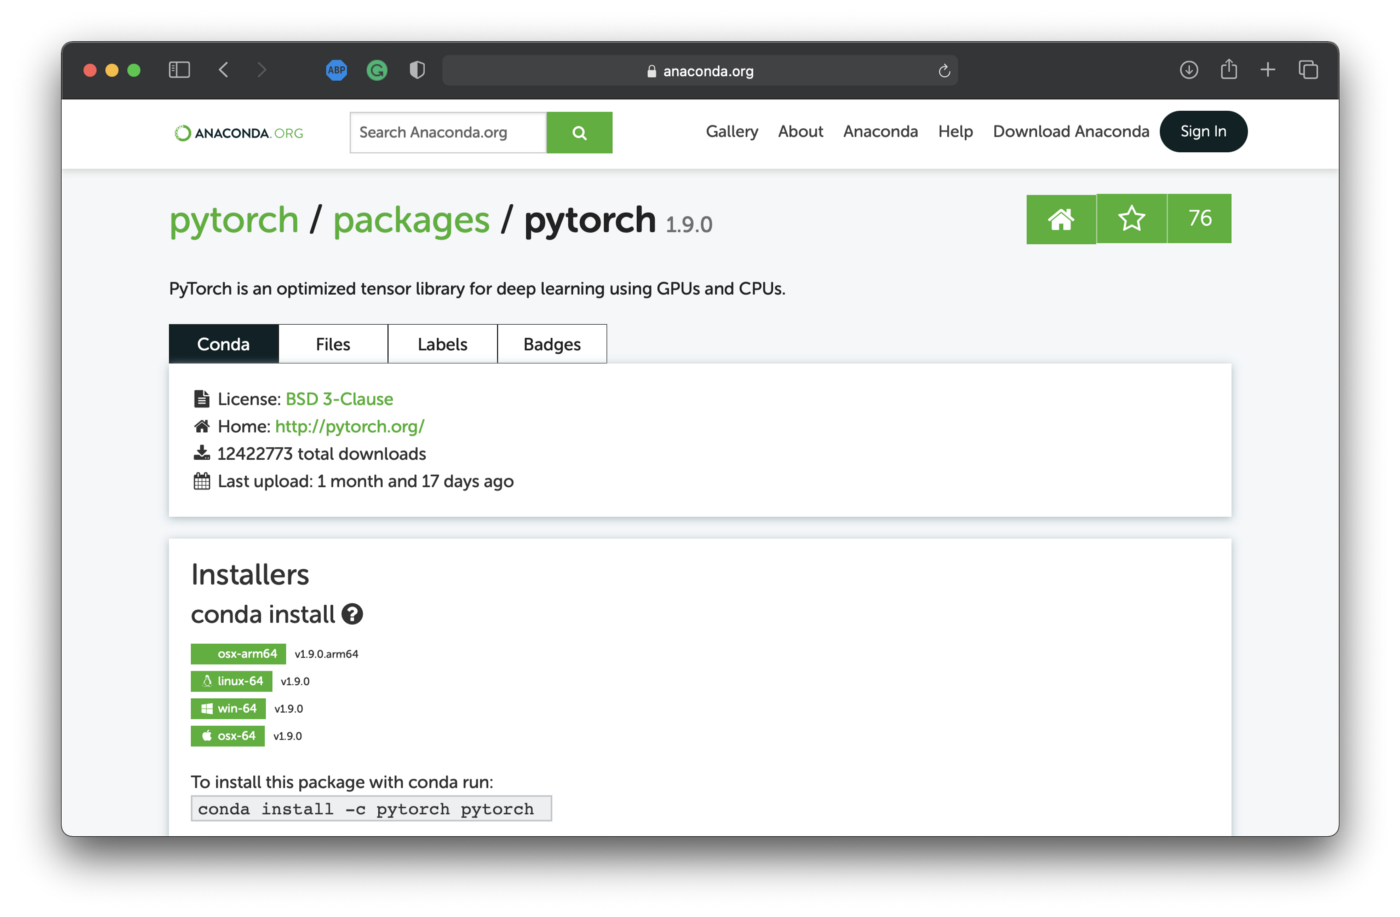
Clicking on the package will provide us with installation instructions, as you can see below:
You can use the following command to install both PyTorch and Torchvision (for datasets):
conda install -c pytorch pytorch torchvision
And that’s it — PyTorch is now installed! Let’s test the damn thing next.
Let’s keep it simple and don’t write anything from scratch. PyTorch’s GitHub page comes with many examples, one of which is the script for training a handwritten digit classifier link.
Simply download that script and run it from the Terminal:
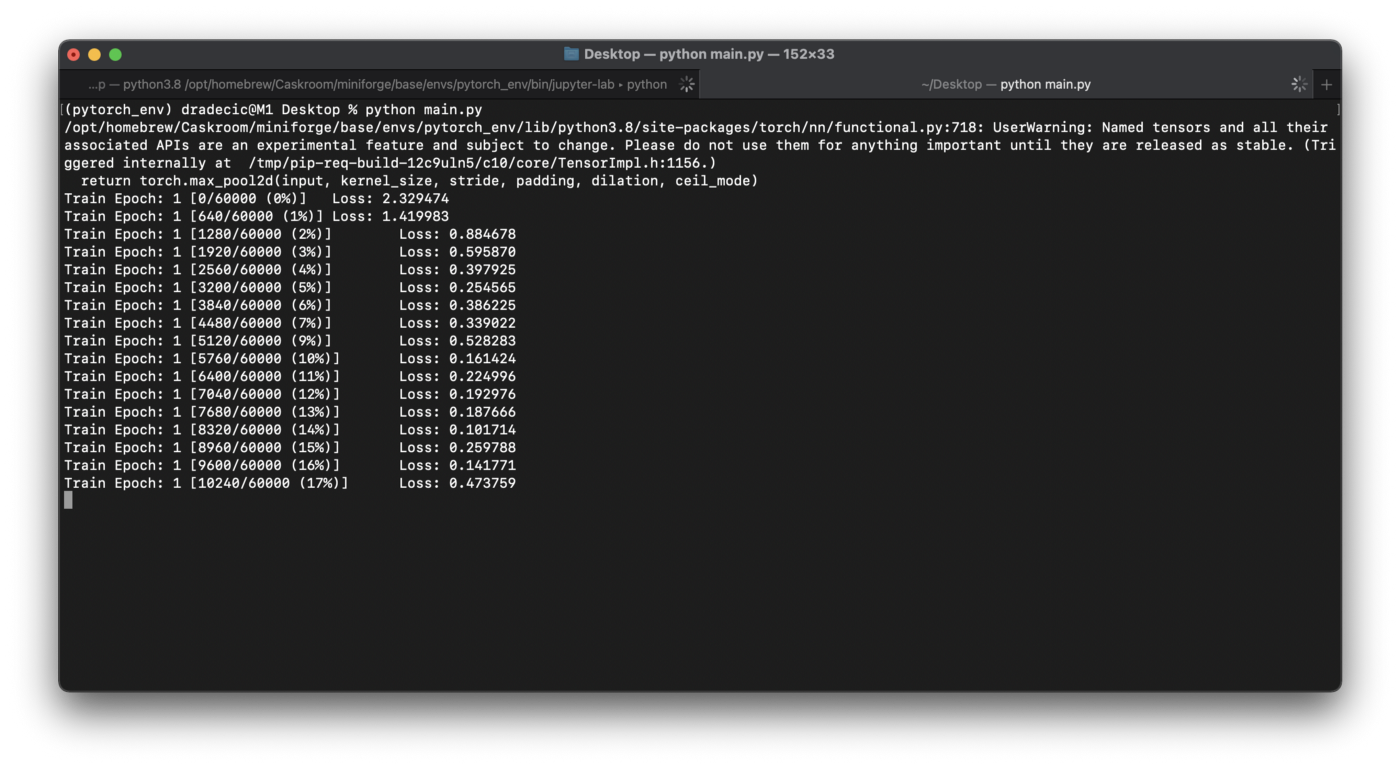
python main.py
You’ll see the following output:
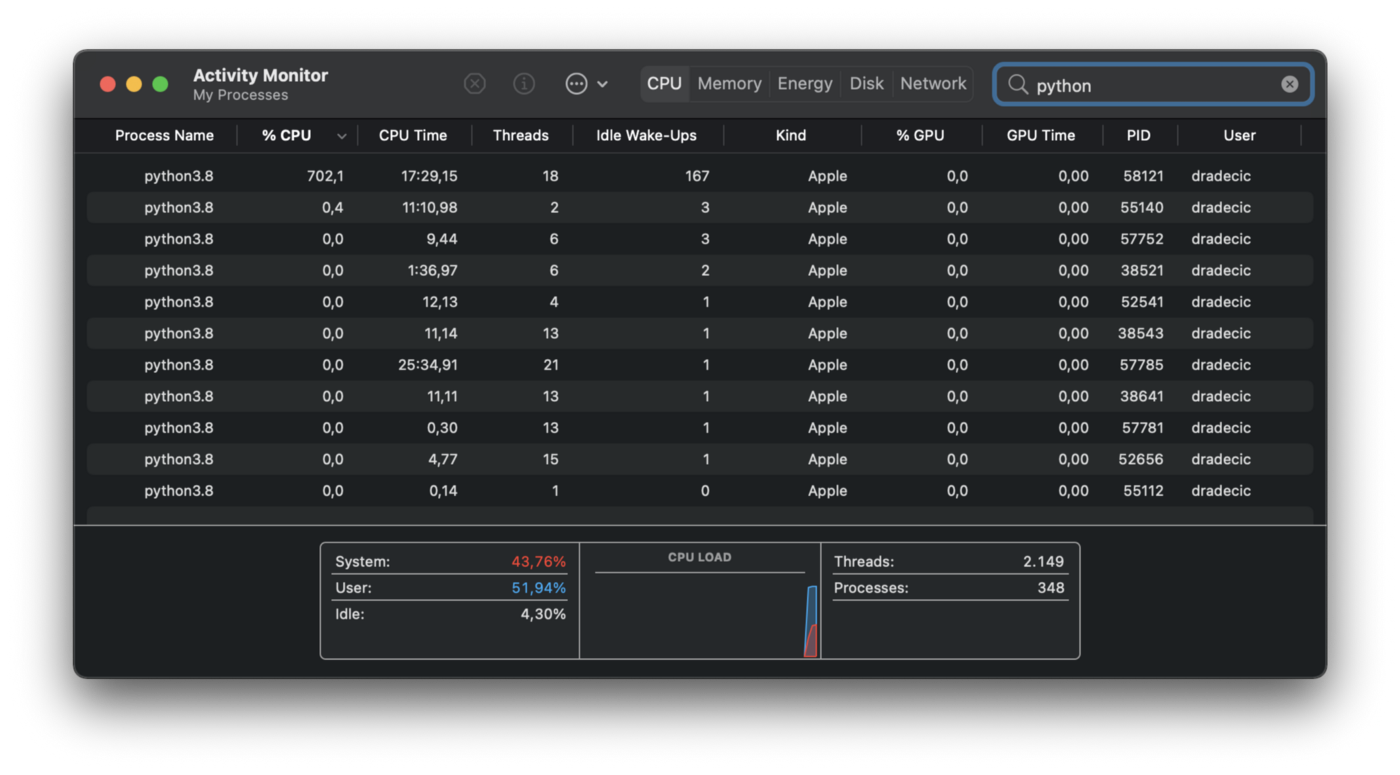
Everything works as expected! Let’s open up the Activity Monitor to verify Python is running natively:
If you see Apple under Kin, it means the program is running natively on the M1 chip, and not under the Rosetta emulator.
Check!
