Twilio Flex Plugins allow you to customize the appearance and behavior of Twilio Flex. If you want to learn more about the capabilities and how to use the API, check out our Flex documentation.
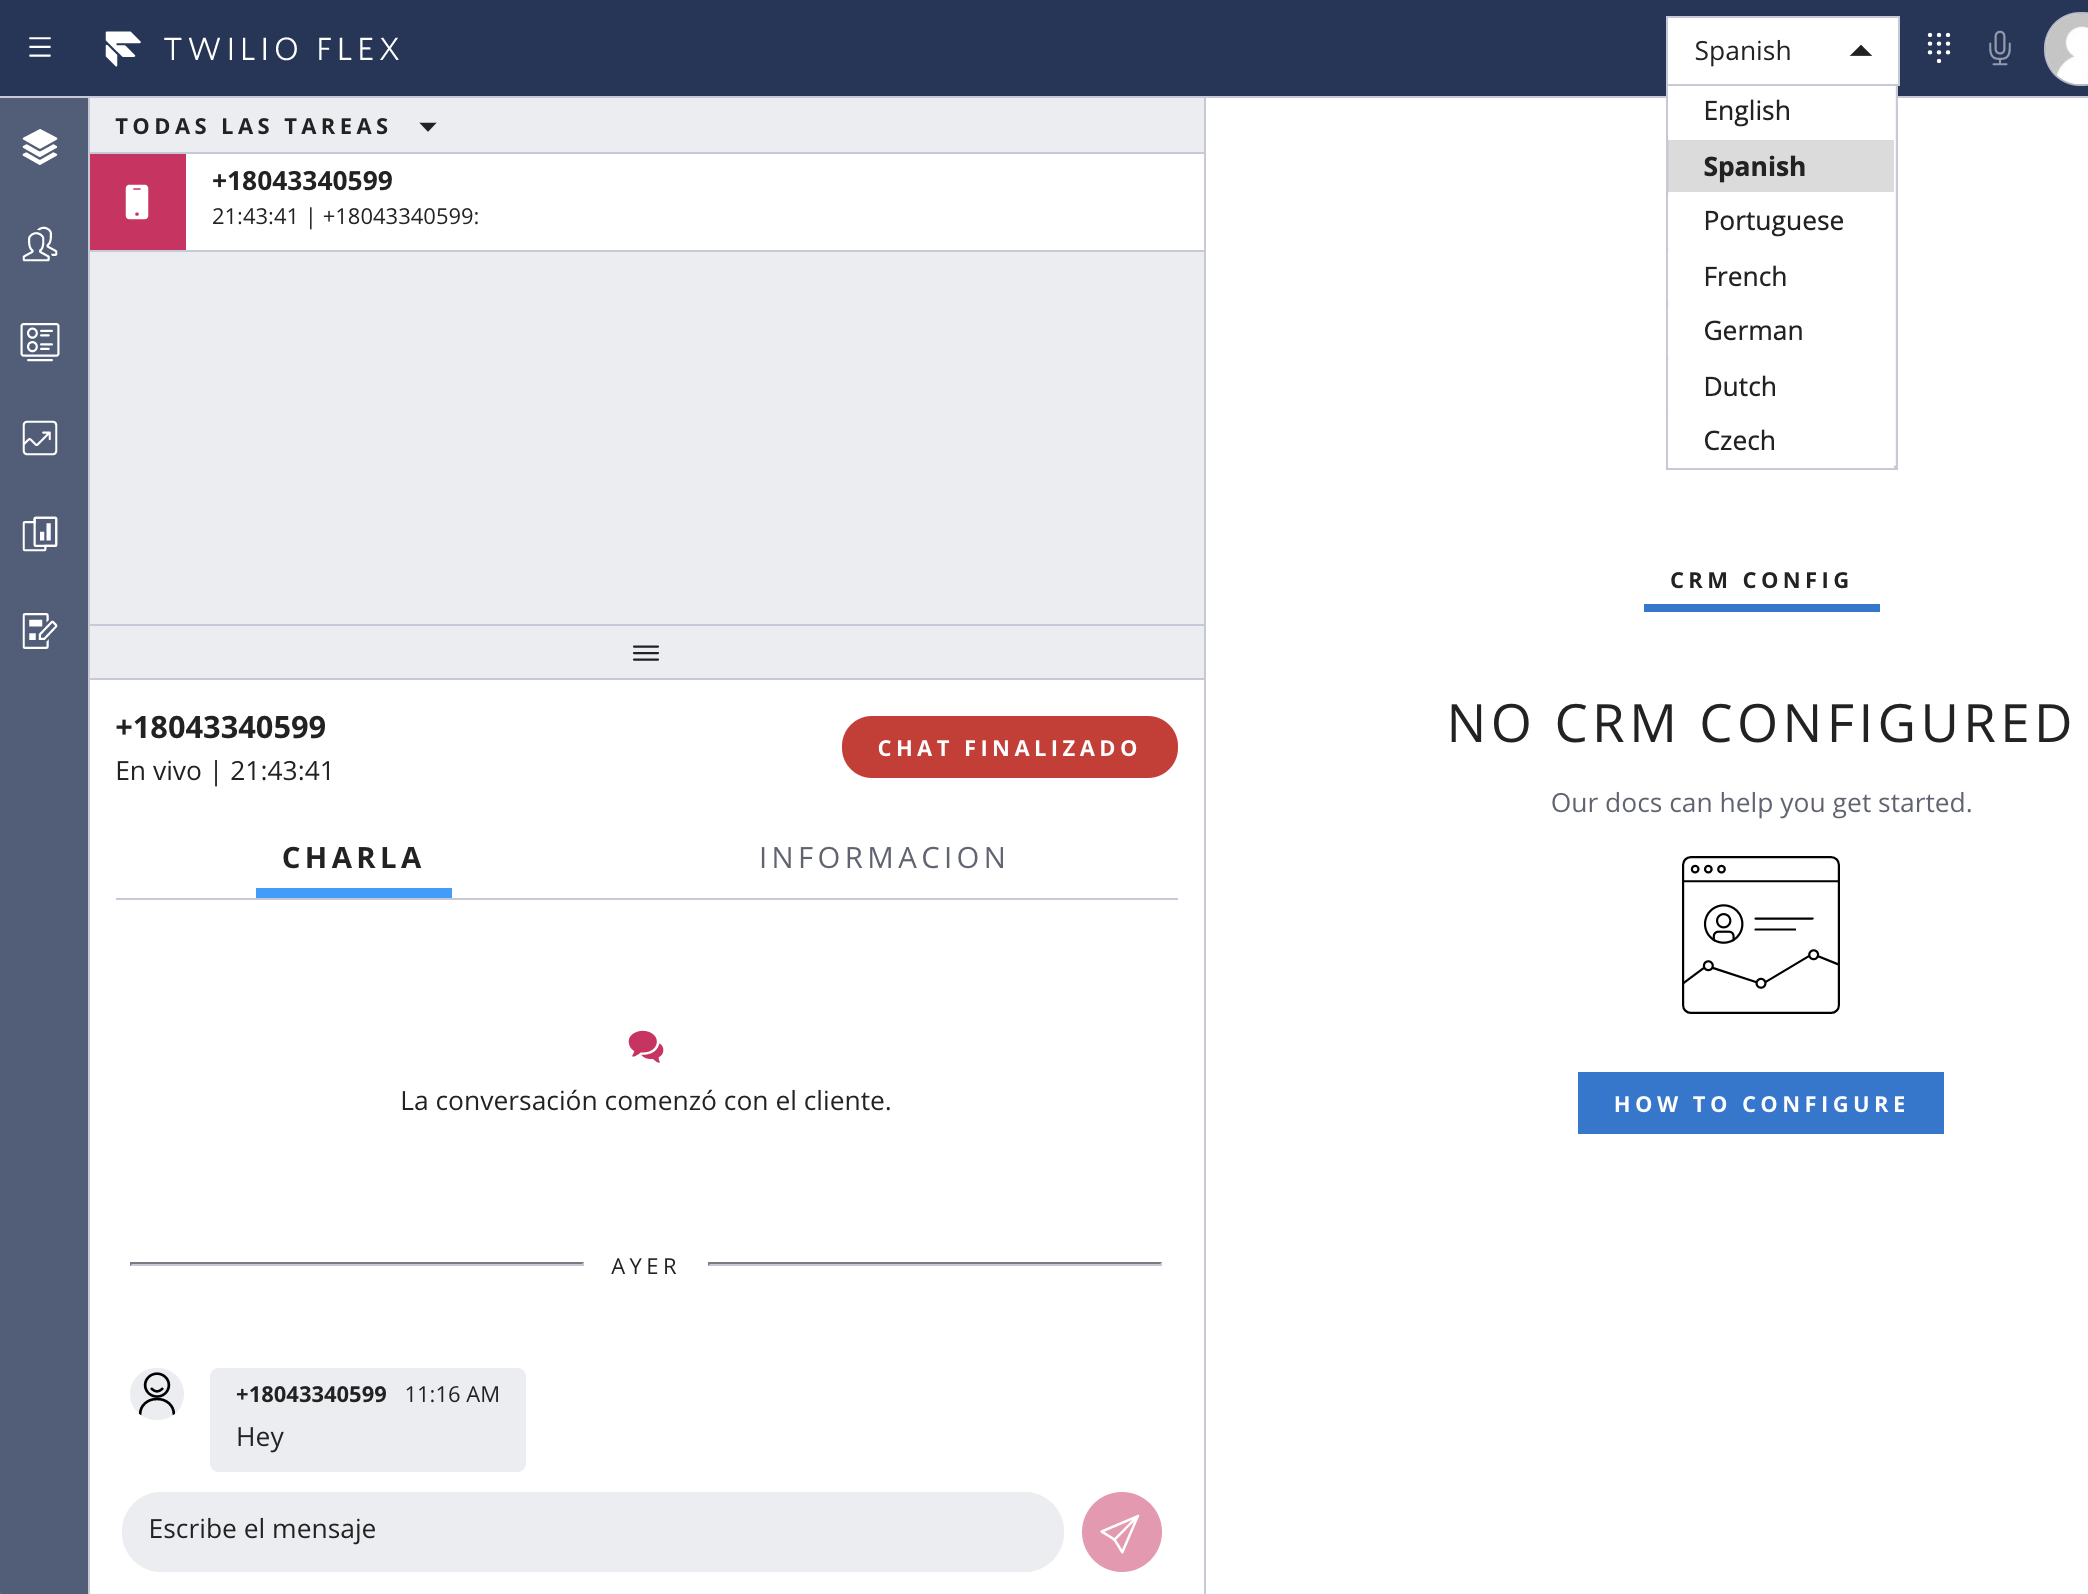
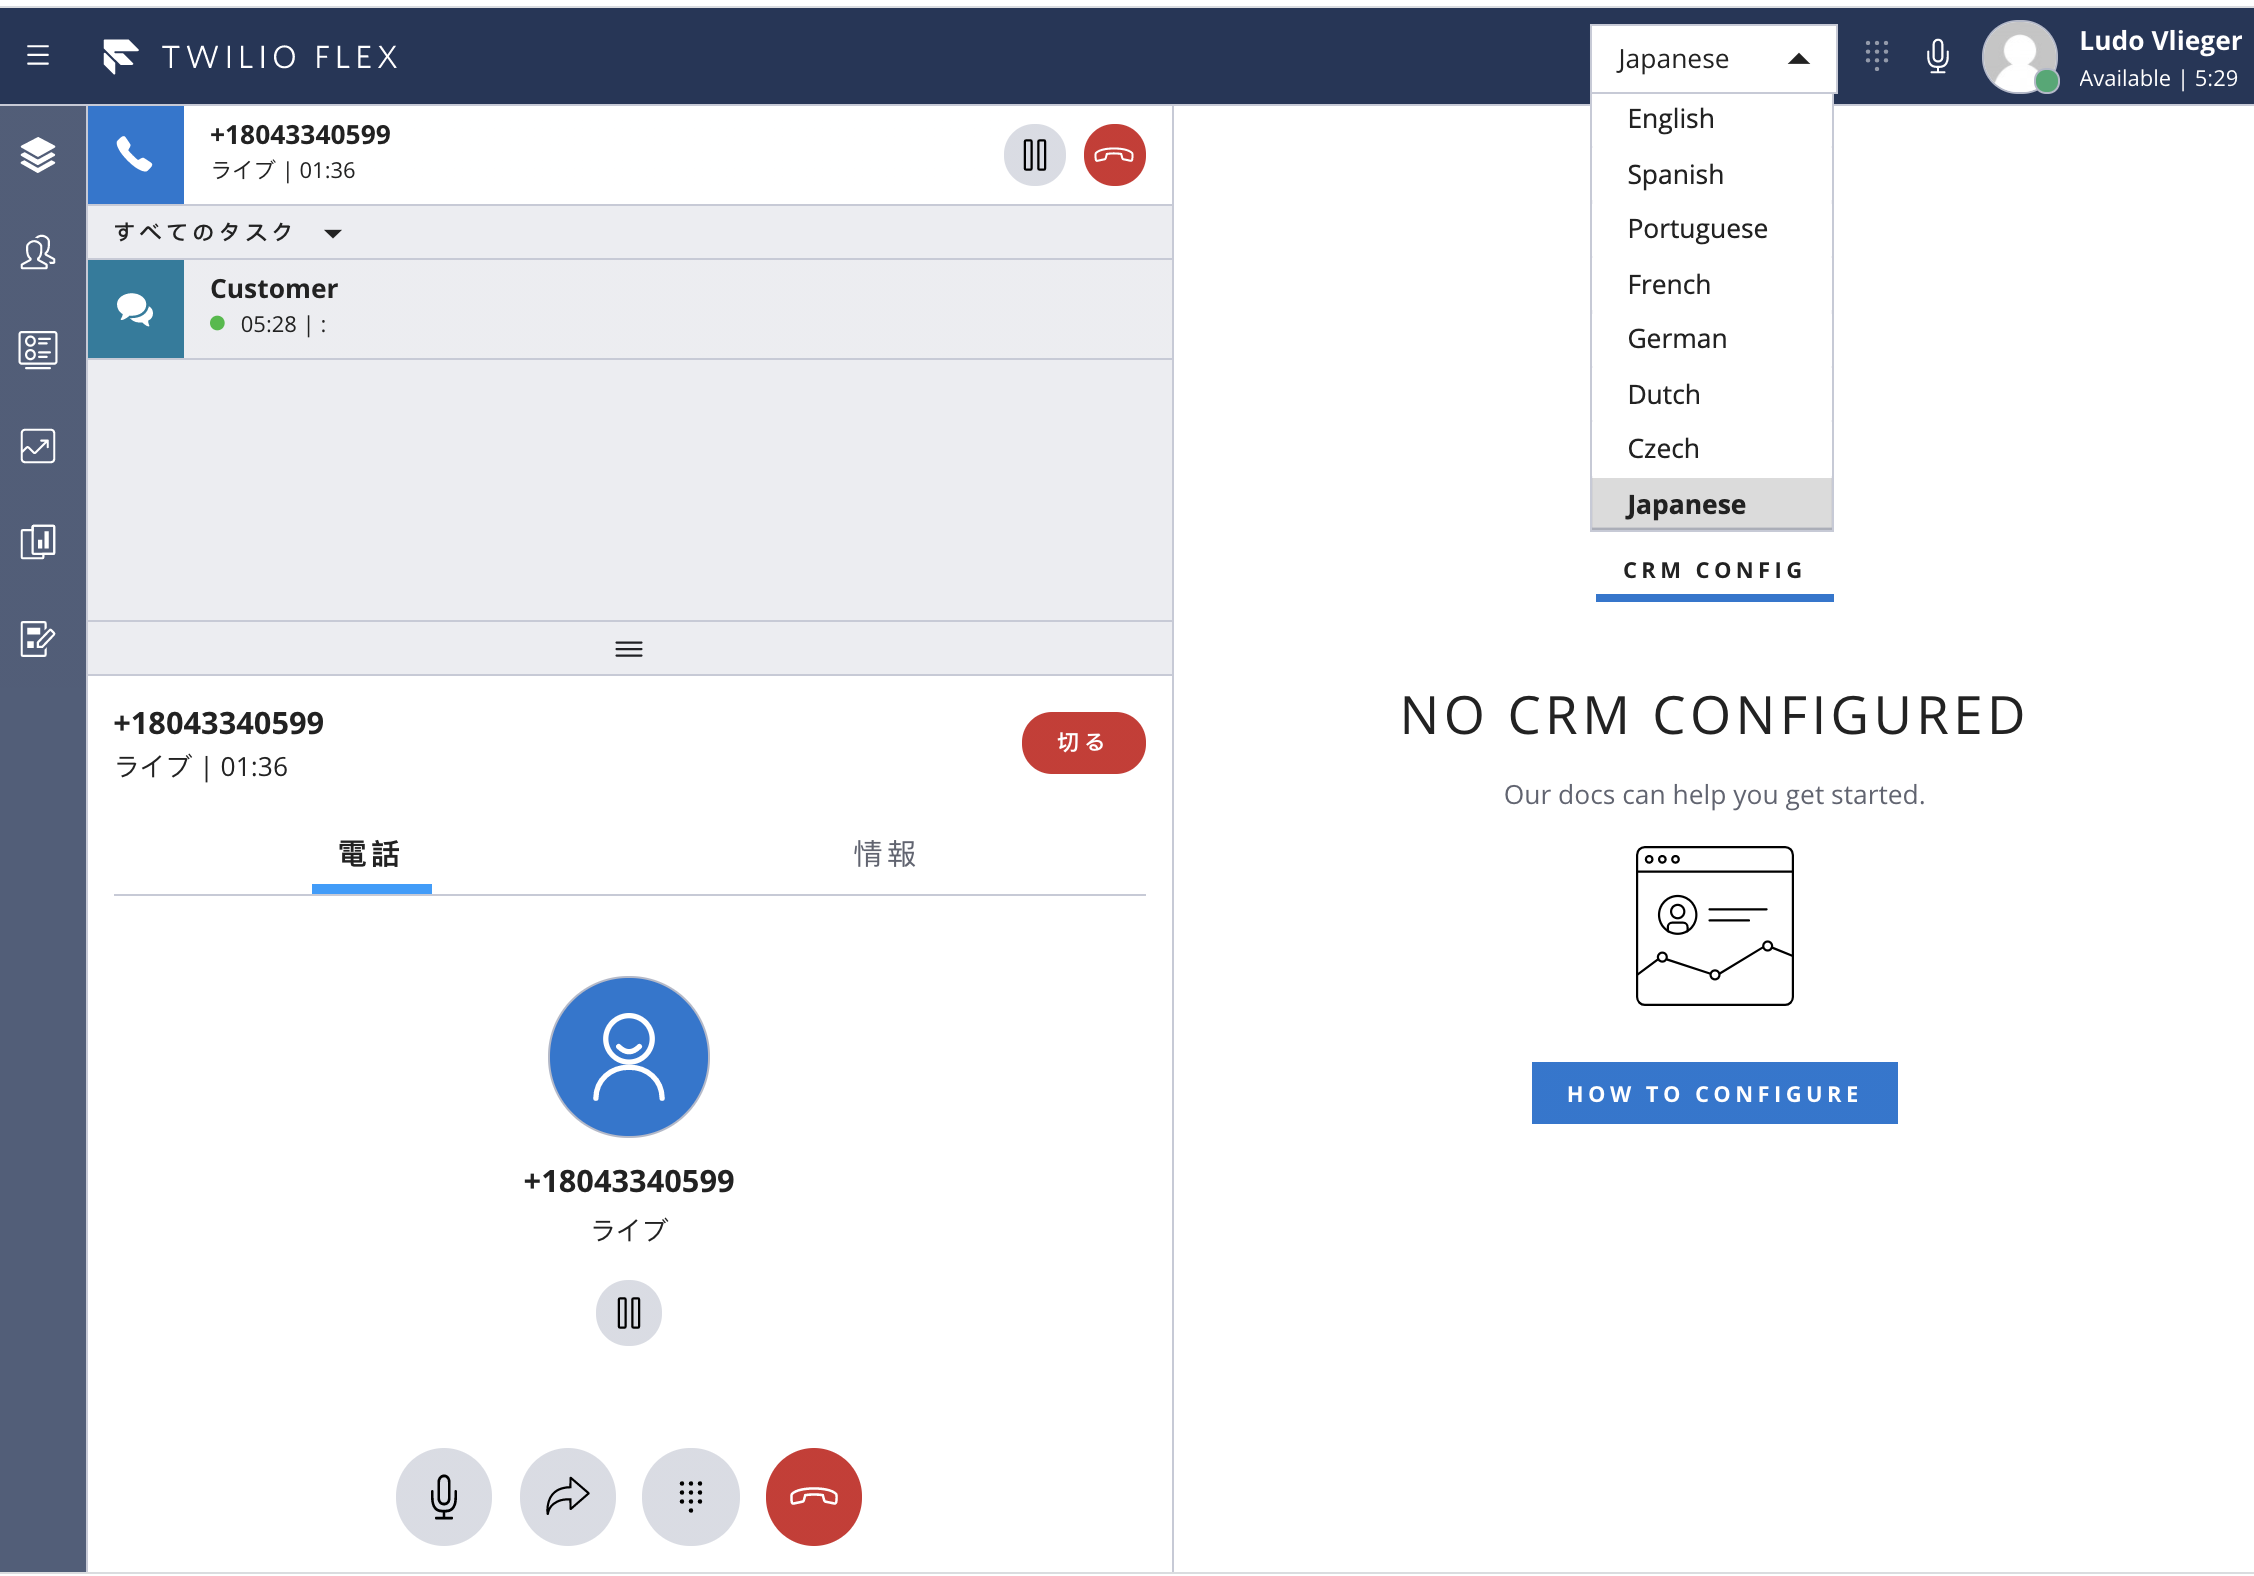
This plugin replaces all string prompts in the Flex UI with translations, localizing the UI to each logged-in user. This plugin also provides a Language Selection menu for the agents. Switching language reloads the appropriate language file and updates all the Flex Manager Template Strings
Available Languages:
- English
- Spanish
- Portuguese
- French
- Italian
- German
- Dutch
- Czech
- Japanese
- Korean
- Chinese (Simplified)
- Chinese (Traditional)
- Vietnamese
The included assets contain the translated template strings for each Language. Each file contains the exact same set of String Identifiers since this is required for seamless Language switching.
Make sure you have Node.js as well as npm. We support Node >= 10.12 (and recommend the even versions of Node). Afterwards, install the dependencies by running npm install:
cd

# If you use npm
npm install
Next, please install the Twilio CLI by running:
brew tap twilio/brew && brew install twilioFinally, install two plugins to the Twilio CLI.
Flex Plugin extension for the Twilio CLI:
twilio plugins:install @twilio-labs/plugin-flexServerless Plugin extension for the Twilio CLI:
twilio plugins:install @twilio-labs/plugin-serverlessRun twilio flex:plugins --help and twilio serverless --help to see all the commands we currently support. For further details on CLI Plugins refer to our documentation on the Twilio CLI Plugins Docs page.
Start Flex using the Chrome browser, to create a new, full copy of the Twilio Flex Strings object. Once Flex is loaded, open the Chrome Developer Tools, and type this into the console:
copy(Twilio.Flex.Manager.getInstance().strings)Open the en-US.private.json file in the default/assets directory, remove all existing lines and paste in the contents of the clipboard. Save and close the file.
Make a copy of en-US.private.json file for every language to be used - samples for es-MX.private.json and fr-CA.private.json show the naming convention: {ISO Language and Country Code}.private.json
Translate all entries in the JSON file for the new language.
Alternatively, leverage the spreadsheet provided to create new language assets. See worksheet for details and instructions.
In the default directory, deploy the Serverless Function and Assets.
twilio serverless:deploy --override-existing-projectNote the Domain displayed in the command output. Copy this value.
In the base project directory copy the .env.sample file to .env, and add this value (from the previous step):
FLEX_APP_FUNCTIONS_BASE=https://YOUR-DOMAIN.twil.io
In the base project directory, deploy the Flex Plugin.
twilio flex:plugins:deploy --changelog "add your comment"Note the instructions in the command output - the next command to run is supplied. Copy and paste it, and run it to activate this release of the Plugin.
There are comments in the source code for src/FlexLocalizationPlugin.js describing how to determine which Language Asset file to load. Review those, and the rest of the code, and configure Flex Users with their language settings.
Close all browsers with Flex running, and open a new browser window to start Flex.
For further reference see Flex Localization and Templating
If necessary, run npm install twilo-flex-token-validator for dependencies in both base project directory and the default directory!
No warranty expressed or implied. Software is as is.

