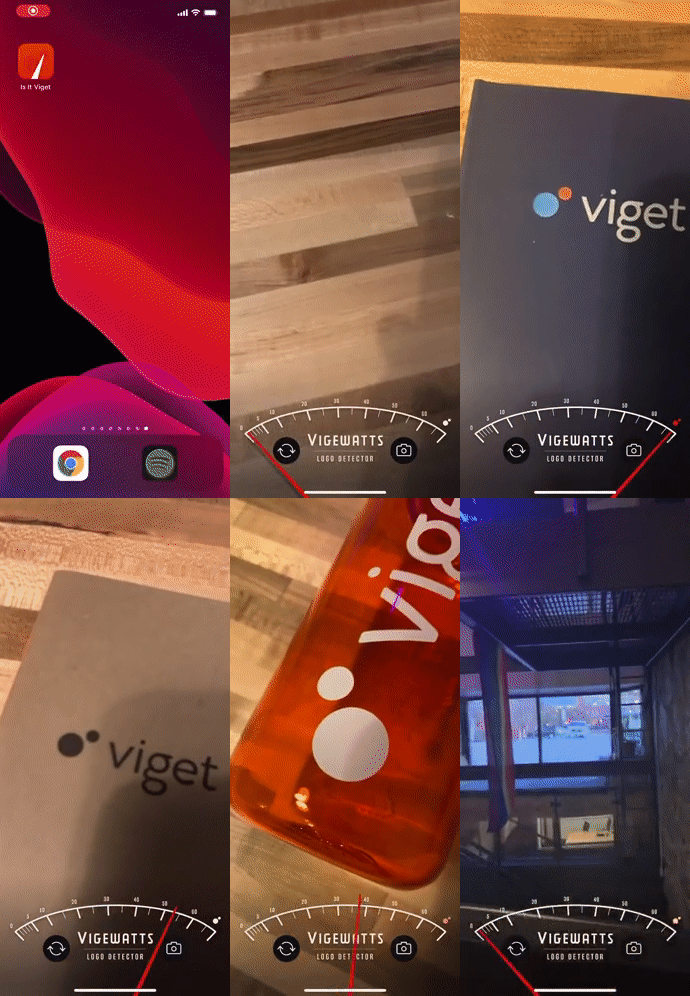
Is It Viget is a small ML-driven demo project created for two Viget.com articles:
This readme covers managing and updating the app. To learn more about building the app, read the articles above!
Open the /ios directory in Xcode to work on the app.
- Open Xcode, then go to Xcode > Open Developer Tool > Create ML
- Inside Create ML, open
model/VigetLogoClassifier.mlproj - Click "Add"
- Set your new classifier's input to
model/data - Set "maximum iterations" to 40
- Click "Train"
- Once finished:
- Drag the file from "Output" out onto your Desktop
- Rename it to
VigetLogoClassifier.mlmodel - Import it into Xcode, replacing the existing model
If you want to test your model before adding it to the app, do the following after the "Add" step:
- Before dragging
/models/dataover, remove ~30 images from each directory and move them to adata-testingfolder with the same structure. - Select this folder as your "Test Data"
- Continue the training steps
Images are scaled down significantly when training, so you can safely shrink them before this step to save on file size. This requires installing imagemagick on your computer.
To add data to the training set, do the following:
- Add your photos to
model/data/VigetLogoormodel/data/NotViget - Run
./bin/resize-model-images. This does two things:- Resizes all images to rectangles measuring 299px on the smallest side, and if not already a JPG, saves a new copy as a JPG
- Deletes all non-JPG files from the directory.
Note that images imported into the Create ML project are automatically cropped to square — your logo must be in the center square of the image. To quickly check that your images are correct:
- Run
./bin/test-model-image-crop - Open the
./model/data-cropped/VigetLogofolder and visually review images. This folder is gitignored and replaced each time you run the command, so don't worry about deleting it after.
The design file design/IsItViget.afdesign can be opened with Affinity Designer.
All artboards have been exported to design/exports as PDFs, and slices should already be set up with the correct configs.
The three fonts used are:
- Yesteryear (Google)
- Ansley (Behance, via Kady Jesko)
- Built Titling (Typodermic Fonts)
You'll need to install these before opening the .afdesign file.
Export the AppIcon slice from Affinity Designer (1024x1024, JPG) and use https://appicon.co to generate the app icon.
- Uncheck everything except "iPhone" and "iPad"
- Upload the icon
- Click "Generate"
- Open the ZIP to find the
AppIcon.appiconsetfolder - In Xcode, open the
Assets.xcassetsfolder and delete the existingAppIcon. - Drag the
AppIcon.appiconsetfolder into your assets.
To distribute the app internally, check out the release branch and read the details at the end of the README.md.
