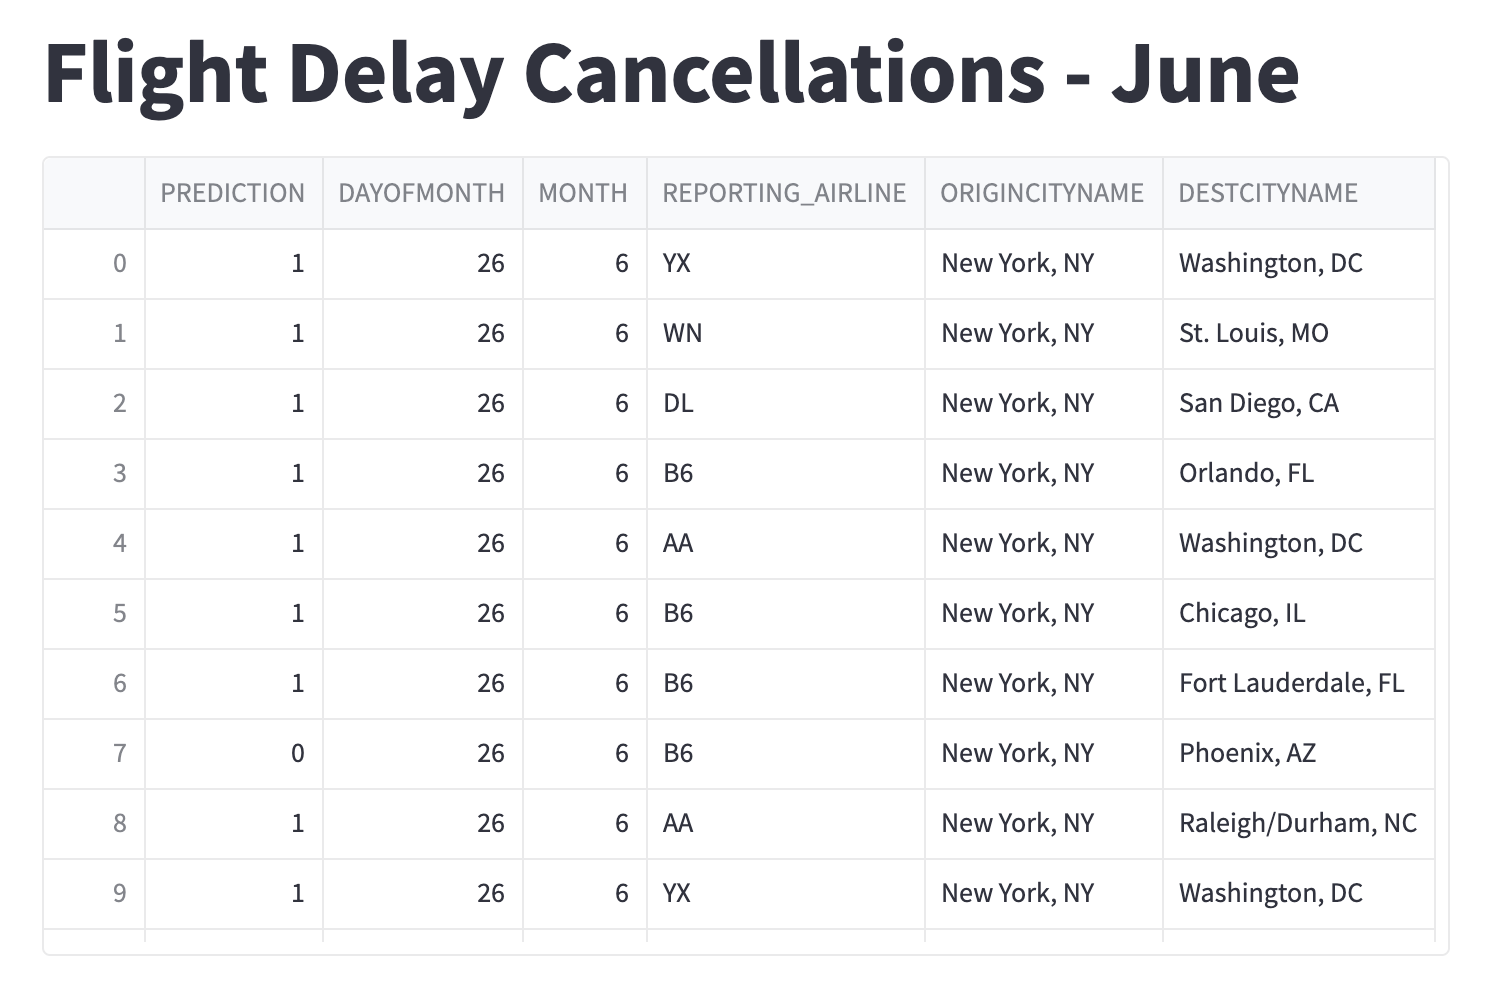
This repo will build an end-to-end machine learning application that trains a model that can predict if a flight will be cancelled. The various workflows are managed by Apache Airflow running in a local instance, powered by Astronomer's astro cli.
The final result is a Streamlit Application that can make a cancellation prediction for on a randomly selected flight.

There are 2 specific prerequisites you need to run this repo:
- A Docker Engine. Docker Desktop or Colima both work with the Astro CLI.
- The Astro CLI
Here are the steps to follow to get this project running:
-
$ git clone https://github.com/fletchjeff/airflow-flight-demo -
$ cd airflow-flight-demo
$ astro dev start -
Run The the project setup DAG to configure the minio buckets and the Postgres schema and tables. Open the Airflow UI at http://localhost:8080/
User:
admin
Password:adminYou should see 6 DAGs in the DAGs list, including
1_project_setup. Activate the1_project_setupDAG but clicking the slider next to the name.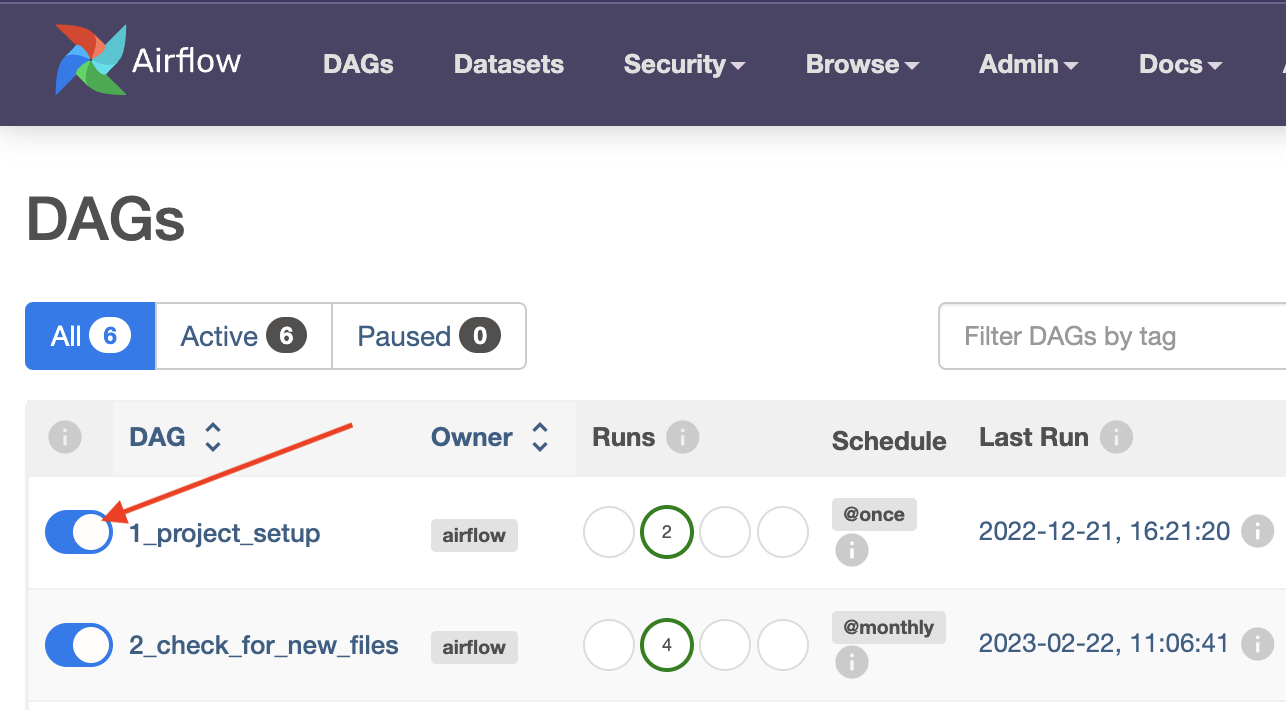
The
1_project_setupDAG only needs to be run once and will configure everything you need for the project. Once it’s complete, if you click on the1_project_setupname in the DAG list, you should see the following in the grid view.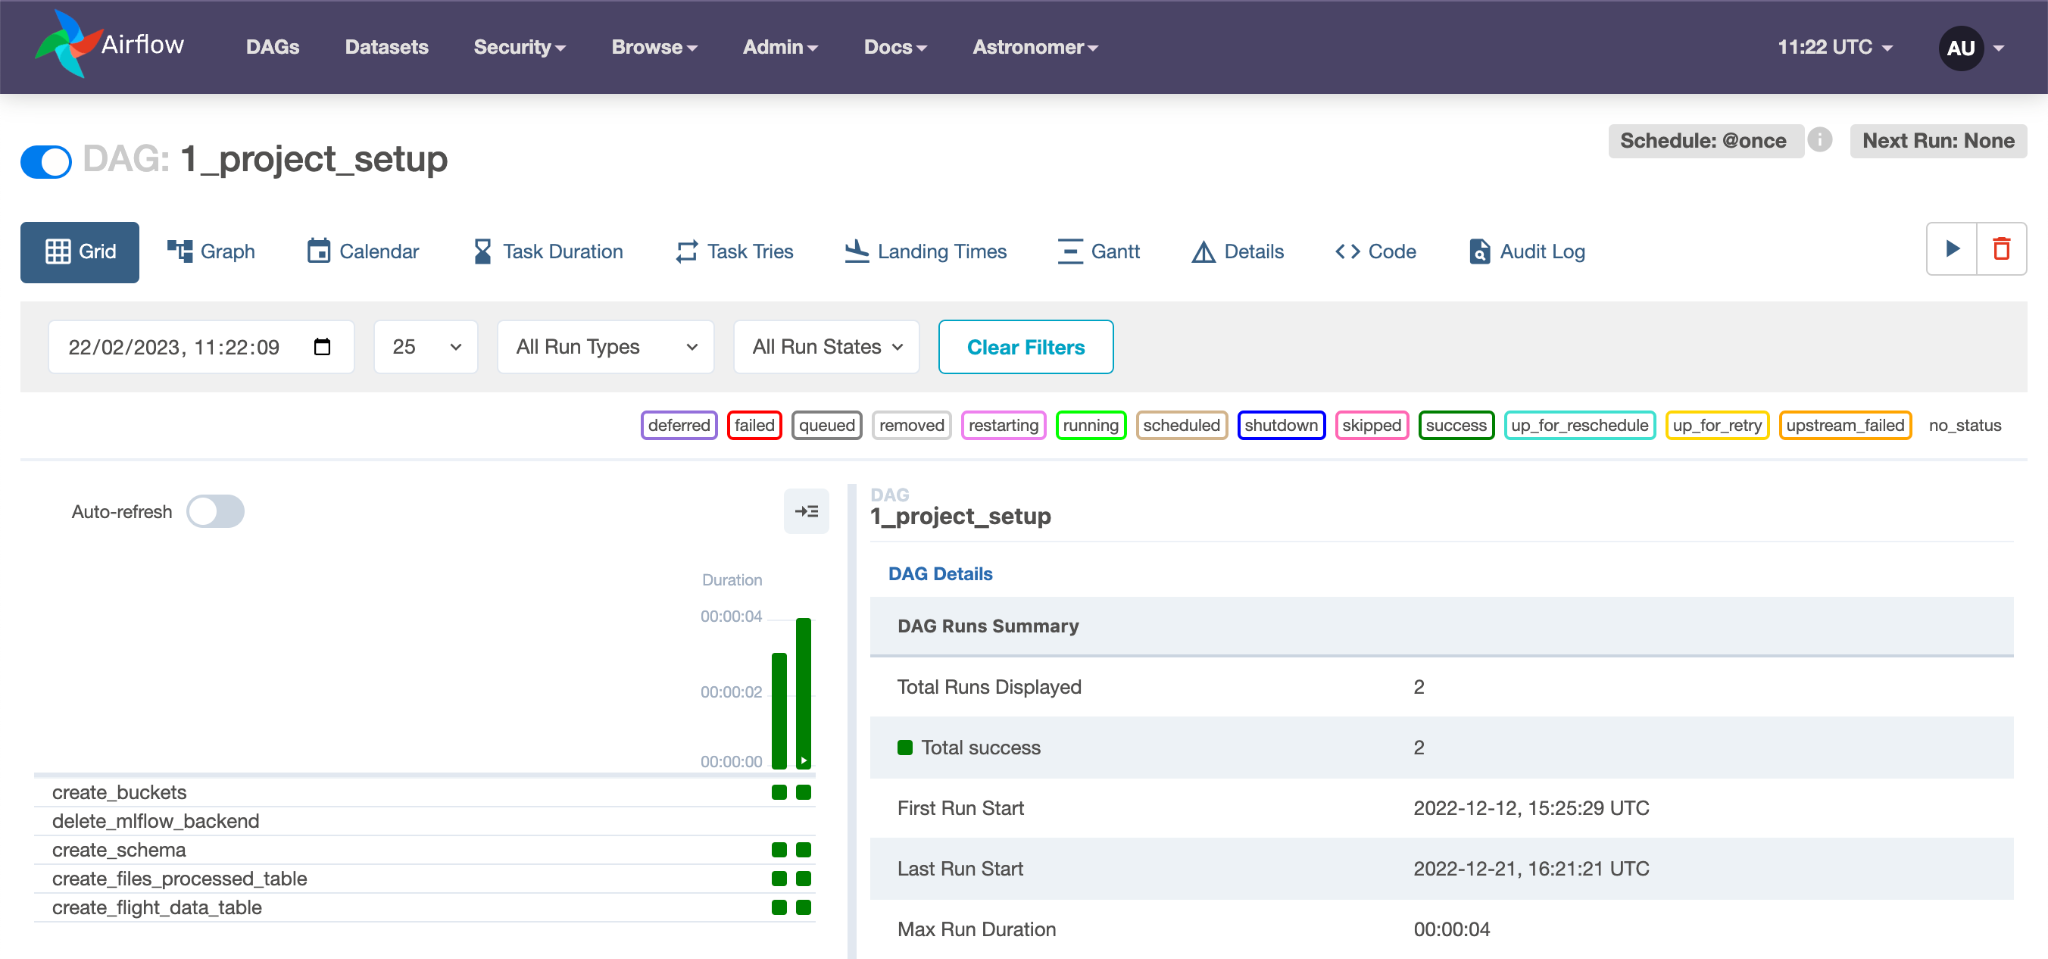
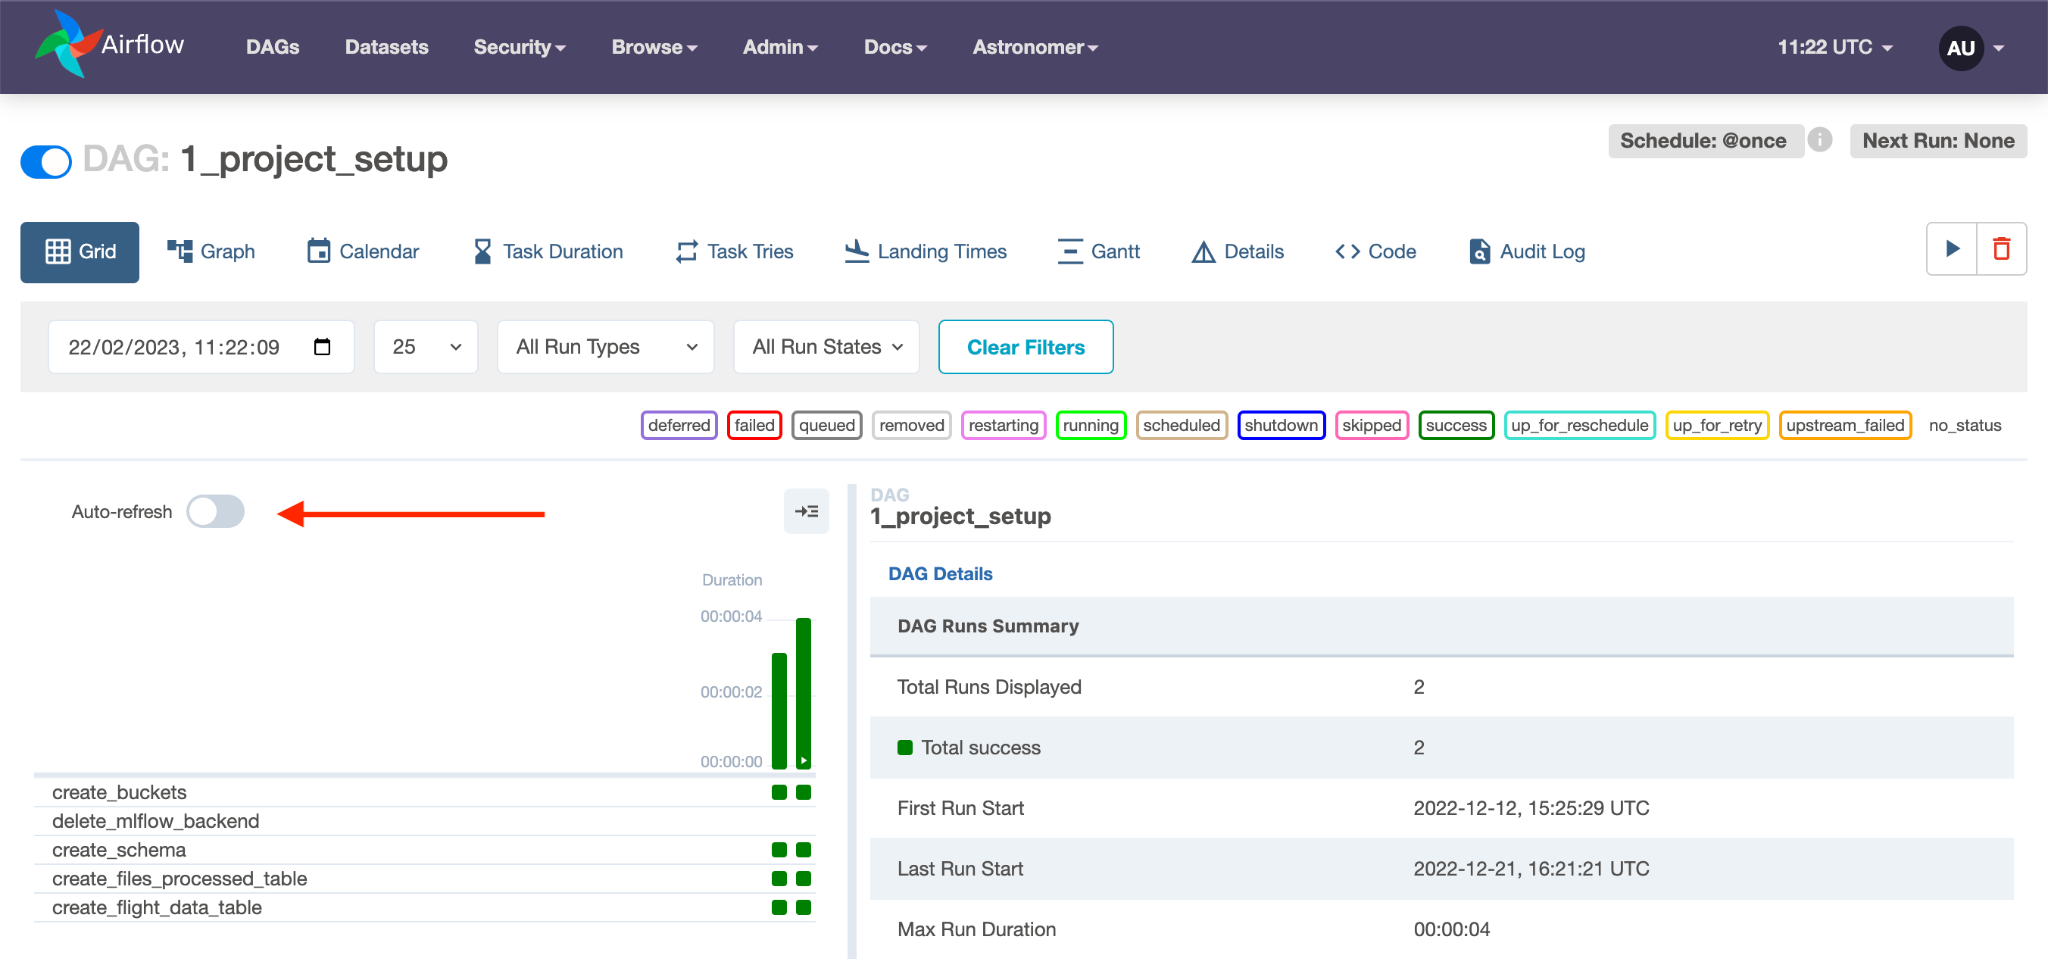
If its still running, enabling the Auto-refresh with the slider in the grid view will update the grid as the DAG completes the various tasks.
-
In the Airflow UI, you should see a DAG called
2_check_for_new_files. Make it and all the other DAGs active by clicking the slider next to its name: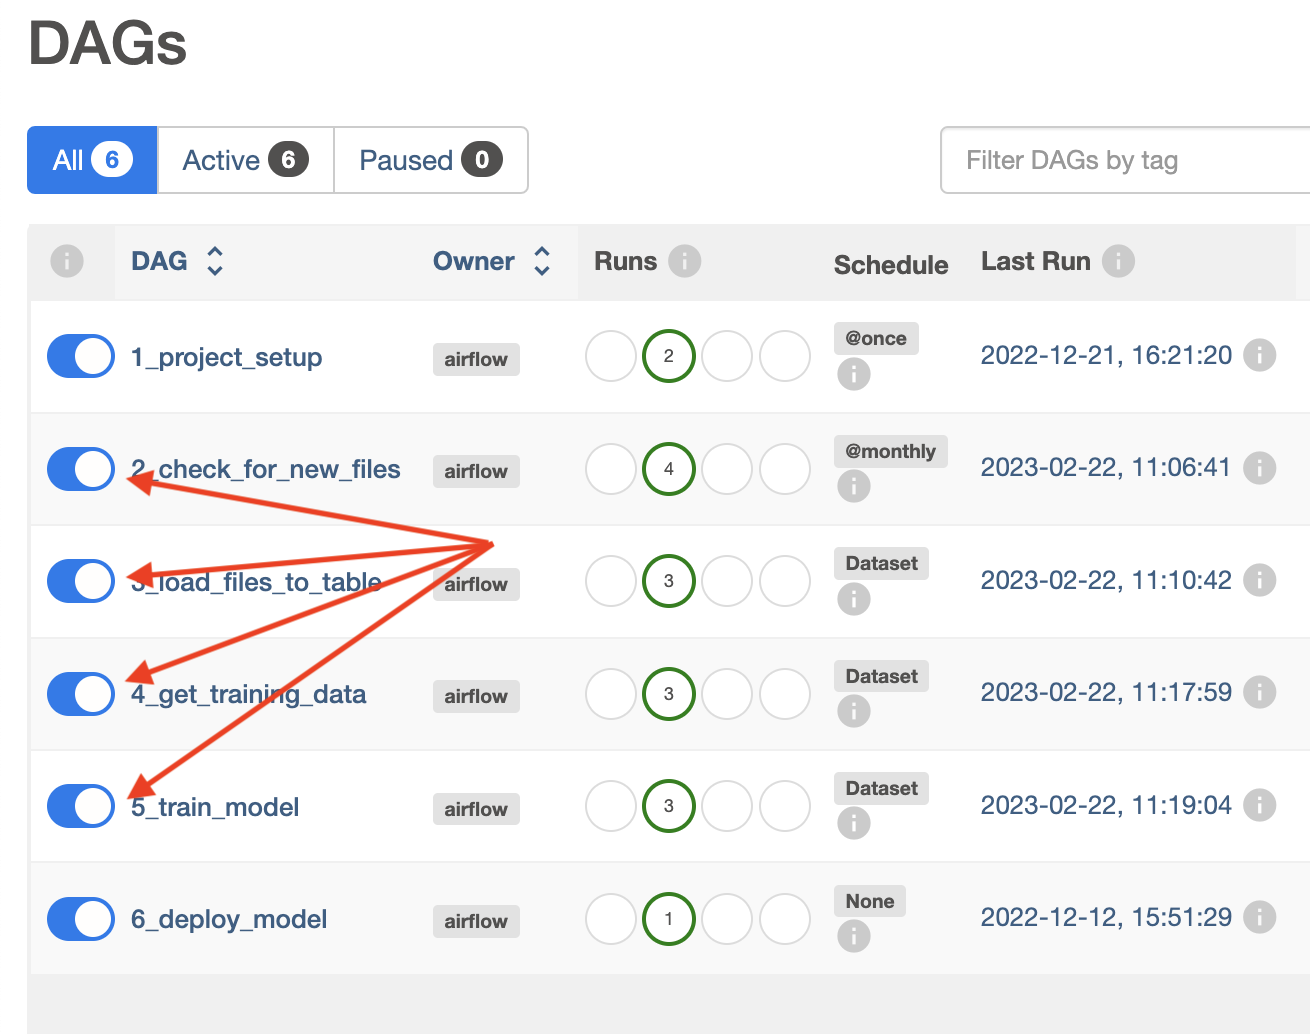
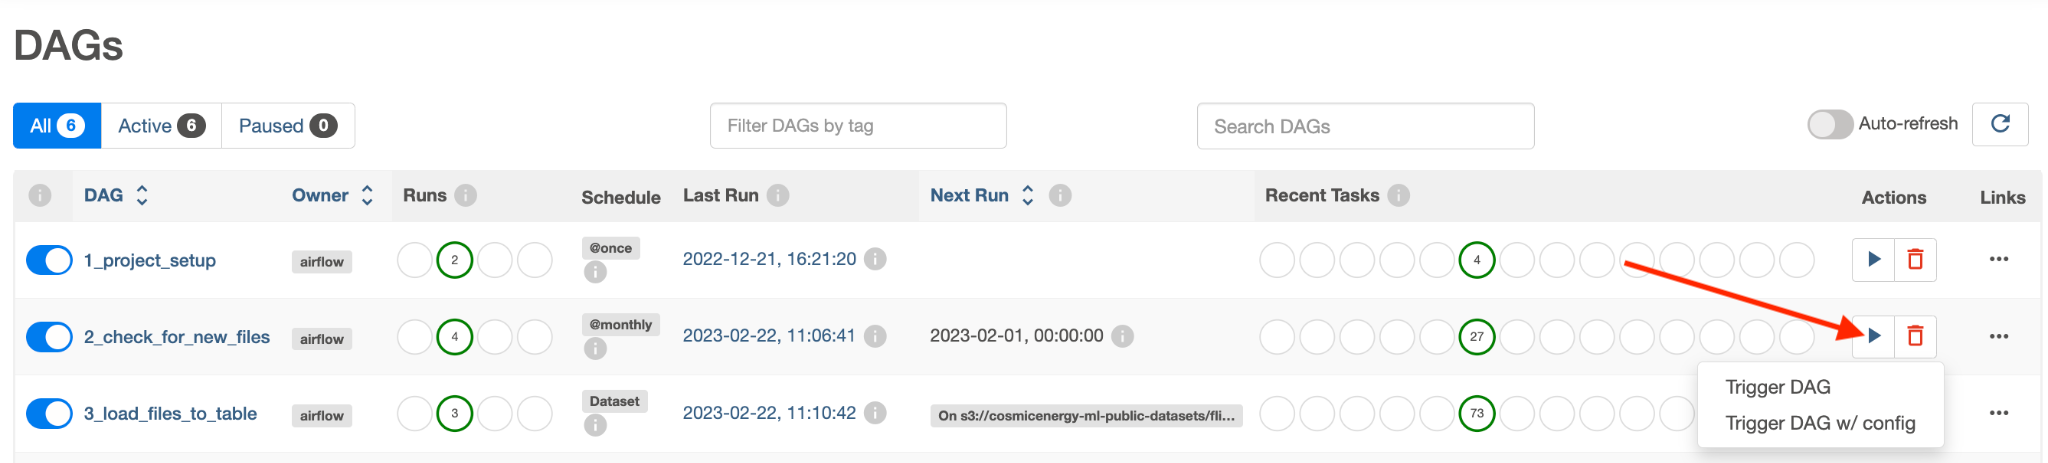
Click the play button next to the 2_check_for_new_files DAG's name to trigger the DAG run:
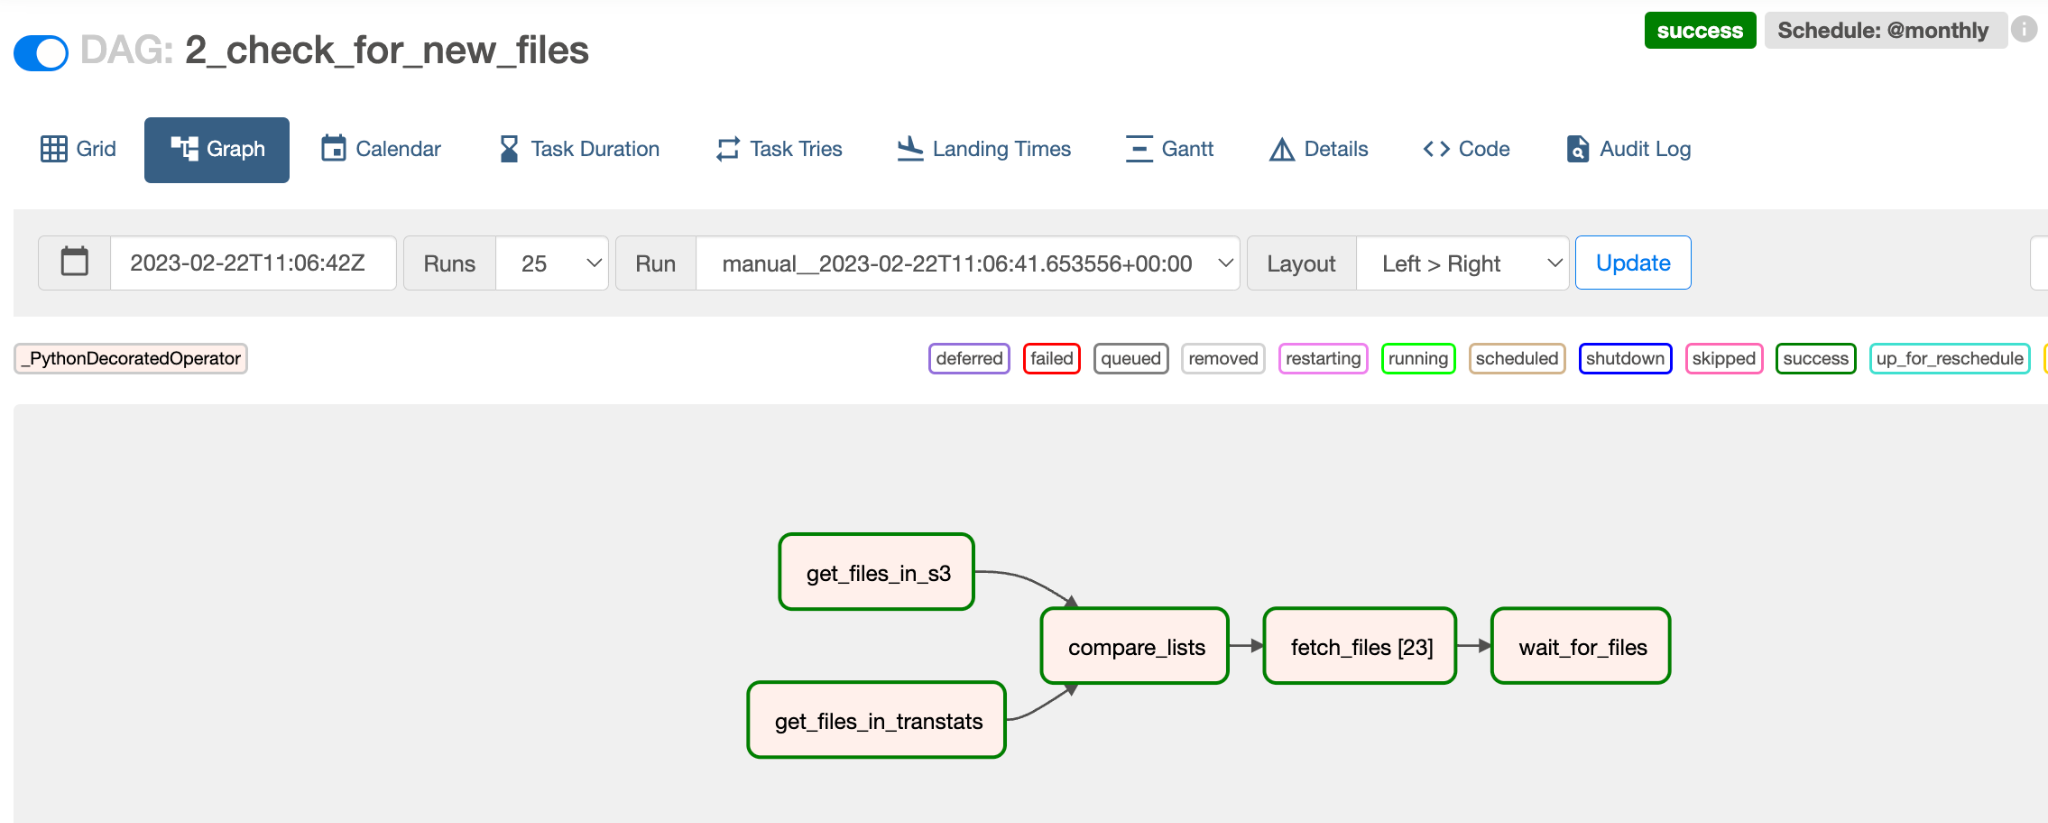
Click the DAG's name and then the Graph icon to see how it ran in the Graph view:
-
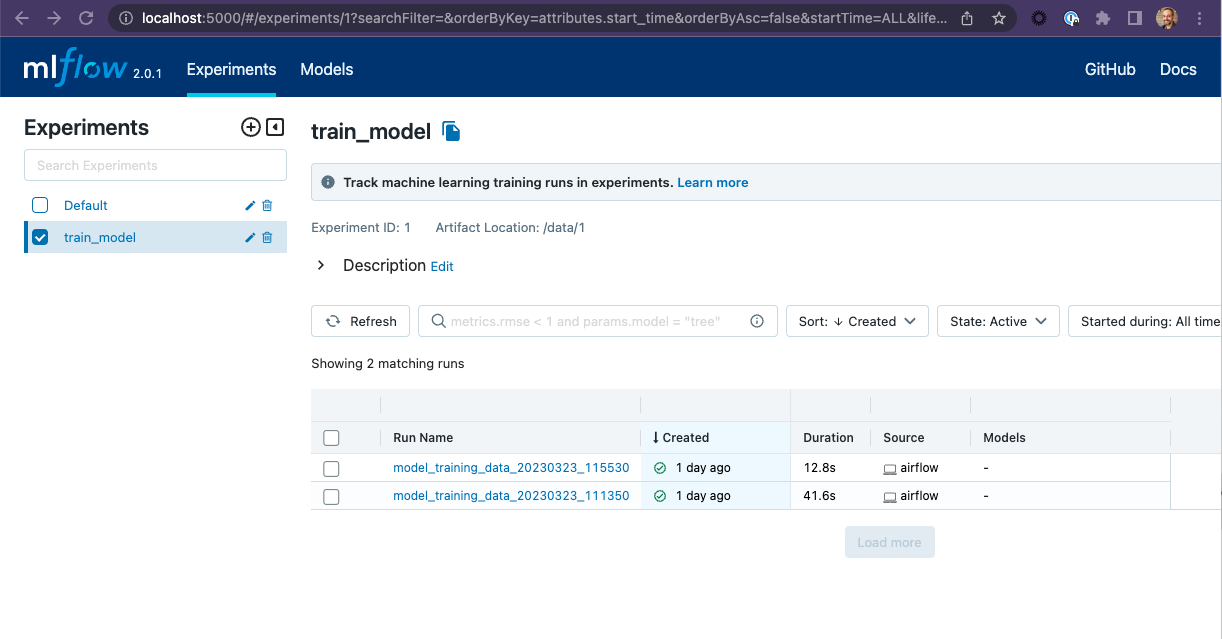
You can view the model training run details created by this code by connecting to the local MLFlow UI created when astro launches.
Open the MLFlow us at http://localhost:5000/
You can also view the files created for this tutorial by connecting to the local Minio console created when astro launches.
Open the Minio console at http://localhost:9001/login
User:minioadmin
Password:minioadmin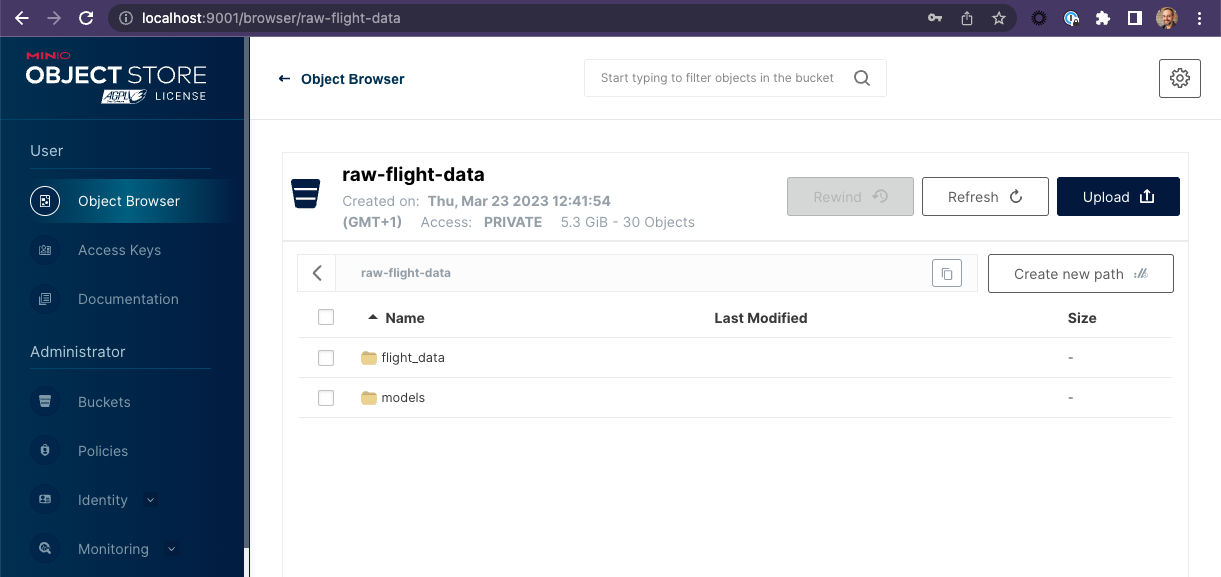
-
The final step is to view the Streamlit App. You can view the app at http://localhost:8501/