Getting started with Oracle Autonomous Linux distribution and how to configure to get autonomous updates notifications by email.
Oracle Linux executes autonmatic patch updates and tuning without human interaction. Autonomous Linux is based on Oracle Linux, which is binary-compatible with Red at Enterprise Linux.
Oracle Ksplice is the gist behind the zero downtime updates. It modifies the libraries at runtime directly on memory. The most of the updates are changes on the internal implementation, because in those cases there is no changes on data structures, Ksplice is able to do its magic.
The general steps are:
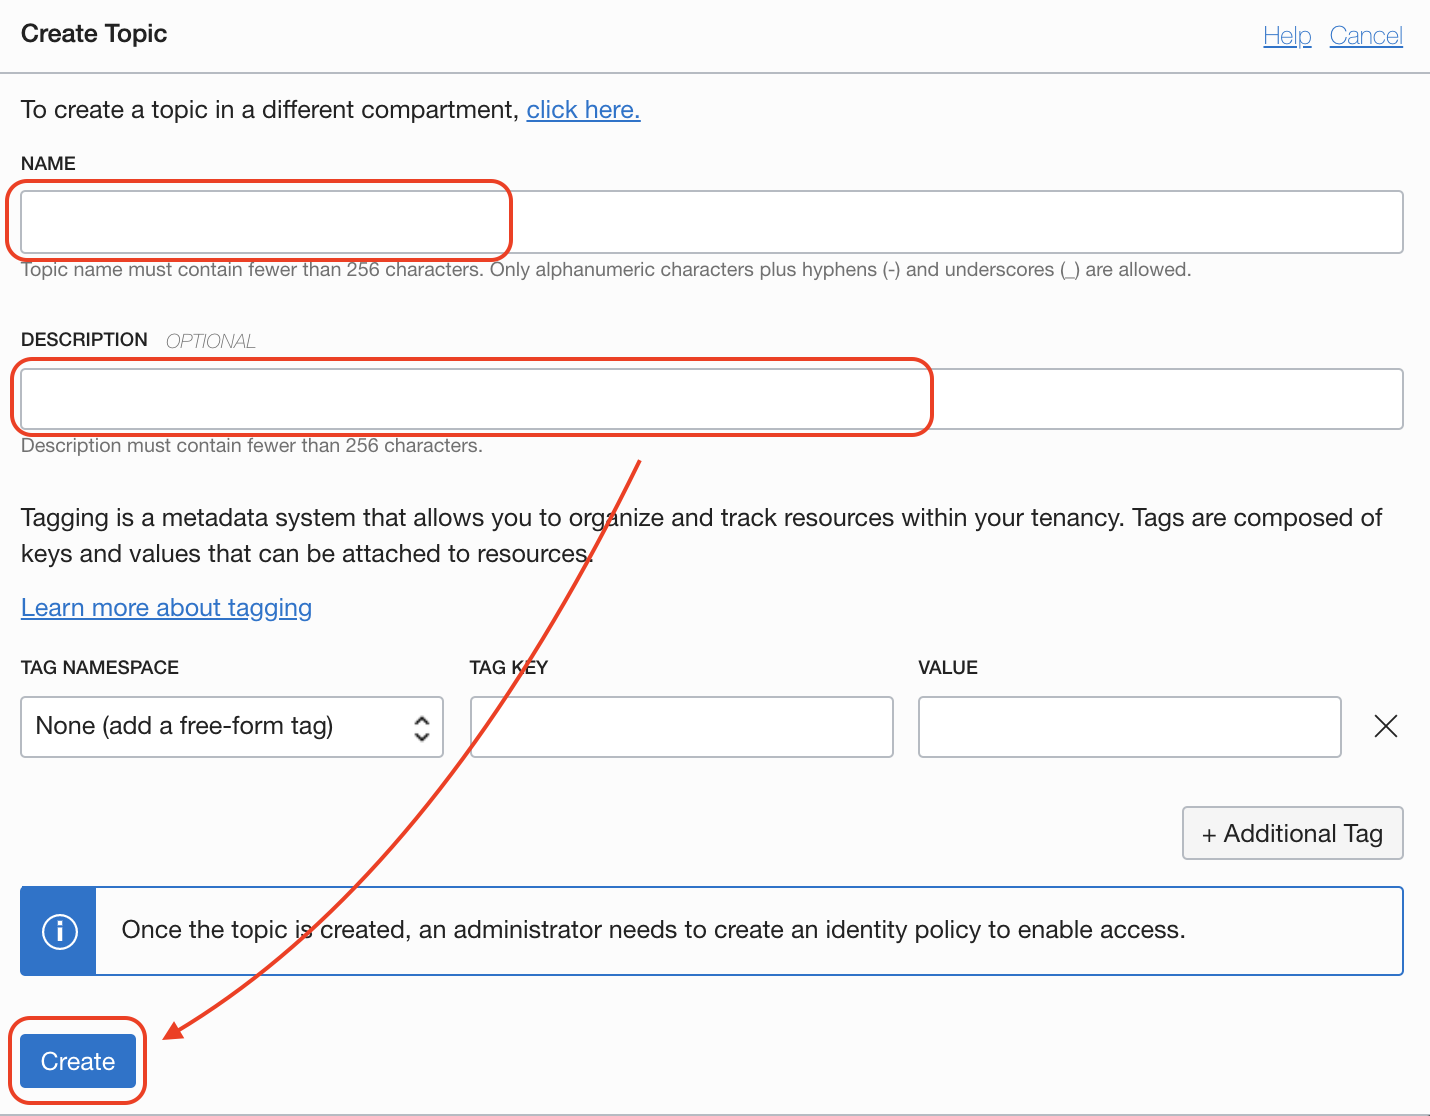
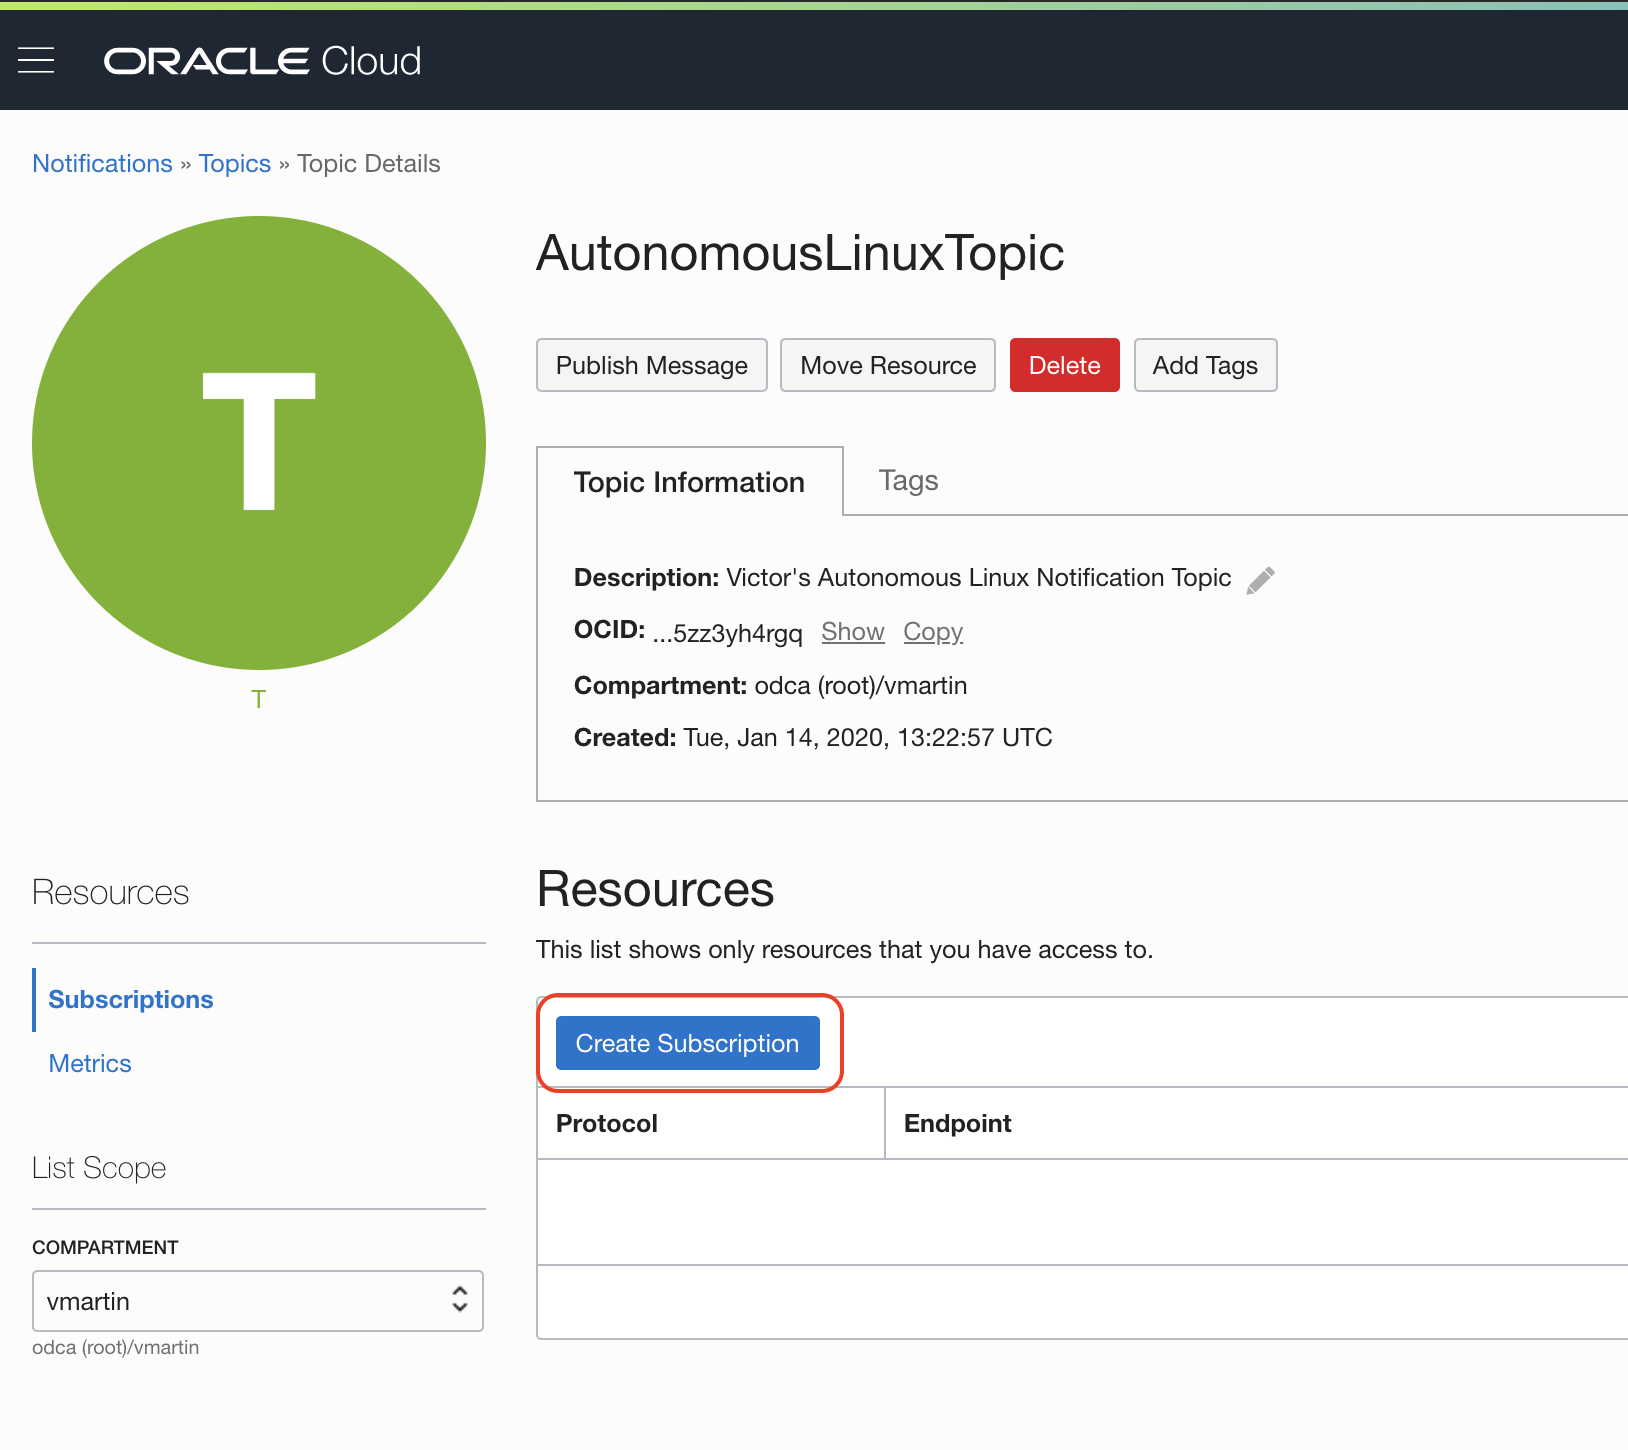
- Create a notification topic
- Create the policies to allow instances to send messages to topics
- Create our Autonomous Linux and configure it
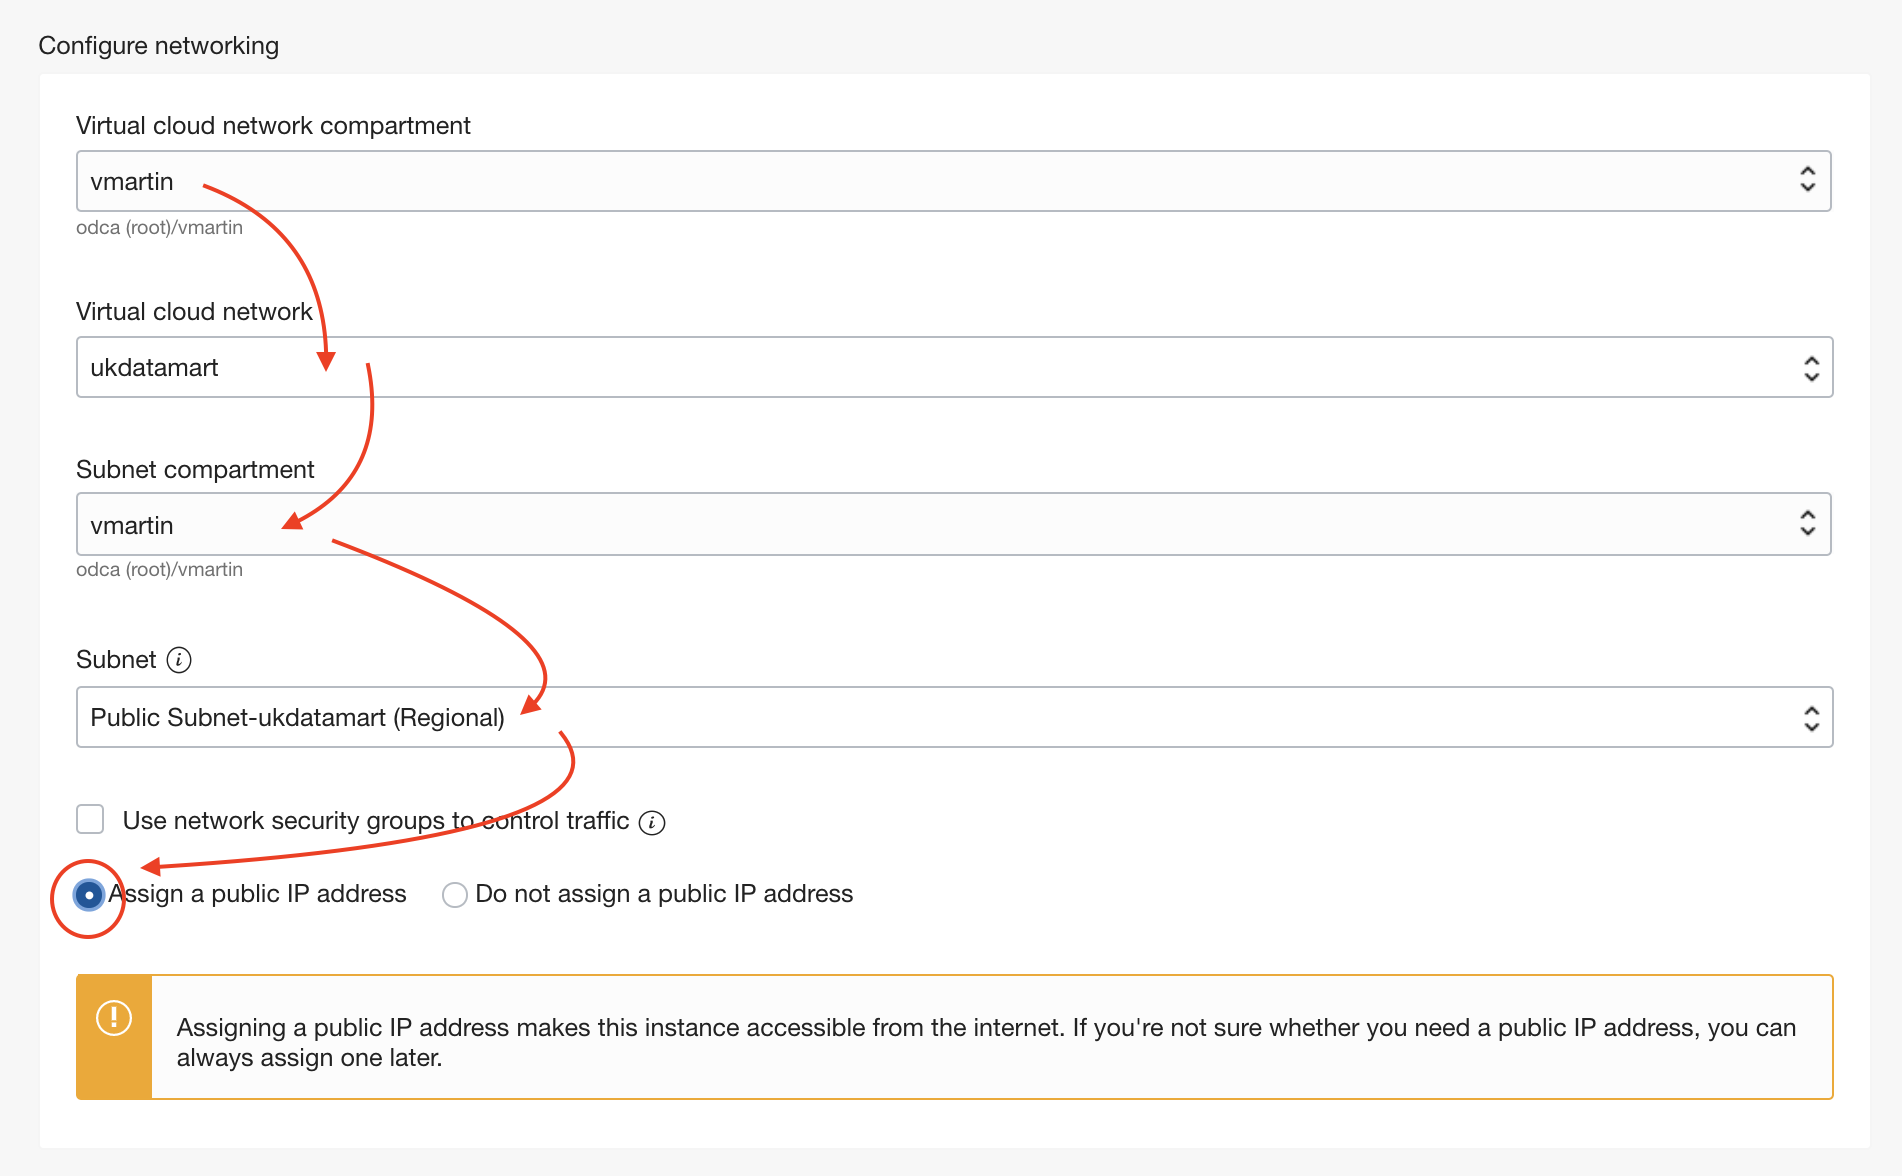
NOTE: You need to have a Virtual Cloud Network (VCN) created. VCN is the network fabric where other resources like compute instance will be place.
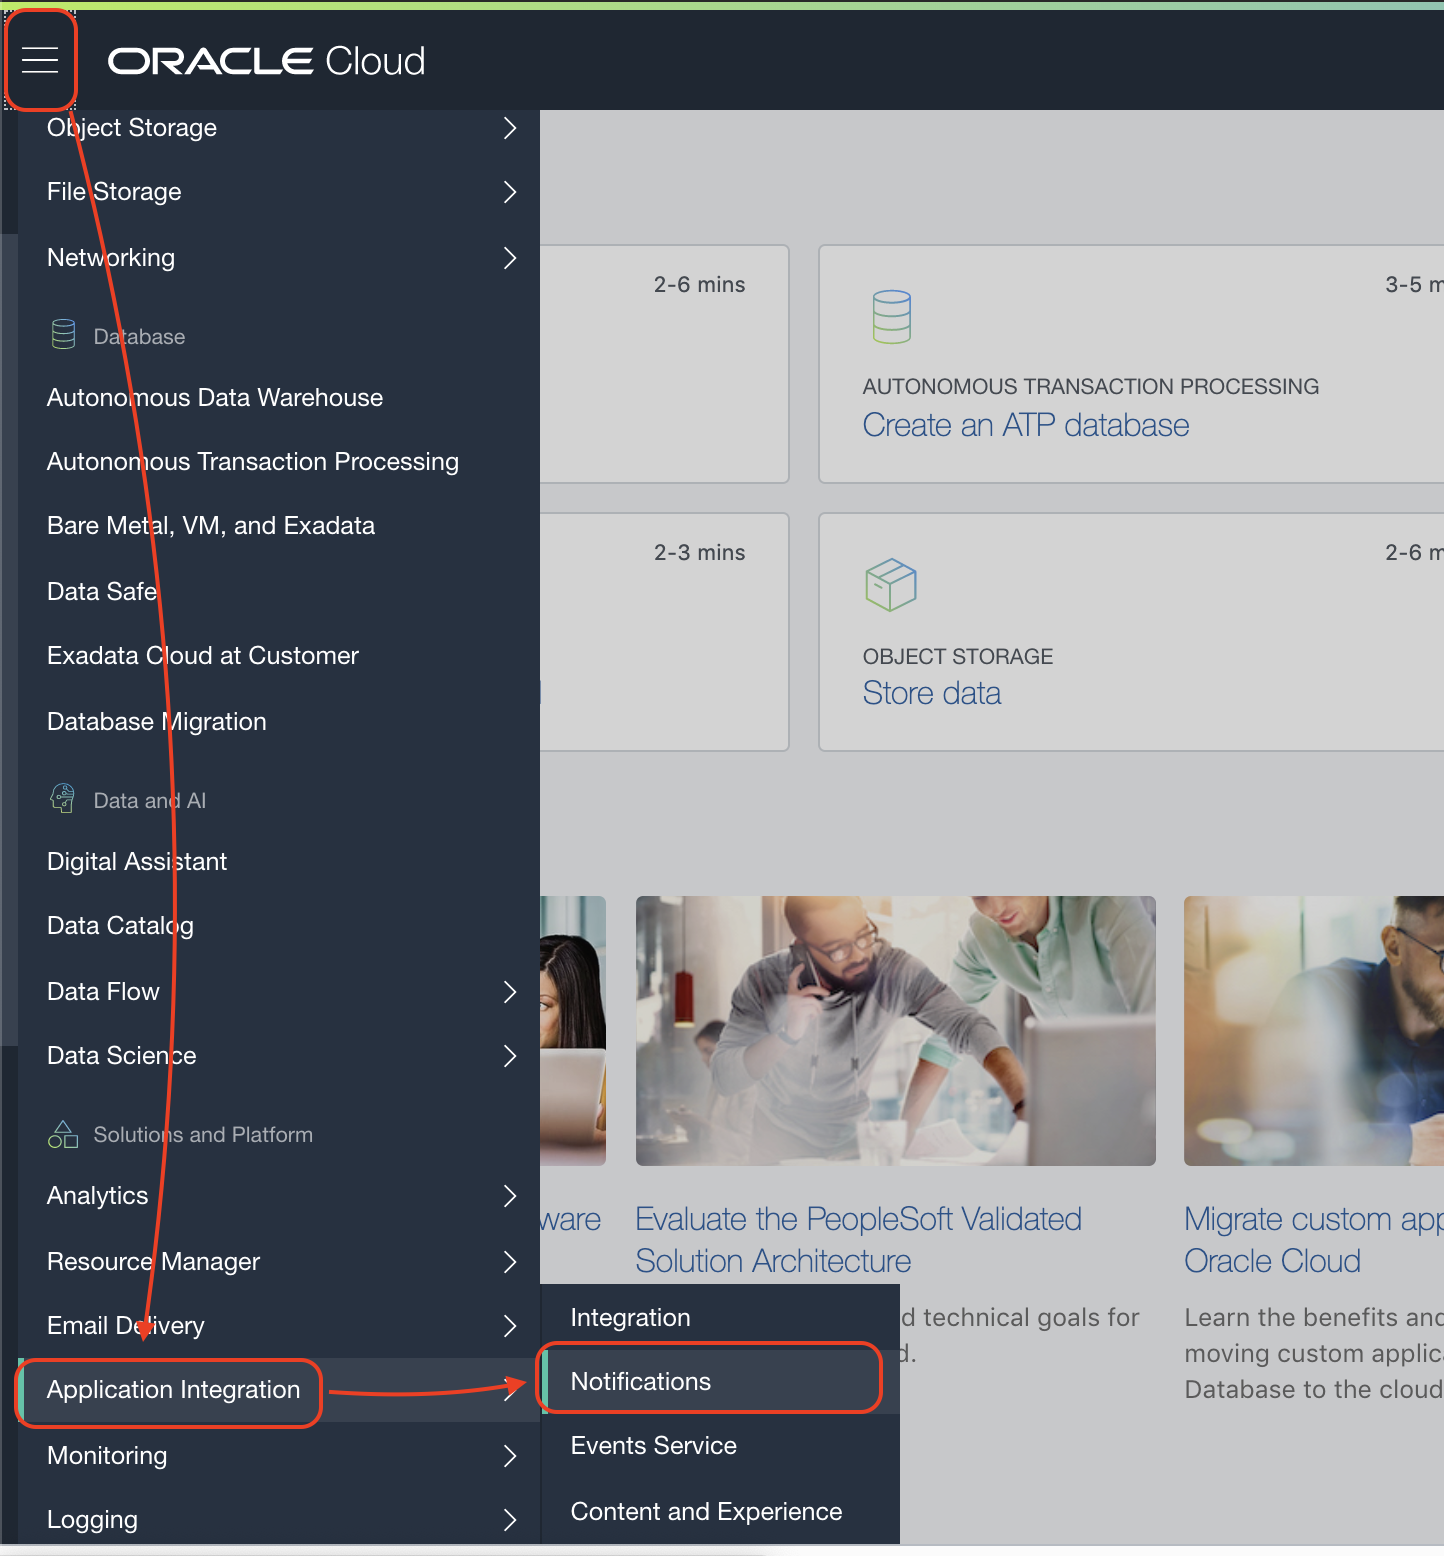
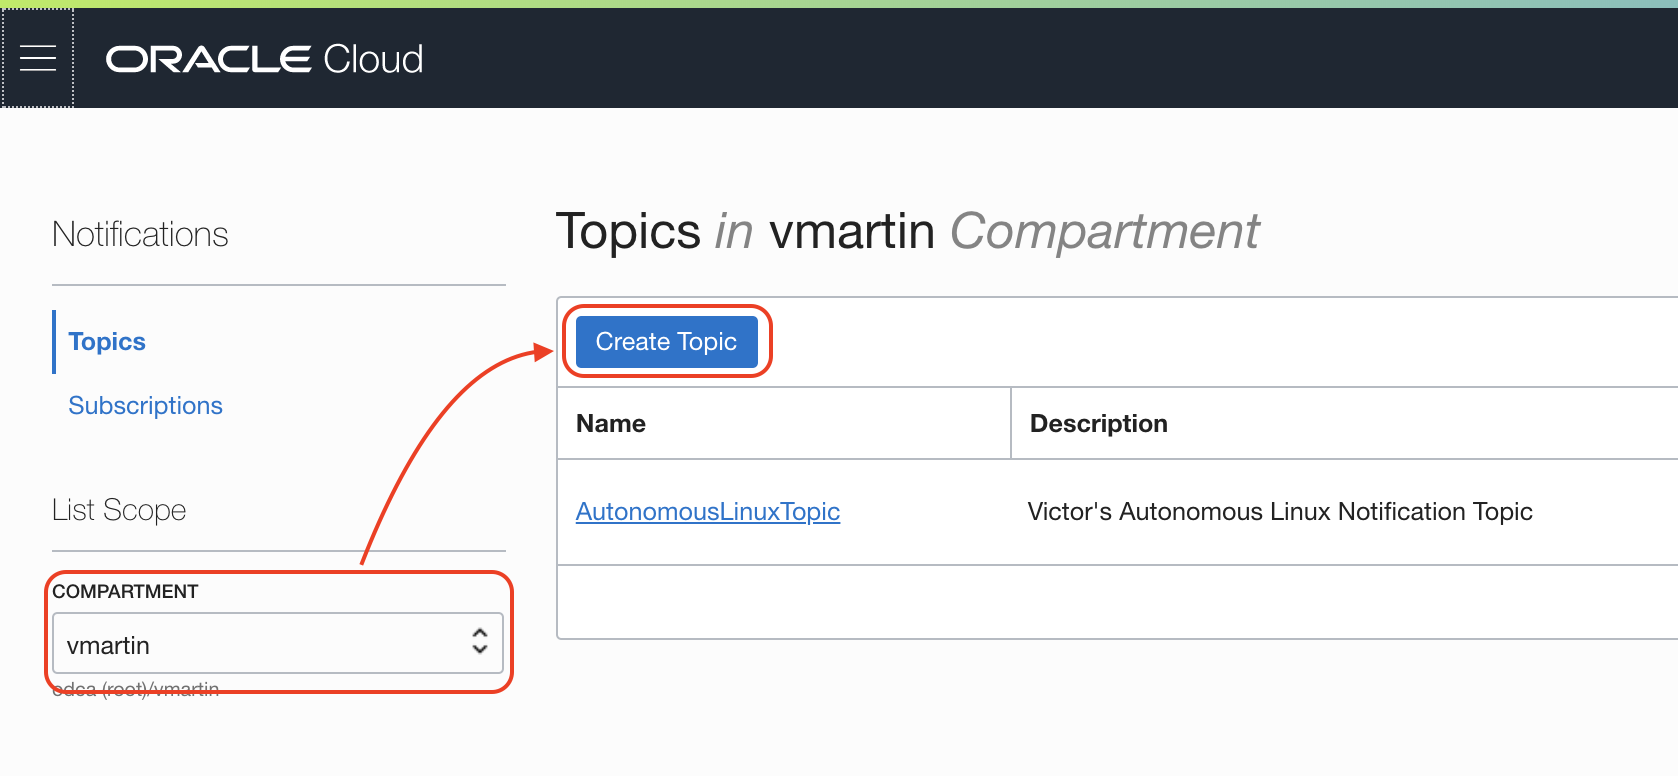
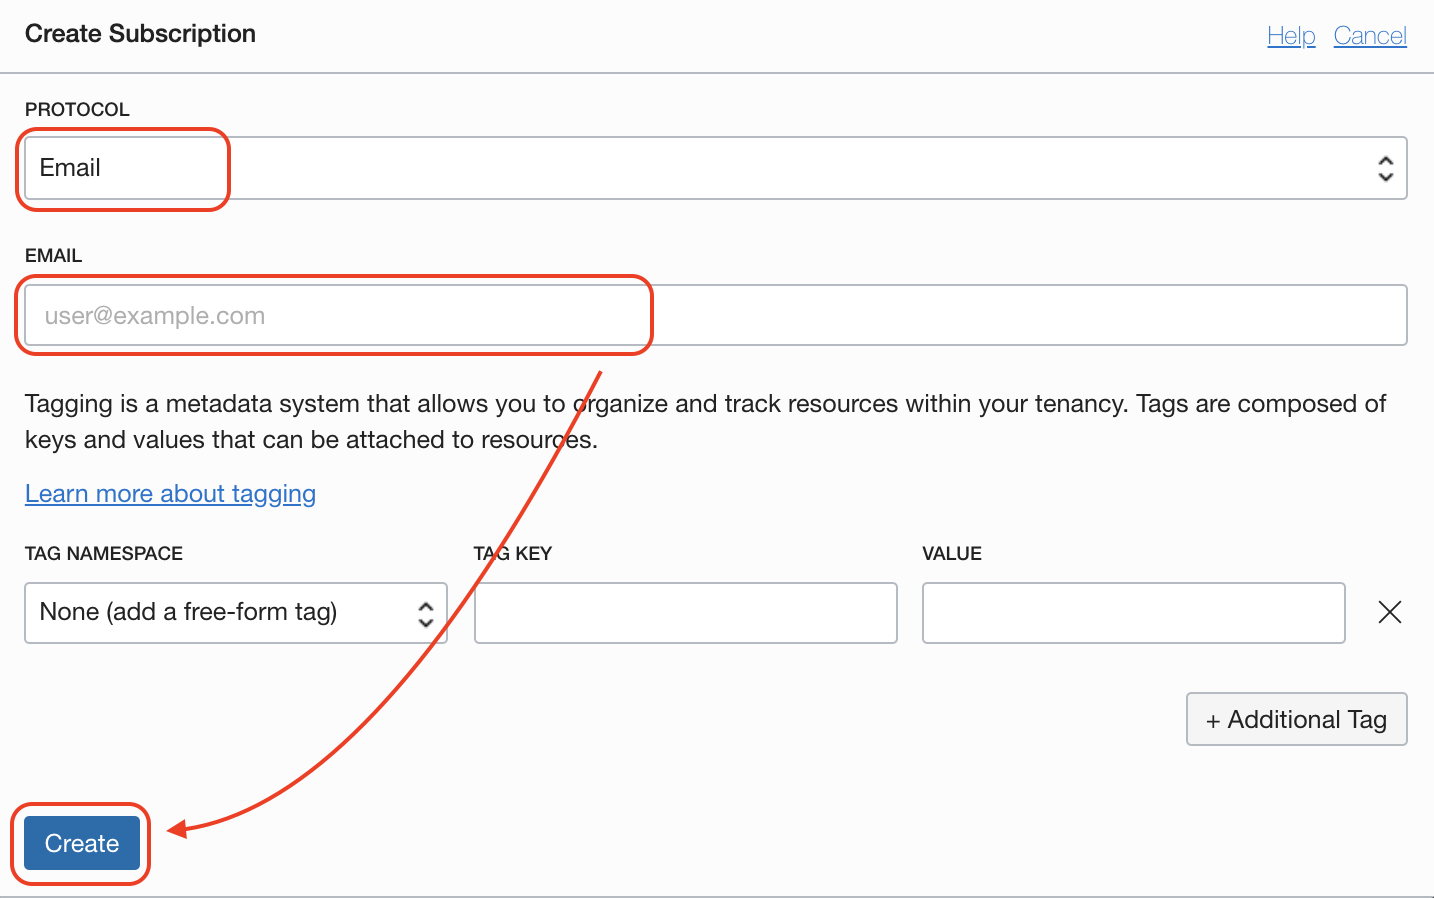
In order to create a notification topic go to Application Integration > Notification
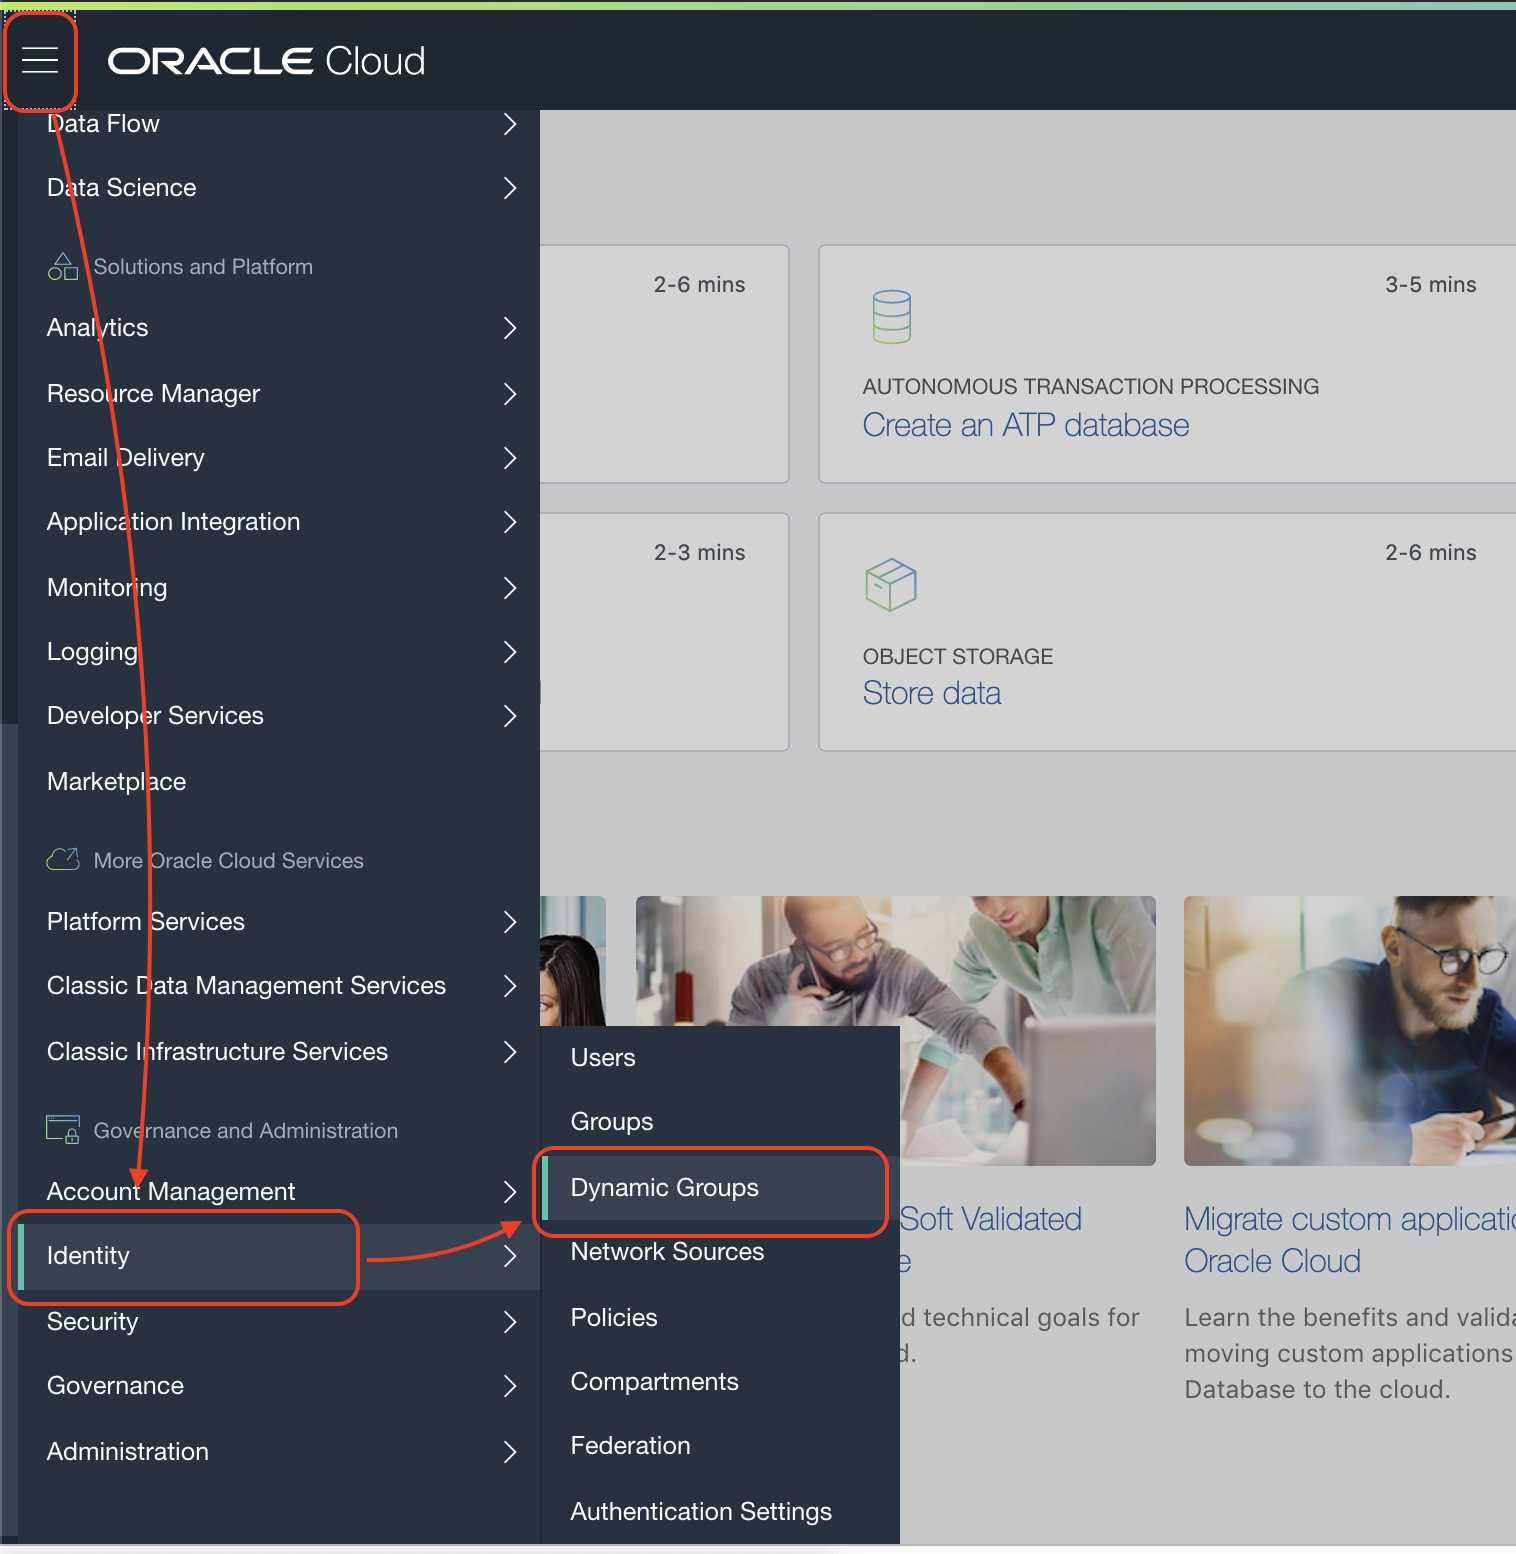
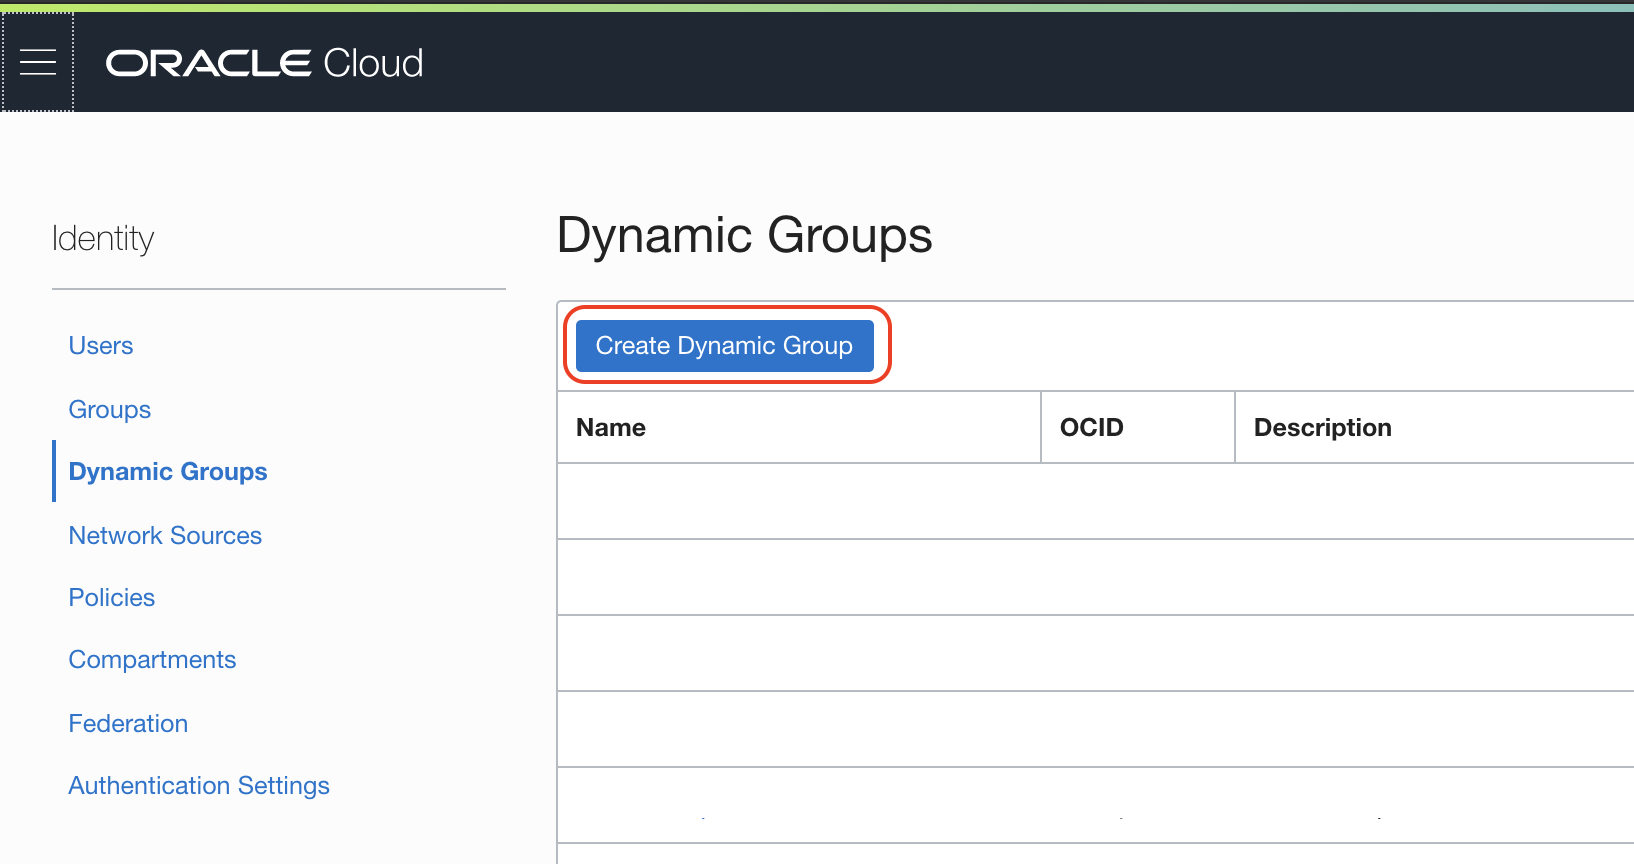
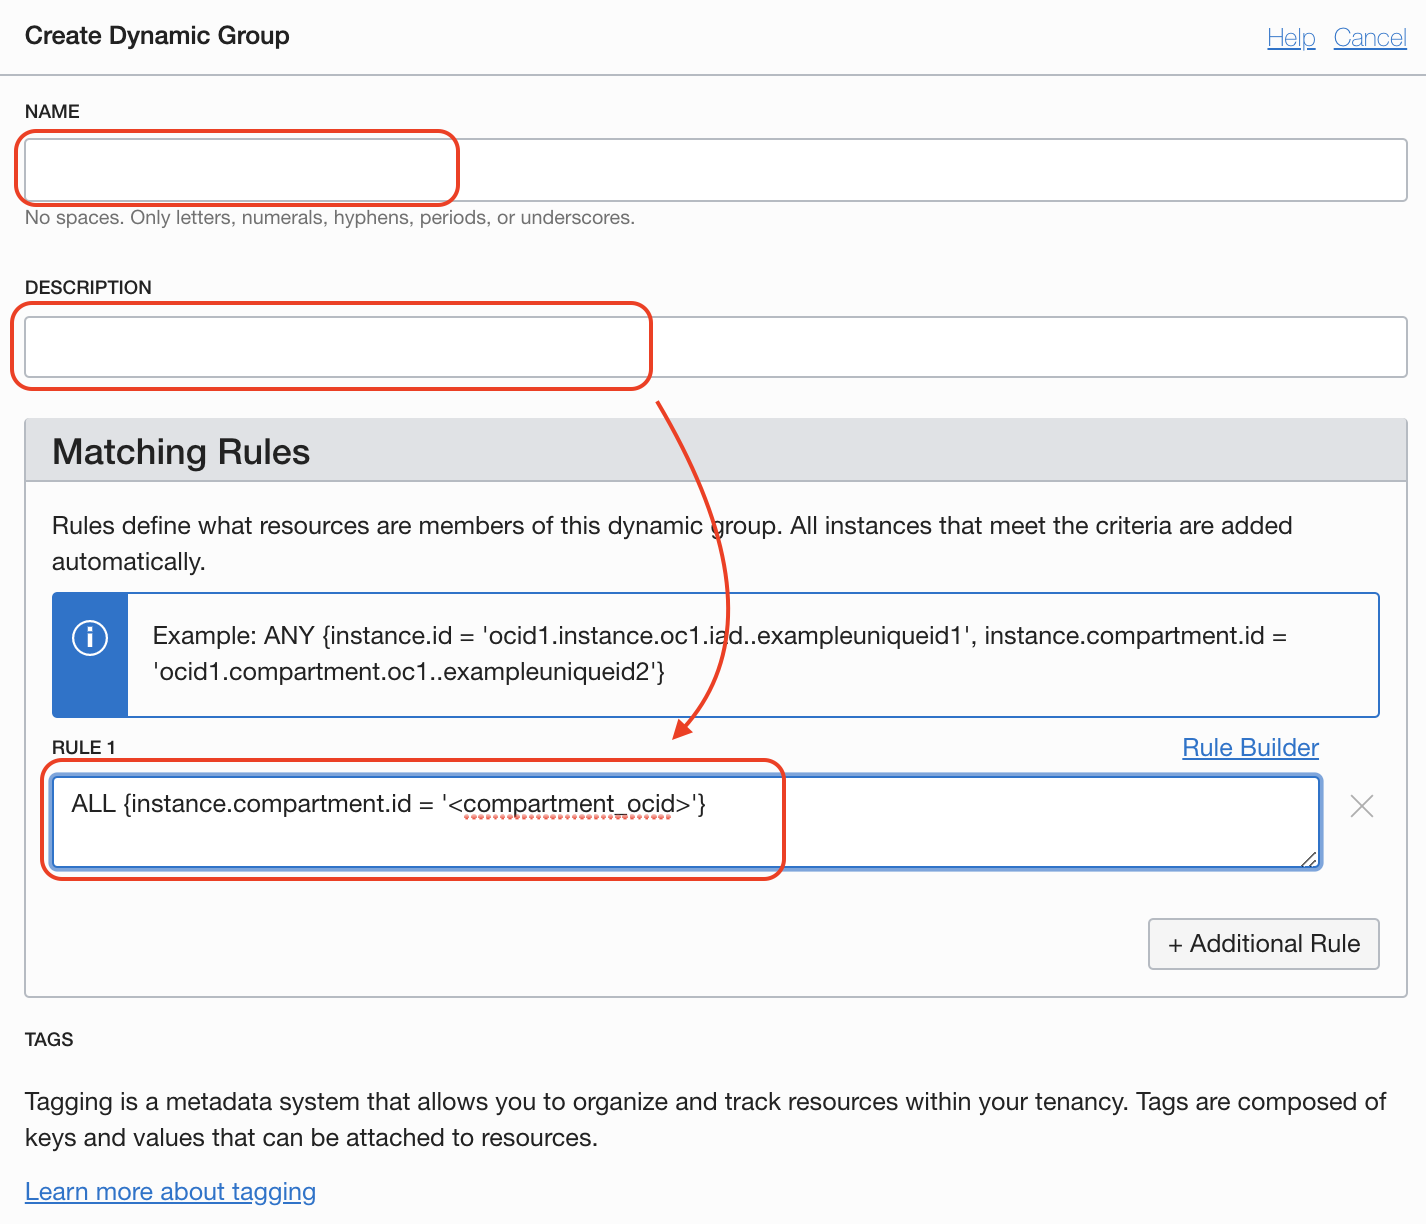
In order to create a dynamic group go to Identity > Dynamic Groups
You can copy the Rule 1 value from here:
ALL {instance.compartment.id = '<Compartment_OCID>'}Remember to replace the compartment OCID. The compartment OCID can be found in Menu > Identity > Compartment >
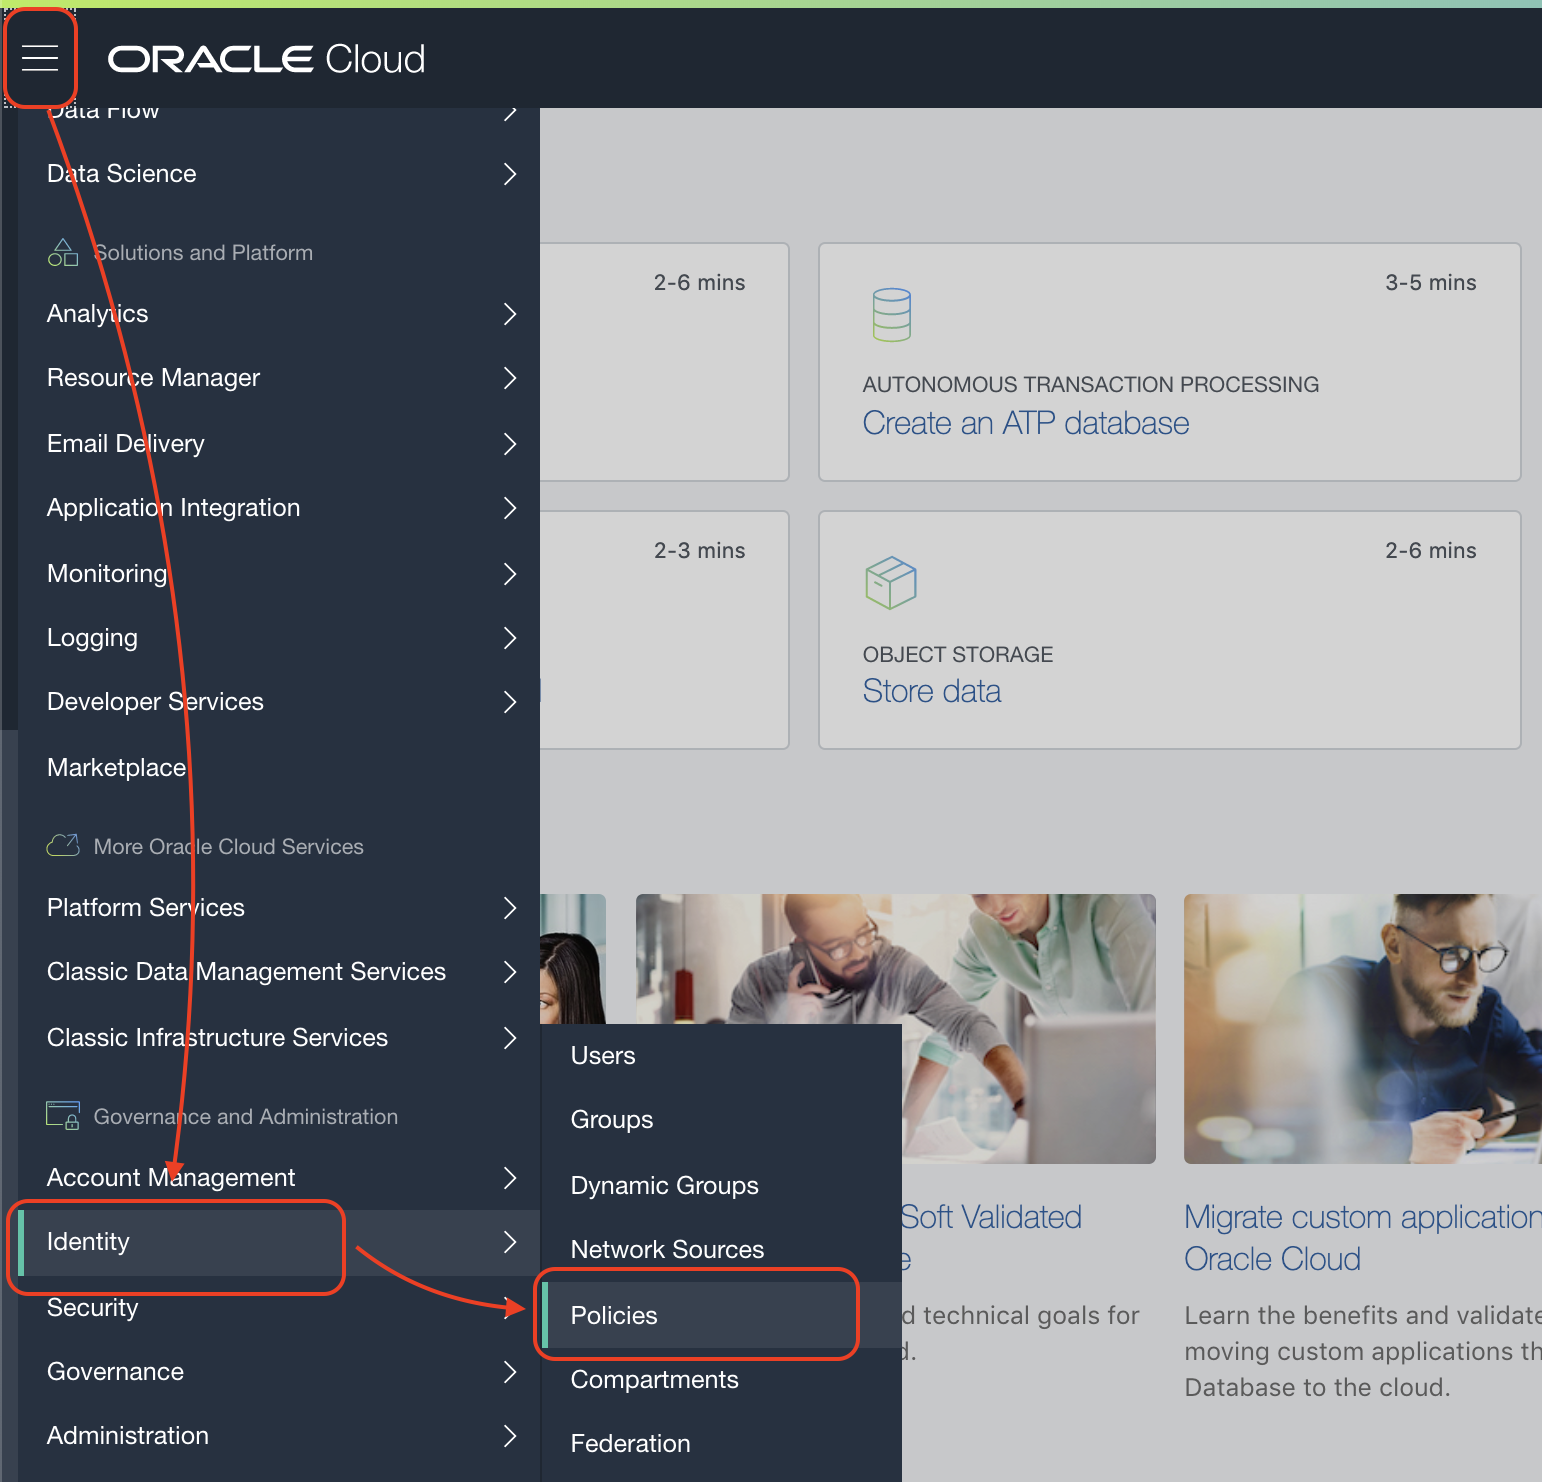
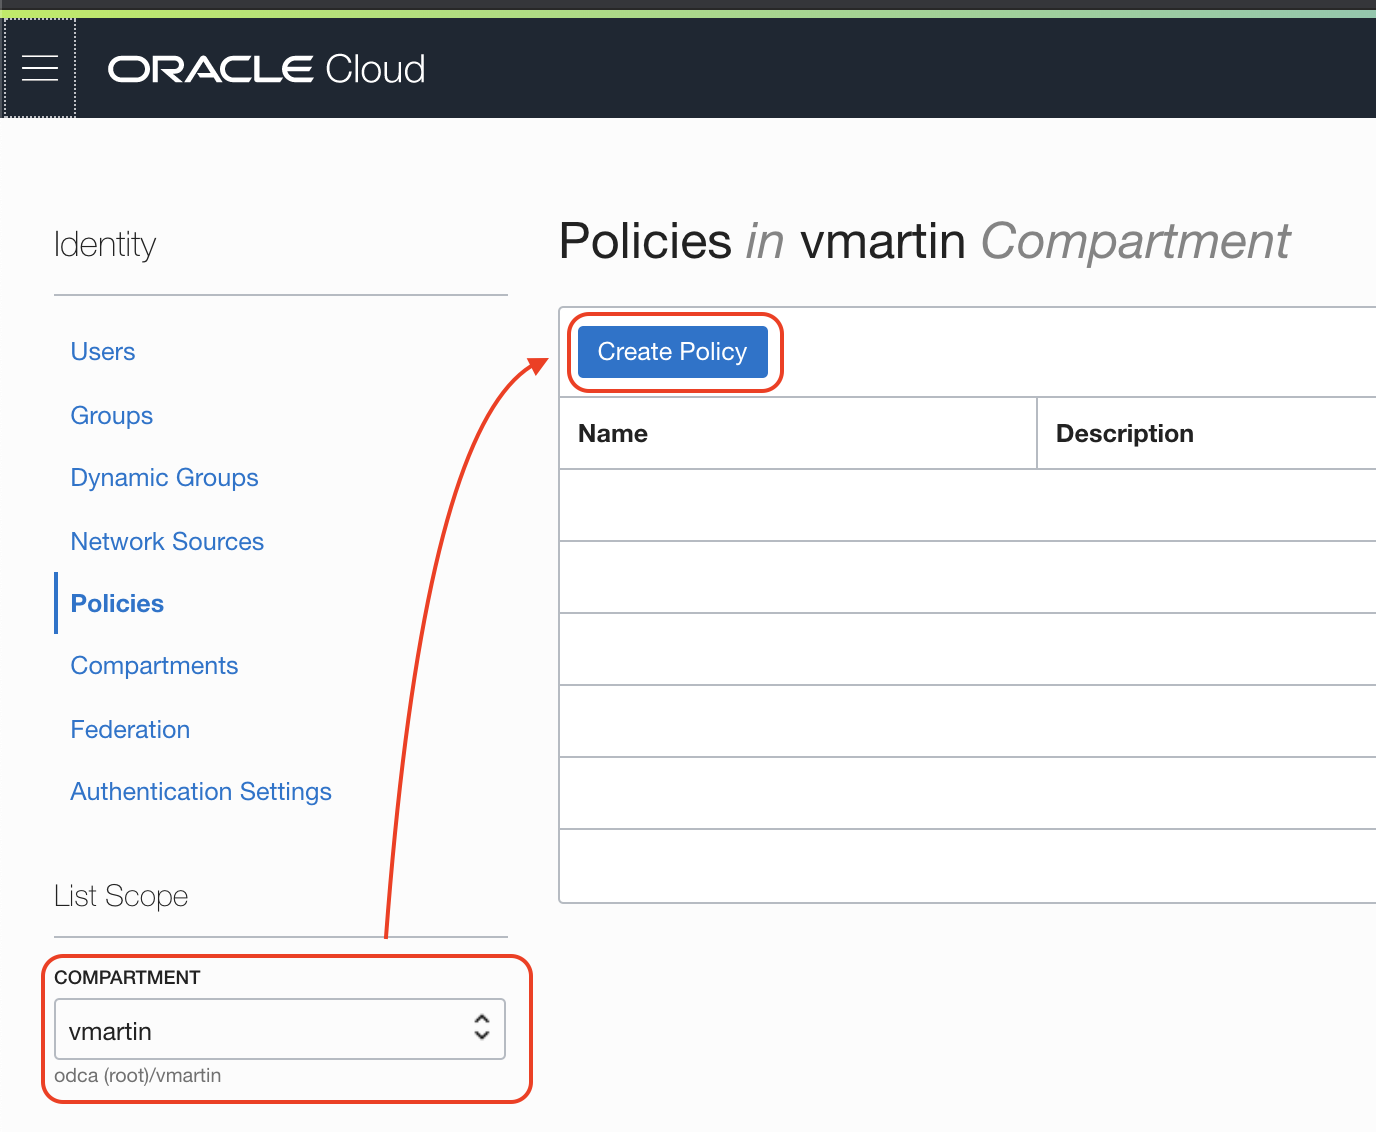
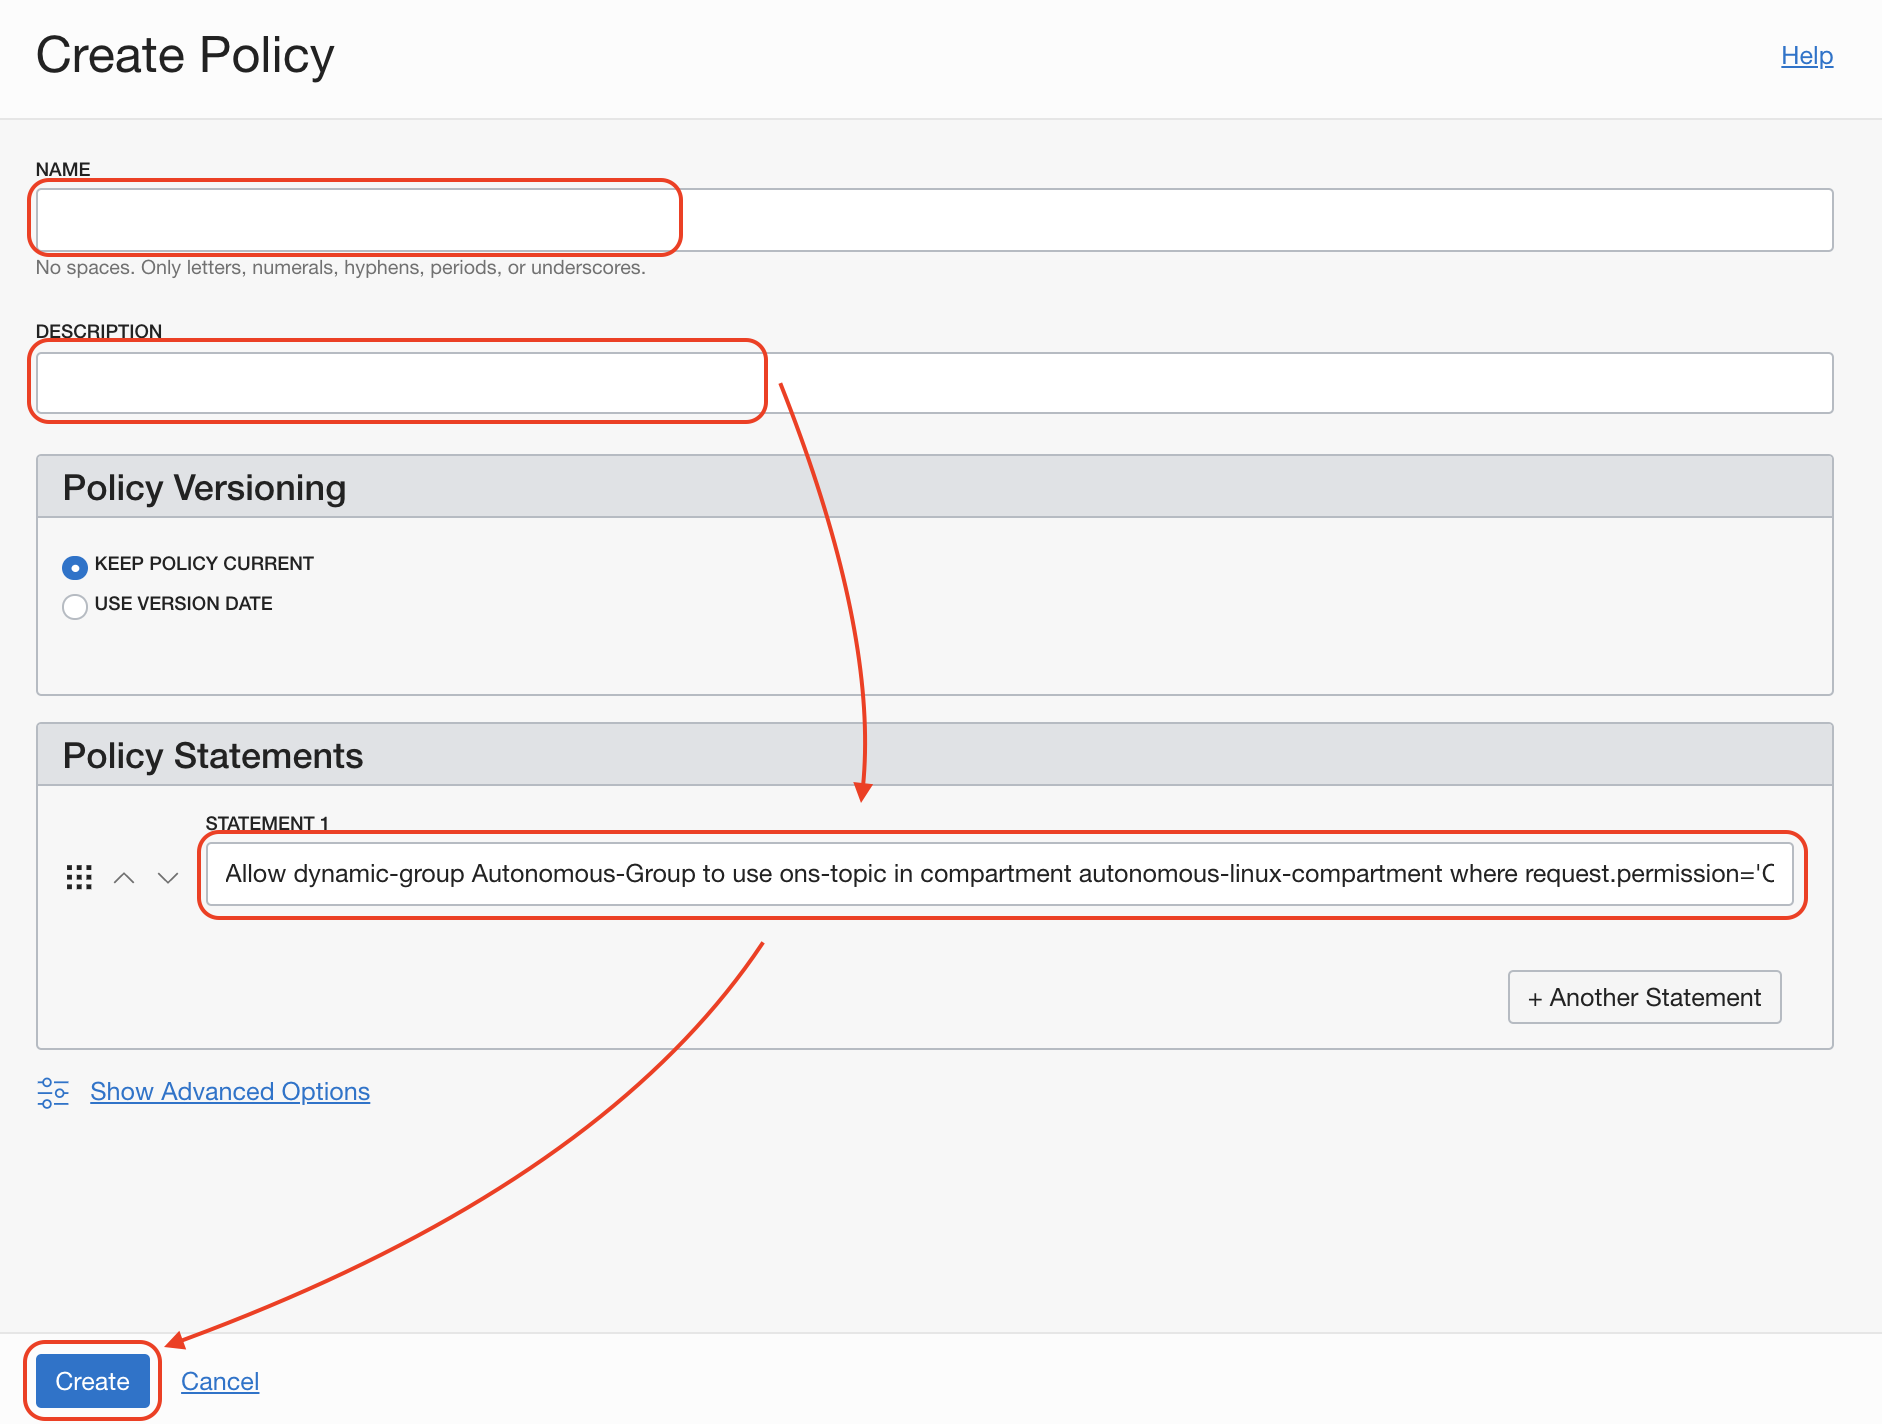
Create the policy to apply to the Dynamic group we just created.
You can copy the Statement 1 value from here:
Allow dynamic-group <dynamic-group-name> to use ons-topic in compartment <compartment-name> where request.permission='ONS_TOPIC_PUBLISH'Remember to replace the Dynamic Group name.
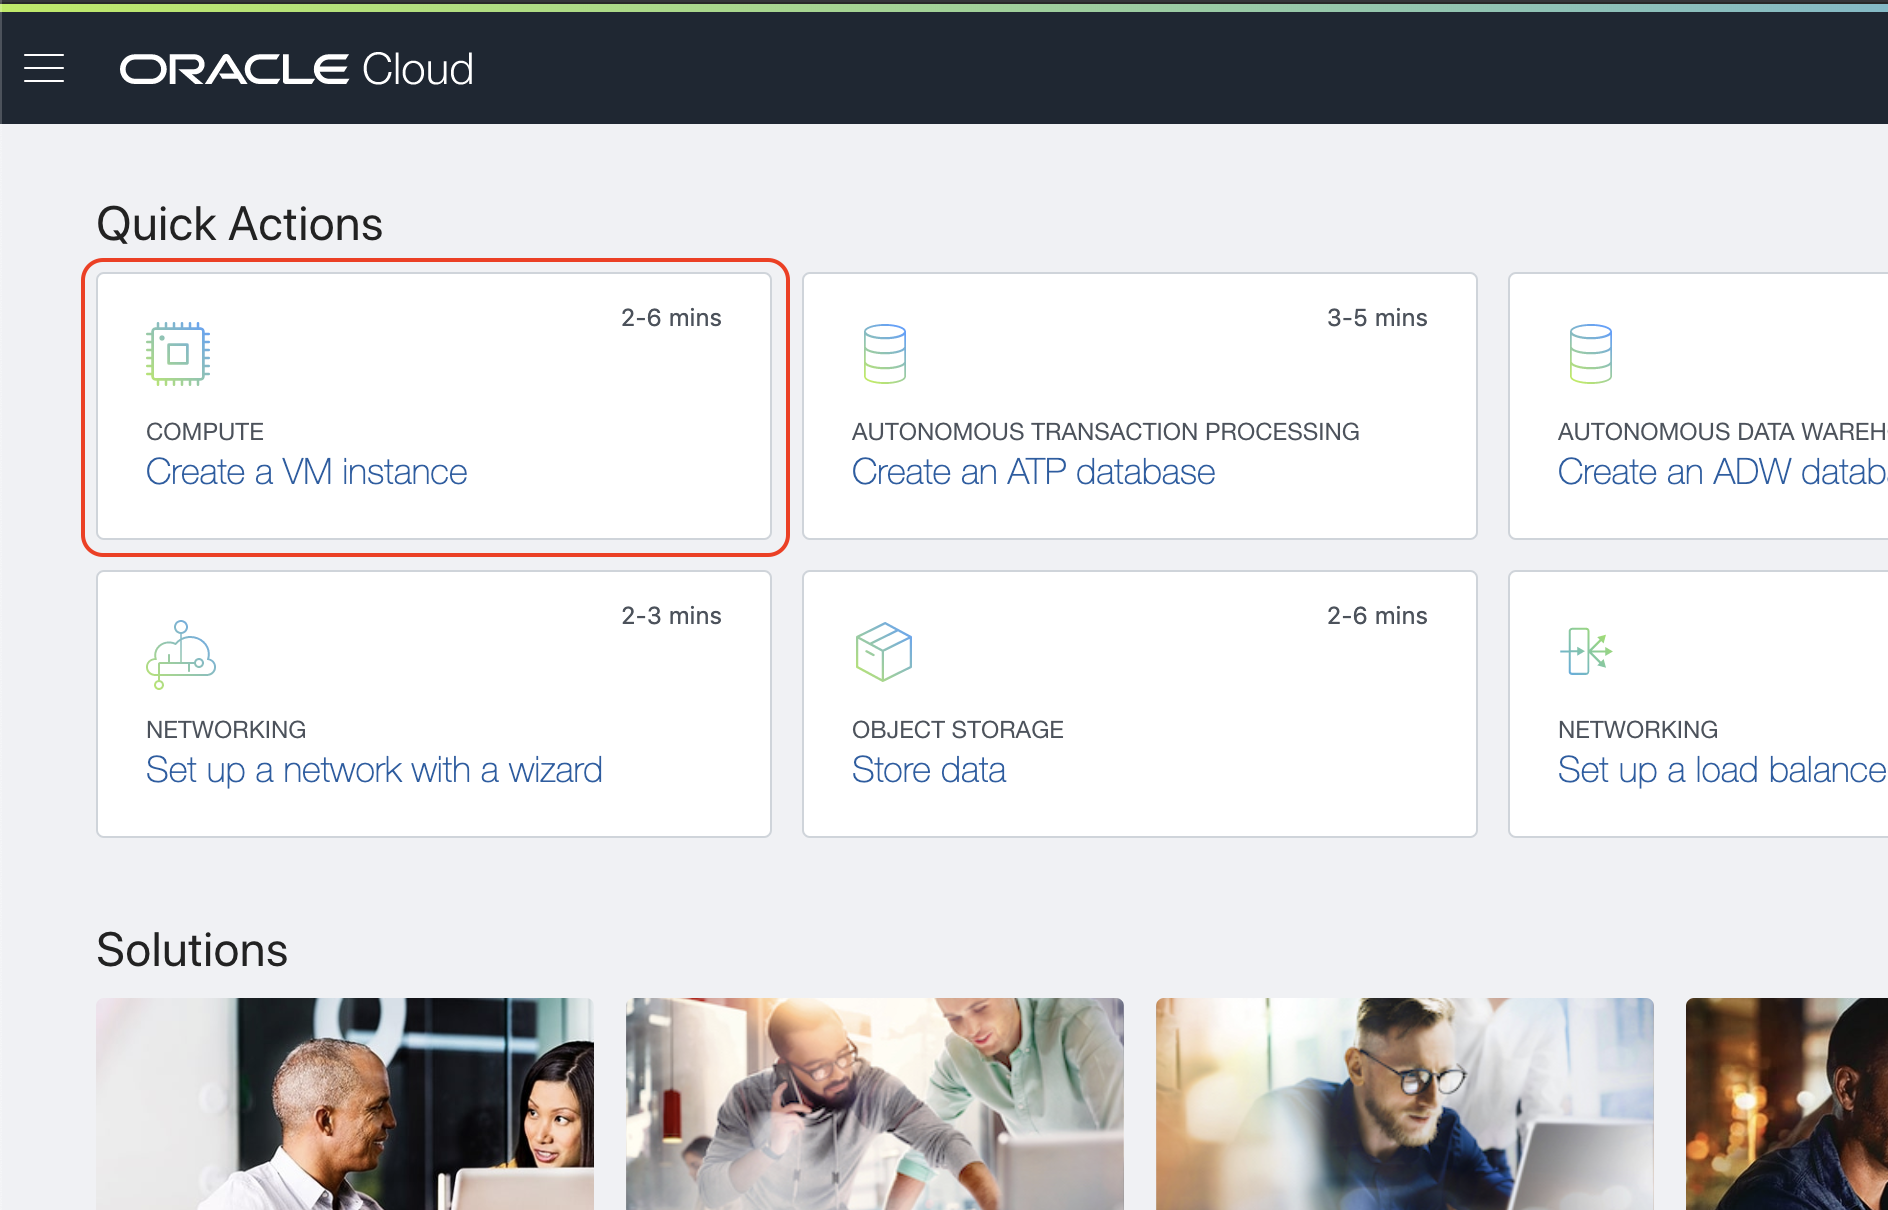
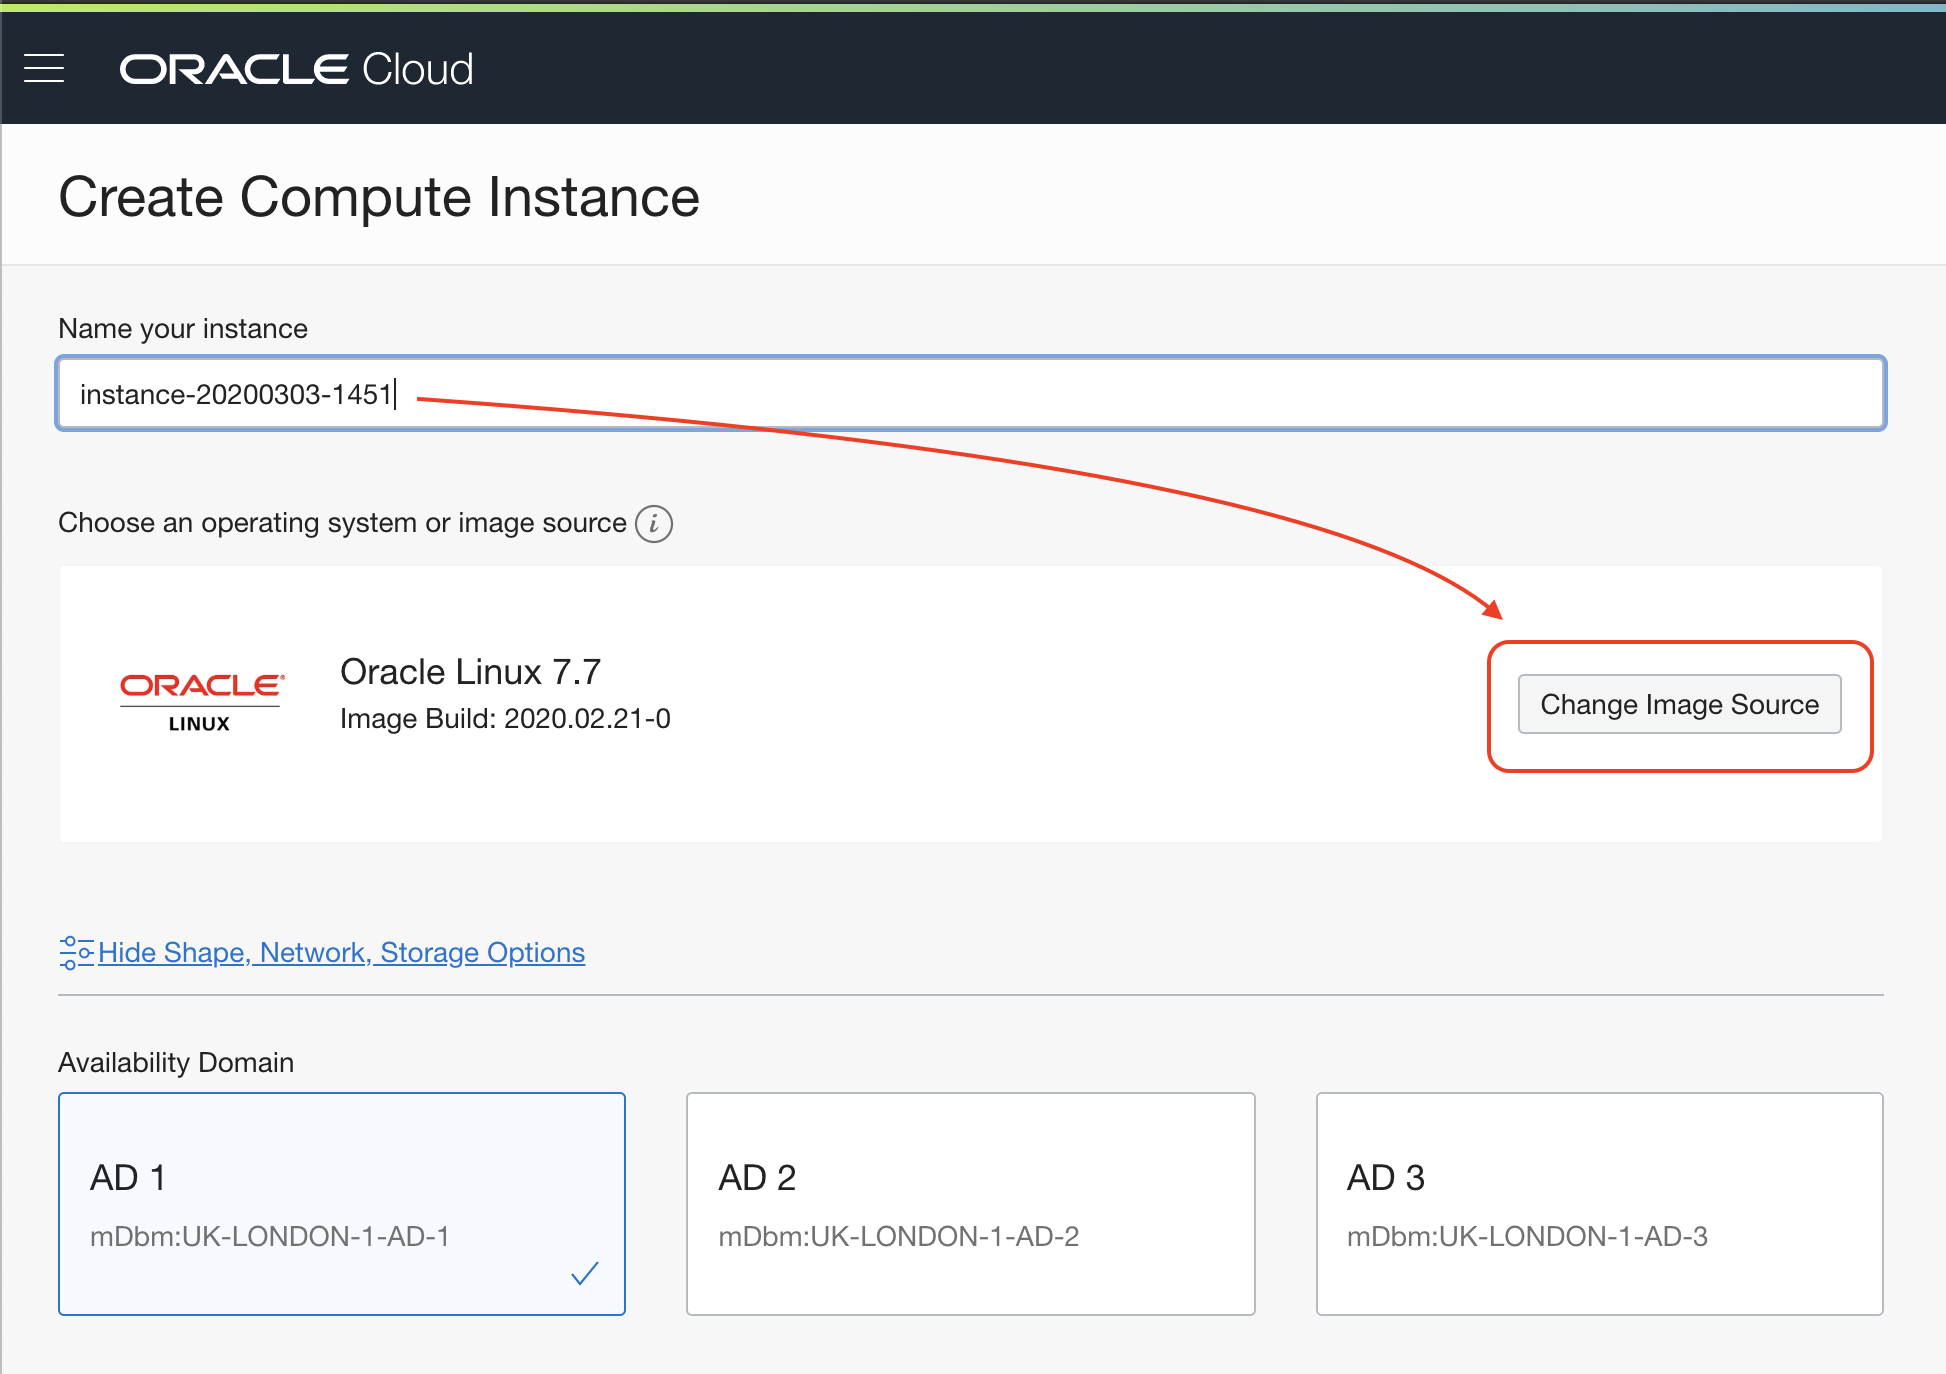
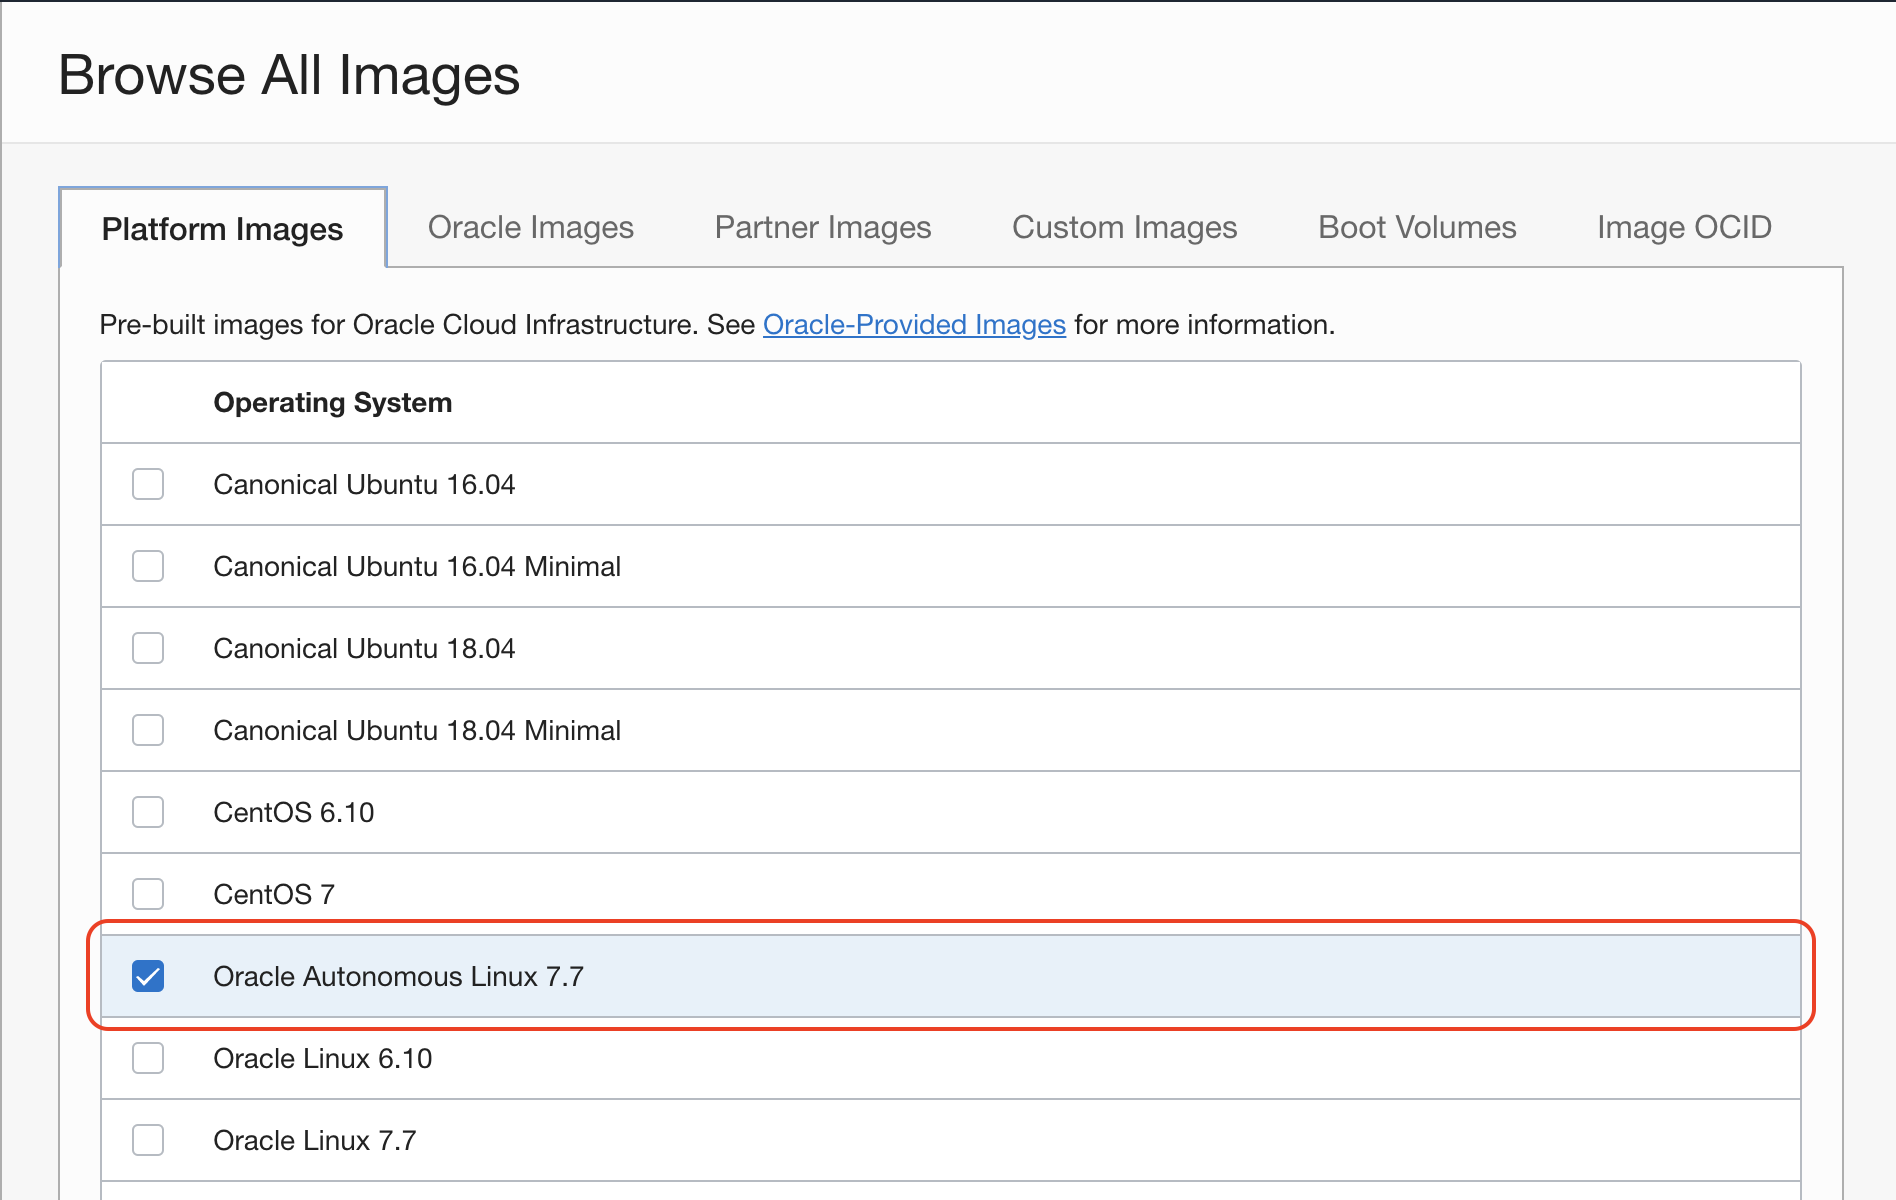
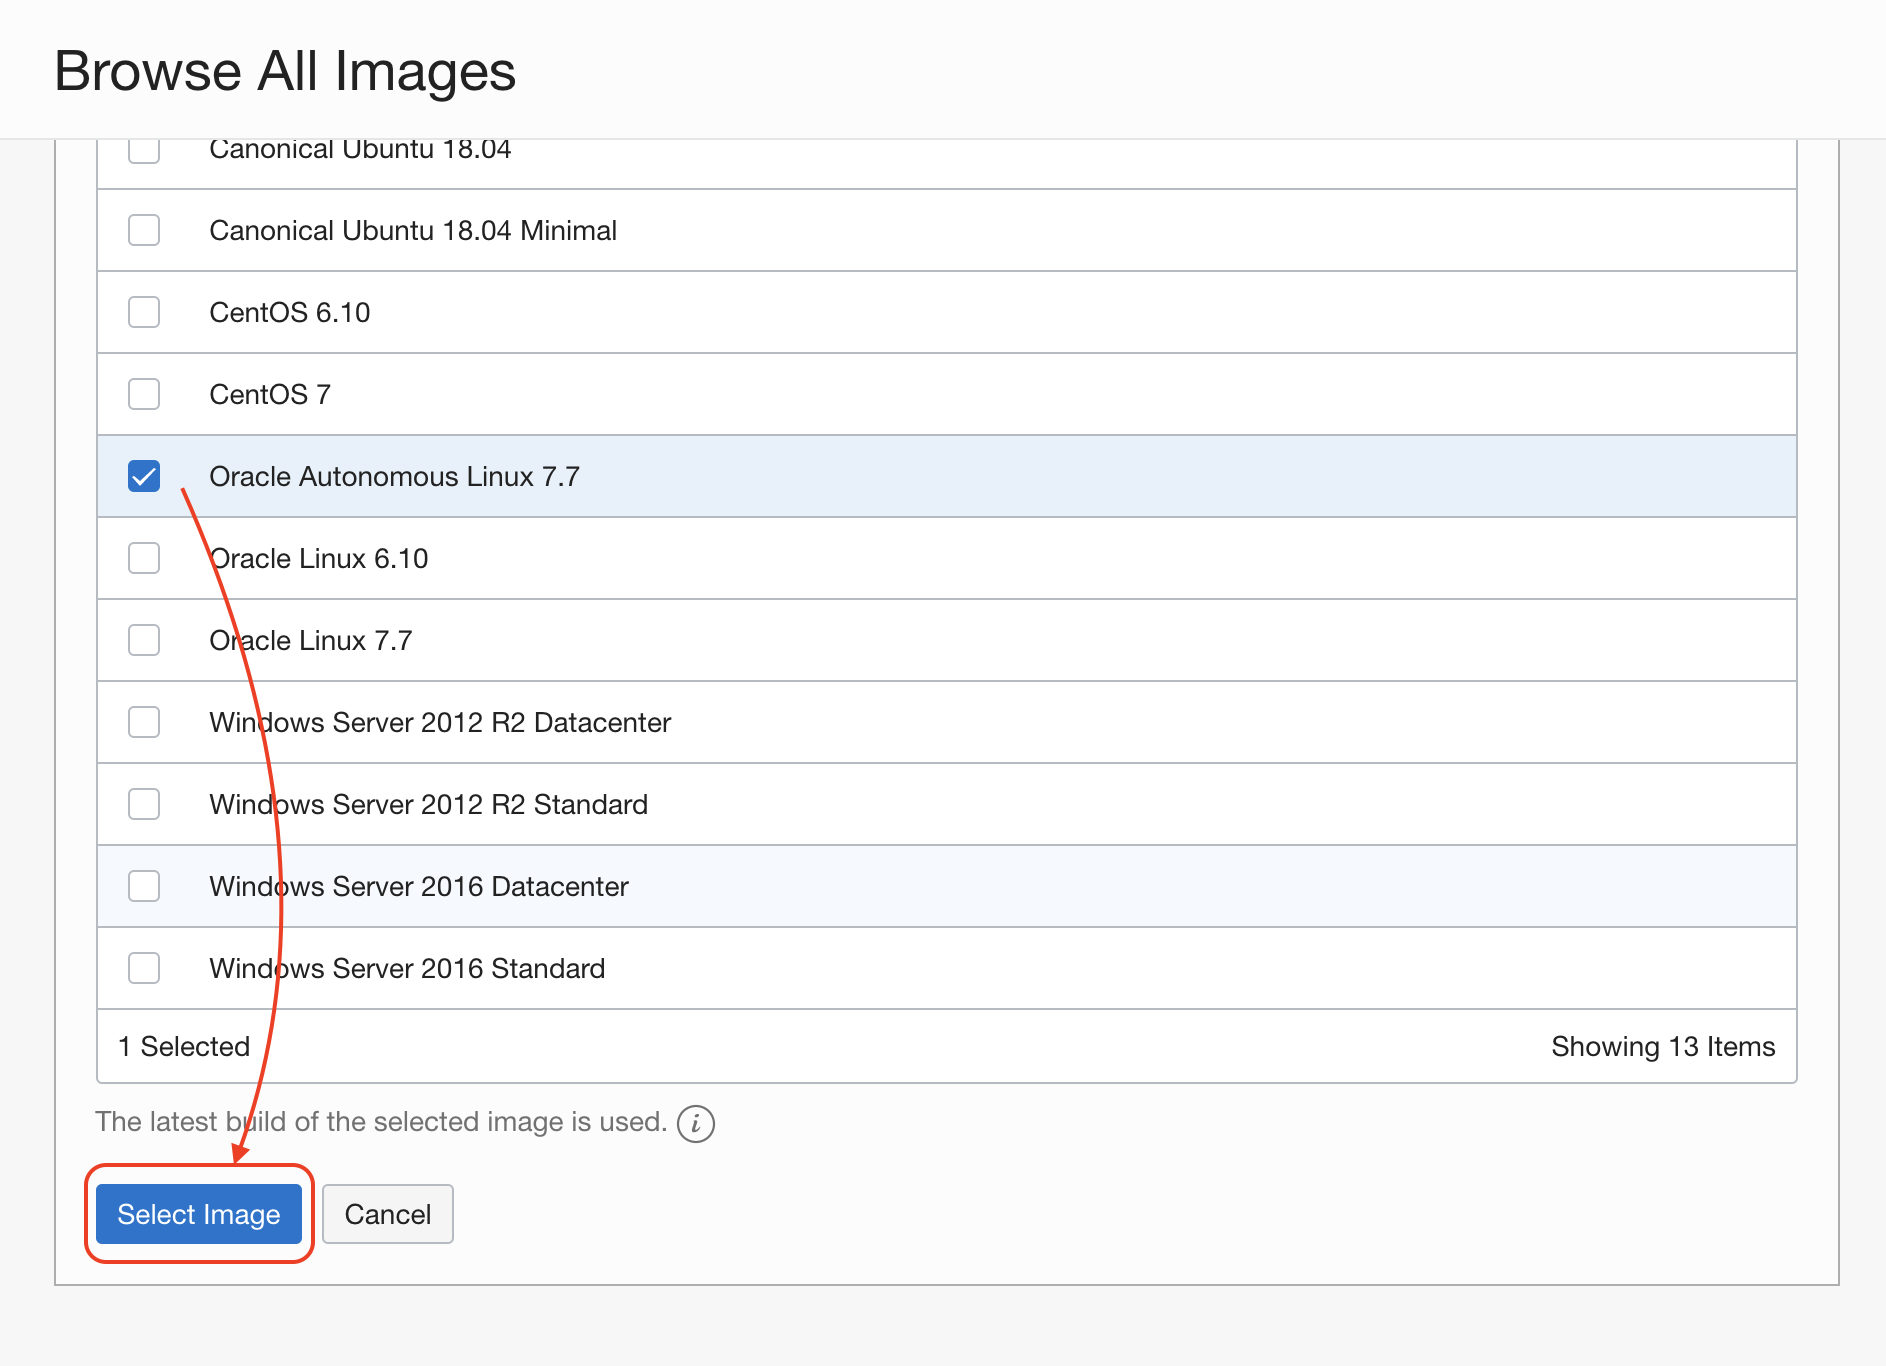
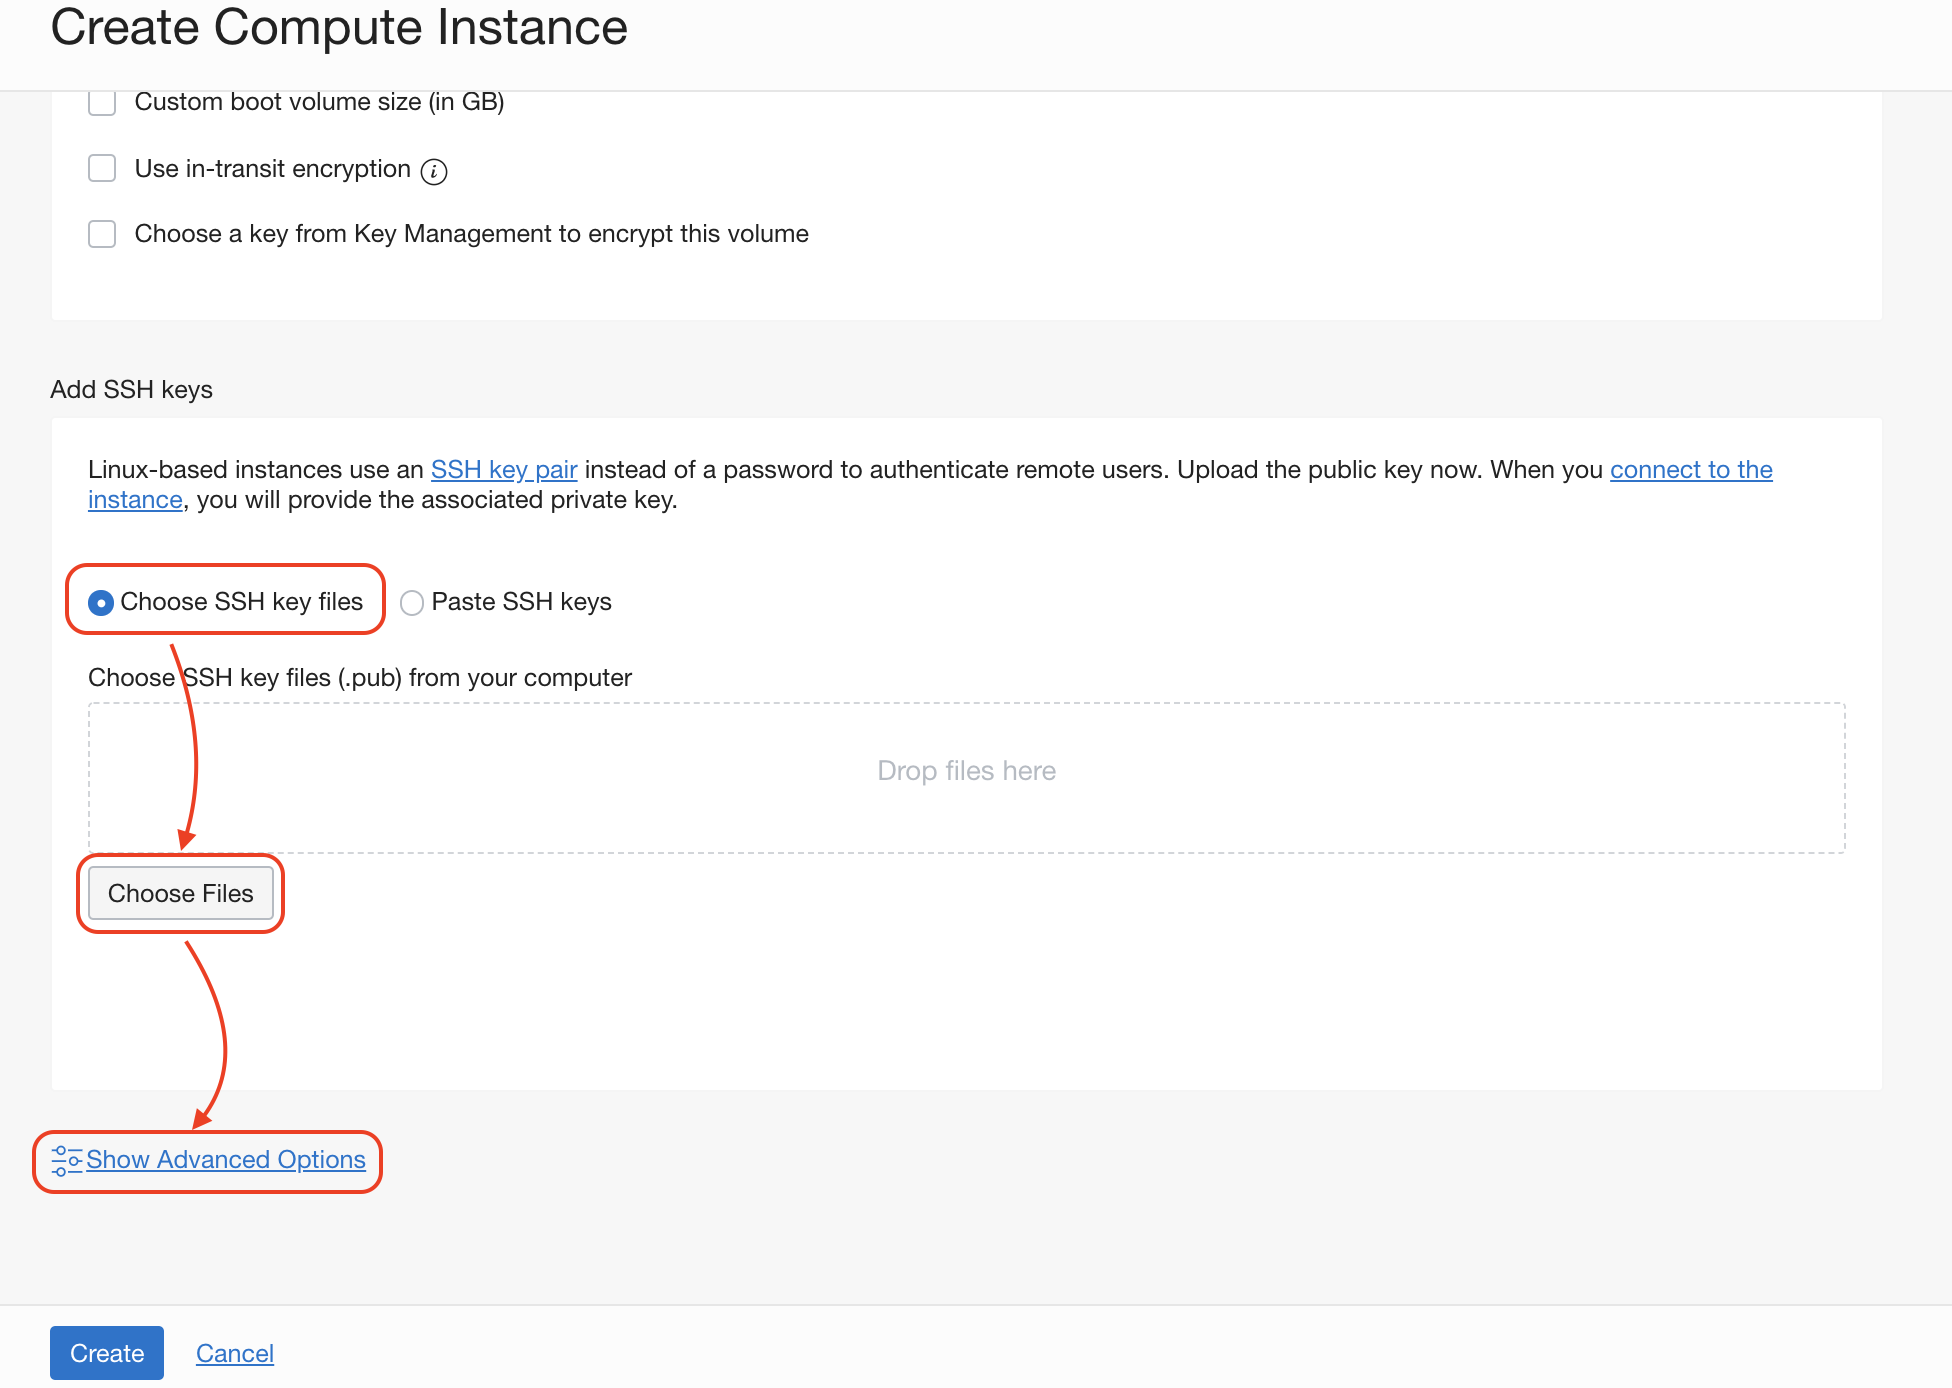
To create an instance the easiest way is to use the Quick Actions > Create a VM instance on the Home page.
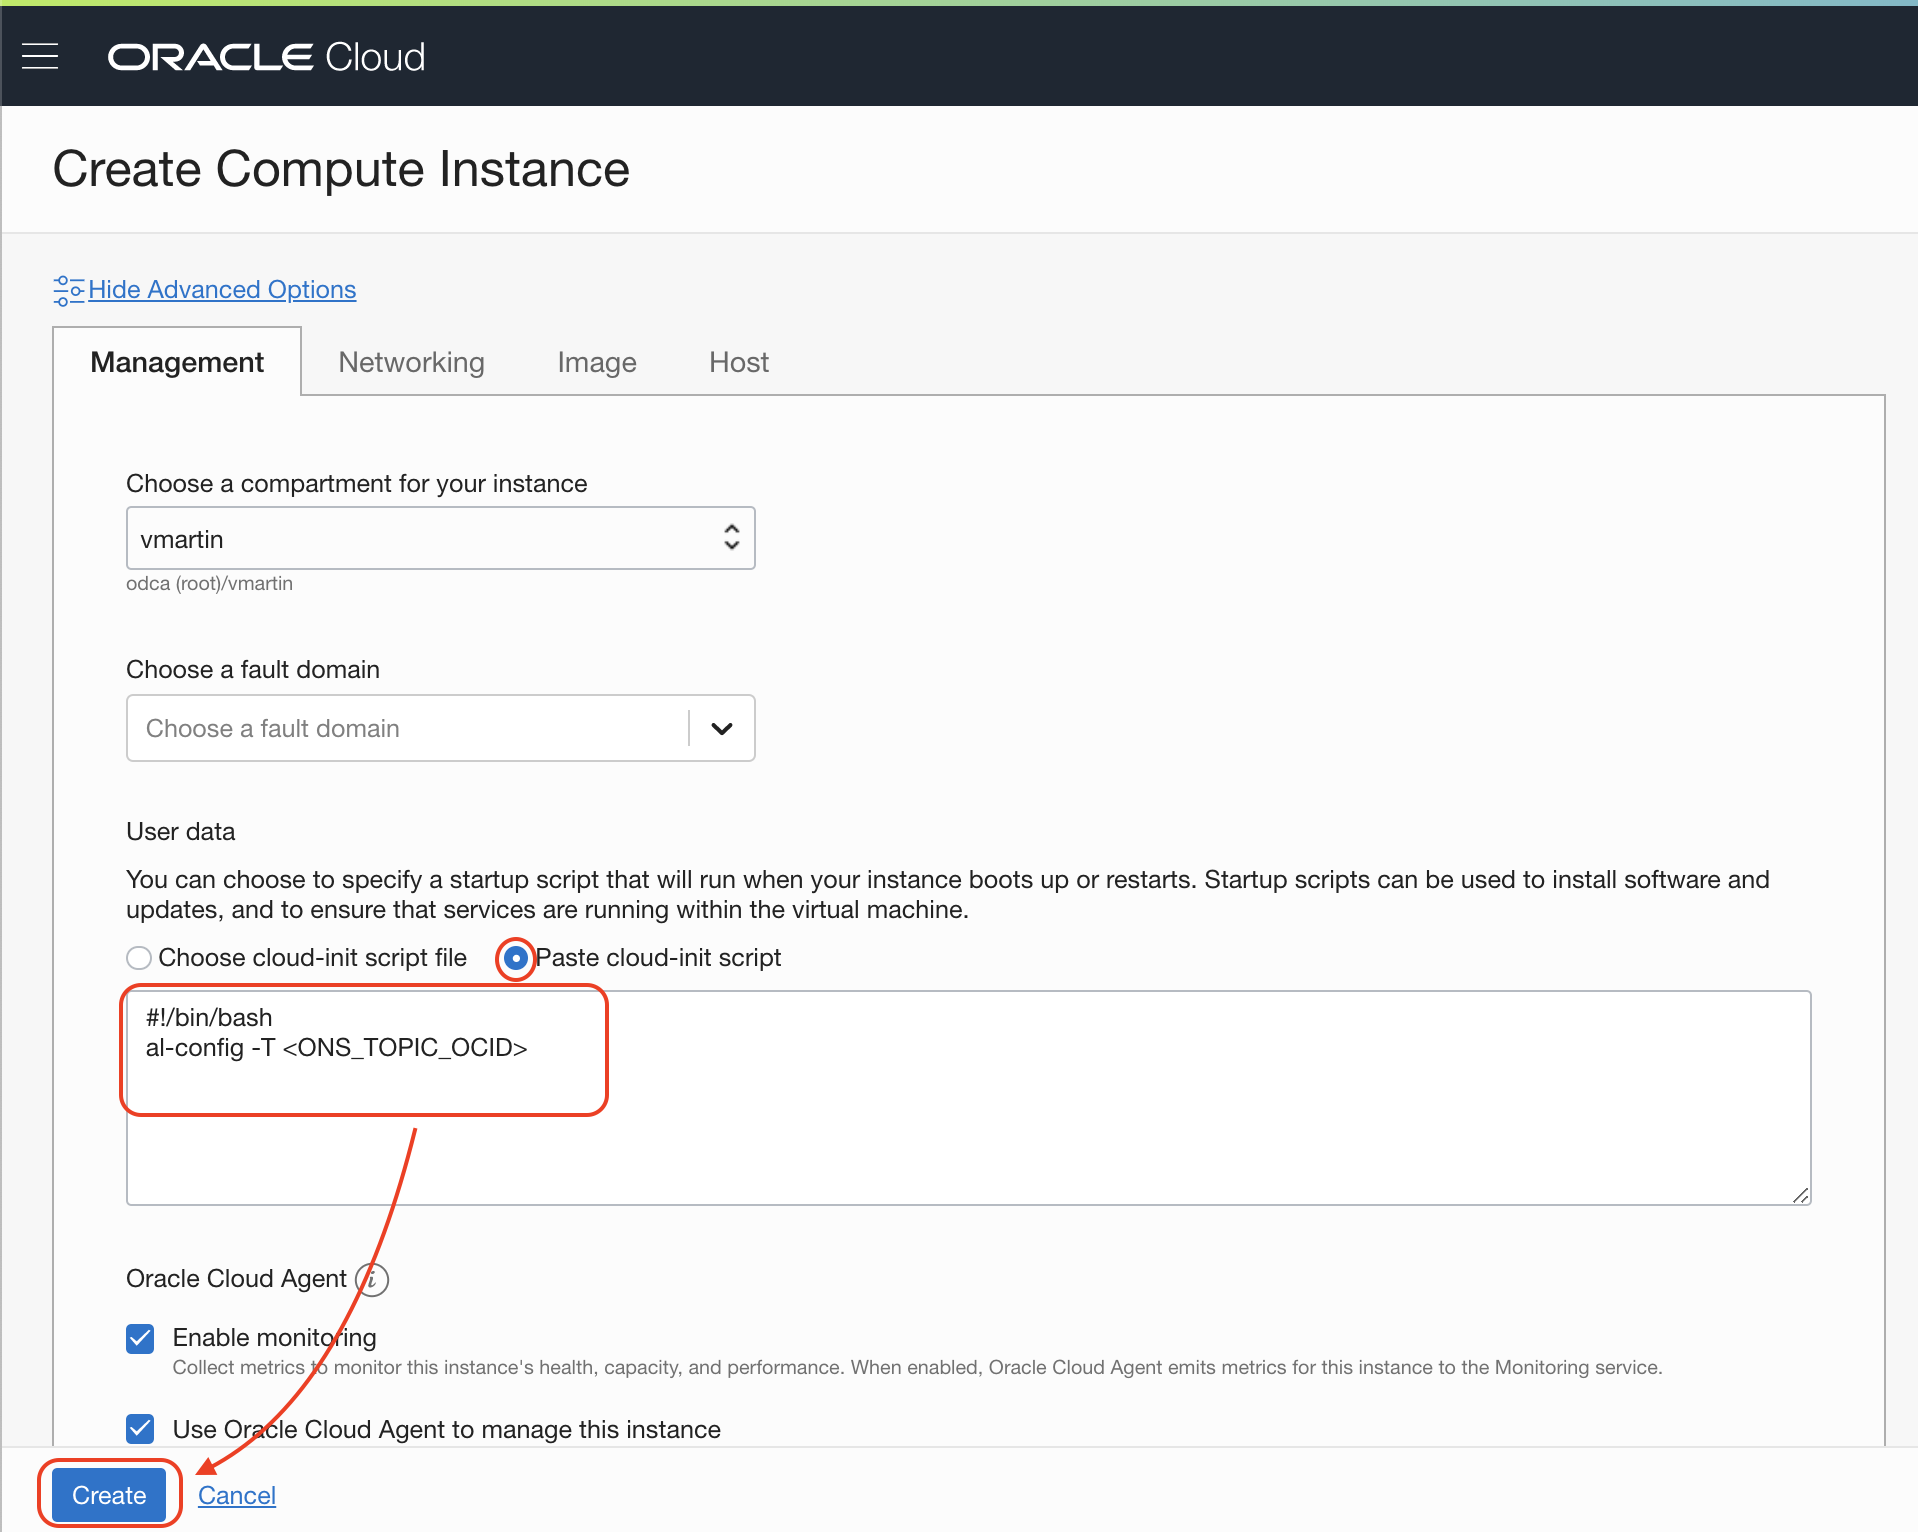
After clicking in Show Advance Options:
You can copy the cloud init script from here:
#!/bin/bash
al-config -T <ONS_TOPIC_OCID>
Remember to replace the Notification Topic OCID.
Click Create and wait for the instance to be provisioned.
After that you can find the Public IP on the details page of the Instance and you can connect to your Linux with:
ssh –i id_rsa opc@<Public_IP_Address>
Check instance metadata
sudo oci-metadata
Ready to receive emails everytime your Autonomous Linux gets automatically updated.
Enjoy!
