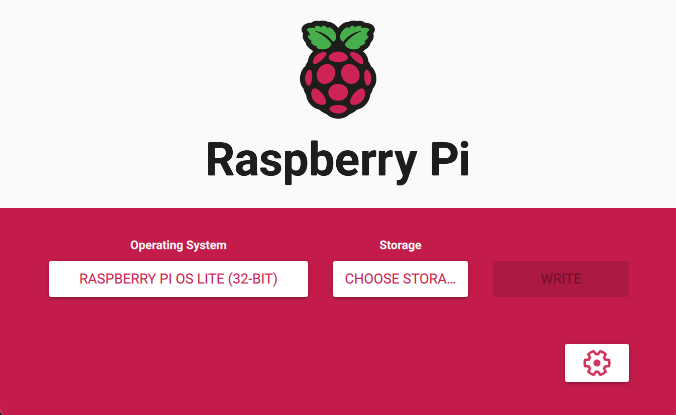
Create a new image of Raspberry PI OS Lite (32-bit) with Raspberry Pi Imager

Set the hostname
Note: In this doc, the hostname will be voiceflow

Enable SSH and configure your username/Password and Wifi if you want to use it
Note: In this doc, the username will be pi

Power on the Raspberry PI and on your computer, open a terminal. You want to remotely access your Raspberry over SSH with the credentials you’ve set previously.
ssh pi@voiceflow.local
Note: If you want, you can add your authorized_keys files the .ssh directory on the Raspberry PI to avoid typing your password every time you want to connect to it.
If you want to change the password previously set:
sudo passwd pi
sudo raspi-config
expand the partition set graphic memory to 16 reboot
sudo apt-get update && sudo apt-get upgrade -y
sudo apt-get install -y git
sudo su
curl -fsSL https://deb.nodesource.com/setup_18.x | bash -
sudo apt-get install -y nodejs
su pi
Check the install with:
node --version
npm --version
git clone https://github.com/voiceflow-gallagan/voiceflow-raspi-node.git
wget -O - mic.raspiaudio.com | bash
Reboot the Raspberry PI
Use the following command to check if the card is detected:
wget -O - test.raspiaudio.com | bash
npm install pm2@latest -g
Config PM2 to start on boot
pm2 startup
sudo apt install python3-pip
sudo apt-get install mpg321
sudo apt-get install libasound2-dev
cd voiceflow-raspi-node
npm install
sudo nano .bashrc
Add the following line at the end of the file:
cd voiceflow-raspi-node
PROCUPINE_ACCESS_KEY = "YOUR_ACCESS_KEY"
VF_API_KEY="VF.DM.XYZ"
VF_VERSION_ID="development"
TUNNEL_SUBDOMAIN="vfassistant"
PORT=3978
PROCUPINE_ACCESS_KEY: Get your access key from Picovoice Console VF_API_KEY: Get your project API key from Voiceflow Creator TUNNEL_SUBDOMAIN: The subdomain you want to use for your tunnel.
At the root of the project, run:
npm start
On first start, the PM2 list will be updated. You can check the PM2 list with:
pm2 l
As PM2 start on boot, if you reboot the Raspberry PI the app will autostart and listen for the wakeword.
You can create your own Wakeword model with Picovoice Console and change the path in the wakeword.js file
let keywordPaths = 'wakeword/Hey-Voice-flow_en_raspberry-pi_v2_1_0.ppn' // program["keyword_file_paths"];
You can use/download another Vosk model from here: https://alphacephei.com/vosk/models
Localtunnel is used to create a tunnel to your local machine. You can change the subdomain in the .env file. This is useful if you want to send an event to your local machine from the outside using the /api/messages endpoint. When starting the app, you will see your tunnel url in the console.
/api/messages?event=hello