Pytorch implementation of Neural Radiance Field using MuJoCo environment generated dataset
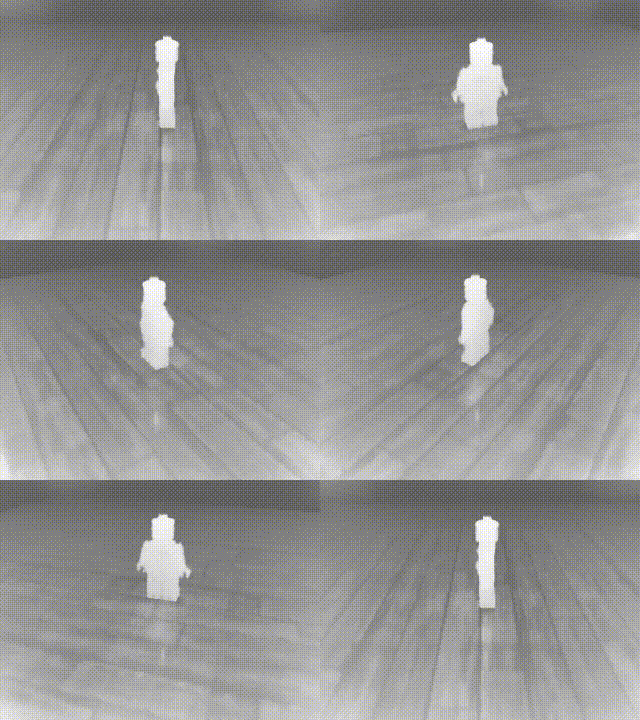
mujoNeRF can easily synthesis novel views of several mesh objects in MuJoCo environment
MuJoCo environment is based on robosuite, and NeRF code is fully based on nerf-pytorch
$ git clone https://github.com/volunt4s/mujoNeRF
$ cd mujoNeRF
$ pip install -r requirements.txt
- Pytorch 1.11 (capable with CUDA 11.3)
- mujoco (≥ 2.0)
- dm_control
- numpy
- imageio
- imageio-ffmpeg
- configargparse
- tqdm
To optimize mujoNeRF, you need to follow several steps
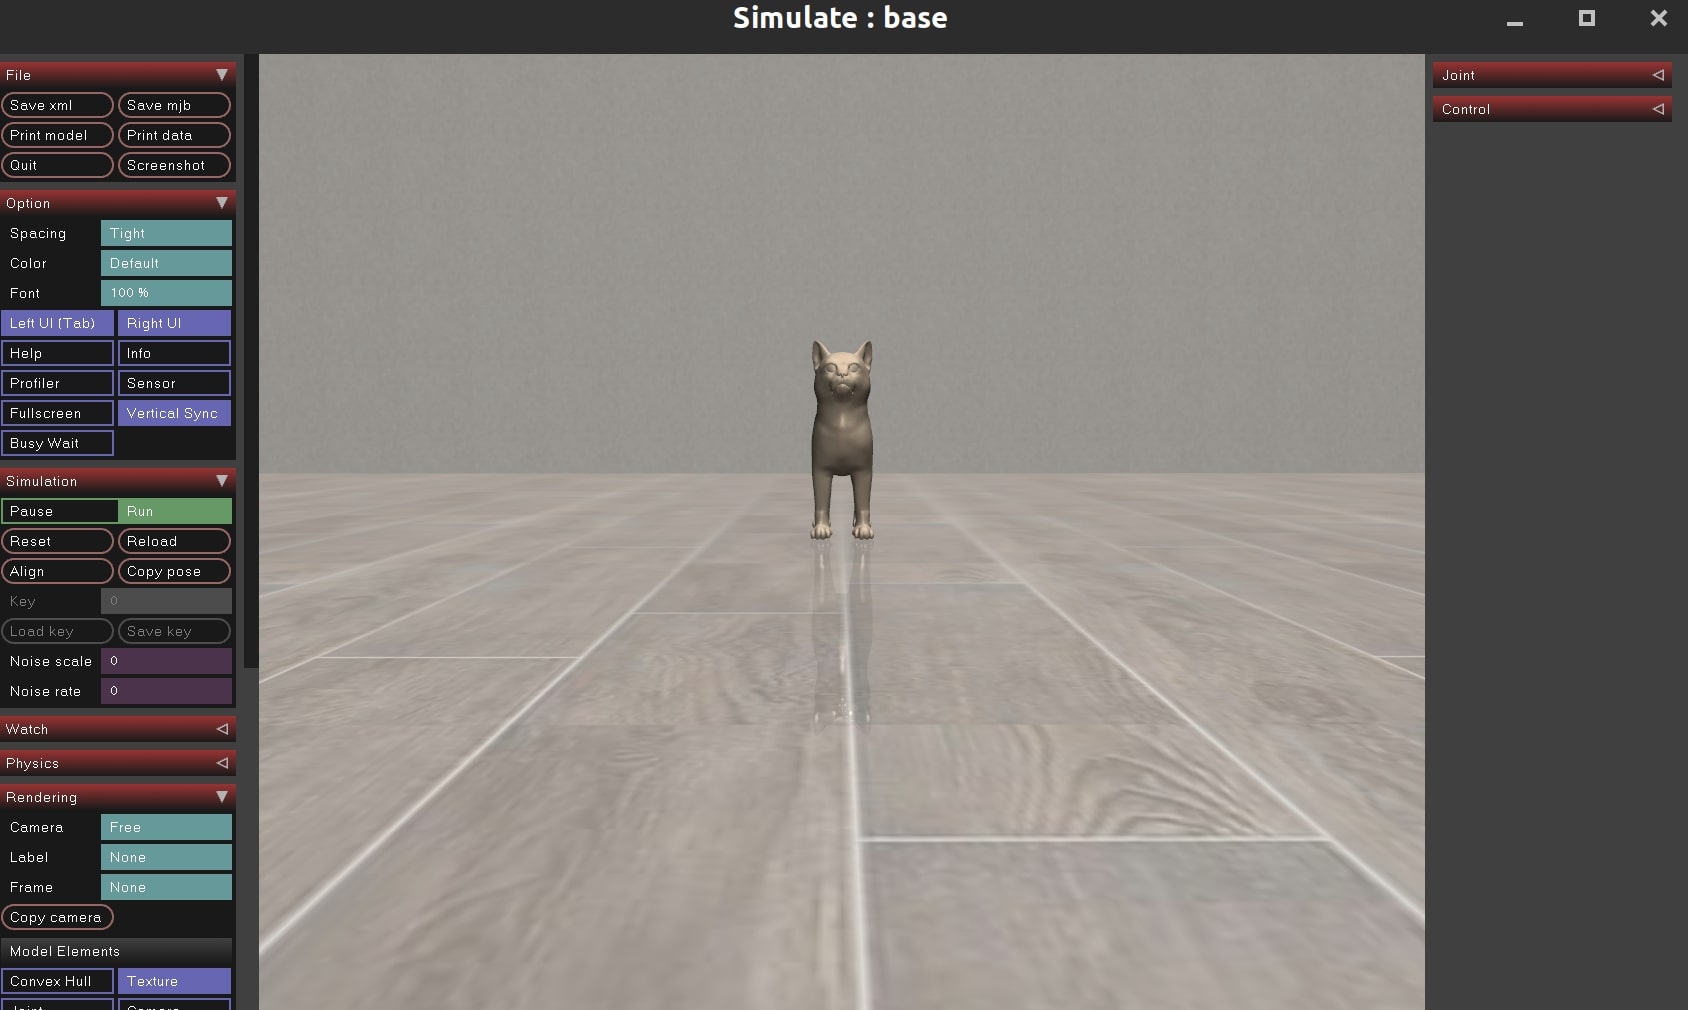
Firstly, run MuJoCo gui and get camera reference pose corresponding to the one side of the object using Rendering → ‘Copy camera’ button in gui.
If you copied proper camera pose to clipboard, exit gui and follow next step
$ python generate_nerf_data.py --run_gui True
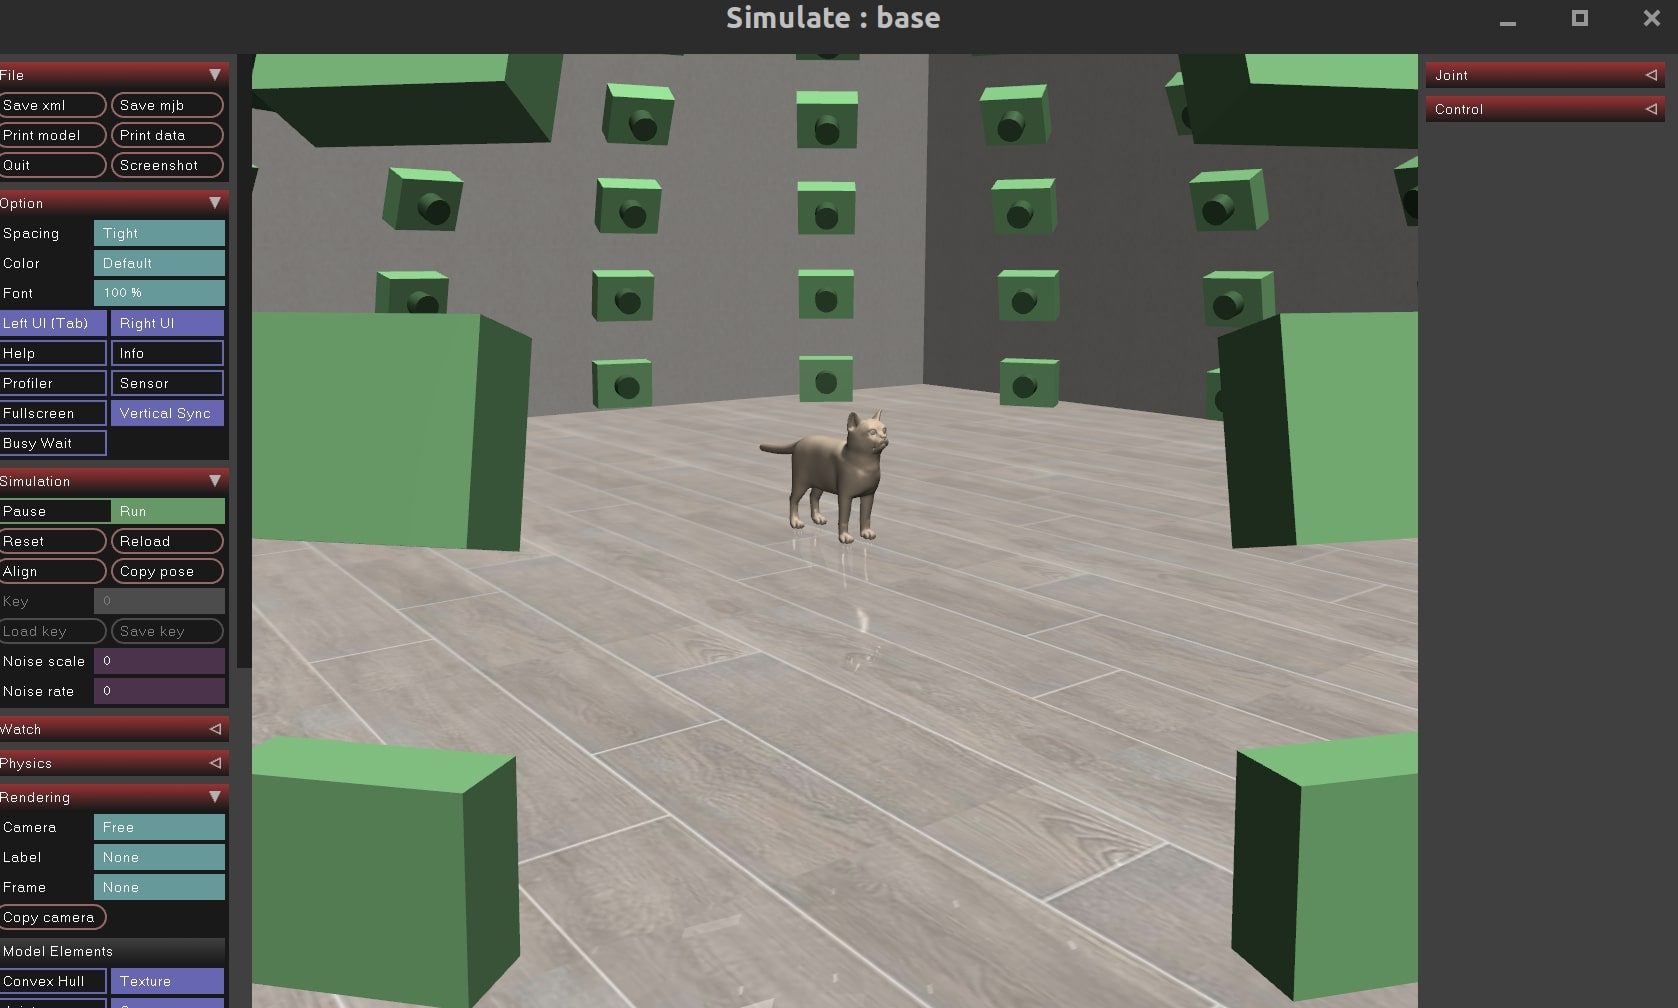
- Since mujoNeRF generates camera samples with z(azimuth), y(elevation)-axis transforms to satisfy spherical poses, it is recommended to select the lower part of the object as a reference camera. See example image below
(Optional) To check generated camera pose in gui, run the code below
$ python generate_nerf_data.py --run_gui True --cam_xml '{copied camera xml here}'
Example image is in below
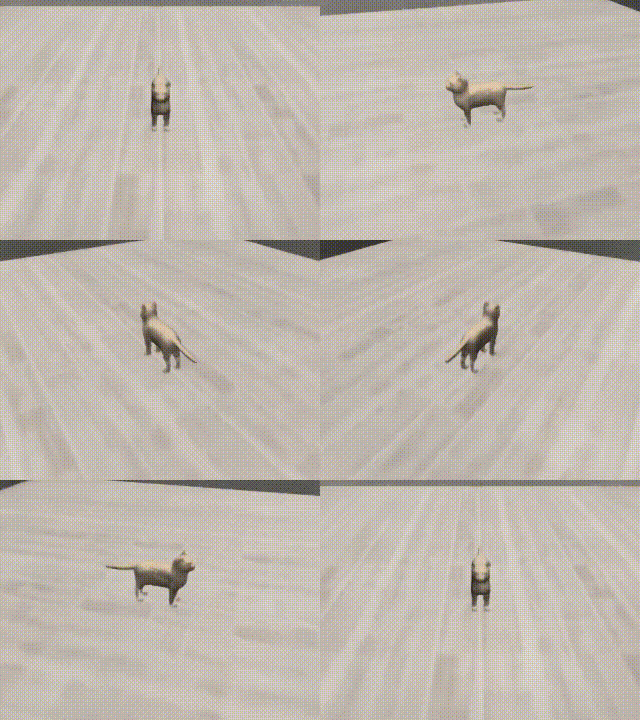
Once you have obtained the reference camera pose, run the code below to create the image dataset and transform.json file.
Datasets, transform.json file will be create at mujoNeRF/nerf_data
$ python generate_nerf_data.py --generate True --cam_xml '{copied camera xml here}'
Modify the config.txt file for your experiment.
To train NeRF, run the code below.
$ python run_nerf --config config.txt
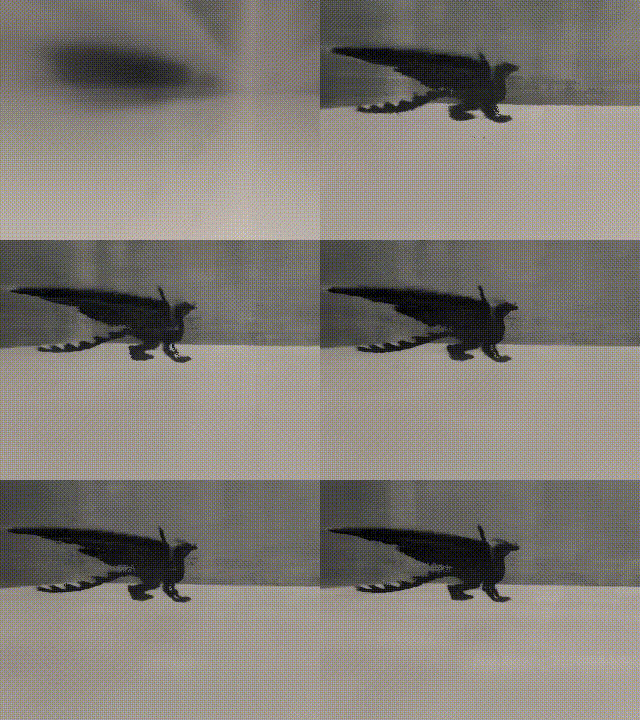
Training procedure animation below
Training takes about 10 minutes using single RTX 3080 GPU.
After training, the trained model is stored at logs/{expname}/
Save the reference image ID(video_ref_id) in config.txt to generate the image from the generated mujoNeRF/nerf_data.
Videos will be save at logs/{expname}/rendered/
$ python save_video.py --config config.txt
Since mujoNeRF add objects using mjcf files, you can add your custom object mesh files. Place object mesh file(.stl), mjcf file, textures according to the following directory structure and modify objects/xml_objects.py
├── mjmodels
│   ├── assets
│   │   └── objects        # mesh file (.stl) and mjcf file (.xml)
│   │   └── textures       # texture file (.png)
|   ├── objects
|   |   └── xml_objects.py # add your custom object
| RGB | Depth |
 |
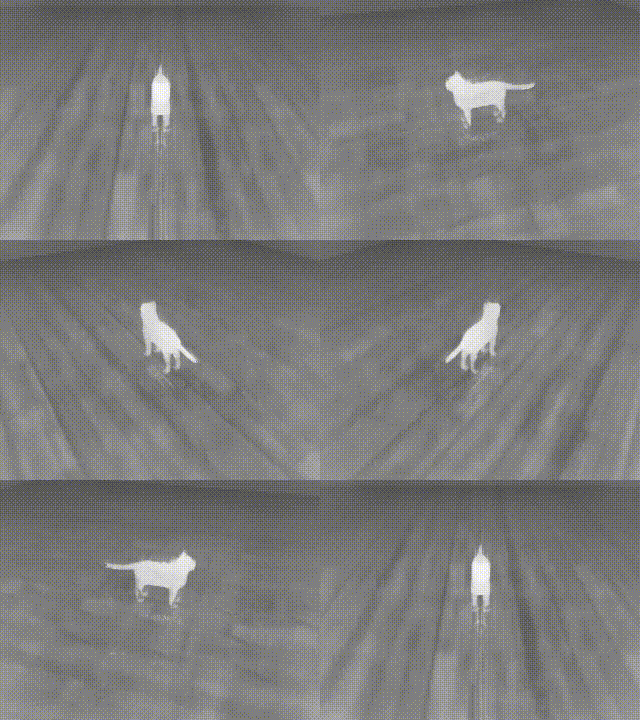 |
| RGB | Depth |
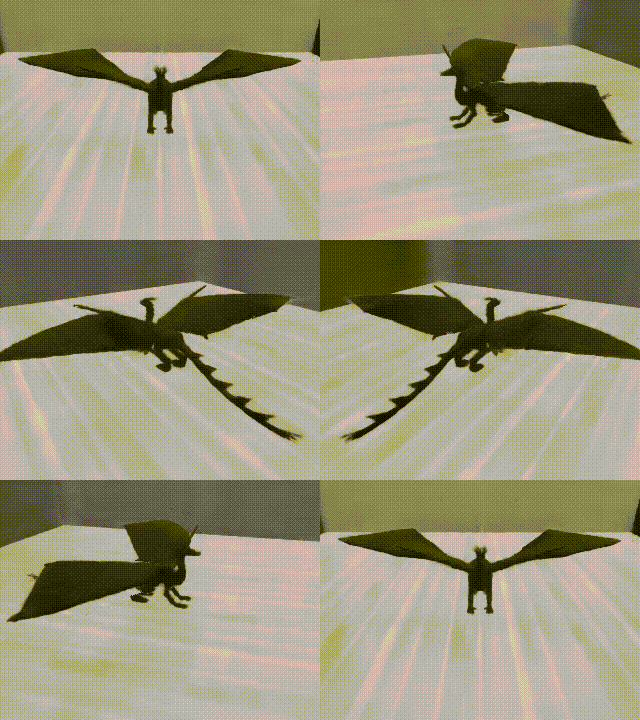 |
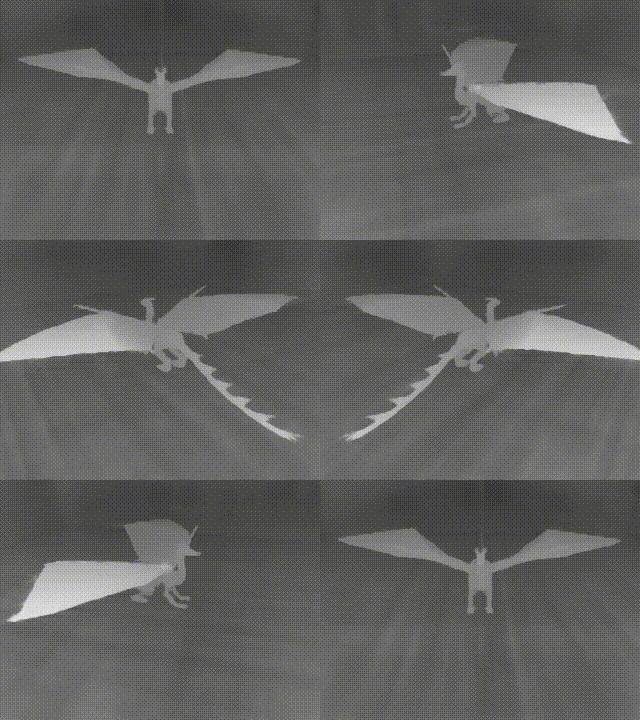 |
| RGB | Depth |
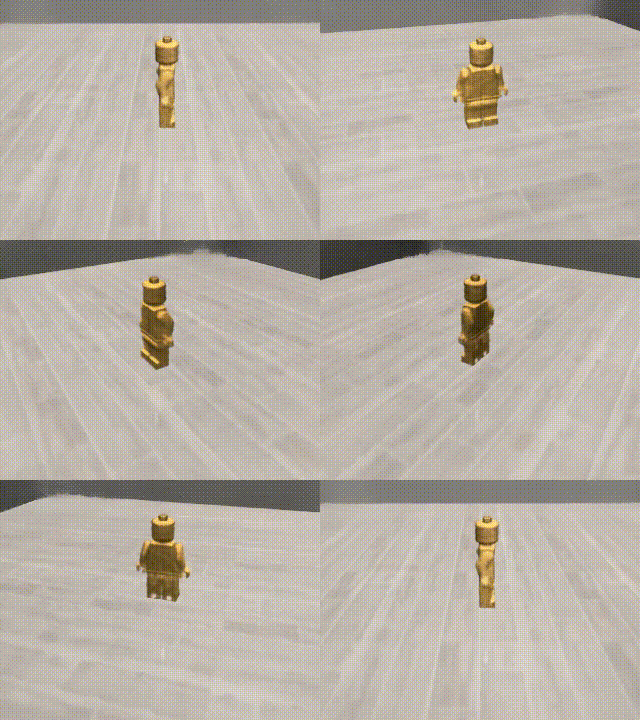 |
 |
Enjoy!
