Important
This package has been deprecated in favor of expo-calendar which provides the features of this package (and more) and does so in a better way. Please use the package provided by Expo. Thank you.
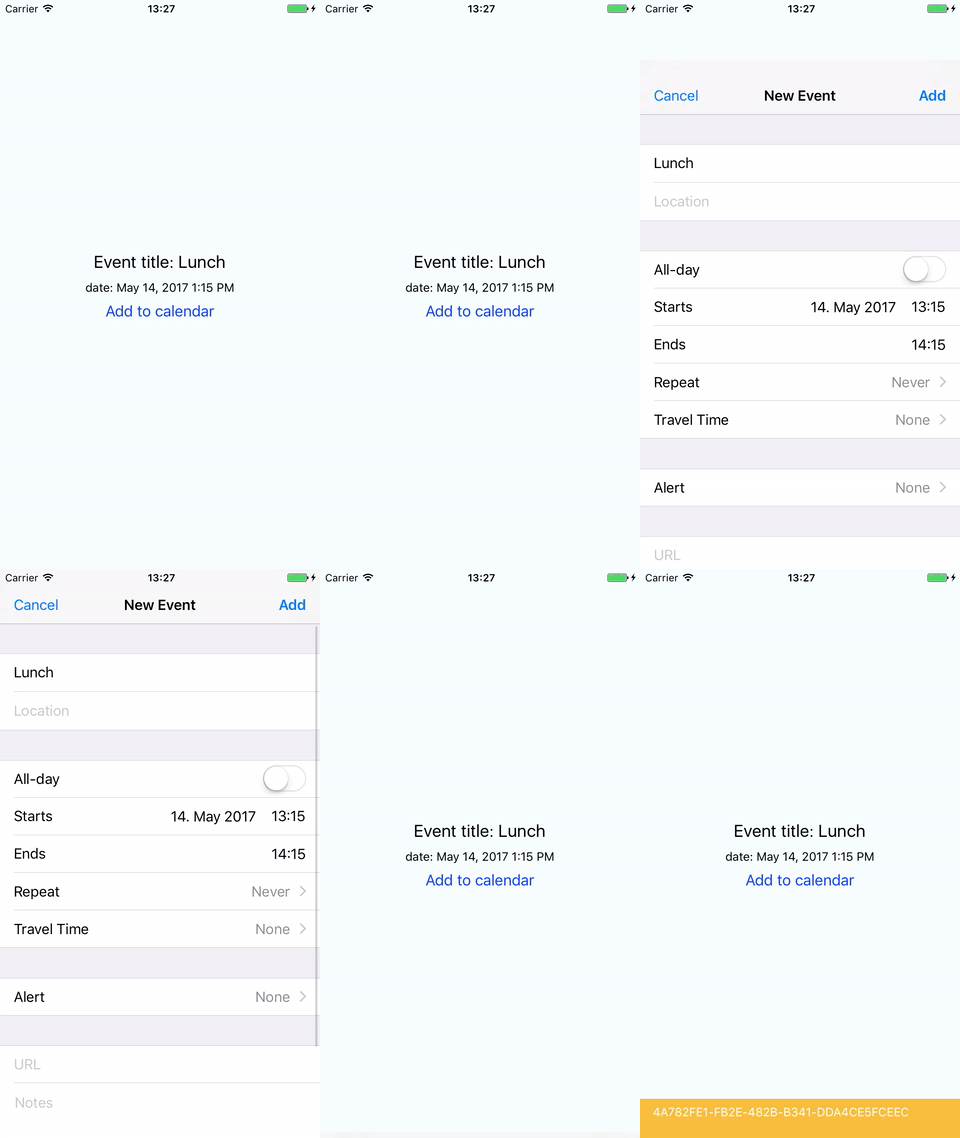
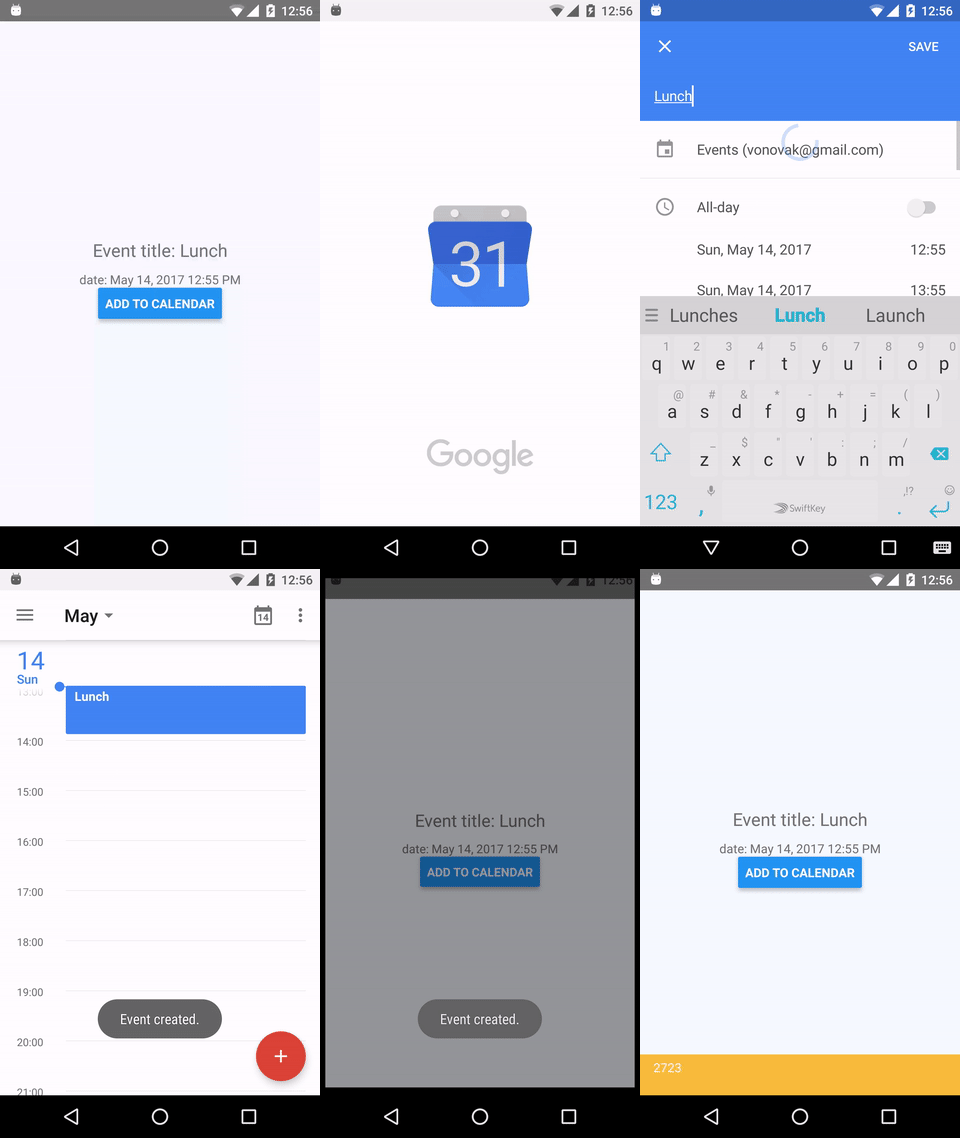
This package alows you to start an activity (Android) or show a modal window (iOS) for adding, viewing or editing events in device's calendar. Through a promise, you can find out if a new event was added and get its ID, or if it was removed.
For managing calendar events without the UI for user to interact with, see react-native-calendar-events.
npm install react-native-add-calendar-event --save
or
yarn add react-native-add-calendar-event
You'll also need to install and setup react-native-permissions, or similar, to request calendar permissions for your app.
This package is not available in the Expo Go app. Learn how you can use it with custom dev clients.
- (only RN < 0.60)
react-native link react-native-add-calendar-event
(only RN >= 0.60) run pod install in the ios folder
-
add
NSCalendarsWriteOnlyAccessUsageDescriptionorNSCalendarsFullAccessUsageDescription(for edit/view access) to yourInfo.plistfile. The string value associated with the key will be used when asking user for calendar permission. -
rebuild your project
iOS note for RN < 0.60: If you use pods, react-native link will probably add the podspec to your podfile, in which case you need to run pod install. If not, please verify that the library is under link binary with libraries in the build settings in Xcode (see manual installation notes).
See the example folder for a demo app.
Using react-native-permissions to request calendar permission before creating a calendar event.
import { Platform } from 'react-native';
import * as AddCalendarEvent from 'react-native-add-calendar-event';
import * as Permissions from 'react-native-permissions';


const eventConfig = {
  title,
  // and other options
};

Permissions.request(
  Platform.select({
    ios: Permissions.PERMISSIONS.IOS.CALENDARS_WRITE_ONLY,
    android: Permissions.PERMISSIONS.ANDROID.WRITE_CALENDAR,
  })
)
  .then(result => {
    if (result !== Permissions.RESULTS.GRANTED) {
      throw new Error(`No permission: ${result}`);
    }
    return AddCalendarEvent.presentEventCreatingDialog(eventConfig)
  })
  .then((eventInfo: { calendarItemIdentifier: string, eventIdentifier: string }) => {
    // handle success - receives an object with `calendarItemIdentifier` and `eventIdentifier` keys, both of type string.
    // These are two different identifiers on iOS.
    // On Android, where they are both equal and represent the event id, also strings.
    // when { action: 'CANCELED' } is returned, the dialog was dismissed
    console.warn(JSON.stringify(eventInfo));
  })
  .catch((error: string) => {
    // handle error such as when user rejected permissions
    console.warn(error);
});call presentEventCreatingDialog(eventConfig)
eventConfig object:
| Property | Value | Note |
|---|---|---|
| title | String | |
| startDate | String | in UTC, format: 'YYYY-MM-DDTHH:mm:ss.SSSZ' |
| endDate | String | in UTC, format: 'YYYY-MM-DDTHH:mm:ss.SSSZ' |
| location | String | |
| allDay | boolean | |
| url | String | iOS only |
| notes | String | The notes (iOS) or description (Android) associated with the event. |
| navigationBarIOS | Object | config object for the navbar, see below |
The dates passed to this module are strings. If you use moment, you may get the right format via momentInUTC.format('YYYY-MM-DDTHH:mm:ss.SSS[Z]') the string may look eg. like this: '2017-09-25T08:00:00.000Z'.
More options can be easily added, PRs are welcome!
call presentEventEditingDialog(eventConfig)
eventConfig object:
| Property | Value | Note |
|---|---|---|
| eventId | String | Id of edited event. |
| useEditIntent | boolean | Android only, see description below. |
useEditIntent: ACTION_EDIT should work for editing events, according to android docs but this doesn't always seem to be the case as reported in the bug tracker. This option leaves the choice up to you. By default, the module will use ACTION_VIEW which will only show the event, but from there it is easy for the user to tap the edit button and make changes.
call presentEventViewingDialog(eventConfig)
eventConfig object:
| Property | Value | Note |
|---|---|---|
| eventId | String | Id of edited event. |
| allowsEditing | boolean | iOS only; docs |
| allowsCalendarPreview | boolean | iOS only; docs |
The aforementioned functions all return a promise that resolves with information about what happened or rejects with an error.
Due to the differences in the underlying native apis, it is not trivial to come up with a unified interface that could be exposed to JS and the module therefore returns slightly different results on each platform (we can do better though, PRs are welcome!). The rules are:
- presentEventCreatingDialog
| situation | result on both platforms |
|---|---|
| event is created | { action: 'SAVED', eventIdentifier: string, calendarItemIdentifier: string } |
| event creation is cancelled | { action: 'CANCELED' } |
- presentEventEditingDialog
| situation | result on iOS | result on Android |
|---|---|---|
| event is edited | { action: 'SAVED', eventIdentifier: string, calendarItemIdentifier: string } |
{ action: 'CANCELED' } |
| event editing is cancelled | { action: 'CANCELED' } |
{ action: 'CANCELED' } |
| event is deleted | { action: 'DELETED' } |
{ action: 'DELETED' } |
- presentEventViewingDialog
On Android, this will lead to same situation as calling presentEventEditingDialog; the following table describes iOS only:
| situation | result on iOS |
|---|---|
| event modal is dismissed | { action: 'DONE' } |
| user responded to and saved a pending event invitation | { action: 'RESPONDED' } |
| event is deleted | { action: 'DELETED' } |
The navigation bar appearance for all calls can be customized by providing a navigationBarIOS object in the config. The object has the following shape:
navigationBarIOS: {
  tintColor: string,
  barTintColor: string,
  backgroundColor: string,
  translucent: boolean,
  titleColor: string,
}
Please see the docs on tintColor, barTintColor, backgroundColor, translucent, titleTextAttributes (NSForegroundColorAttributeName)
Please note that SAVED, CANCELED, DELETED, DONE and RESPONDED constants are exported from the module. The constants are borrowed from iOS and are covered in EKEventViewAction docs and EKEventEditViewAction docs.
It is recommended to not rely on the standard Date object and instead use some third party library for dealing with dates, such as moment.js because JavaScriptCore (which is used to run react-native on devices) handles dates differently from V8 (which is used when debugging, when the code runs on your computer).
- In XCode, in the project navigator, right click
Libraries➜Add Files to [your project's name] - Go to
node_modules➜react-native-add-calendar-eventand addRNAddCalendarEvent.xcodeproj - In XCode, in the project navigator, select your project. Add
libRNAddCalendarEvent.ato your project'sBuild Phases➜Link Binary With Libraries - Run your project (
Cmd+R)<
- Open up
android/app/src/main/java/[...]/MainApplication.java
- Add
import com.vonovak.AddCalendarEventPackage;to the imports at the top of the file - Add
new AddCalendarEventPackage()to the list returned by thegetPackages()method
- Append the following lines to
android/settings.gradle:include ':react-native-add-calendar-event' project(':react-native-add-calendar-event').projectDir = new File(rootProject.projectDir, '../node_modules/react-native-add-calendar-event/android') - Insert the following lines inside the dependencies block in
android/app/build.gradle:compile project(':react-native-add-calendar-event')

