There are numerous great and very powerful trading journals out there. However, most of these tools are very limited in terms of control and customisations (data control, privacy, UI&UX customization, etc.). Moreover, I was missing some essential features for improving my day trading, like having a diary or taking and annotating screenshots.
By creating and sharing TradeNote as an open source project, I hope to help other days traders like myself store, discover and recollect trade patterns so they can become and remain consistent and profitable traders.
You can follow the project, get support and suggest new features on Discord.
The objective is to have a lightweight and fast website. As such, the website runs on static pages, using VueJs, JS and HTML and uses Parse for its backend.
This project arose from a personal need and as such is most widely used (and tested) for intraday trades and using TradeZero Broker. However, I'm adding little by little other brokers.
Currently, you can add trades from the following brokers
- TradeZero
- MetaTrader 5
- TD Ameritrade
- TradeStation
- Interactive Brokers
Please look at the brokers folder to see the export format for you broker.
You contact me via Discord if you wish to integrate your broker.
Alternatively, you can use the template and adapt it to your export file.
TradeNote works best for intraday US stocks. However, you can also import swing trades but you must make sure all imported trades are closed / that you do not have any open trades.
You can see upcoming features on Trello.
If you like this project, don't hesitate to show me the money love ;)
TradeNote is divided in 2 sections, each being an essential building block for becoming a consistent trading and managing your trading business.
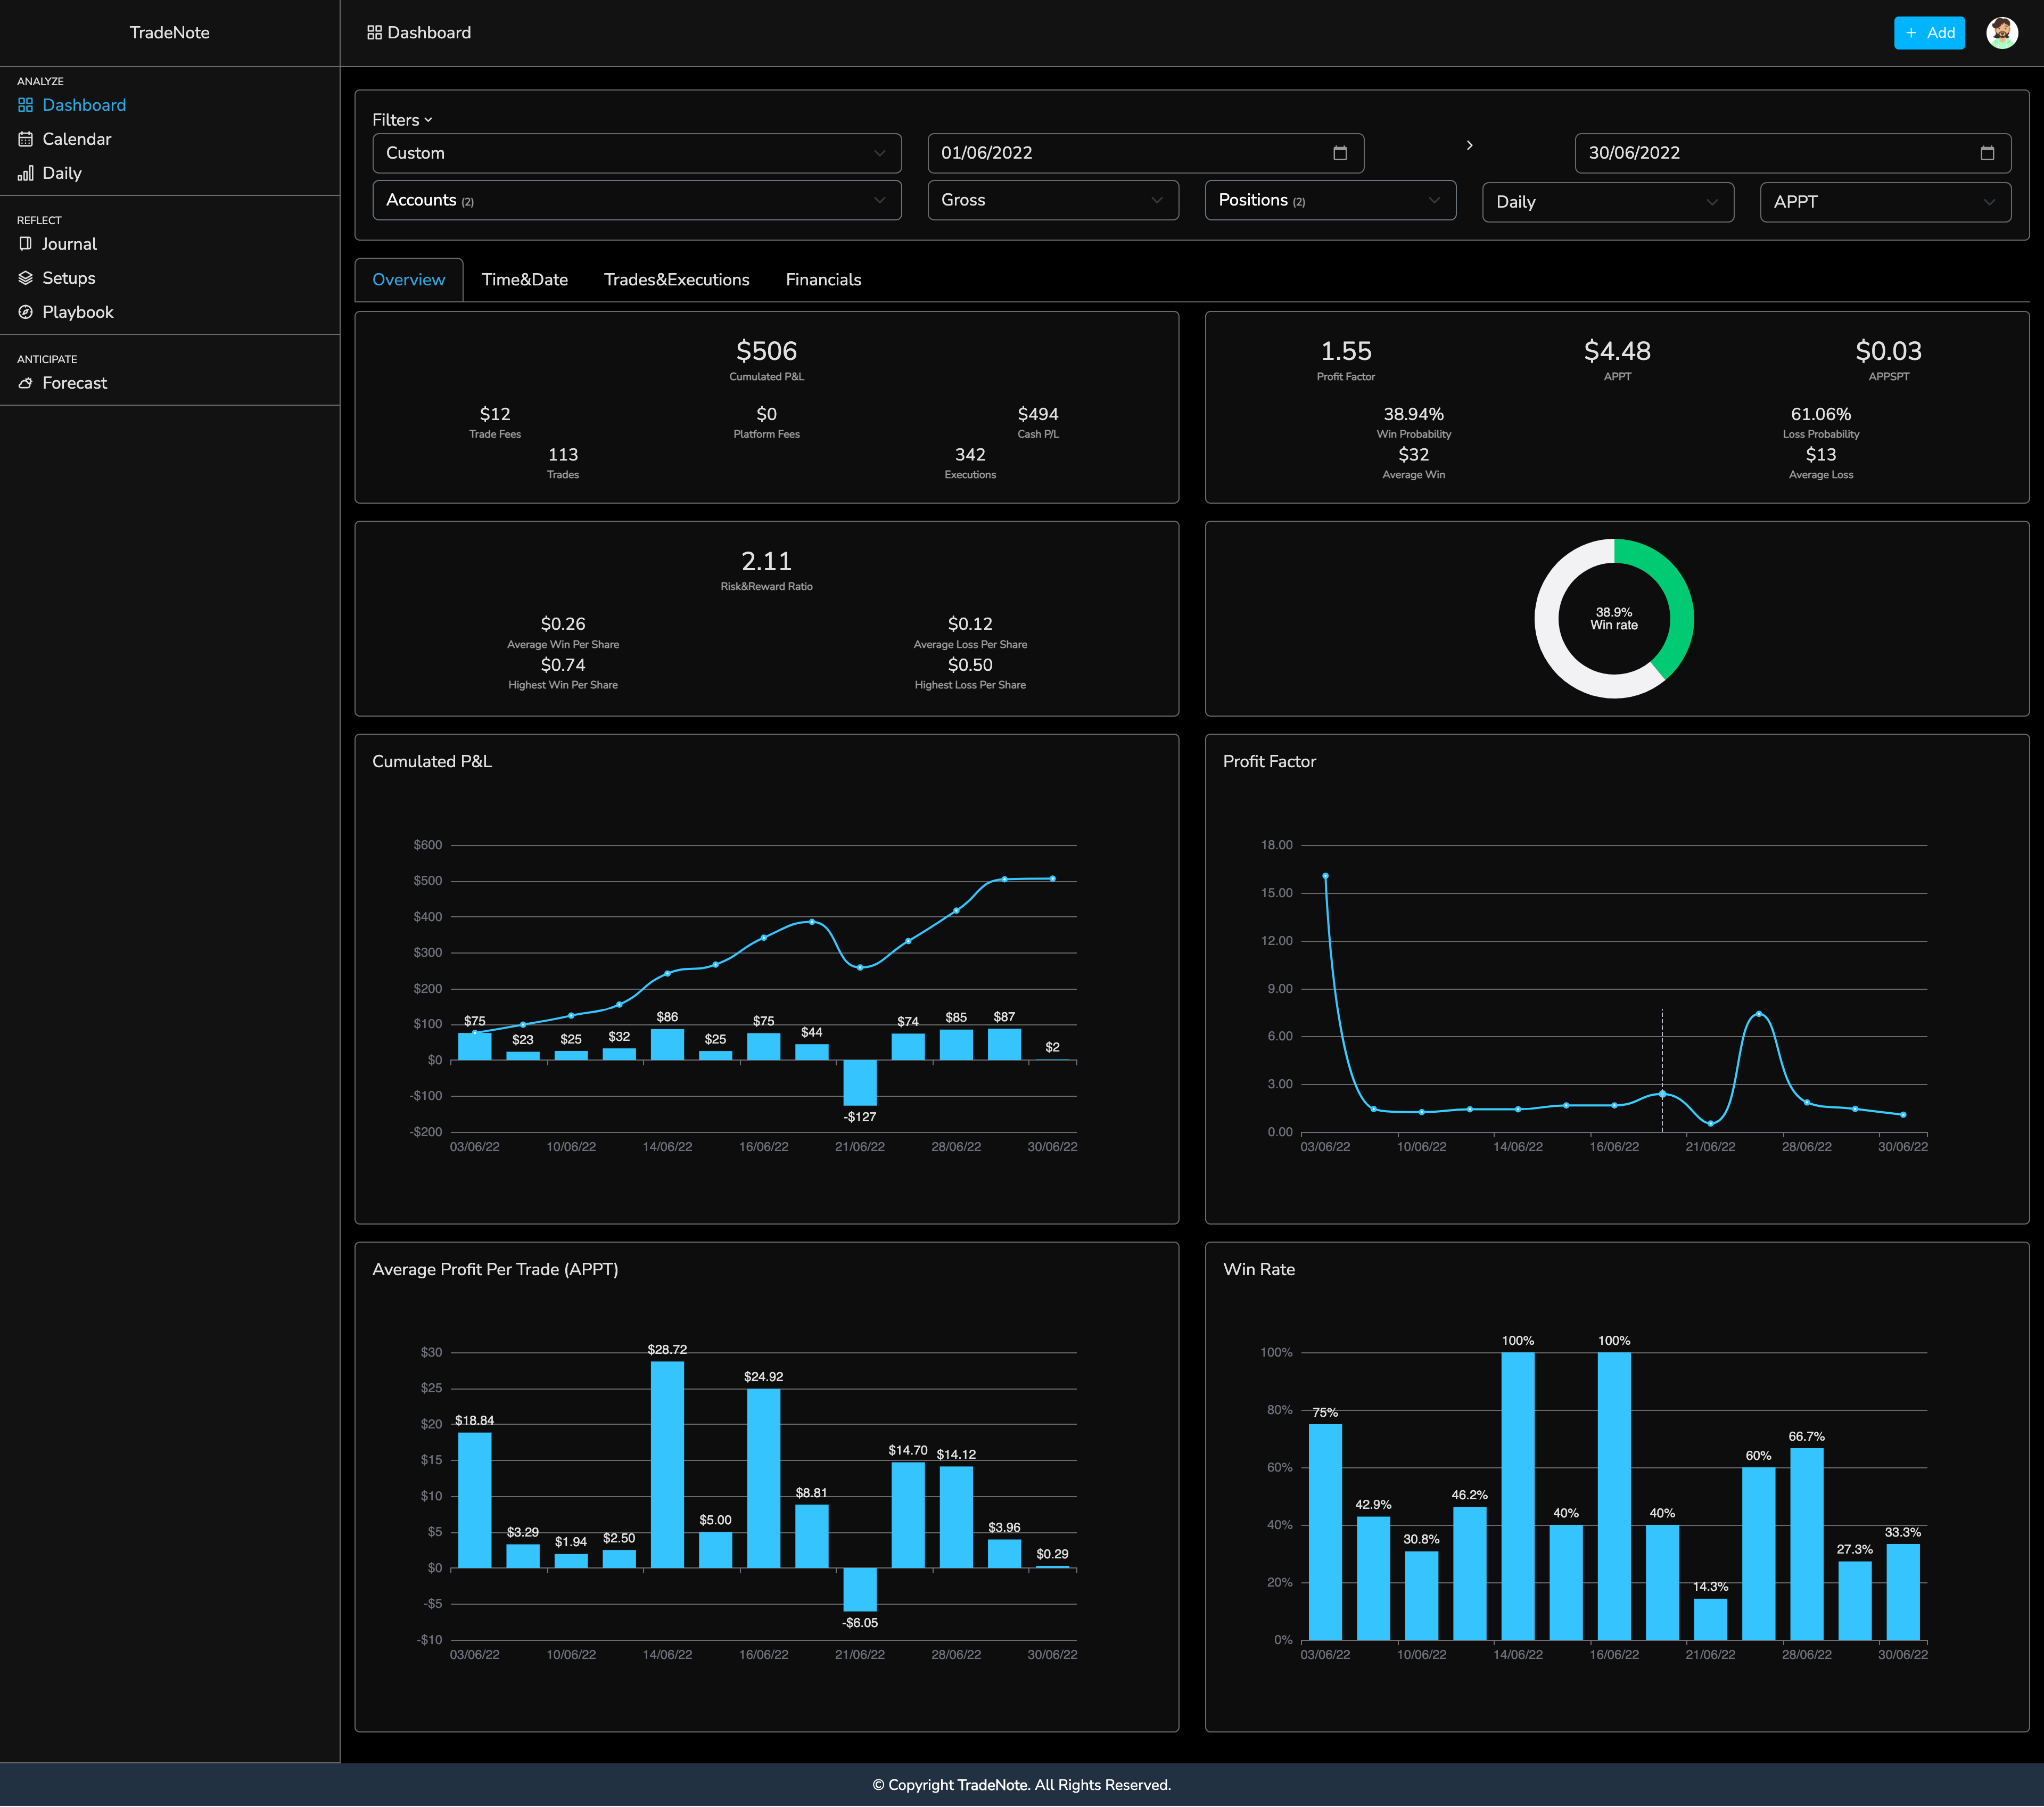
TradeNote offers a dashboard, daily view and calendar view so you can measure your progress. You can easily filter your trades by month or date range.
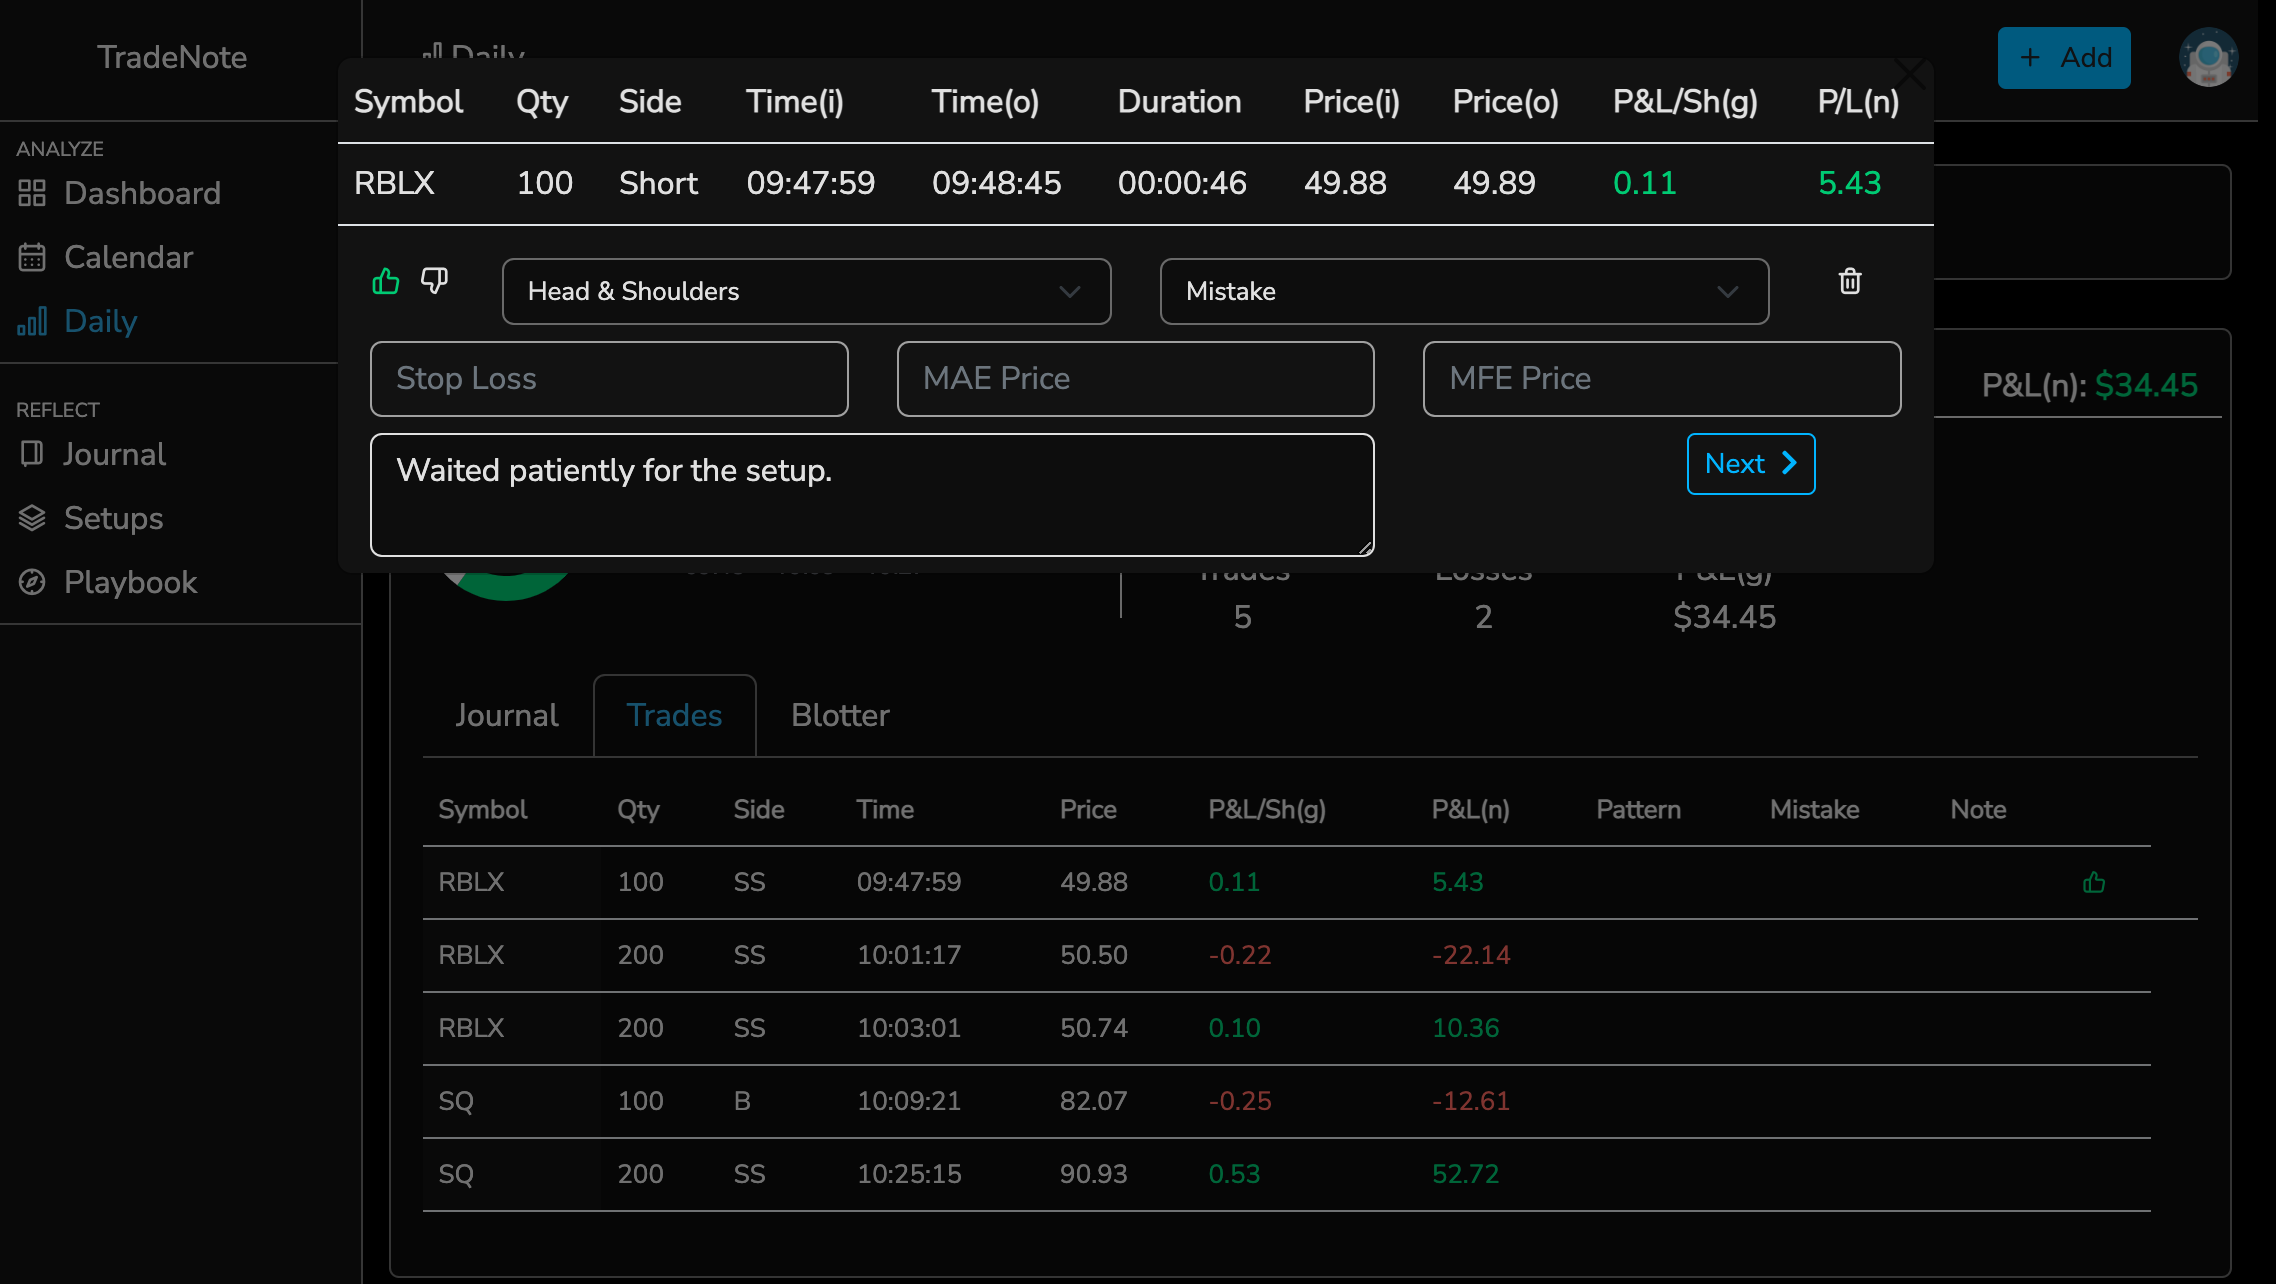
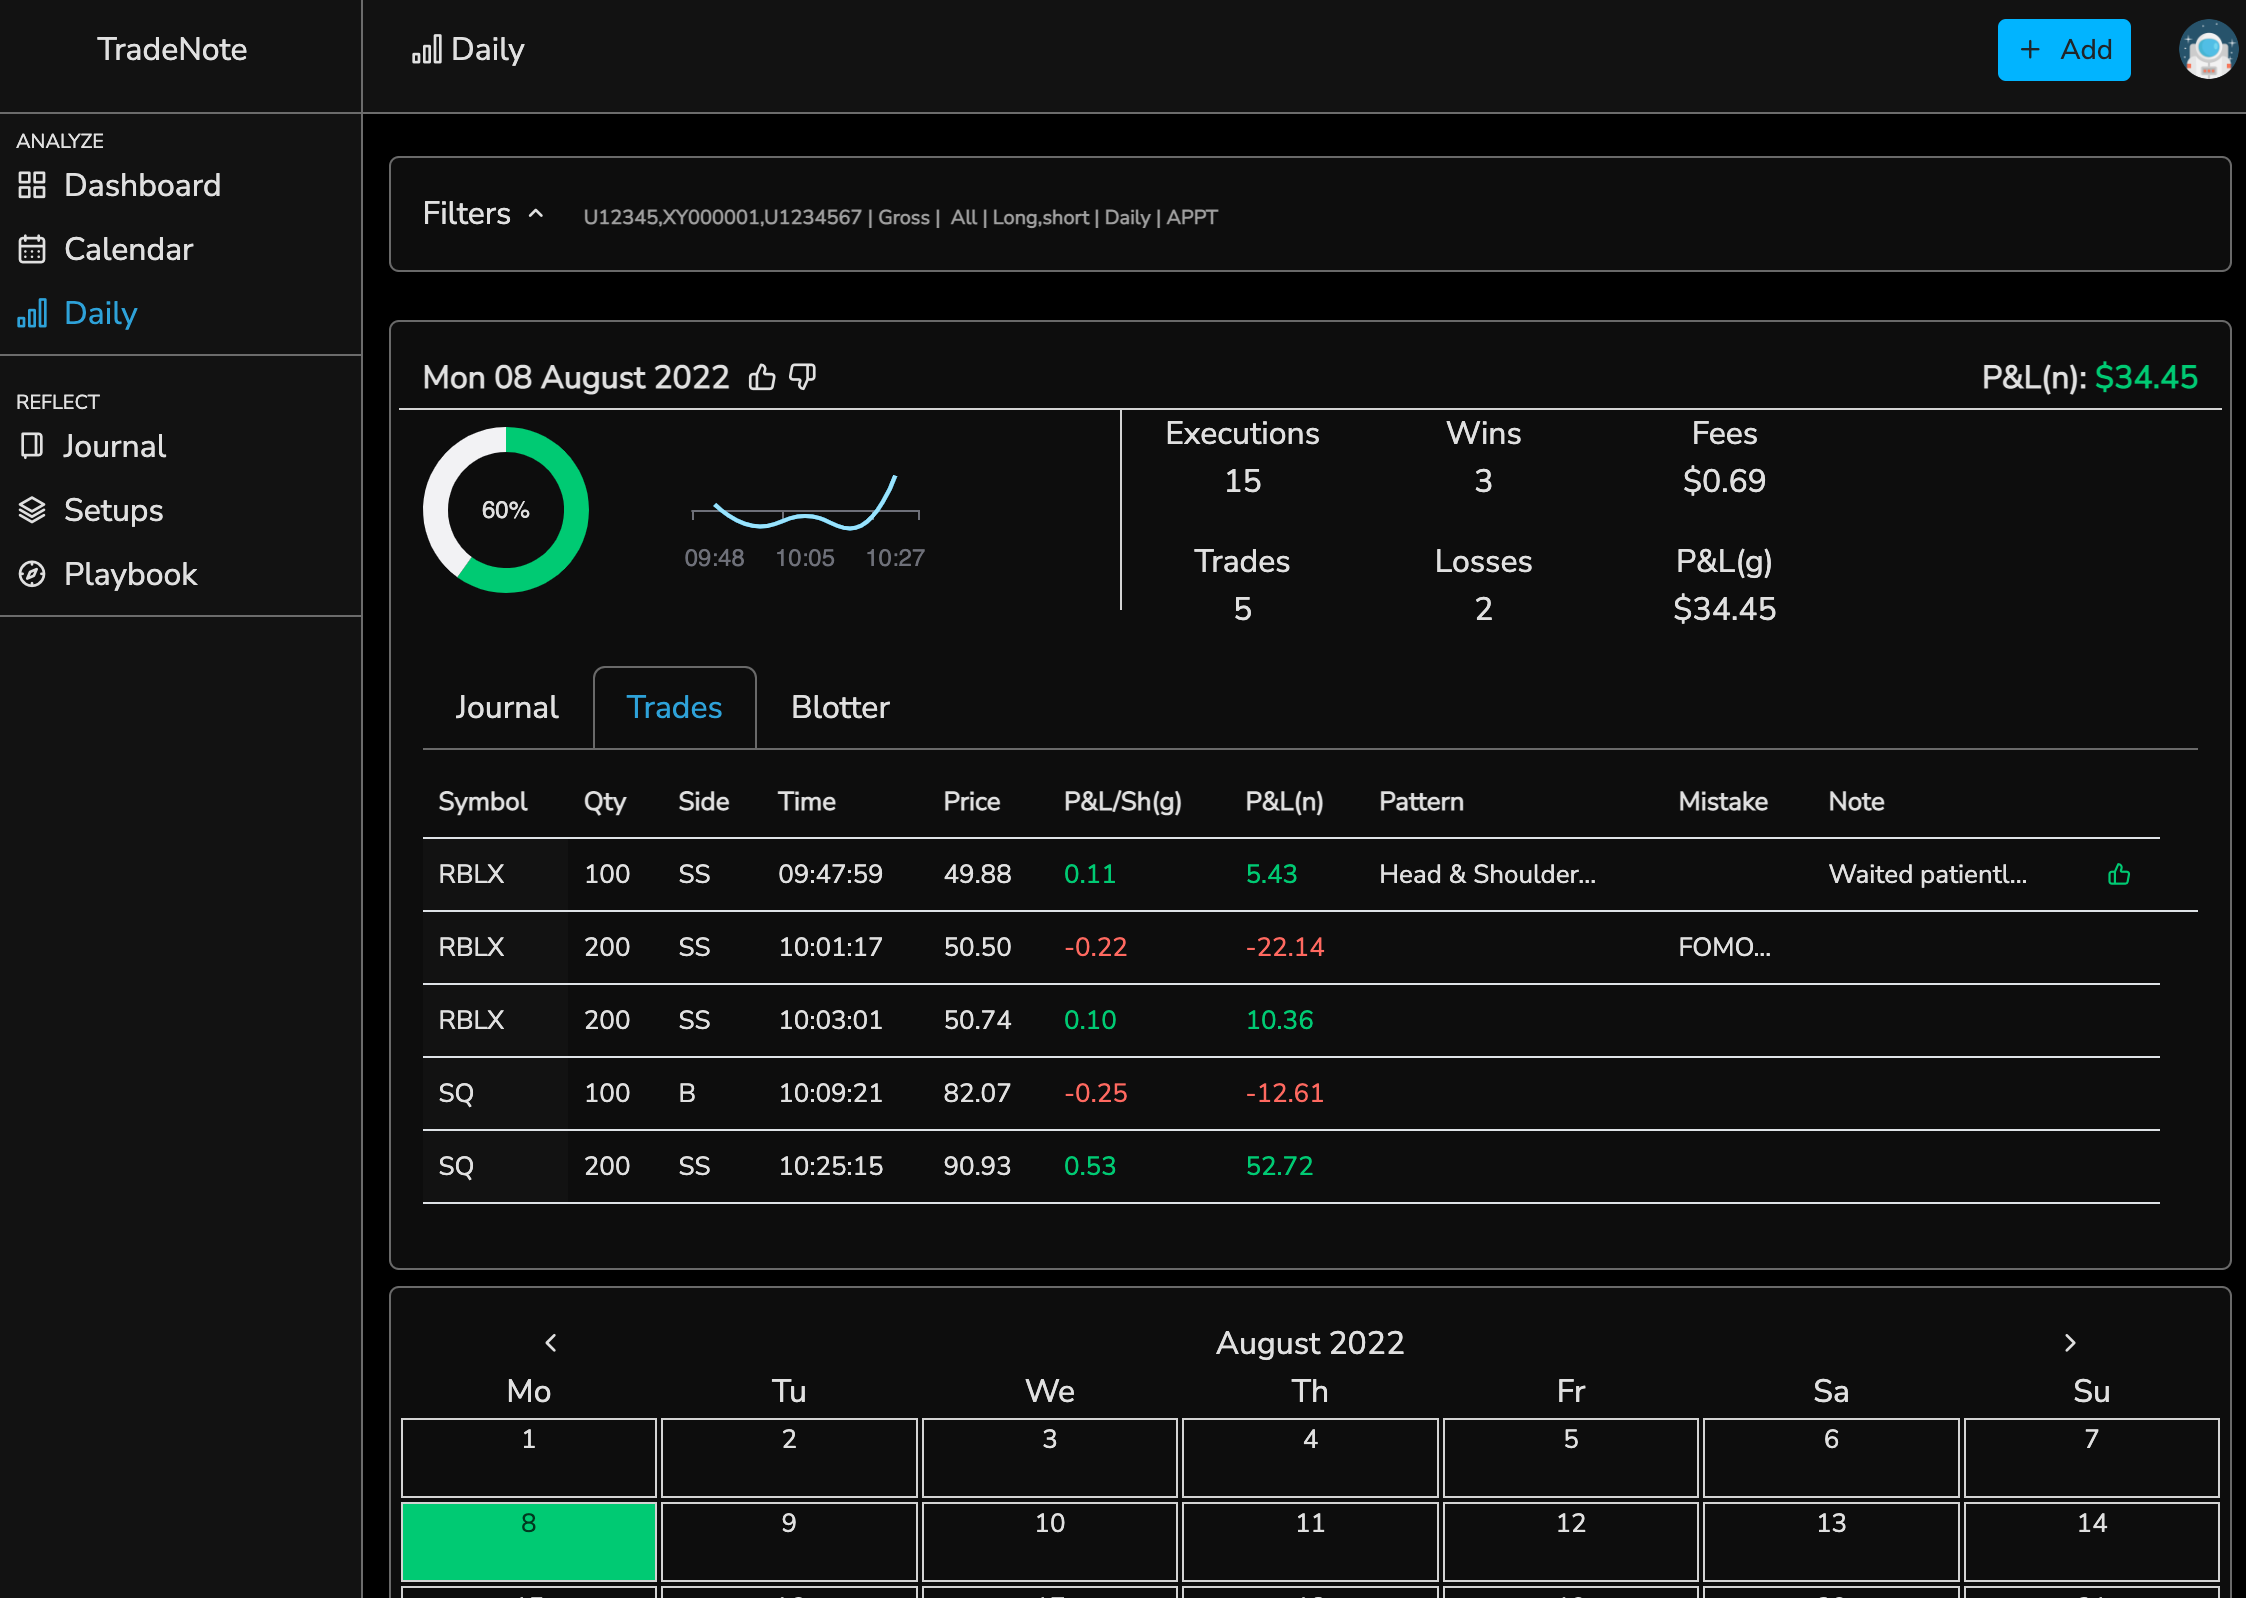
On daily page you can see your trades per day. You can add pattern, mistake and note to each of you trades. Moreover, you can specify your satisfaction with the trade (for example if you followed or not your rules) with thumbs up or down.
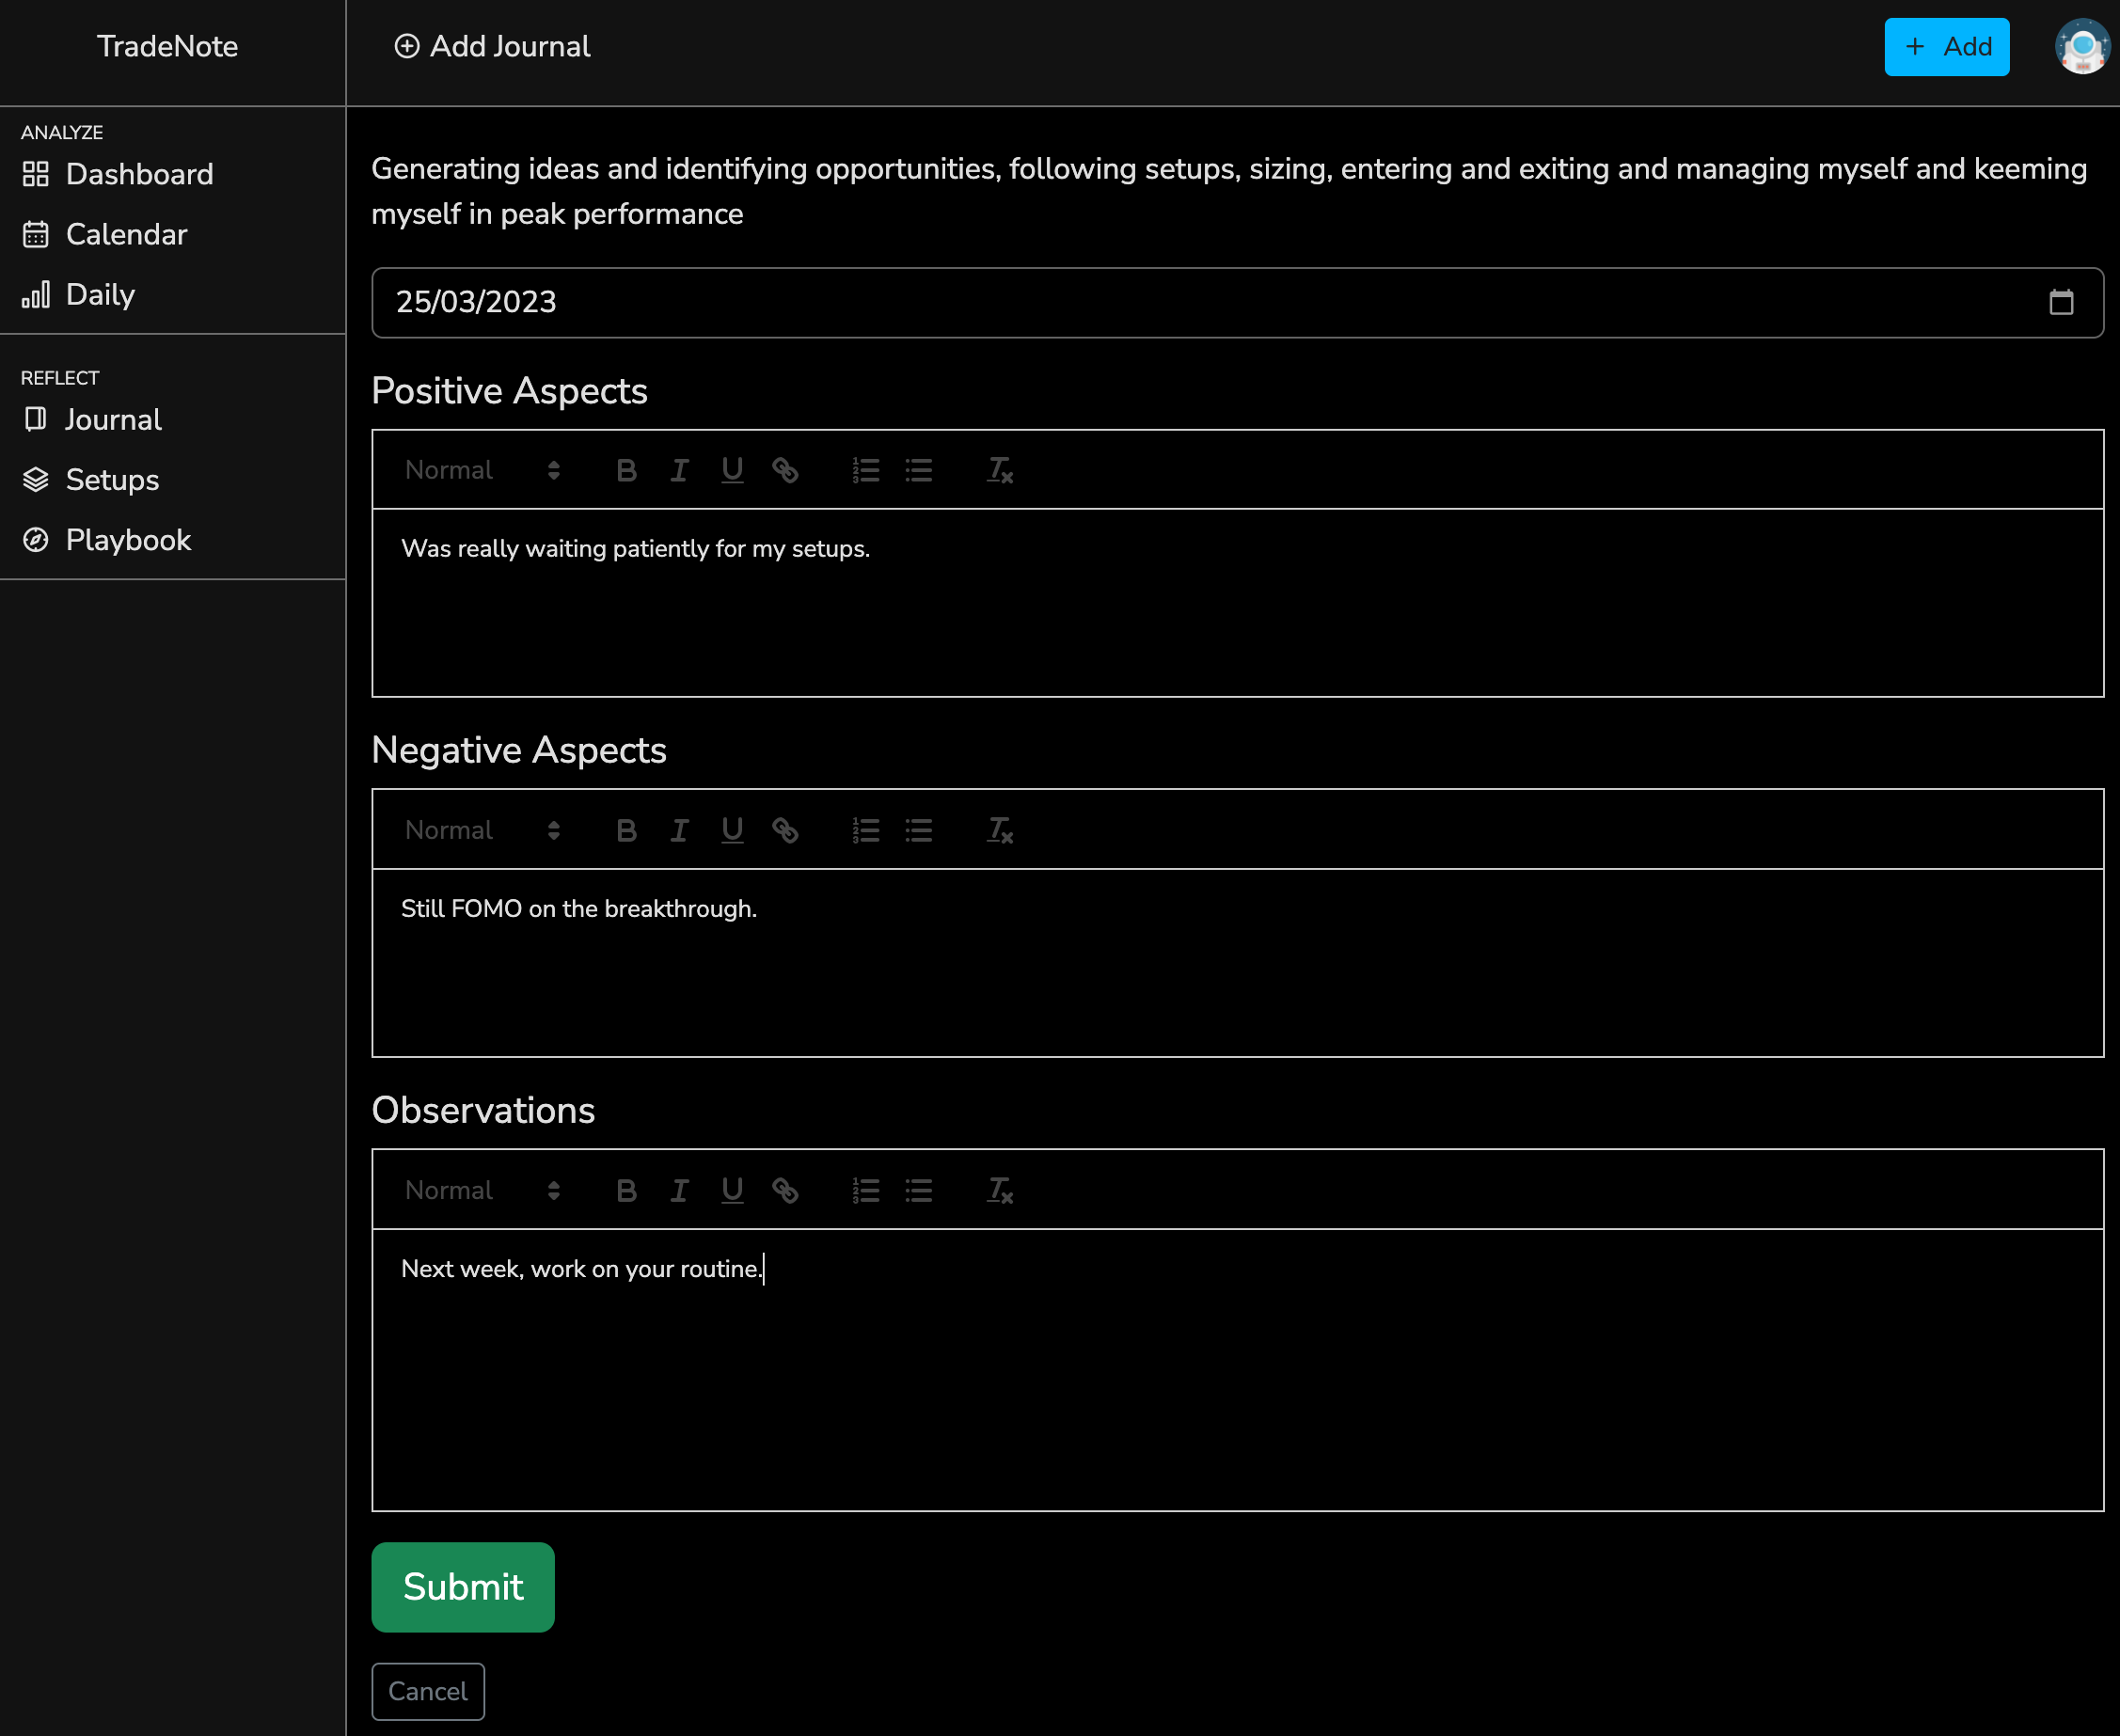
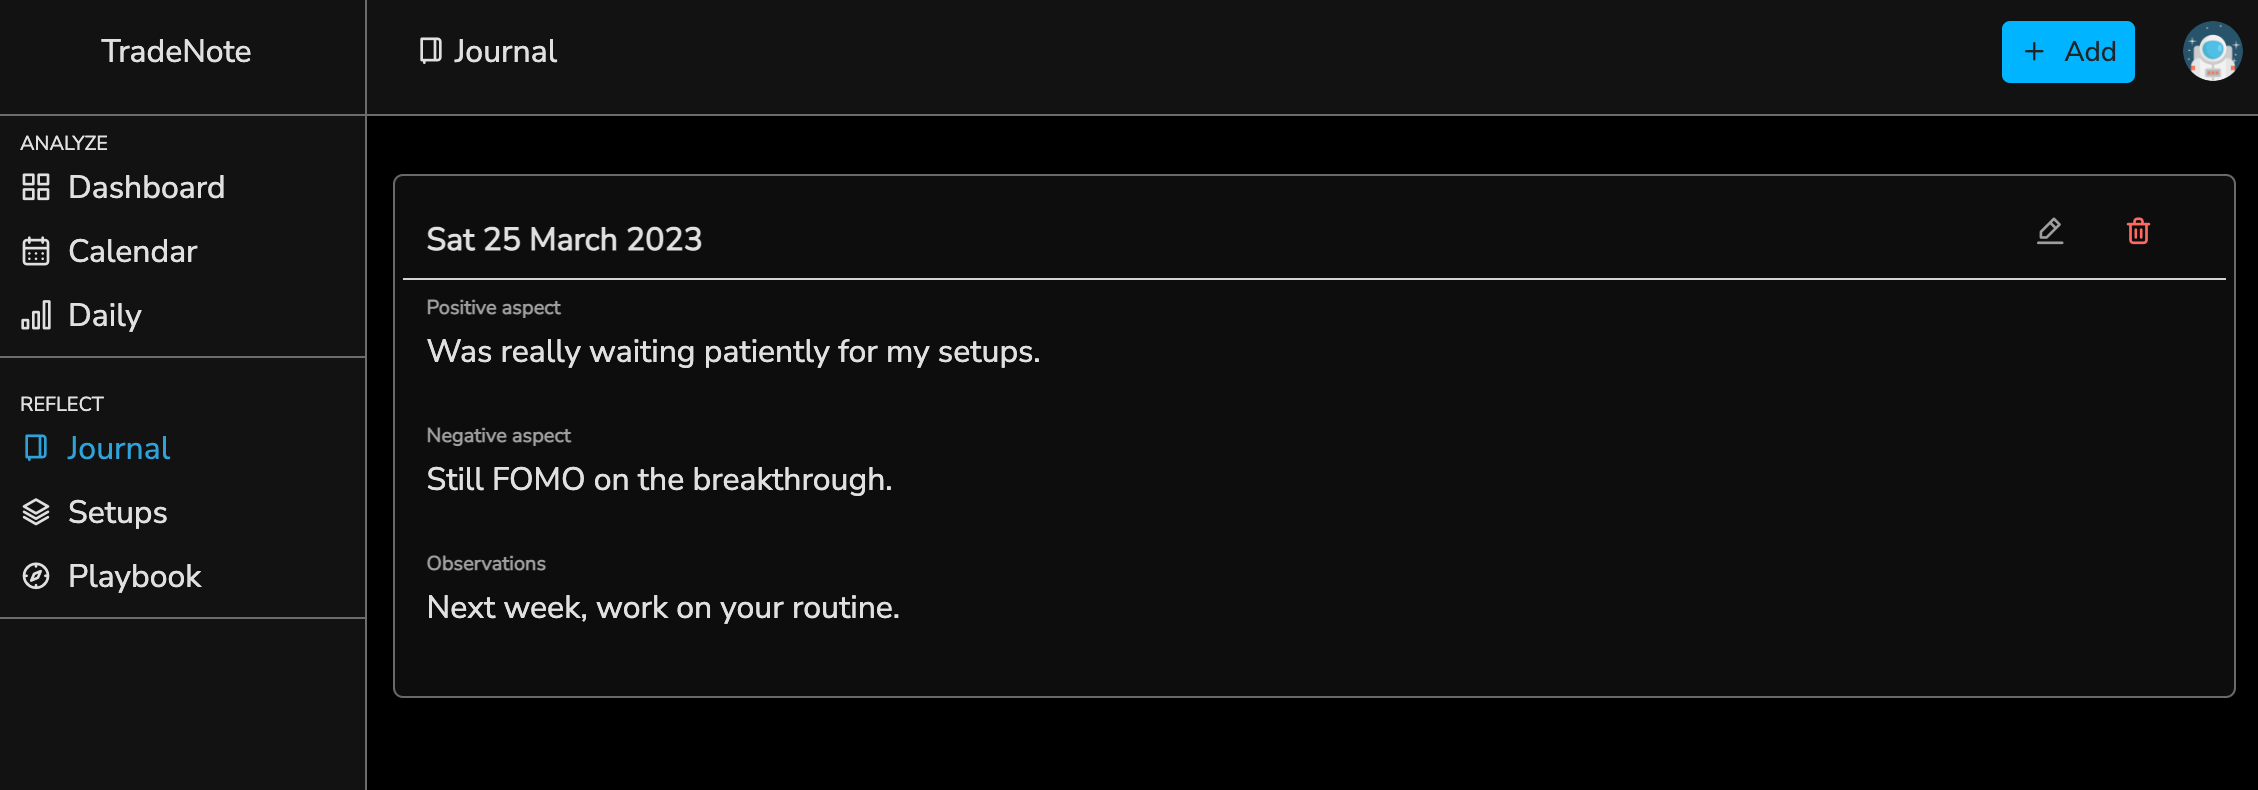
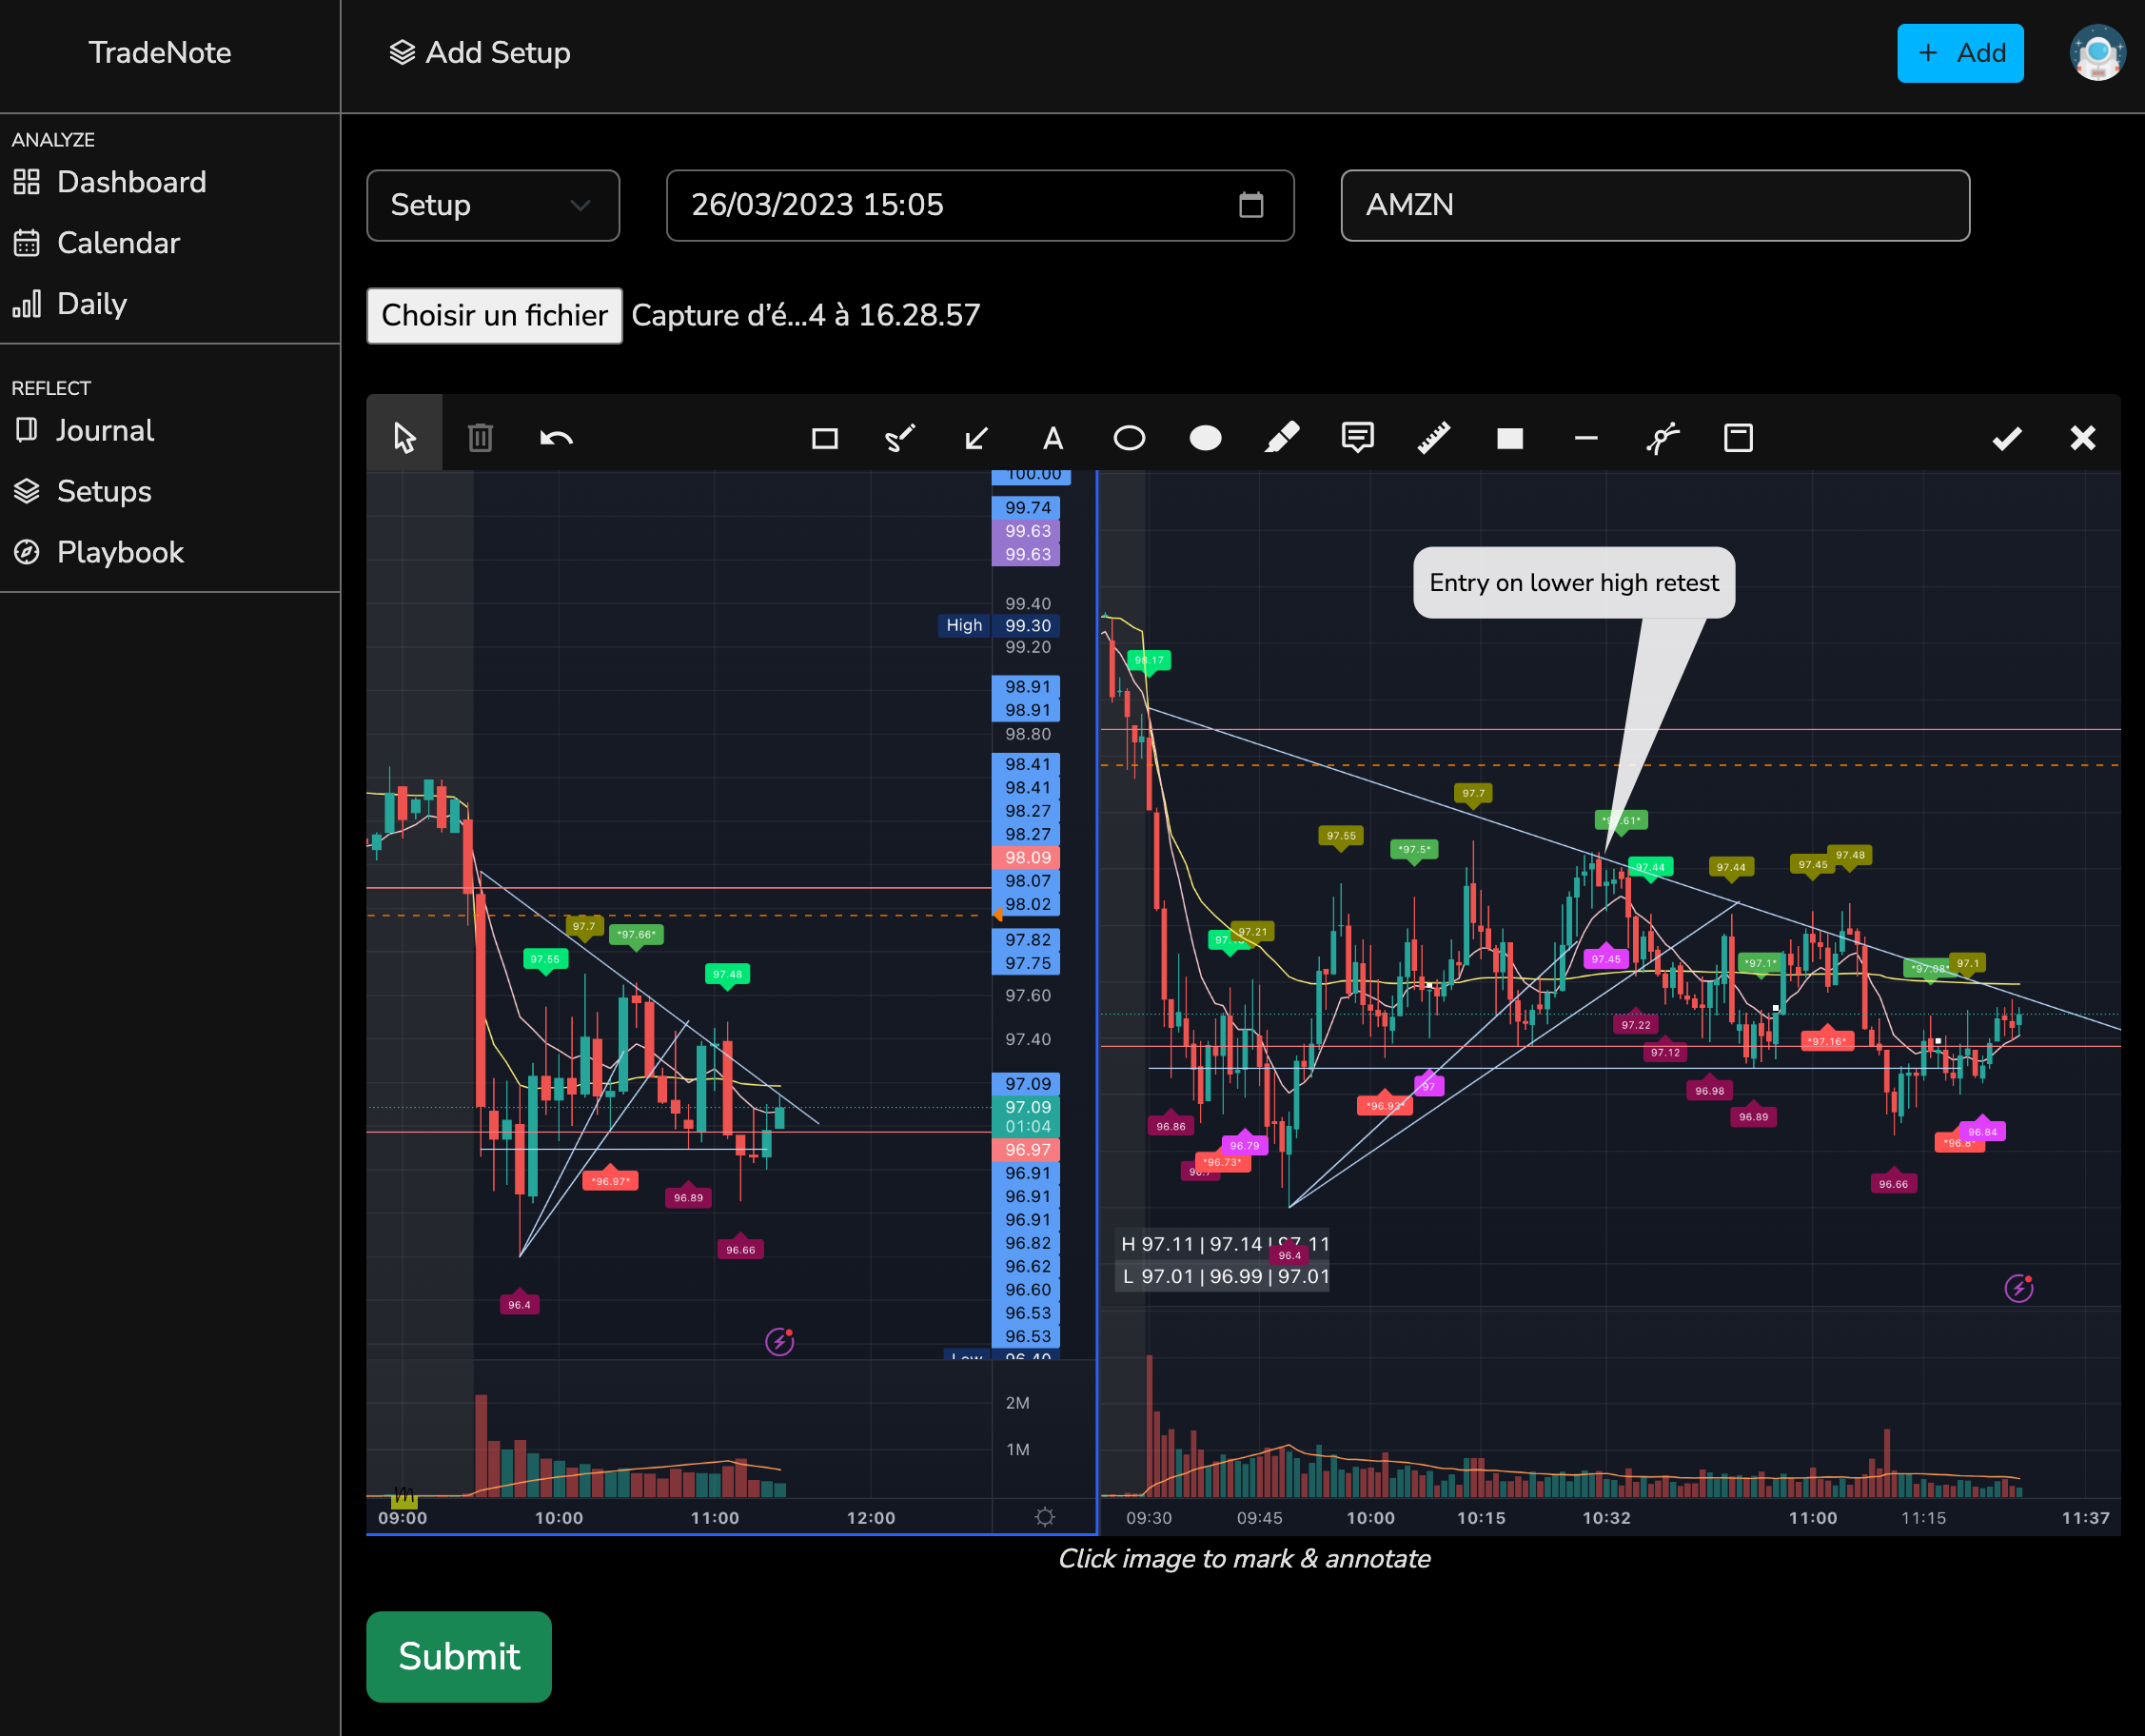
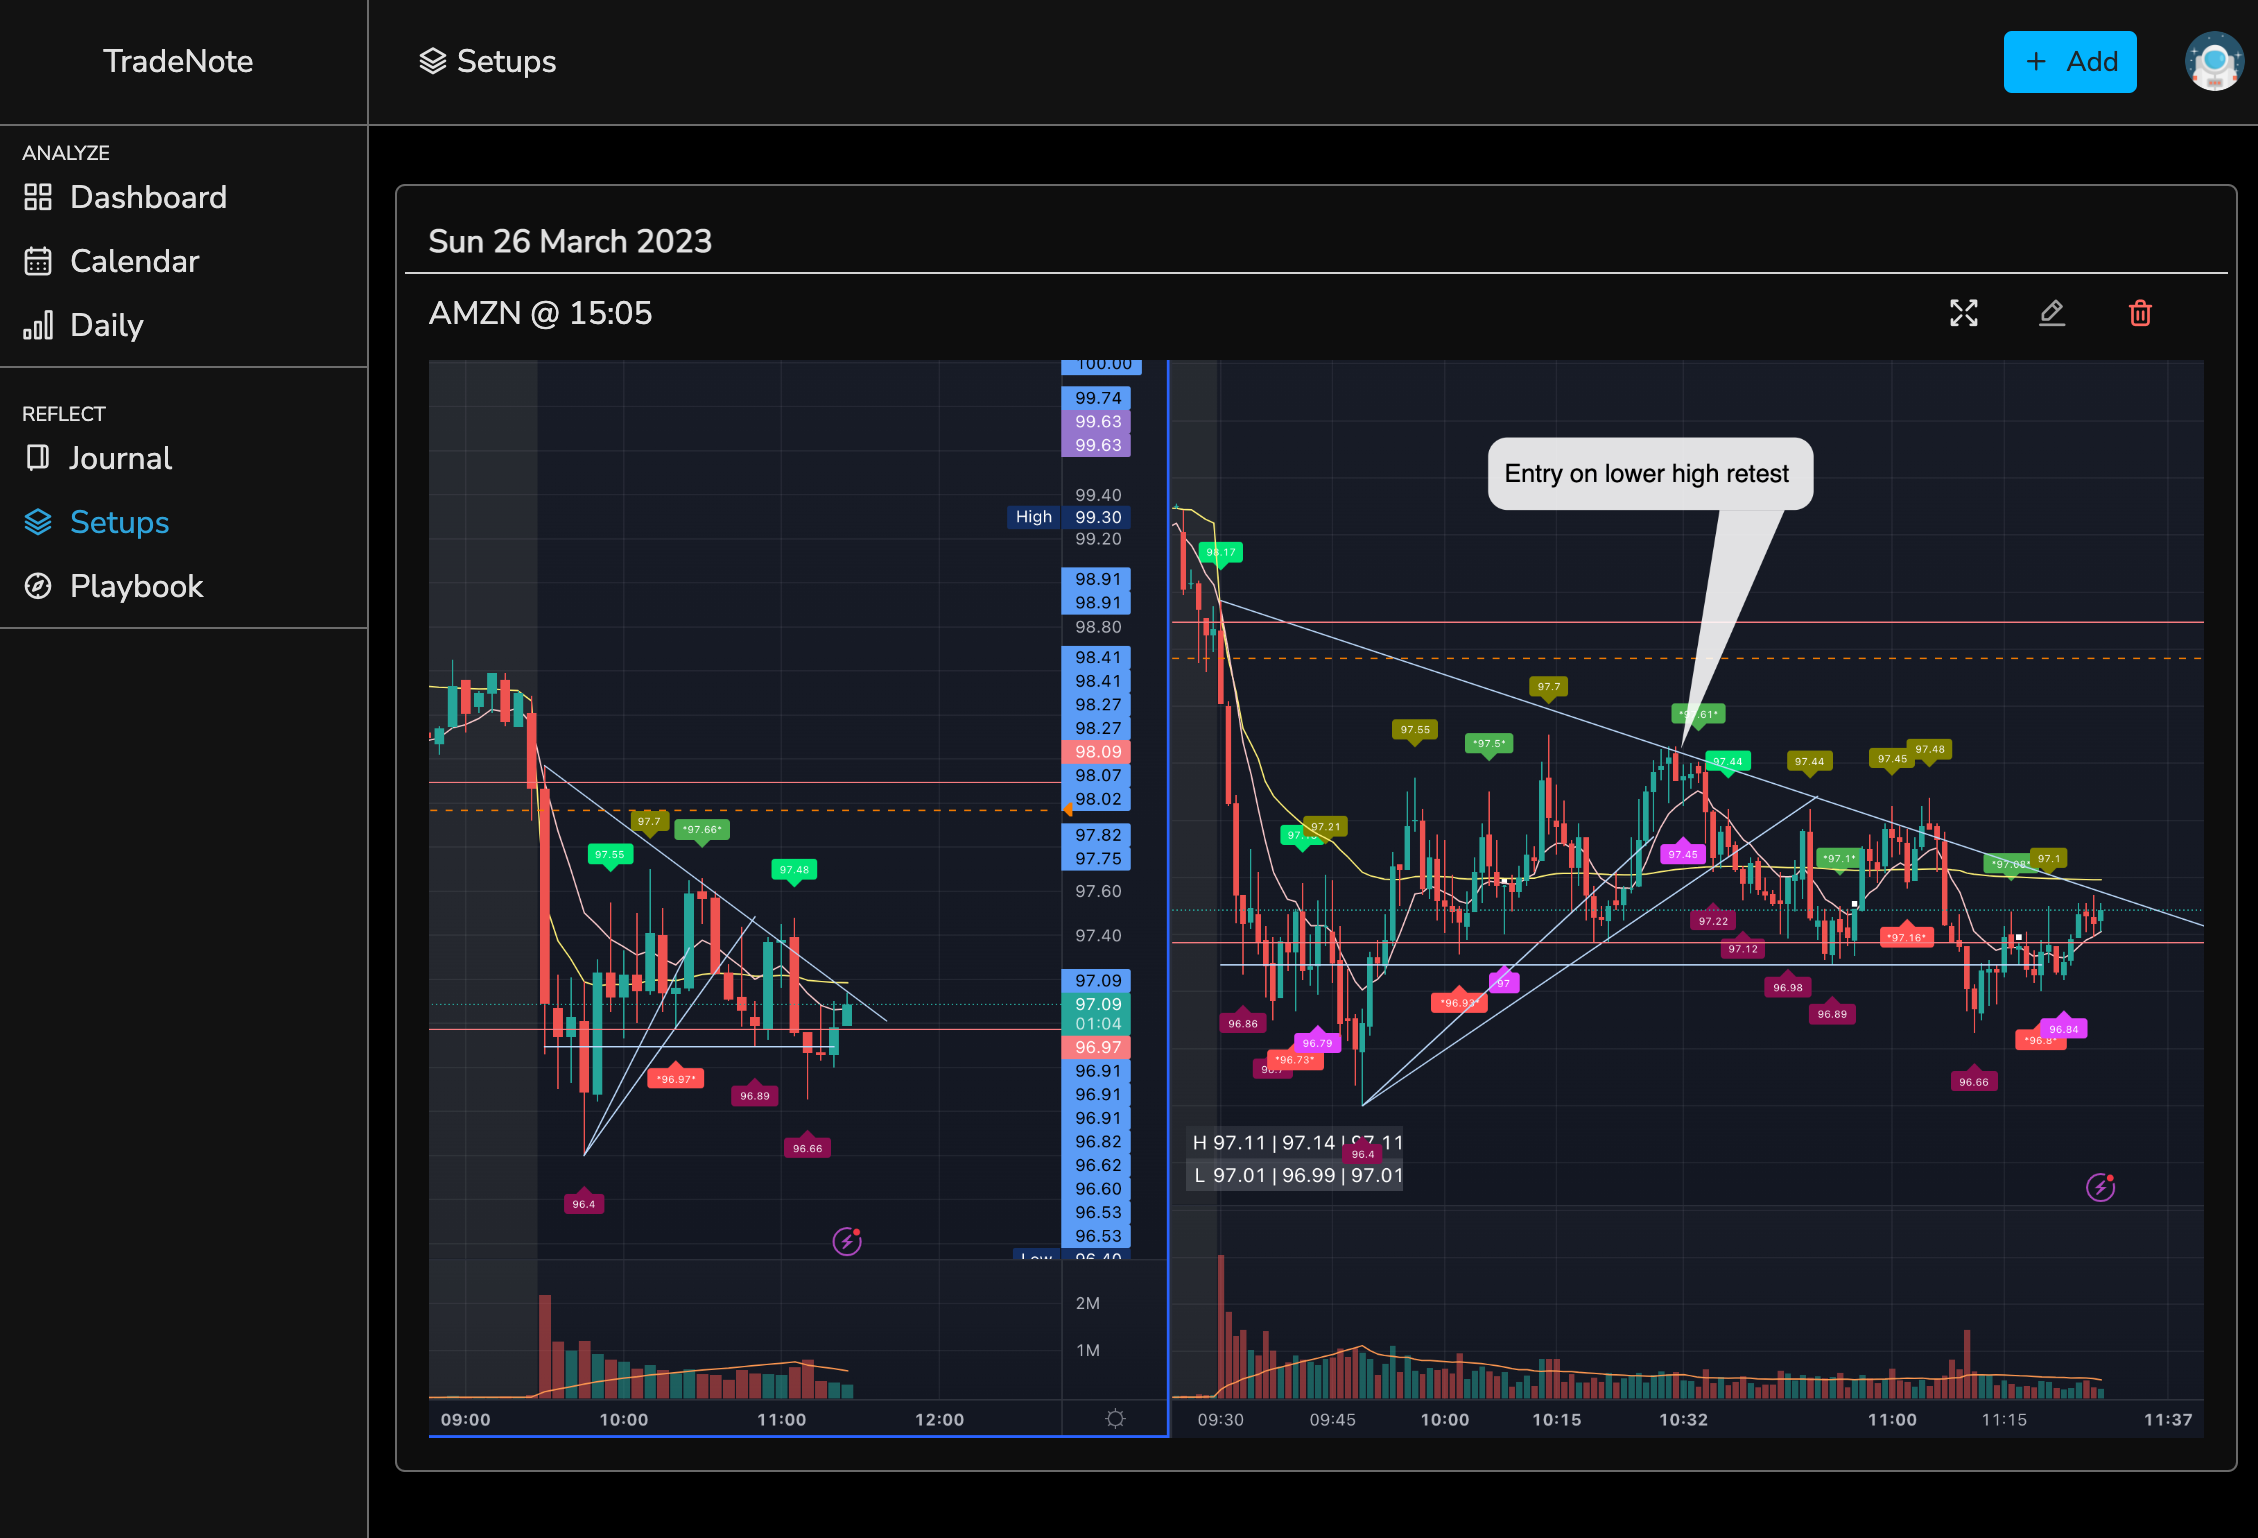
With TradeNote you can keep a daily diary of your trading journey to work on your trader psychology as well as add annotated screenshots of interesting setups or your entries. You can also write your (yearly) playbook.
Besides notes for every trade, you can record things related to your every day trading, like feelings, moods and emotions or more technical related issues like patterns, in order to make important discoveries.
Upload screenshots of you trades ("Entry" option) or simply an interesting setup you have identified ("Setup" option) and make annotations for further analysis.
Your data will be stored on your terms, in a MongoDB database. As such, you must have a running mongoDB and you will be asked to proved the URI with the database name.
If you already have an existing MongoDB running and want to use it, you can skip this step. Otherwise, you can install MongoDB on a user-defined bridge with following steps
docker network create tradenote-net
docker pull mongo:latest
docker run -e MONGO_INITDB_ROOT_USERNAME=<MONGO_INITDB_ROOT_USERNAME> -e MONGO_INITDB_ROOT_PASSWORD=<MONGO_INITDB_ROOT_PASSWORD> -v mongo_data:/data/db -p 27017:27017 --name tradenote-mongo --net tradenote-net -d mongo:latest
Run the image with the following environment variables
- <MONGO_INITDB_ROOT_USERNAME>: Username for authenticating to the MongoDB database.
- <MONGO_INITDB_ROOT_PASSWORD>: Password for authenticating to the MongoDB database.
Pull image from DockerHub
docker pull eleventrading/tradenote:<tag>
docker run -e MONGO_URI=<MONGO_URI> -e APP_ID=<APP_ID> -e MASTER_KEY=<MASTER_KEY> -p 7777:7777 --name tradenote-app --net tradenote-net -d eleventrading/tradenote:<TAG>
Run the image with the following environment variables
- <MONGO_URI>: URI to your mongo database, including database name. It must have the following structure:
mongodb://<mongo_user>:<mongo_password>@<mongo_url>:<mongo_port>/<tradenote_database>?authSource=admin.- <mongo_url>: Enter one of the following information :
- If you have followed the above MongoDB installation process and created a network ("tradenote-net"), simply use the container name ("tradenote-mongo").
- If you have an existing MongoDB running on a local network, you can either connect it to the network by creating the network (
docker network create tradenote-net) runningdocker network connect tradenote-net <container_name>and then use the container name or connect it using your MongoDB container IP (you can find it by runningdocker inspect -f '{{range.NetworkSettings.Networks}}{{.IPAddress}}{{end}}' <container_name>) - If you have an existing MongoDB on a remote network, simply use the remote IP address
- <tradenote_database>: You can use whatever name you like for your tradenote database.
- <mongo_url>: Enter one of the following information :
- <APP_ID>: Set a random string as application ID, which will be used to connect to the backend (no spaces)
- <MASTER_KEY>: Set a random string as master key, which will be used to make root connections to the backend (no spaces)
- < TAG >: Depends on the tag number pulled from DockerHub
- Start by registering a user. Visit
http://<your_server>:7777/registerto register a TradeNote user. Use any email and set a password - When you log in for the first time, you will see a step by step tutorial explaining how TradeNote works
- Import your trades. See the brokers folder for more information
For advanced users, you can also build the TradeNote image locally, directly from GitHub repository.
- Pull from github
- cd into Tradenote directory
- docker build -f docker/Dockerfile . -t tradenote: (replace with the number you wish / with latest tag number)
- Run the image
docker run -e MONGO_URI=<MONGO_URI> -e APP_ID=<APP_ID> -e MASTER_KEY=<MASTER_KEY> -p 7777:7777 --name tradenote-app --net tradenote-net -d tradenote:<TAG>
This project uses Parse as its backend framework, for the following reasons:
- Manage the authentification (flow)
- Parse is a great framework for all API communications with the mongo database
- Parse acts as the server so that TradeNote does not need to run any server on its own, making it faster and lighter.
During the installation process, Parse server is automatically installed via Docker. If you wish to visualize your raw MongoDB data, you can use a tool MongoDB Compass or you can install and run the Parse Dashboard.
This projects uses PostHog as its product analytics suite to collect anonymous analytics about TradeNote installations and page views. This helps me better understand if and how people are using TradeNote and evaluate the outreach of my project. If you want to opt-out of this program, you can simply add -e ANALYTICS_OFF=true when running the docker image.
- List all containers
docker ps -aand get the TradeNote container id - Stop the TradeNote container:
docker stop <container_id> - Remove the TradeNote container:
docker rm <container_id>
- List all images
docker image lsand get the TradeNote image id - Remove the TradeNote image:
docker rmi <image_id>
During installation, mongoDB is runs with persistant data. This way, if you restart or update your mongoDB container, your data will not be lost.
Additionally, you can, and should, backup your database.
For convenience, here is an example using s3cmd for backing up your database. As this is not part of the TradeNote projet, I will unfortunately not be able to provide support on this part. But you will find more information about this on google and stackoverflow.
- Install s3cmd
- Configure the s3cfg config file
- Run the bash file with the following 5 arguments: DATABASE_USER, DATABASE_PASSWORD, S3_BUCKET_NAME, S3_BUCKET_PATH, MONGO_DATABASE_NAME
I'm a trader and recreational developer. My days are very packed but I will do my best to answer your questions and update the code when needed. As such, do not hesitate to contact me if you would like to contribute and help improve this project. Things to work on and improve:
- Add support to other trading platforms (currently, only TradeZero is supported)
- Currently, the code has only been tested for day trading and it would be interesting to add support for swing and multi-day trading
- Clean and optimize code
- Improve front end layout and develop new ideas
- And more...
This project is open sourced under the GNU GPL v3 licence.
