This repo updated a few files with minor changes to make 3d-ken-burns work on Windows Platform. The code is tested under Windows 10 platform with Anaconda and CUDA 10.1
Note: cupy library is not offically supported on Windows. This repo is only tested with cupy 7.1.1
You may run the following commands in Anaconda to download the packages:
conda install pytorch torchvision cudatoolkit=10.1 -c pytorch
conda install -c conda-forge opencv
conda install -c conda-forge flask
conda install -c conda-forge gevent
conda install -c conda-forge h5py
conda install -c conda-forge scipy
conda install -c conda-forge moviepy
pip install imageio==2.4.1
conda install -c anaconda requests
pip install cupy-cuda101
moviepy install imageio 2.6.1 by default and has an issue with ffmpeg library. Downgrading it with version 2.4.1 solves the problem.
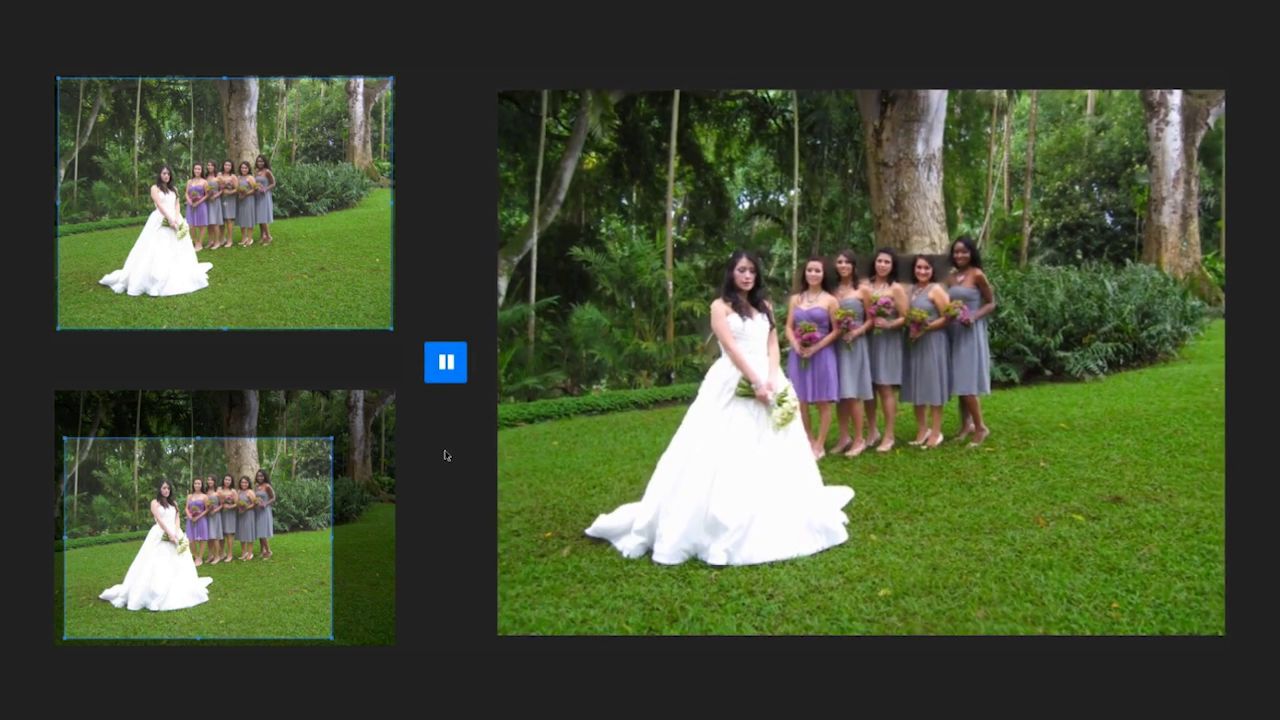
This is a reference implementation of 3D Ken Burns Effect from a Single Image [1] using PyTorch. Given a single input image, it animates this still image with a virtual camera scan and zoom subject to motion parallax. Should you be making use of our work, please cite our paper [1].

To download the pre-trained models, run bash download.bash.
Several functions are implemented in CUDA using CuPy, which is why CuPy is a required dependency. It can be installed using pip install cupy or alternatively using one of the provided binary packages as outlined in the CuPy repository. Please also make sure to have the CUDA_HOME environment variable configured.
In order to generate the video results, please also make sure to have pip install moviepy installed.
To run it on an image and generate the 3D Ken Burns effect fully automatically, use the following command.
python autozoom.py --in ./images/doublestrike.jpg --out ./autozoom.mp4
To start the interface that allows you to manually adjust the camera path, use the following command. You can then navigate to http://localhost:8080/ and load an image using the button on the bottom right corner. Please be patient when loading an image and saving the result, there is a bit of background processing going on.
python interface.py
To run the depth estimation to obtain the raw depth estimate, use the following command. Please note that this script does not perform the depth adjustment, I will add it to the script at a later time should people end up being interested in it.
python depthestim.py --in ./images/doublestrike.jpg --out ./depthestim.npy
To benchmark the depth estimation, run python benchmark.py. You can use it to easily verify that the provided implementation runs as expected.
If you do not have a suitable environment to run this projects then you could give Colab a try. It allows you to run the project in the cloud, free of charge. There are several people who provide Colab notebooks that should get you started, including one from Arnaldo Gabriel and one from Vlad Alex.
This is a project by Adobe Research. It is licensed under the Creative Commons Attribution-NonCommercial-ShareAlike 4.0 International Public License (CC BY-NC-SA 4.0) and may only be used for non-commercial purposes. Please see the LICENSE file for more information.
[1]  @article{Niklaus_TOG_2019,
         author = {Simon Niklaus and Long Mai and Jimei Yang and Feng Liu},
         title = {3D Ken Burns Effect from a Single Image},
         journal = {ACM Transactions on Graphics},
         volume = {38},
         number = {6},
         pages = {184:1--184:15},
         year = {2019}
     }
The video above uses materials under a Creative Common license or with the owner's permission, as detailed at the end.