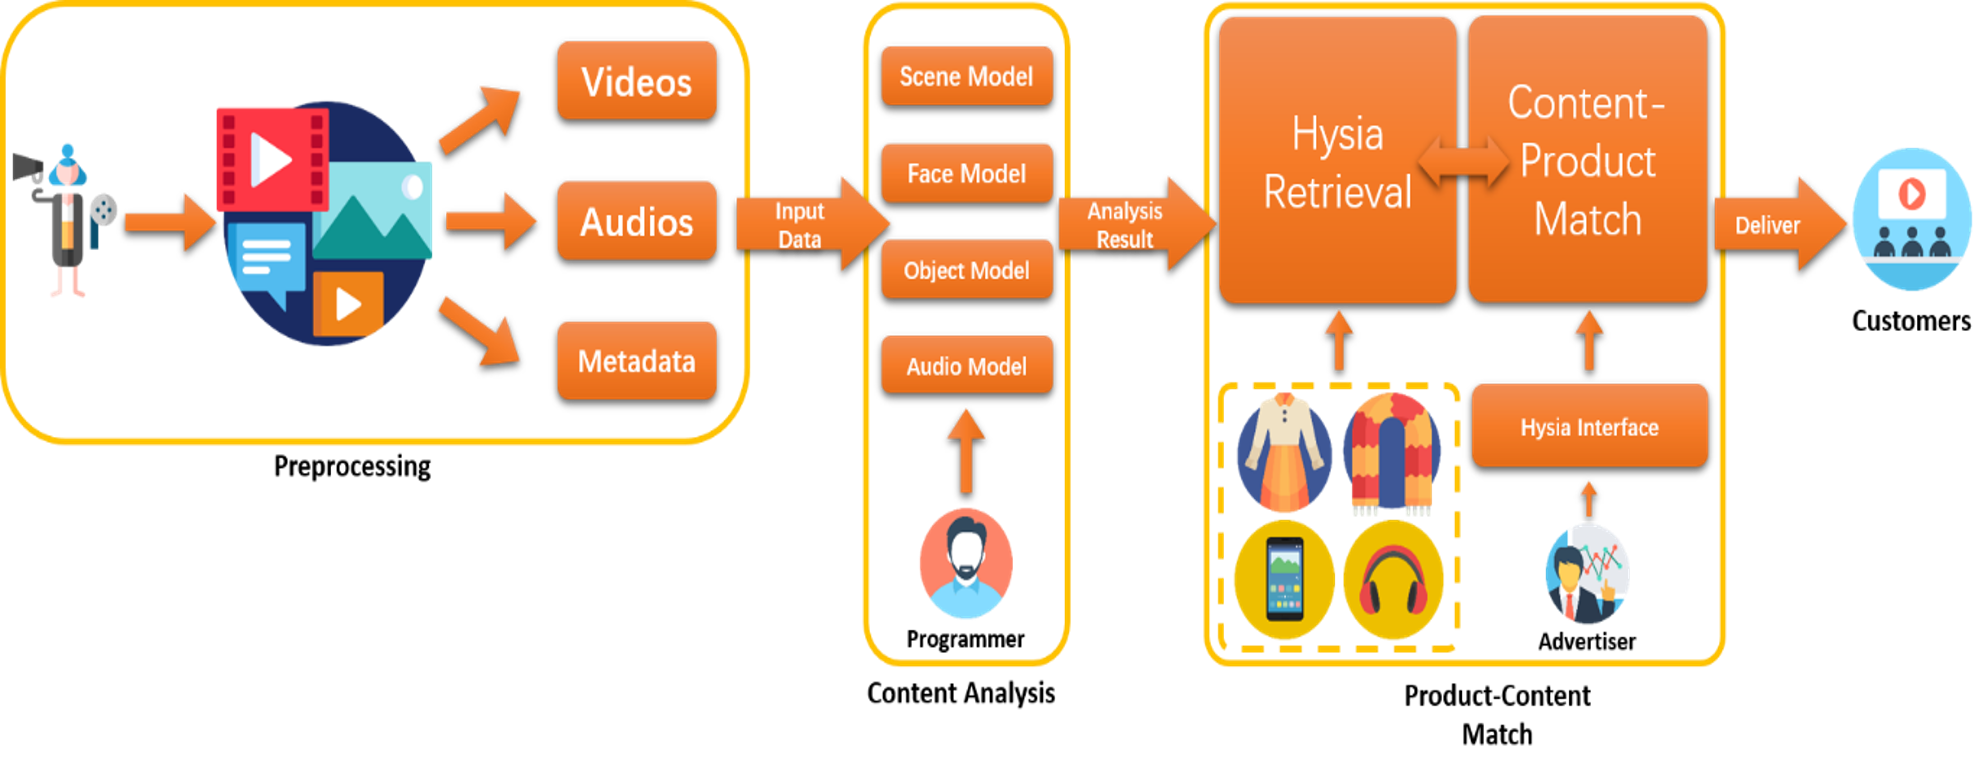
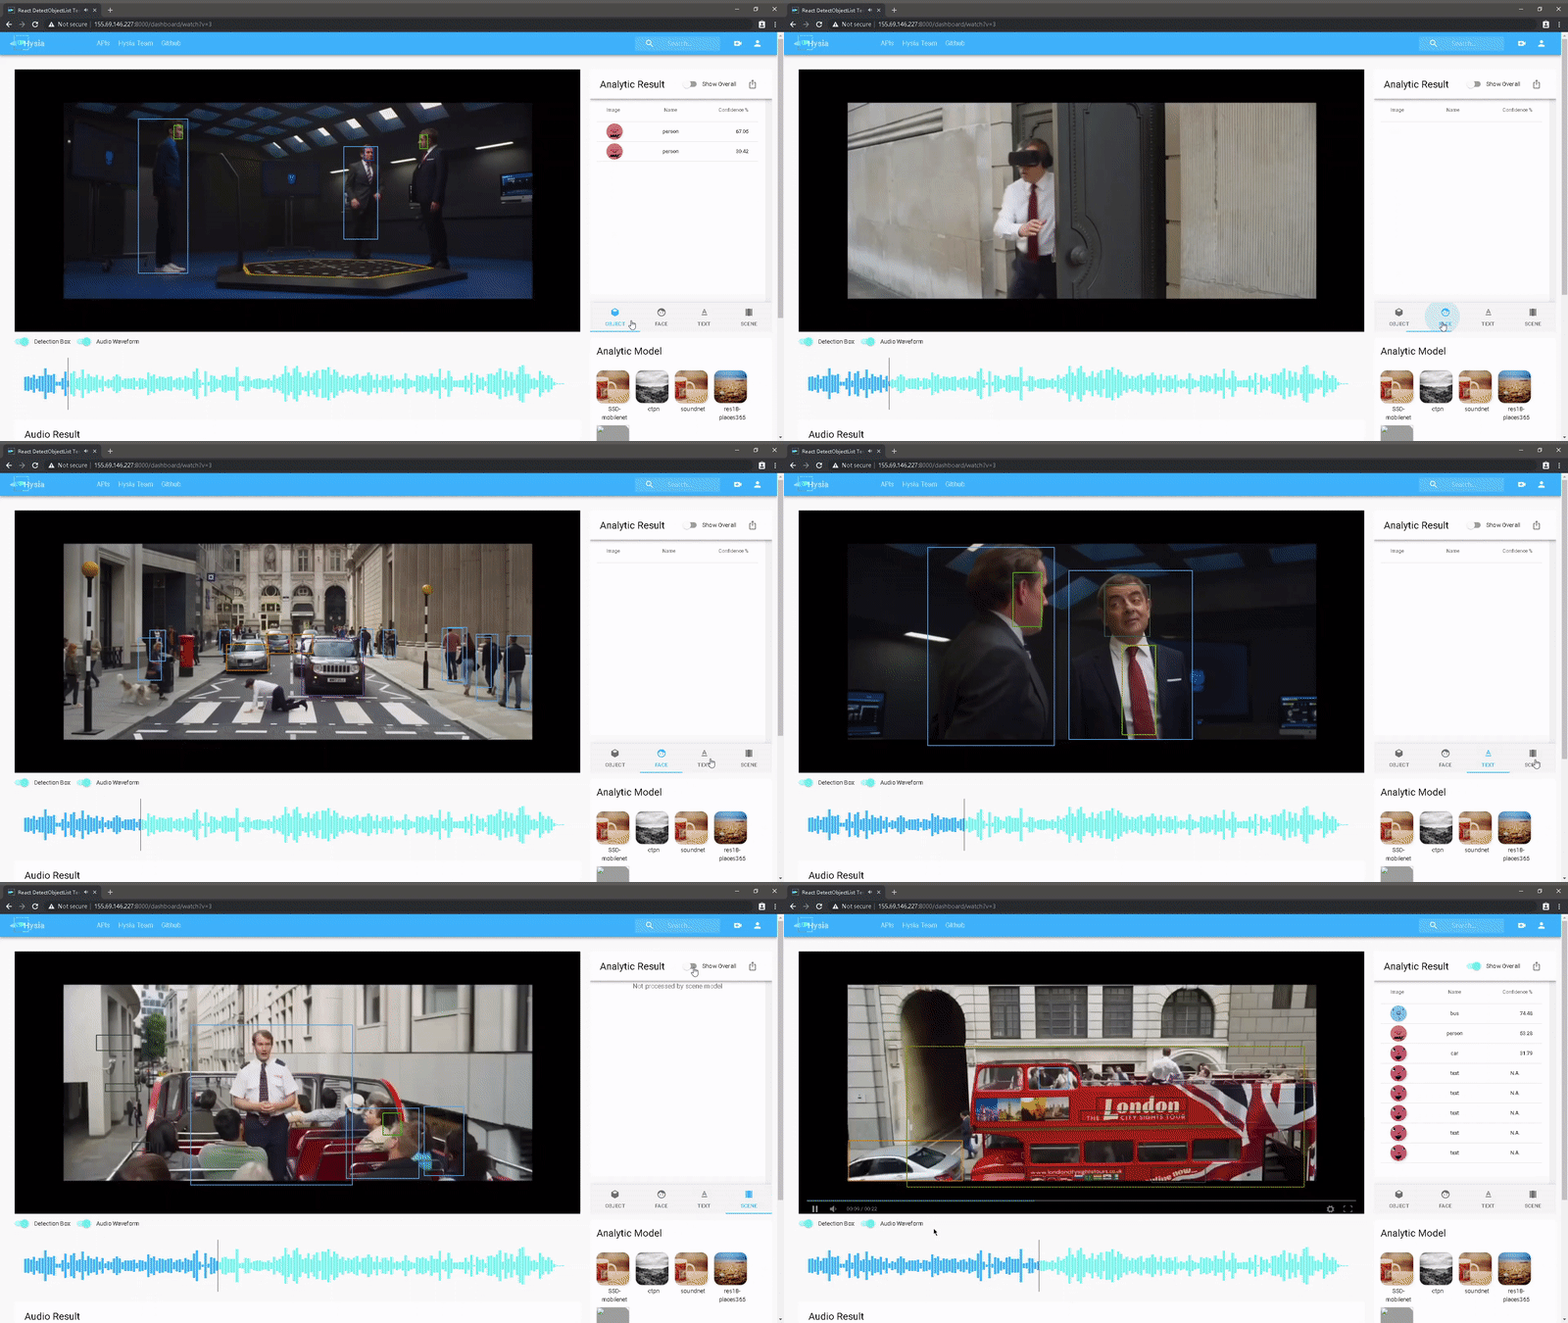
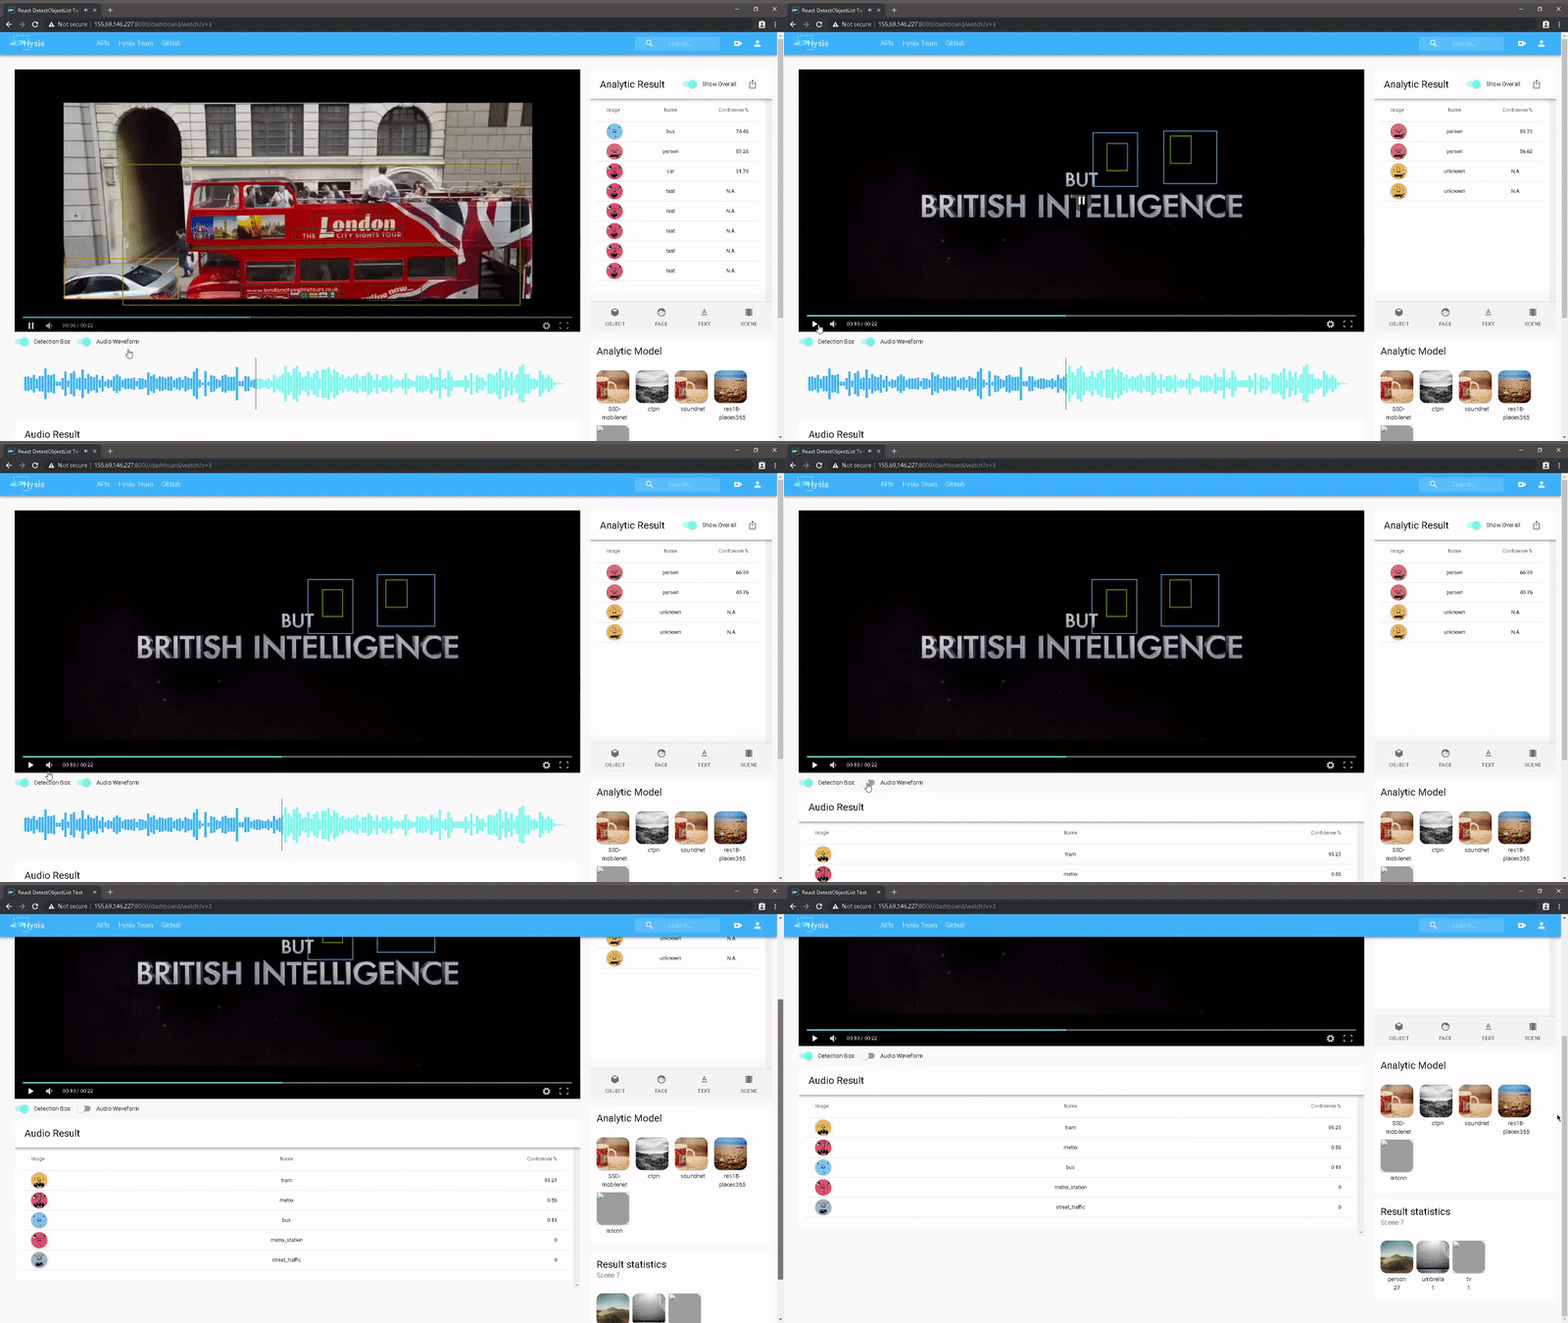
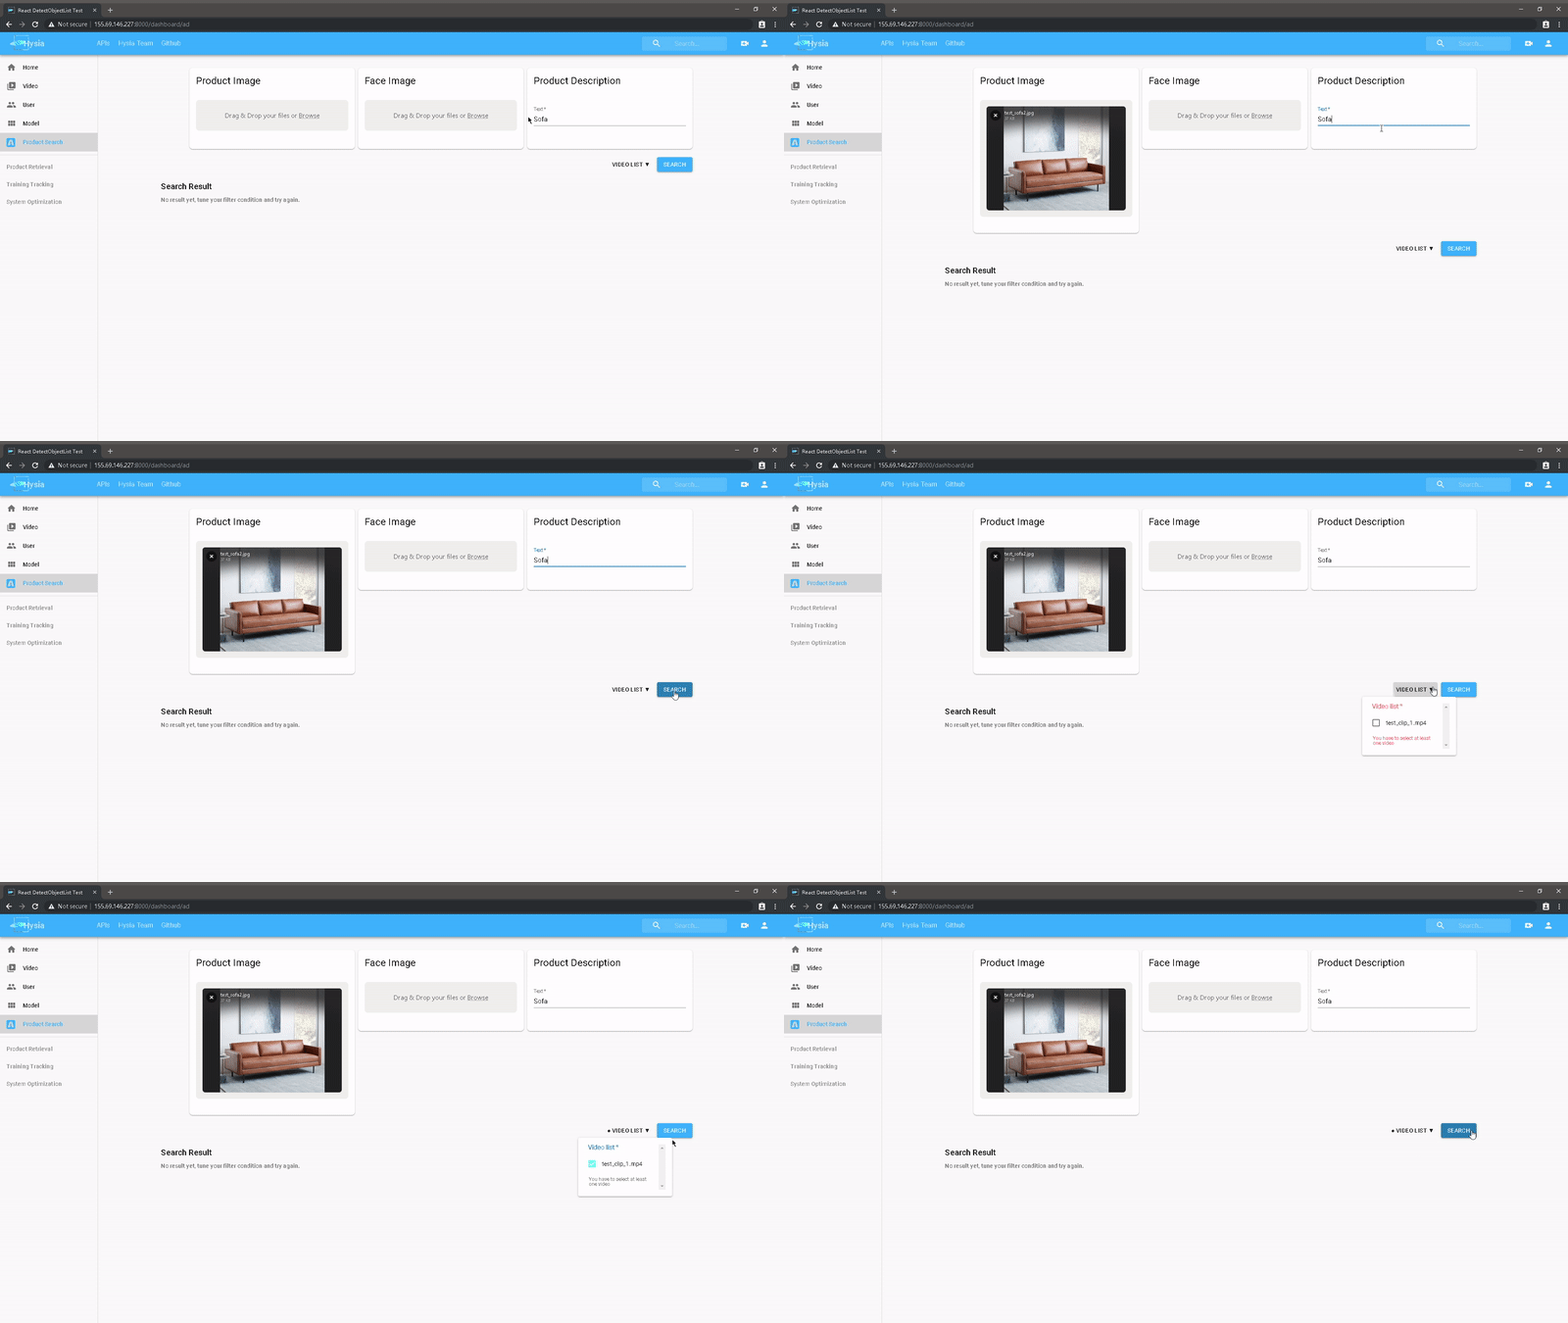
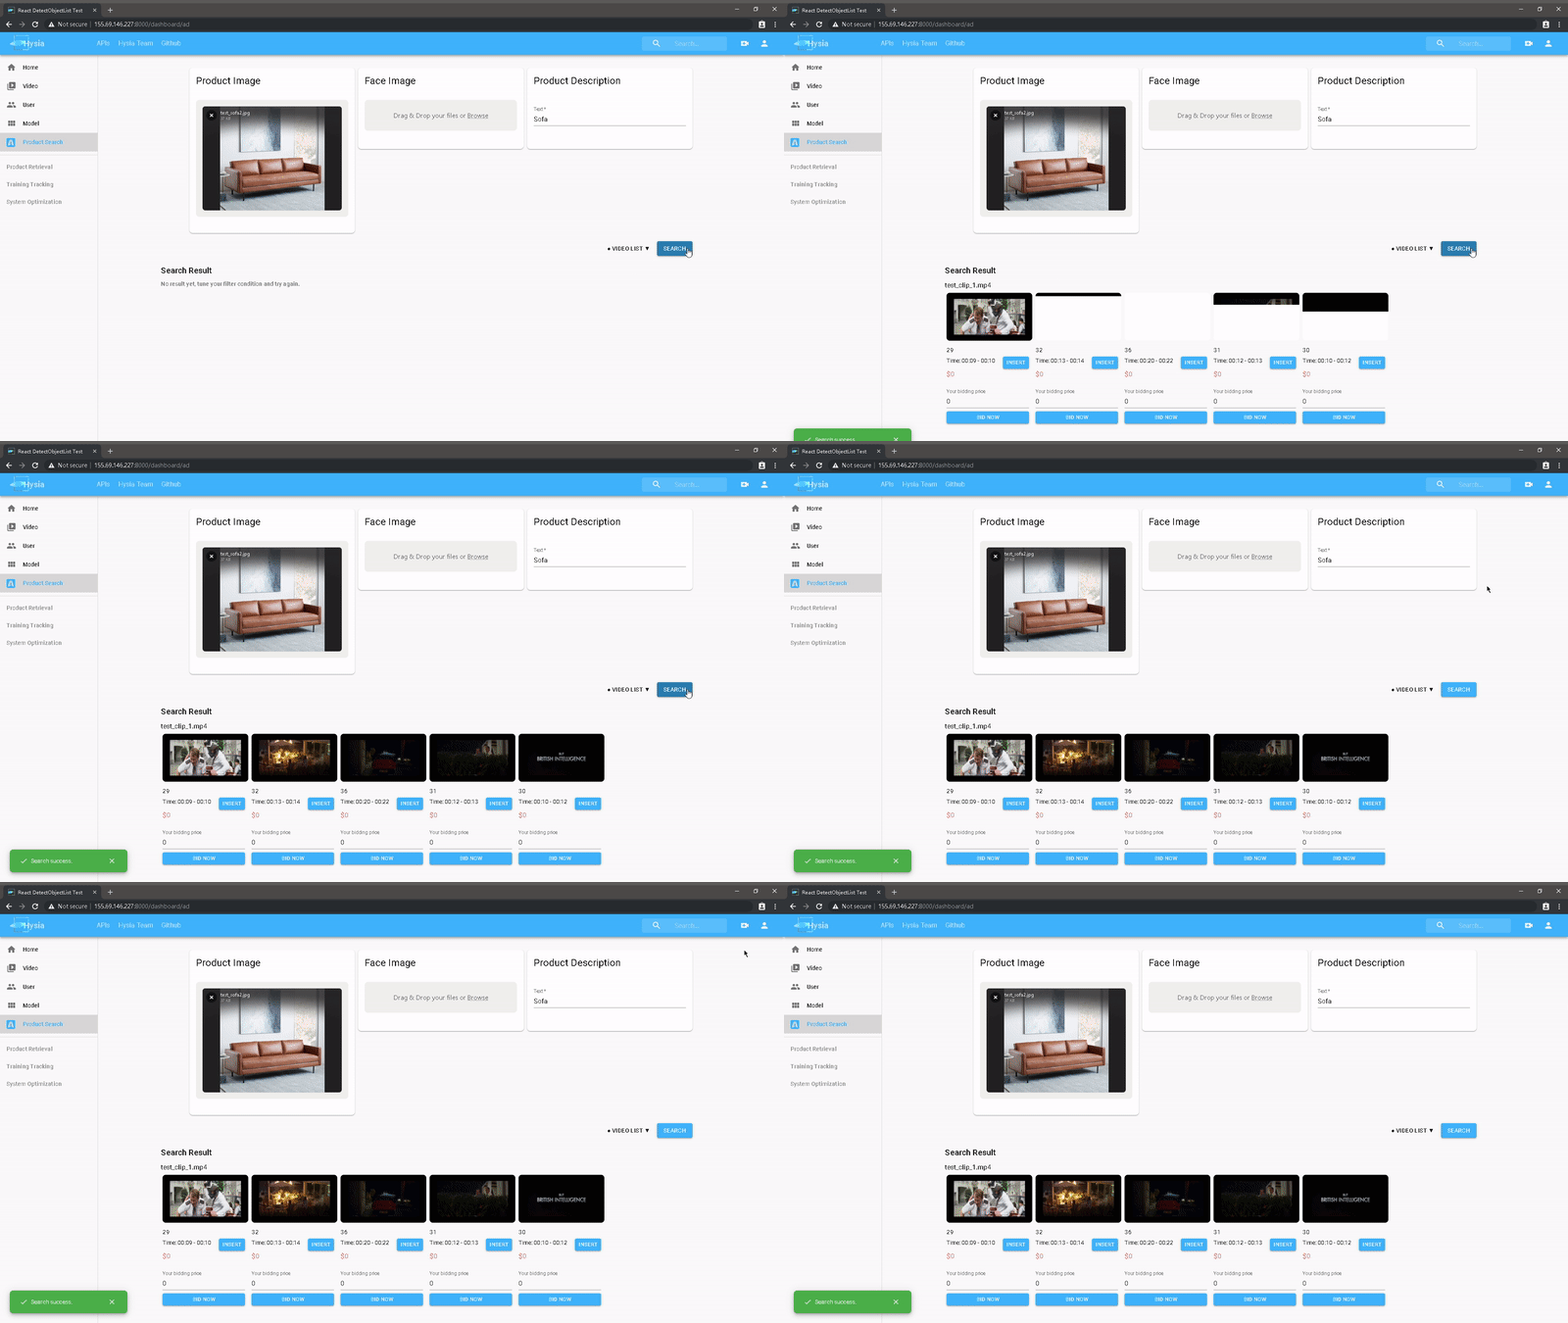
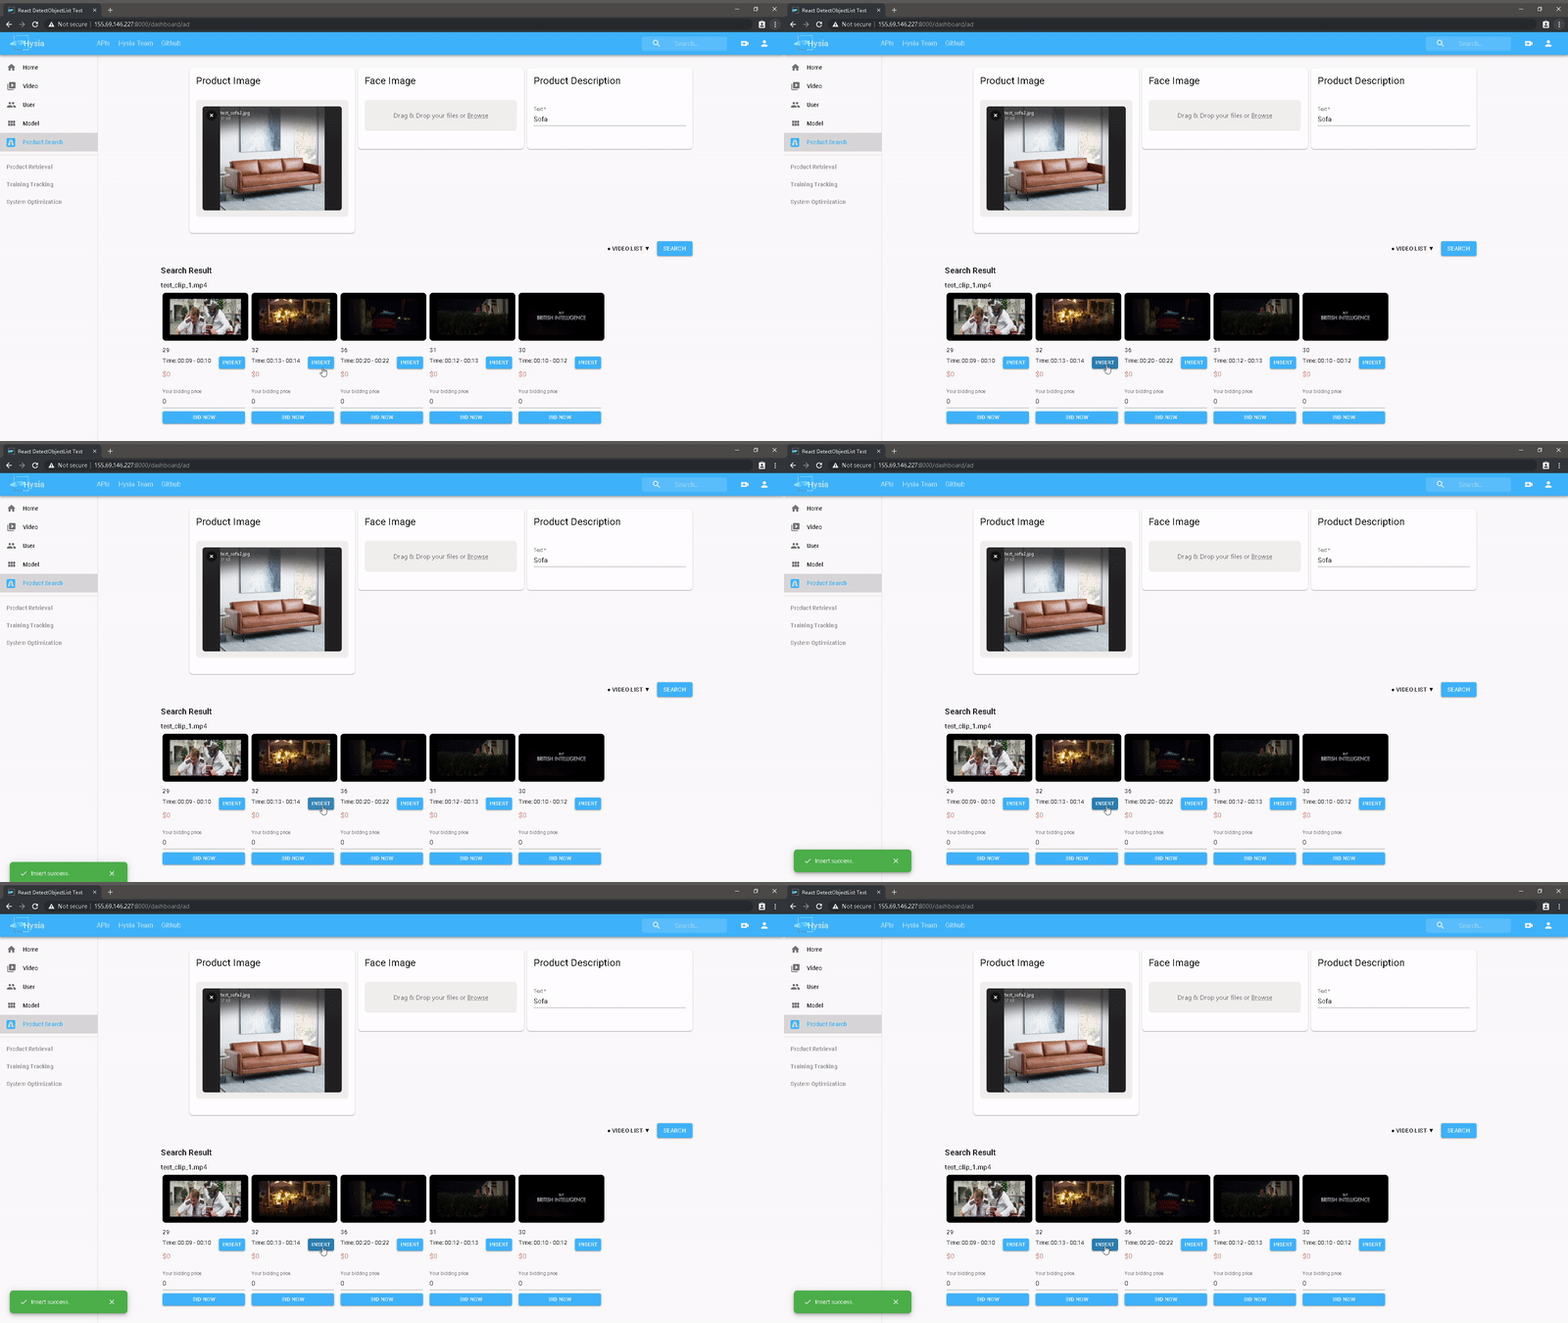
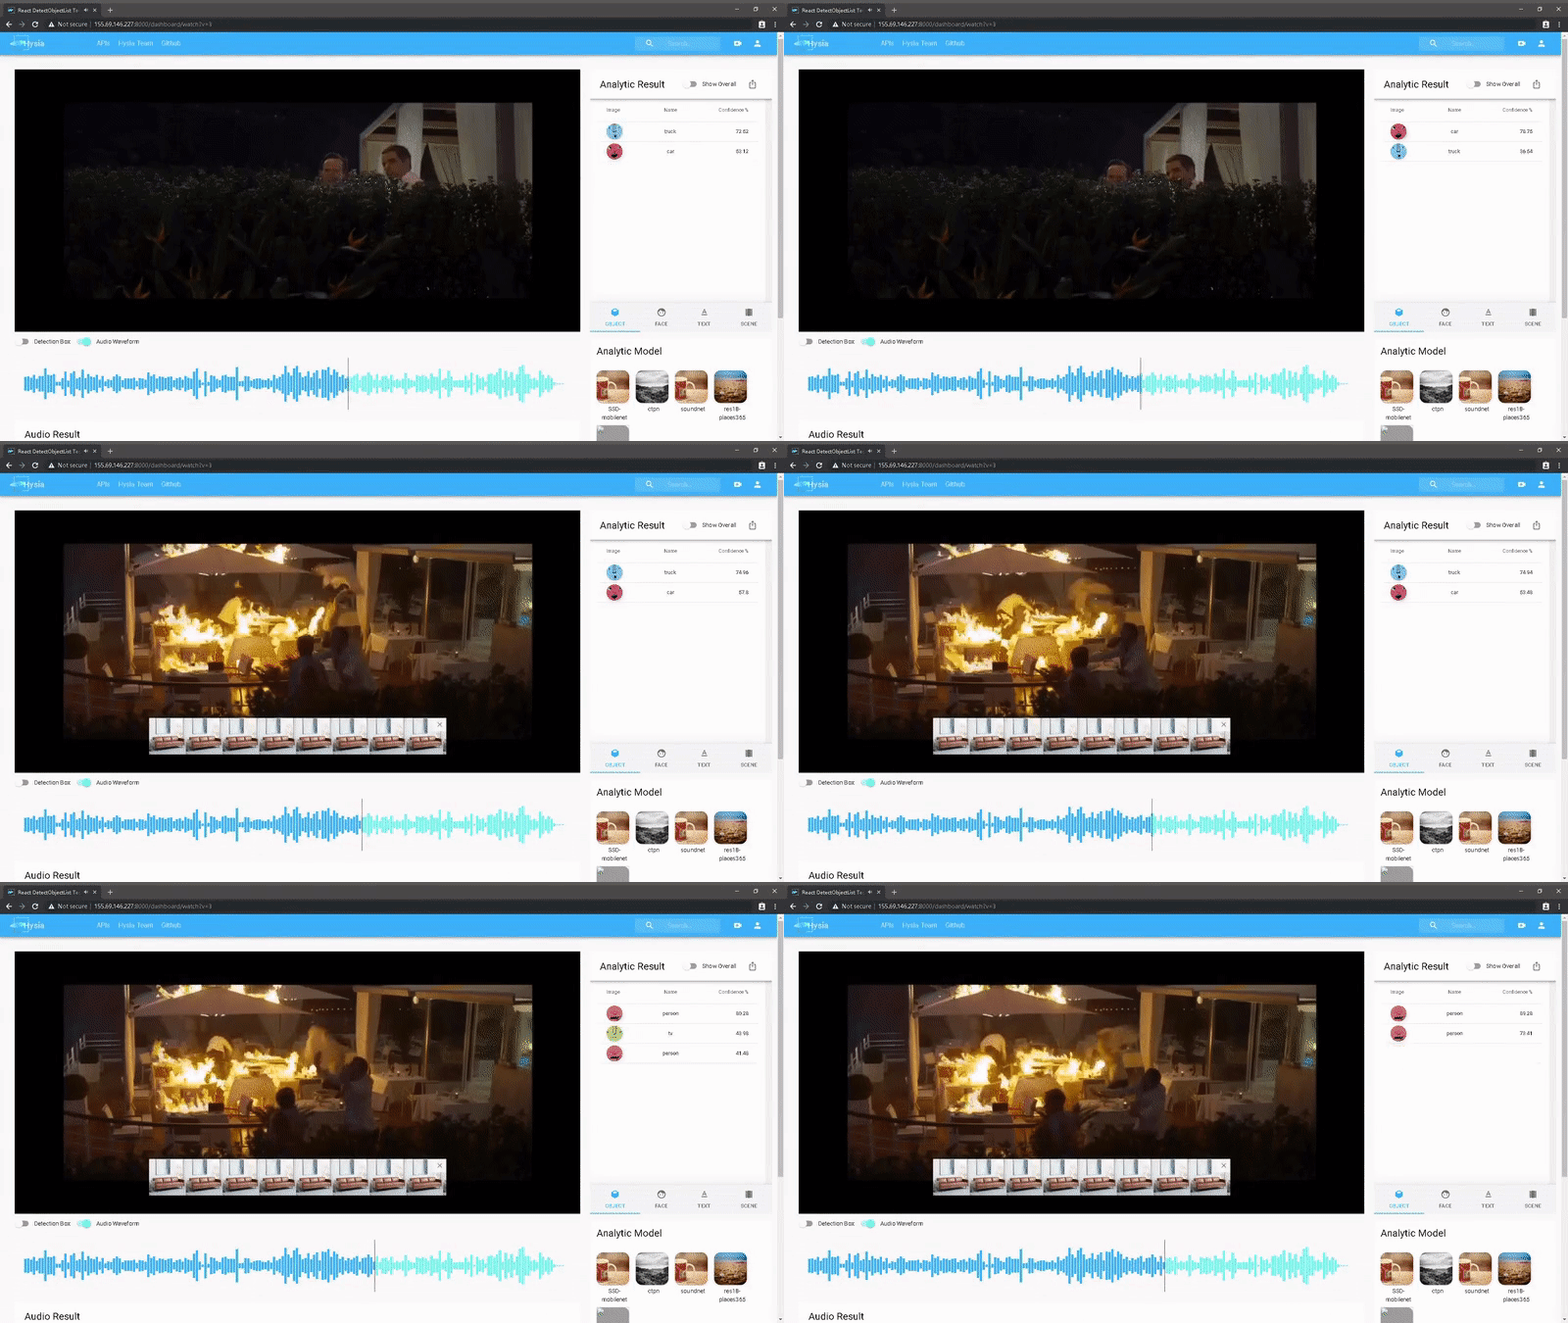
An intelligence multimodal learning based system for video, product and ads analysis. Based on the system, you can do a lot of downstream applications such as product recommendation, video retrieval, etc. We provide several examples.
V2 is under active development. You are kindly invited to pull request here. We will credit it.
- Multimodal learning based video analysis:
- Scene / Object / Face detection and recognition
- Multimodality data preprocessing
- Results align and store
- Downstream applications:
- Intelligent ads insertion
- Content-product match
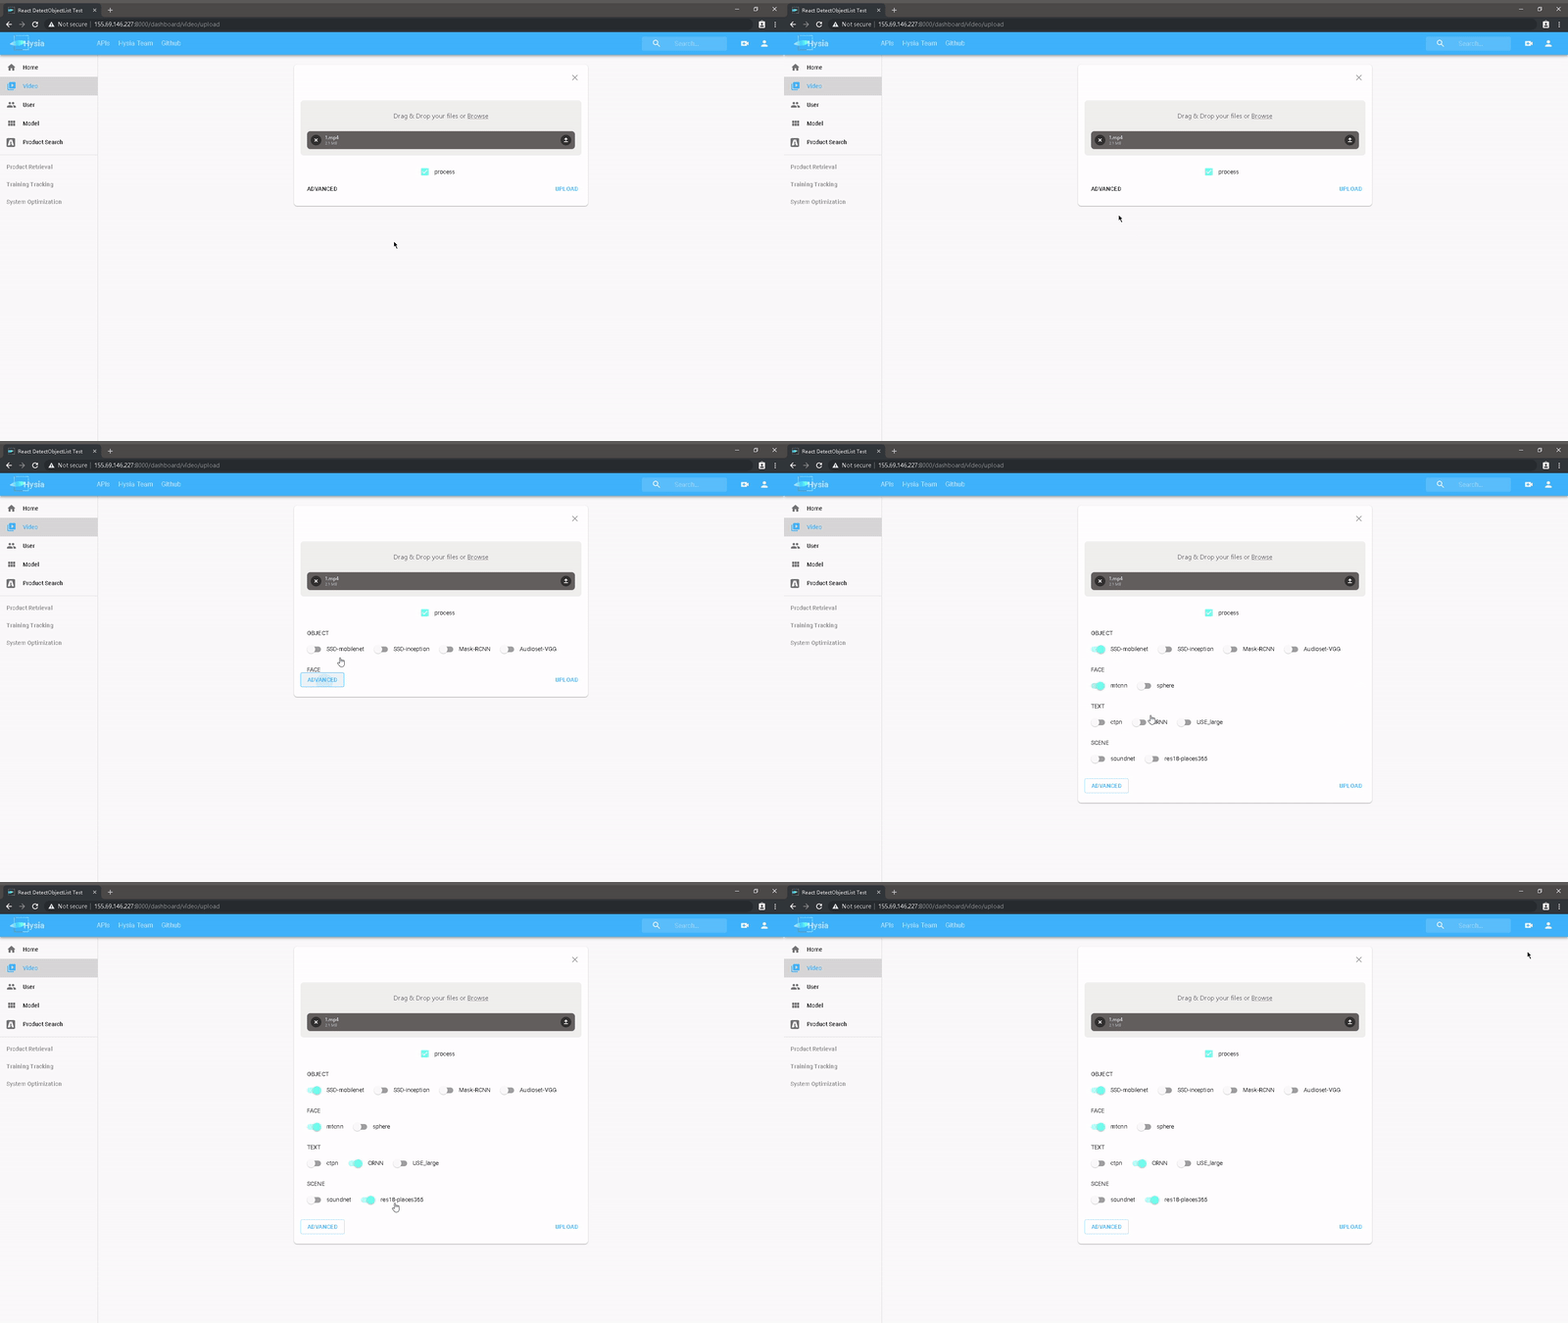
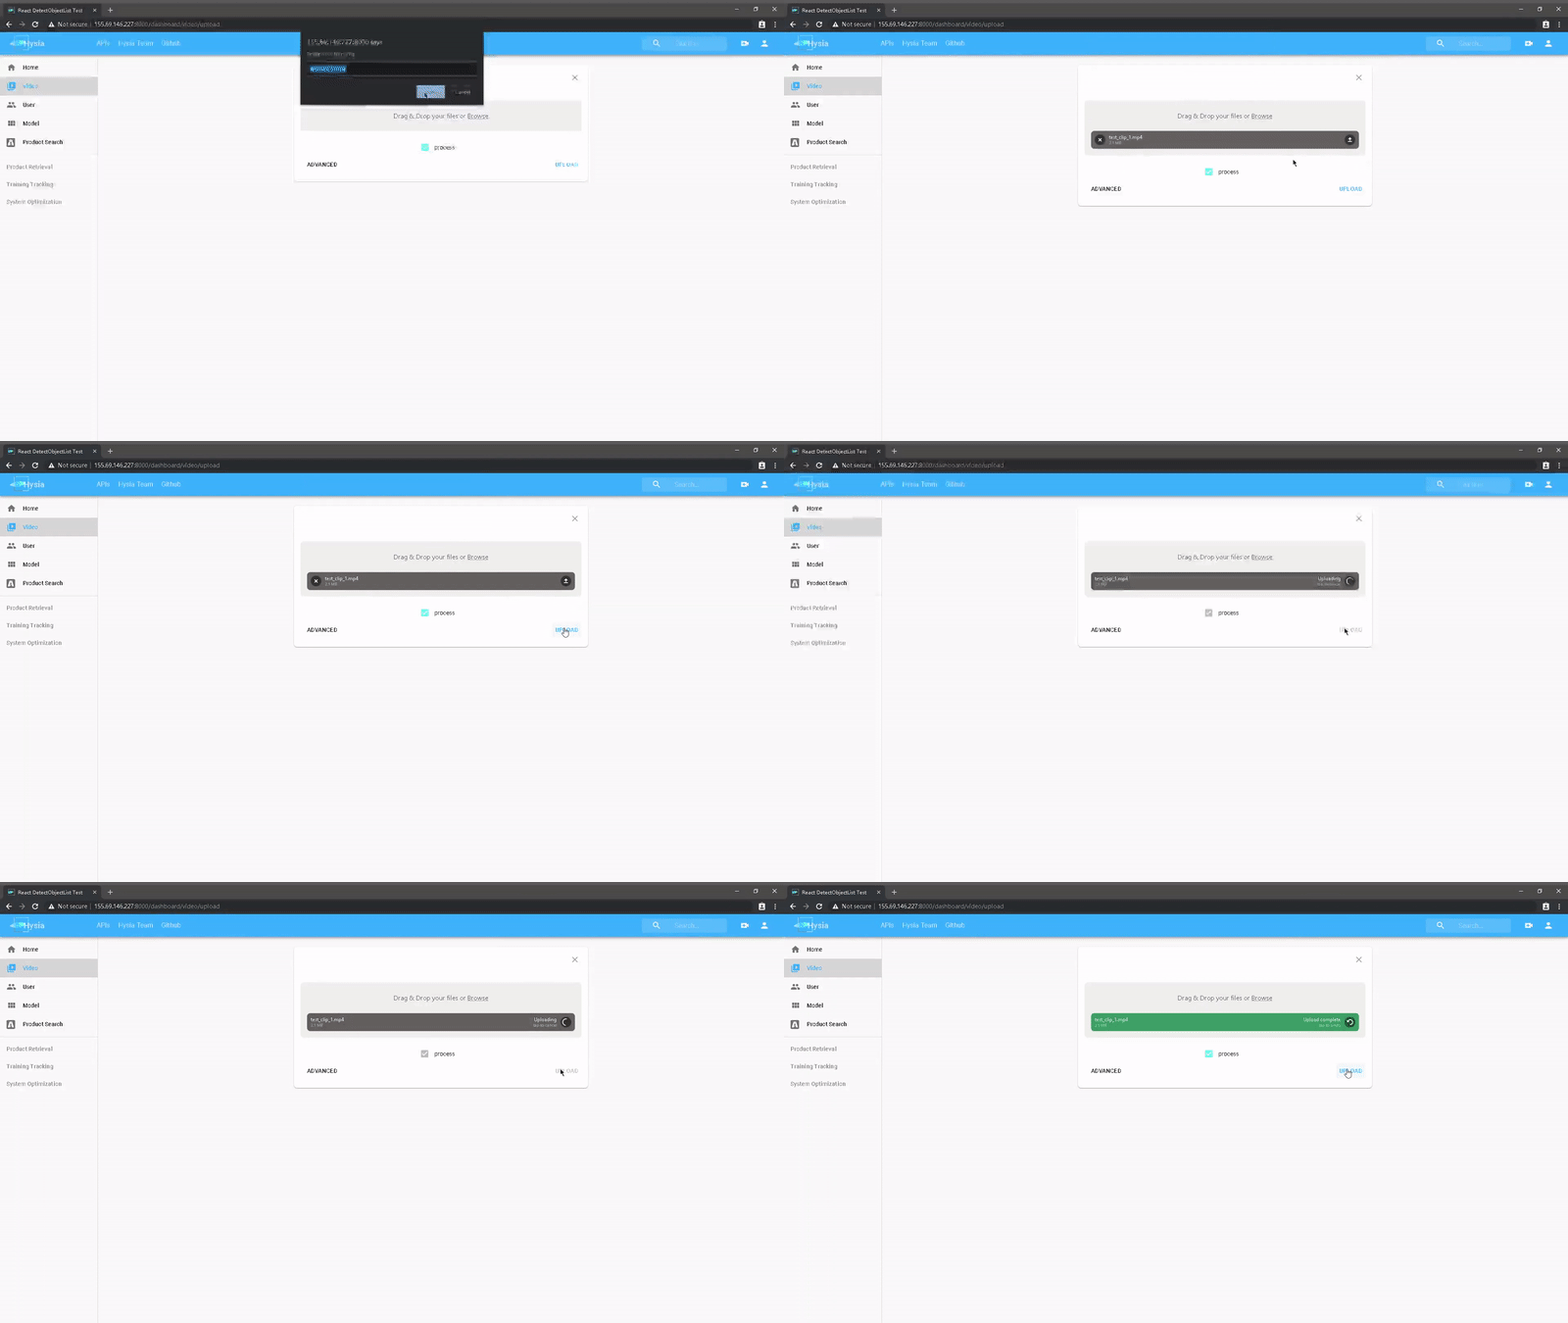
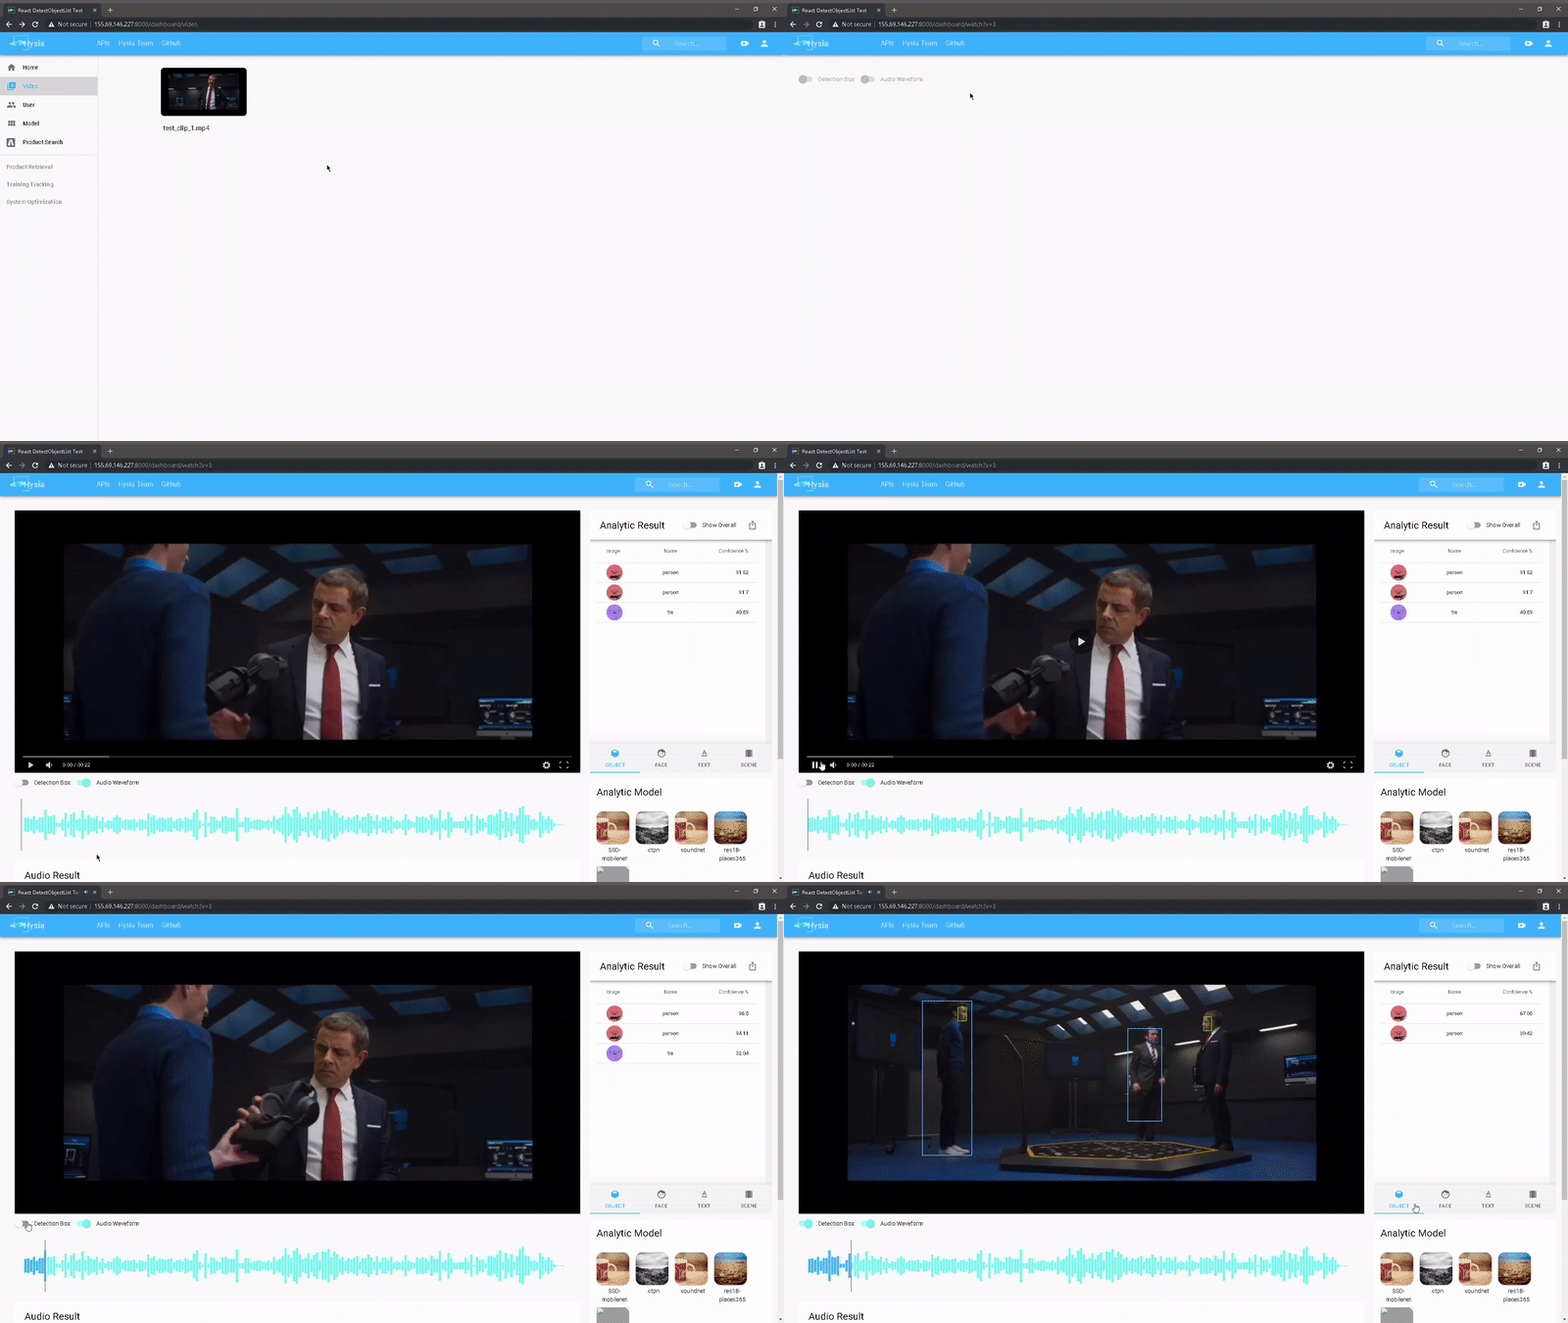
- Visualized testbed
- Visualize multimodality results
- Can be installed seperatelly
We recommend that you are installing in a UNIX like system. These script are tested on Ubuntu 16.04 with CUDA9.0 and CUDNN7.
Please try chmod +x <script> if something does not work.
# Firtly, make sure that your Conda is setup corretly and have CUDA,
# CUDNN on your system.

# Clone the repository and update submodules
git clone --recurse-submodules https://github.com/HuaizhengZhang/Video-to-Online-Platform.git
git submodules update --init --recursive

# Install Conda virtual environment
conda env create -y -f environment.yml

conda activate Hysia

export BASE_DIR=${PWD}

# Compile HysiaDecoder
cd "${BASE_DIR}"/hysia/core/HysiaDecode
make clean && make CPU_ONLY=TRUE

# Build mmdetect
# ROI align op
cd "${BASE_DIR}"/third/
cd mmdet/ops/roi_align
if [ -d "build" ]; then
    rm -r build
fi
python setup.py build_ext --inplace

# ROI pool op
cd ../roi_pool
if [ -d "build" ]; then
    rm -r build
fi
python setup.py build_ext --inplace

# NMS op
cd ../nms
make clean
make PYTHON=python

# Initialize Django
# This will prompt some input from you
cd "${BASE_DIR}"/server
python manage.py makemigrations restapi
python manage.py migrate
python manage.py loaddata dlmodels.json
python manage.py createsuperuser

unset BASE_DIRRun the following script:
cd scripts
chmod build.sh
./build.sh
cd ..You can omit this part as we have provided a pre-built frontend. If the frontend is updated, please run the following:
Option 1: Step-by-step rebuild
cd server/react-front

# Install dependencies
npm i
npm audit fix

# Build static files
npm run-script build

# fix js path
python fix_js_path.py build

# create a copy of build static files
mkdir -p tmp
cp -r build/* tmp/

# move static folder to static common
mv tmp/*html ../templates/
mv tmp/* ../static/
cp -rfl ../static/static/* ../static/
rm -r ../static/static/

# clear temp
rm -r tmp
Option 2: auto-rebuild
cd server/react-build
chmod +x ./build.sh
./build.shPretrained model weights need to be downloaded. Download the weights from Google Drive and unzip it:
tar xvzf weights.tar.gz
# and remove the weights zip
rm -f weights.tar.gz- Decode hardware:
Change the configuration here at last line:Value can beDECODING_HARDWARE = 'CPU'
CPUorGPU:<number>(e.g.GPU:0) - ML model running hardware:
Change the configuration of model servers under this directory:
A possible value can be your device ID
# Custom request servicer
class Api2MslServicer(api2msl_pb2_grpc.Api2MslServicer):
    def __init__(self):
        ...
        os.environ['CUDA_VISIBLE_DEVICES'] = '0'
0,0,1, ...
cd server

# Start model server
python start_model_servers.py

# Run Django
python manage.py runserver 0.0.0.0:8000
Then you can go to http://127.0.0.1:8000.
- Large dataset preprocessing
- Video/audio decoding
- Model profiling
- Multimodality data testbed
You are kindly welcome to pull request. We will credit it in our version 2.0.
- Huaizheng Zhang
- Yuanming Li yli056@e.ntu.edu.sg
- Qiming Ai
- Shengsheng Zhou
