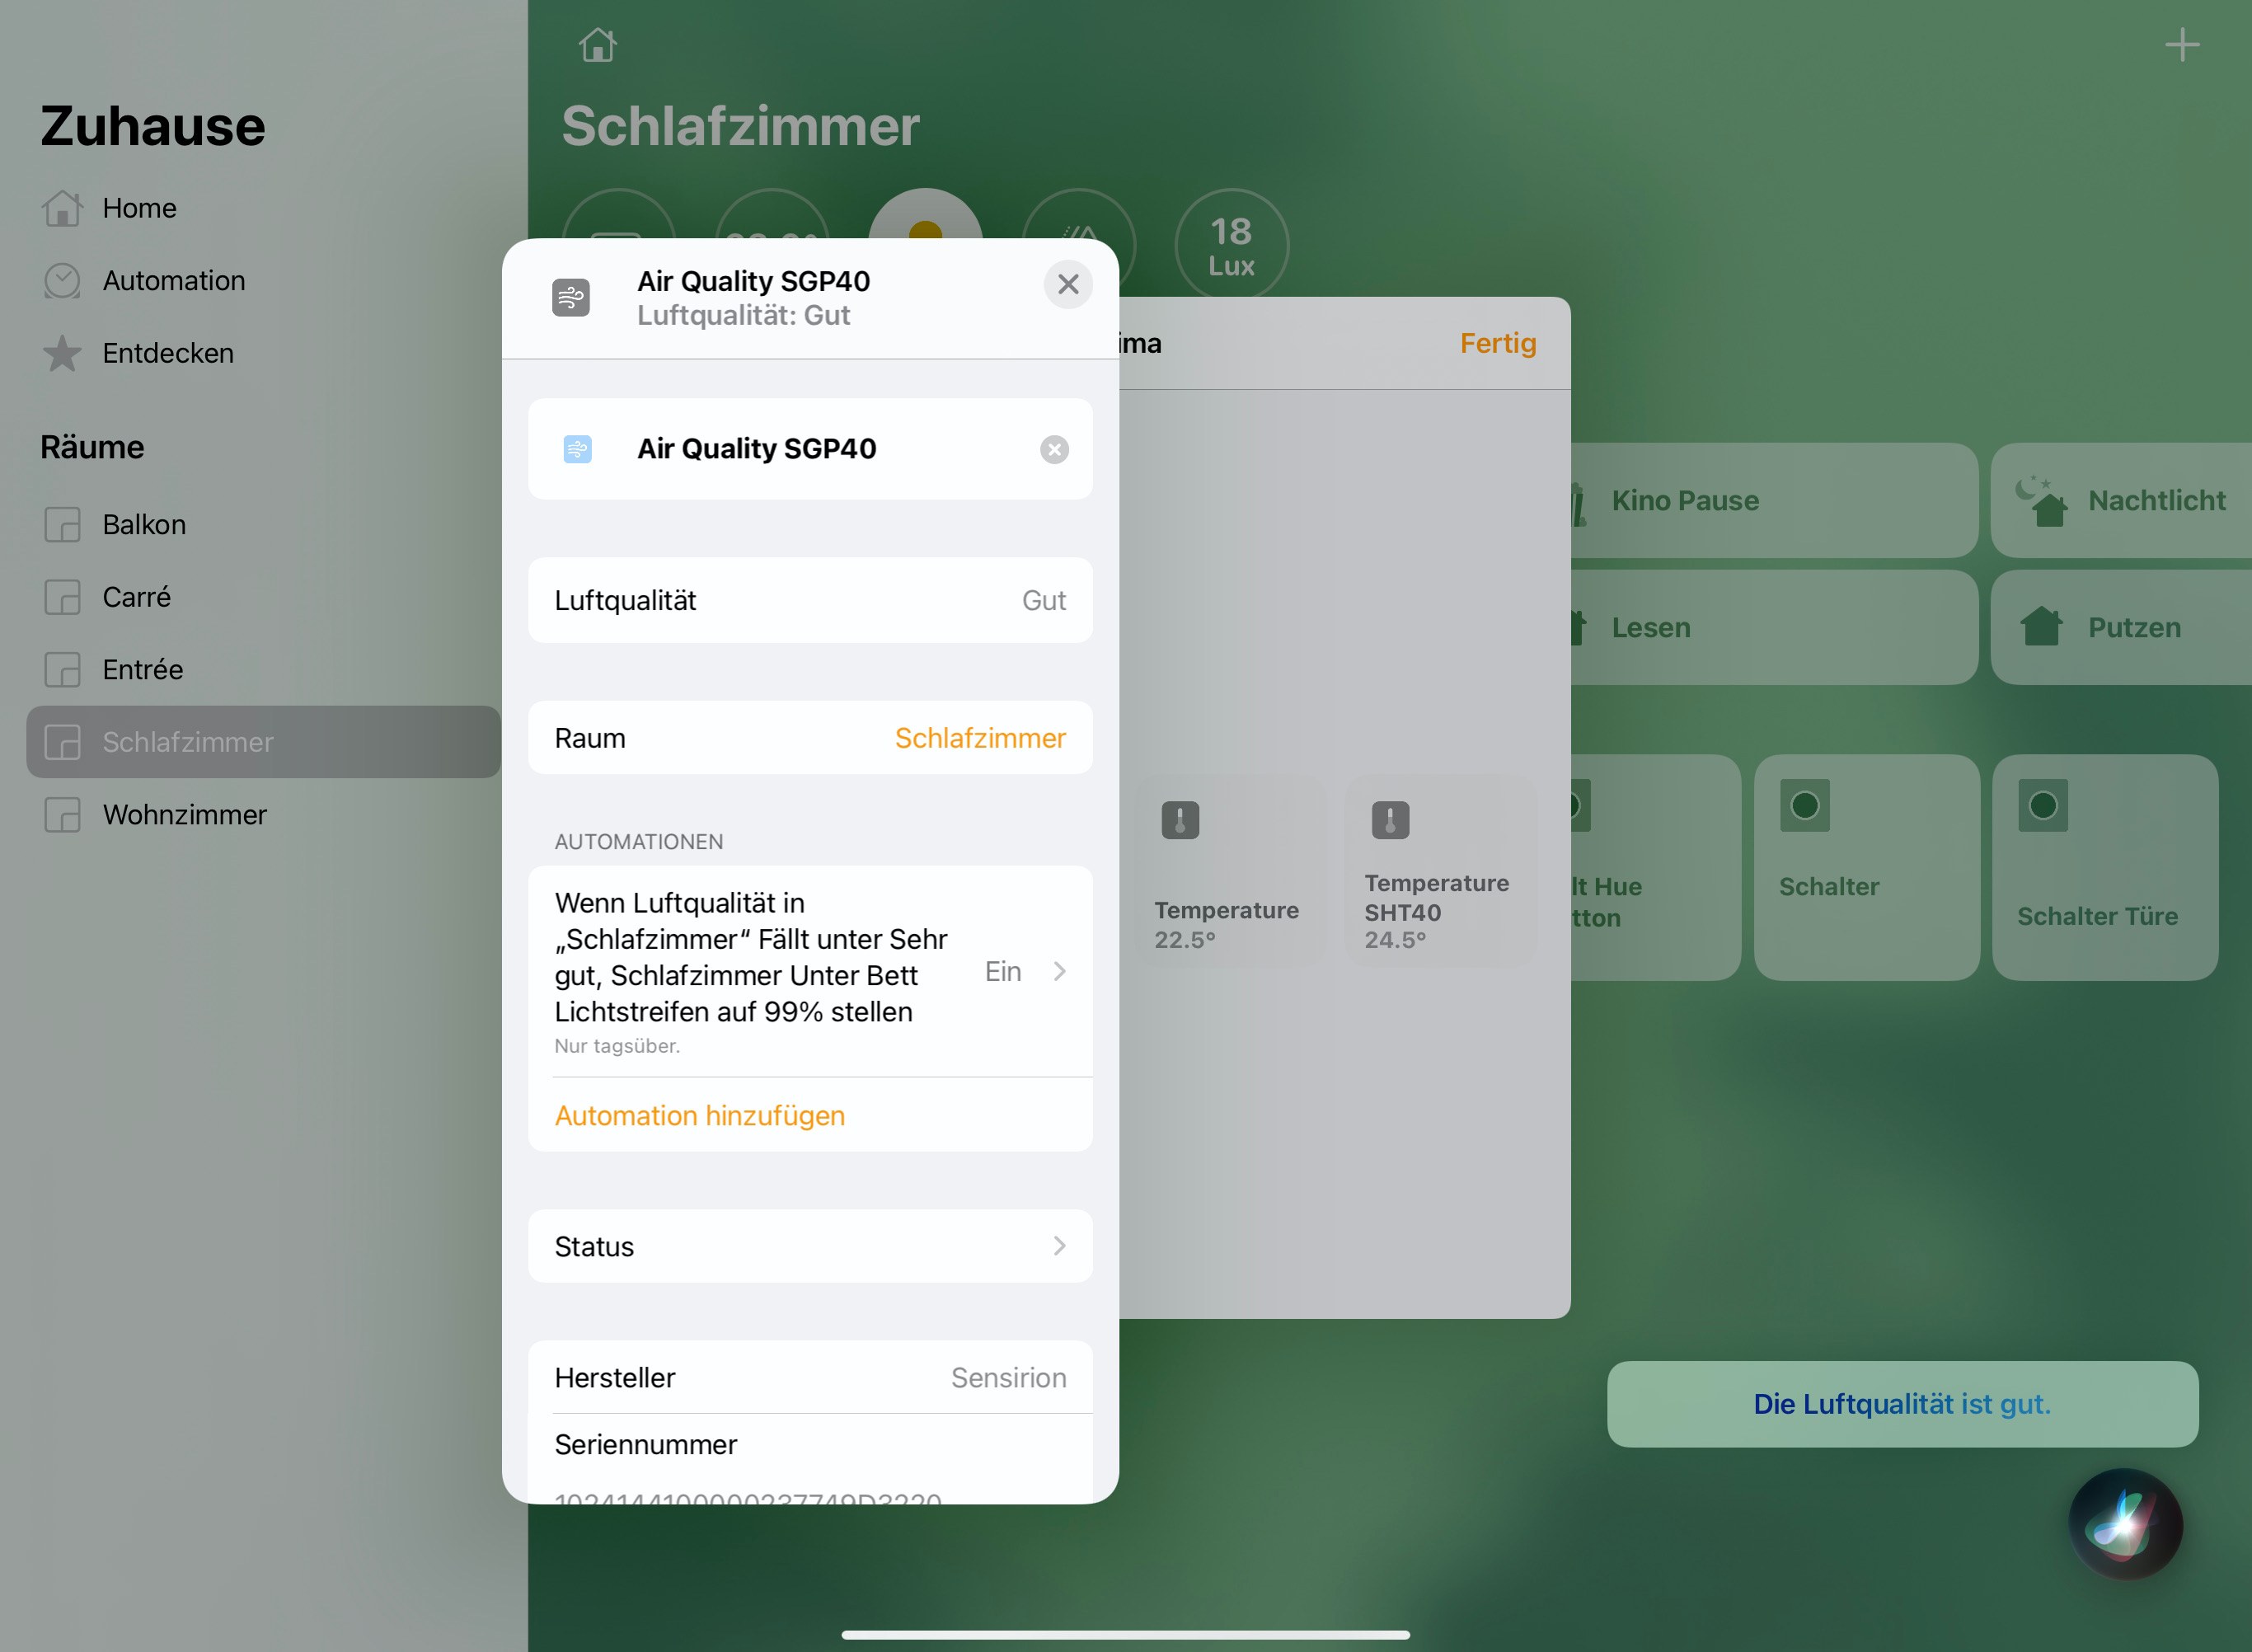
This tutorial enables you to setup a VOC-Monitor sending Temperature, Humidity and Volatile Organic Compound (VOC) measurements via WiFi to Apple Homekit. This allows you to ask Siri about your air quality and, for example, switch on a smart light bulb if the air quality is poor. All steps necessary and links are provided here.
The tutorial is structured in 3 parts
- Hardware Setup: Learn how to wire the sensor to the development board
- Software Setup: Learn how to setup your computer to program the development board
- Homekit Setup: Add the new gadget to homekit
To complete this tutorial, you'll need
- ESP8266 DevKit (ESP32 is possible to, but not shown here)
- Sensirions SEK-SVM40 (available here)
- USB cable to connect the ESP8266 module to your computer
Connect the SEK-SVM40 module to the ESP8266 as depicted below:
- VDD (red) of the SEK-SVM40 to the 3.3V of the ESP8266
- GND (black) of the SEK-SVM40 to the GND of the ESP8266
- SCL (yellow) of the SEK-SVM40 to the GPIO 5 (D1) of the ESP8266
- SDA (green) of the SEK-SVM40 to the GPIO 4 (D2) of the ESP8266
- SEL (blue) of the SEK-SVM40 to the GND of the ESP8266 (choosing the I2C interface)
You may use this site to find the pins on your ESP8266 device.
The following instructions originate from here
- Install the current version of the Arduino IDE.
- Start the Arduino IDE and open the Preferences window.
- Enter the following link into the Additional Board Manager URLs field. You can add multiple URLs, separating them with commas.
https://arduino.esp8266.com/stable/package_esp8266com_index.json
- Open the Boards Manager from
Tools > Board -> Board Managerand install the esp8266 platform - Select your ESP8266 board from the
Tools > Boardmenu after the successfull installation.- E.g.
Generic ESP8266(6. You can optimize your settings using this description)
- E.g.
We'll be installing one library. Click the link below and download the newest .zip release packages
For the downloaded .zip file: In the Arduino IDE, select Sketch -> include Library -> Add .zip Library and select the downloaded .zip file.
Restart the Arduino IDE.
- Click on "Clone or Download" button (of this repository), then click "Download ZIP" on the page.
- Extract the contents of the downloaded zip file.
- Open the
wifi_info.h.examplewith a text-editor, enter your WiFi credentials and save it in the same folder aswifi_info.h - Open the Arduino IDE.
- Go to
File -> Open...and openhomekitSVM40.ino - Make sure the ESP8266 is connected to your computer.
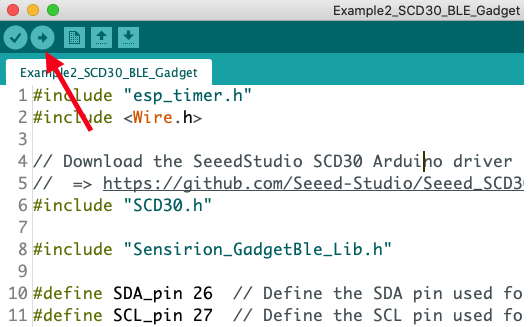
- Press the Upload button on the top left corner of the Arduino IDE.
You can use the serial monitor to check if the connection to the WiFi was successful and to see the output of the SVM40 module.
- Open the Home App on your iPhone or iPad.
- Tap the "+"-sign on the top right corner and select «Add new device».
- Choose "I do not have a code"
- Your SVM40 module should now show up. Select it to configure it.
- Insert
111-11-111as the device code. - Follow the final instructions on the screen to name your sensors and place it in a room in your home.


