A professional, fully functioning, and highly customizable personal website template.
An entire description of the project can be found on Gumroad

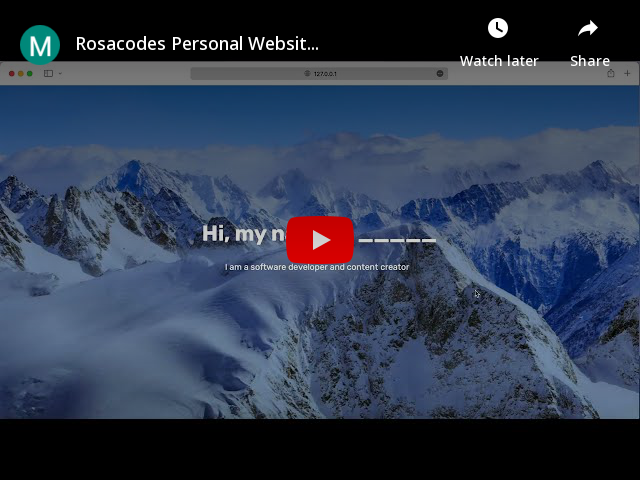
Want to see the website for yourself? Go to the Demo Copy.
Note: the audio files are not currently connected, so those will not work.
| File/folder name | Description |
|---|---|
| index.html | the main file -- all the main components of the website are in there |
| styles.css | contains all of the styling |
| index.js | contains all the code to make animations & modals work |
| granim.min.js | contains code from the granim.js library -- do not change |
| assets | a folder for all the images & videos that you want to use on your website |
Download the project. I would recommend you download it from Gumroad since that folder does not contain extra files such as this README file. However, you can also download the code from this repo. The website should work completely. I would recommend that you open it up in a code editor such as VSCode or Atom, and test it out by opening up index.html in any browser. You should then see the entire working demo copy.
Clear the assets folder from all stock demo images, but keep one file: snow.jpg. This image is used for the launch screen gradient animation.
Want a different image there? Go ahead and delete the image then, and upload your own image. You can specify that you want to use a different image for the gradient animation on line 20 of index.js
Then, start adding your own images. Just drag and drop them in there, and you should be able to use them on the website.
Go into index.js, and change your tagline on line 10 of index.js
Find the current projects section, and go ahead and change the title, text, and image for each one of them. Then, scroll down to the modals section, and change the information in the first two modals.
Note: the third current project is not connected to a modal -- instead it is a link to visit a website. Therefore, you should specify the website link under the BUTTON 3 heading in index.js
Do not change the id's for any buttons, since those are used in index.js to make the buttons work. If you do really want to change these id's, change them in index.js for each button as well. This accounts for the whole project.
This section is very similar to the previous section. Find the completed projects section, and change the title, text, and image for each project. Then, scroll down to the modals section, and change the next two modals.
Just like for the current projects section, the third completed project is not connected to a modal, and instead visits a website. Again specify the link in index.js for BUTTON 6.
Find the hobbies section, and for each hobby card, change the title and image.
Then, scroll down to the bottom and find the MODALS FOR HOBBIES comment, and change the title, images, and descriptions of the modals underneath. Be sure to not change any naming for properties of the carousel, and not change the id of the modal.
In the languages section, change the titles, percentages, audio files, and descriptions to match with the languages you speak. Be sure to put the audio files in the assets folder and adjust the name accordingly, otherwise they will not work. Also, go into styles.css, and find a "styling for the progress bars" section. Underneath, change the names & percentages for the languages you speak.
Copy and paste these code blocks to delete or add any languages you speak.
The last part before the code of the modals is the code for the contact me section. Be sure to change the image shown there, and change the links to your own email address, instagram account, and github account.
If you want to add password protection to yours, visit this Github repository: Protected Github Pages. It uses SHA1 hashes to protect your website. However, if you want to have anyone visit this website, definitely skip this step.
To host your new personal website, create an account at Github. Then, create a new repository and call it "Personal Website". Either upload the code by committing it from your code editor, or simply upload the files.
Now that your project is online, go to the "Settings" tab and then the "Pages" tab. Finally, switch the Source from "none" to "main", and click "save". Wait a couple of minutes while it says "Your site is ready to be published", and refresh the page. Once the above box turns green and indicates that your site has been published, you are 100% done. Congrats on your new personal website!
If you want to host the website using a different method, that is completely fine. However, if you have never done so, I would suggest Github pages since it is easy and free.
Go follow Rosacodes on Instagram in order to see any future updates. New sections will be added in the future, so tag along for that!
I hope that you find this project useful. Please let me know if you have any questions. You can find me at @rosacodes on Instagram, or by sending an email to dev@rosacodes.com.
Also, please let me know if you actually do end up using this project, I would love to see your new website!
Just a little note, I won't be bug solving for anybody. You are getting the website in a fully working state, so as long as you follow the above instructions you should be just fine.
The entire project was written by Rosacodes, with the exception of the use of some packages and libraries. Here are those packages and libraries:
- granim.js was used for the launch screen gradient animation
- TypewriterJS was used for the animation of the tagline on the launch screen
- Google Fonts was used for the fonts of the website
- Bootstrap was used for some the modals and image carousels
- Font Awesome was used for some of the icons
This code is released under the Apache 2.0 license.
Have a nice day!