A tutorial put up by Caiwei
make sure you have the google tag manager code set up inside your head tag and body tag.
<script>(function(w,d,s,l,i){w[l]=w[l]||[];w[l].push({'gtm.start':
new Date().getTime(),event:'gtm.js'});var f=d.getElementsByTagName(s)[0],
j=d.createElement(s),dl=l!='dataLayer'?'&l='+l:'';j.async=true;j.src=
'https://www.googletagmanager.com/gtm.js?id='+i+dl;f.parentNode.insertBefore(j,f);
})(window,document,'script','dataLayer','GTM-XXXXXX');</script>
<!-- End Google Tag Manager --><!-- Google Tag Manager (noscript) -->
<noscript><iframe src="https://www.googletagmanager.com/ns.html?id=GTM-XXXXXX"
height="0" width="0" style="display:none;visibility:hidden"></iframe></noscript>
<!-- End Google Tag Manager (noscript) -->- We will create a input field (dropdown, number box, checkbox all ok), as long as the id of the element that contains the value is "amount".
- Then we will create a button that will trigger a function onclick. This function is called submitEvent().
- Inside the function, I added some console calls to test out whether it is working.
- We will use the
window.dataLayerto push event, and other variables to google tag manager. - record your event name (e.g.
registrationCompletein this case) - record the donation amount, and save it as a number instead of a string. (
Number(variable_name)). Call this variabledonationAmount - Name the
actionvariabledonationThe output will look something like this
<script>
function submitEvent(){
console.log("cool")
var amount = document.getElementById('amount').value;
console.log(amount);
  window.dataLayer = window.dataLayer || [];
 window.dataLayer.push({
 'event': 'registrationComplete',
'donationAmount':Number(amount),
 'action': 'donation'
 });
console.log(window.dataLayer)
}
</script>
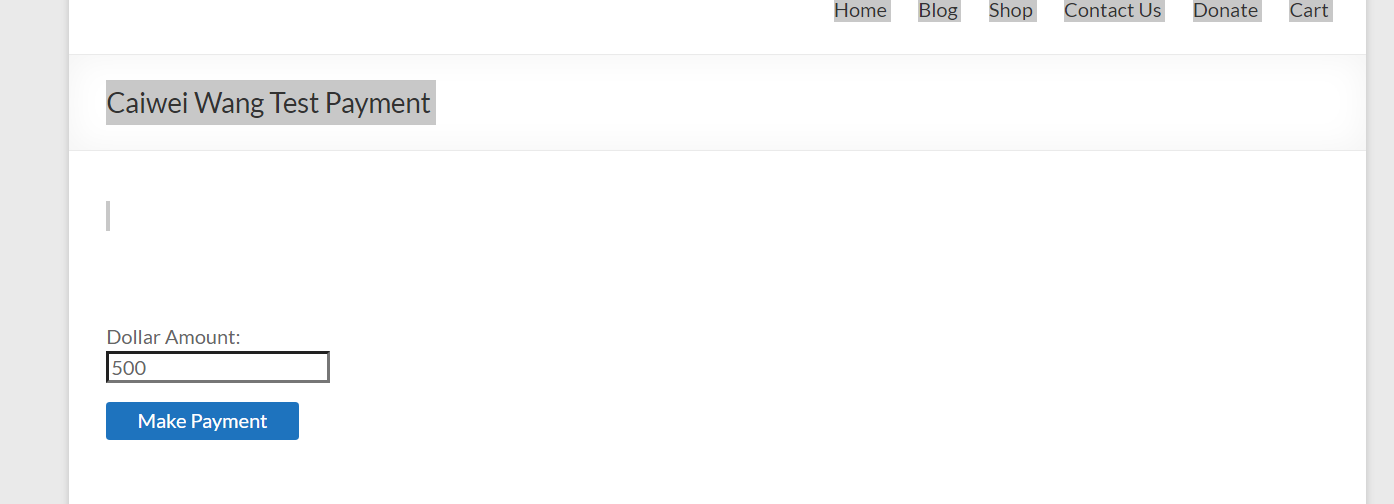
  <label for="amount">Dollar Amount:</label>
  <input type="number" min="0" id="amount" name="amount"><br><br>
<button id = "payButton" onclick=submitEvent()>Make Payment</button>On the left hand side, sekect triggers.
Then you will see a list of triggers in this container. Click on the New button on the top right side
![]()
- Name of the trigger: Custom - donationComplete
- triggerType: in the drop down menu, select
custom event - event name: remember the event name we had in the javascript code. (the string after
event:). Put downdonationComplete
We have two variables we want to record: donationAmount and action. We will create one variable in Google Tag Manager for each.
Switch to variables tab.
![]() Scroll all the way to bottom, where you will see User-Defined Variables section.
Scroll all the way to bottom, where you will see User-Defined Variables section.
![]()
- variable name:
dlv - actionType - variable type: in the drop down menu, select
data layer variable - variable name: remember the key we had in the javascript code? Put in
action
Switch to Tag tab. Click on the new button on the upper right corner.
- name this tag
GA Event - donationComplete - in the tag type, select Google Analytics Universal Tracking
- Track type: event
- category: Put
donation Completewe will need this exact string later - Label: put the client's name.
- Action, click on the little Lego symbol, and select dlv - actionType
- Value, click on the little lego symbol, and select dlv - donationAmount.
- Analytics Setting, select
Google Analytics Settings(if already set up). If there are no existing Google Analytics Setting, select create new variable - In the bottom triggering section, select the trigger we just created.
-
Name: Google Analytics Setting
-
PropertyID: the property ID of your google analytics account, looks something like this
UA-xxxxxxxx-1 -
Cookie Domain:
auto
- Preview
- Test it out by clicking on the button with a random donation amount
- Go to Google Analytics
- Create a new Goal (Settings -> Admin -> View -> Goals). Set category equals to
donation Complete. This is the same as whatever we entered in theGA - donationCompletetag.
- Go to realtime -> events, you will see your event with action name, and label. You don't see the value, don't worry!
Before we begin creating another Tag... we will have to create conversion tracking first inside Google Ads
- Make sure you already have the donation compaign associated with the AdWords Account. Go to Tools -> Conversions
- Create new conversion tracking, select
Website
- Go back to Google Tag Manager, create a new tag, with the following details:
- Select the donation campaigns from all the campaigns on the left hand side
- Click Settings, and find Conversions. If you can't find it, click the Addtional Settings
- In the Conversions box, select the second checkbox
- select the conversion we just created and click save.
You are all Done!!!