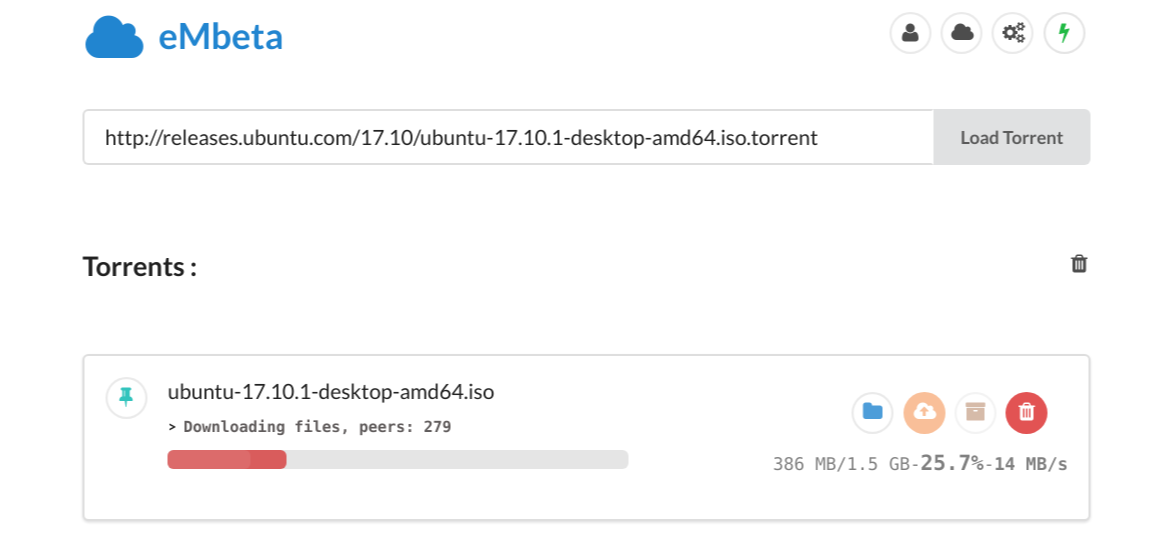
New concept to directly upload files from server to Google Drive. It will give you a proxy and will automatically download files to server, after which you can easily upload it Google Drive or download it to your PC.
Somebody is requested to upload it to a high-speed server so that it's made open to all.
- Single Page UI (made with semantic-ui and angularJS)
- Responsive UI
- Realtime information update
- Support for torrents
- Can upload complete folders to Google Drive with click of a button
- Zip and download torrents
- Zip and upload torrents to Drive
- Auto-Upload to GDrive on completion
- Multiple Cloud Storage support, currently :
- Google Drive
- Mega
First clone the repo and install dependencies:
npm installYou have to make a google developers project and set the following environment variables:
- GOOGLE_CLIENT_ID
- GOOGLE_CLIENT_SECRET
- GOOGLE_REDIRECT_URL (it should be <server address>/oauthCallback by default)
Other environment variables:
- TBP_PROXY: piratebay proxy to use (default:
https://thepiratebay.org)
Ensure that you request full google drive access permission and basic G+ info in your google project
To start server, run:
npm startFill *** with appropriate values.
If you want to debug, add -e DEBUG='eMCloud:*' and remove the -d
eMbeta Cloud is debug compatible, to get debug info set environment variable DEBUG=eMCloud:*
and start server.
- Incognito mode
- Add new Cloud Storage
- Find bugs and report them
- Suggest new features
- Fix bugs
Adding new clouds is easy, just follow these steps:
- Create new folder inside
/server/Storages/(e.g./server/Storages/DropBox) and add.tsfile to it with same name as that of folder (say/server/Storages/DropBox/Dropbox.ts) - Now you've to write your code in that file, the template is
export class CloudName extends EventEmitter{
    constructor(credentials){
        super();
        //store credentials, they can be username/password or OAuth Tokens etc.
    }
    static getURL(){
        //return the url on which the user will be redirected for credentials, can be OAuth Consent Page or a page on server itself.
    }
    static callbackHandler(query,callback){
        //handle the recieved credentials, 'query' contains the GET params. (like for OAuth, authentication code is 'query.code')
        //after successfull authenticaltion, return creds to 'callback' to be stored as session variable
        //if authentication fails, call the callback as: callback(0)
        // when user requests a file upload, credentials from session will be used to initialize this class (the constructor will be called)
    }
    public uploadFile(readStream, totalSize, mime, filename){
        //handle the upload procedure
        //it should emit => progress        : {name,bytesUploaded,size}
        //                  fileUploaded    : {size, name , error}
    }
    public uploadDir(localFolderPath){          //not necessary
        //upload a local directory
        //should emit    => addSize    : size      size in bytes to be added to total upload size
        //may emit       => mkdir      : name      name of cloud directory created
    }
}
For example, see /server/Storages/GDrive/GDrive.ts
- Add new storage to
/server/Storages/Storages.ts(import it and add instoragesobject) - Compile typescript
When user clicks login, url is generated by calling getURL(), it may be OAuth Consent Page or a custom one.
After redirection from OAuth Page(maybe other also), user is redirected to /oauthcallback/ with credentials as GET paramaters, callbackHandler(query) is called with these params. After Successfull login, credentials passed to callback are stored as session variables which are used to initialize this class i.e. constructor will be called with these creds.
getURL() may redirect url to custom page. For Example: returning /login/mega will open /server/Storages/mega/login.html
