This example API shows how to implement JSON Web Token authentication and authorization with ASP.NET 6, built from scratch.
- User registration;
- Password hashing;
- Role-based authorization;
- Login via access token creation;
- Refresh tokens, to create new access tokens when access tokens expire;
- Revoking refresh tokens.
The API uses the following libraries and frameworks to deliver the functionalities described above:
- Entity Framework Core (for data access)
- AutoMapper (for mapping between domain entities and resource classes)
I added Swagger to the API, so we can use it to visualize and test all API routes. You can run the application and navigate to /swagger to see the API documentation:
You can also test the API using a tool such as Postman. I describe how to use Postman to test the API below.
First of all, clone this repository and open it in a terminal. Then restore all the dependencies and run the project. Since it is configured to use Entity Framework InMemory provider, the project will run without any problems.
$ git clone https://github.com/evgomes/jwt-api.git
$ cd jwt-api/src
$ dotnet restore
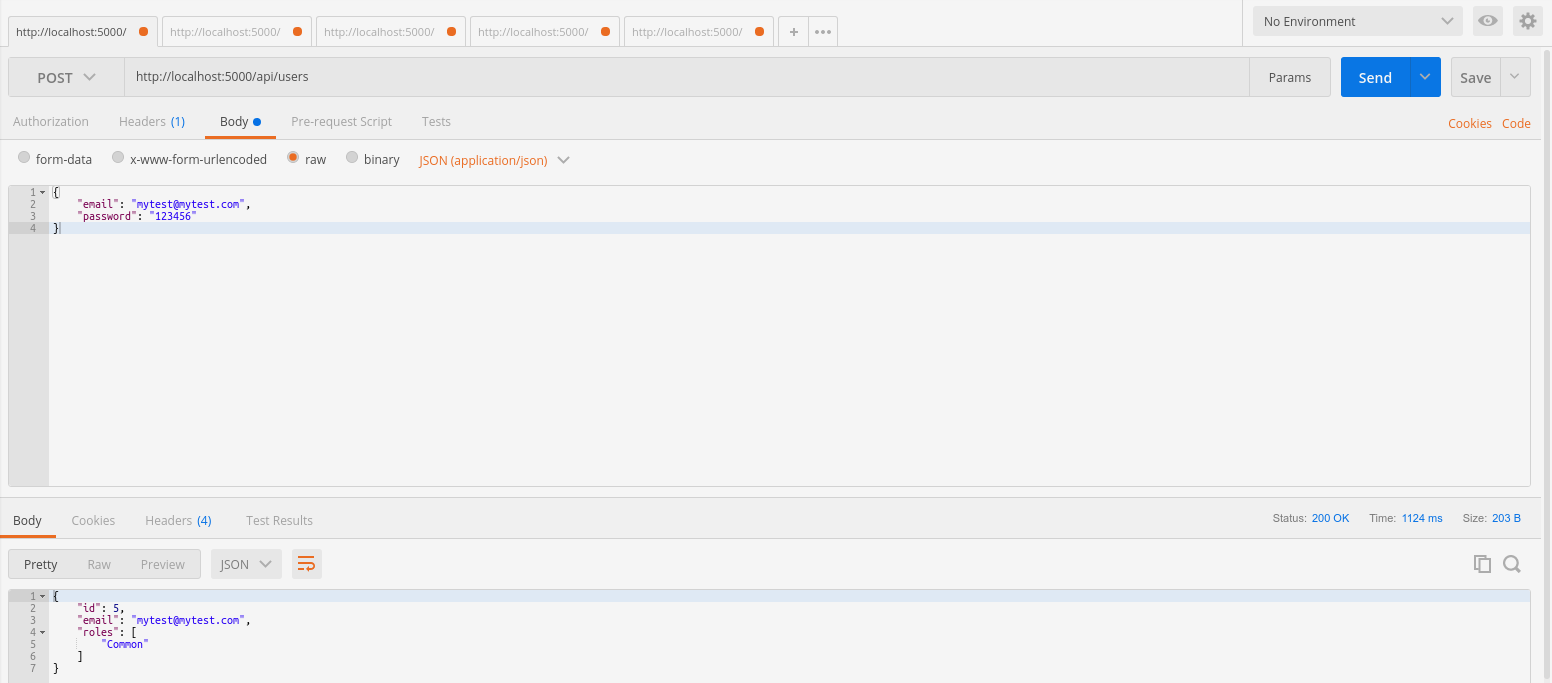
$ dotnet runTo create a user, make a POST request to http://localhost:5000/api/users specifying a valid e-mail and password. The result will be a new user with common users permission.
{
	"email": "mytest@mytest.com",
	"password": "123456"
}
There are already two pre-defined users configured to test the application, one with common users permission and another with admin permissions.
{
	"email": "common@common.com",
	"password": "12345678"
}
{
	"email": "admin@admin.com",
	"password": "12345678"
}
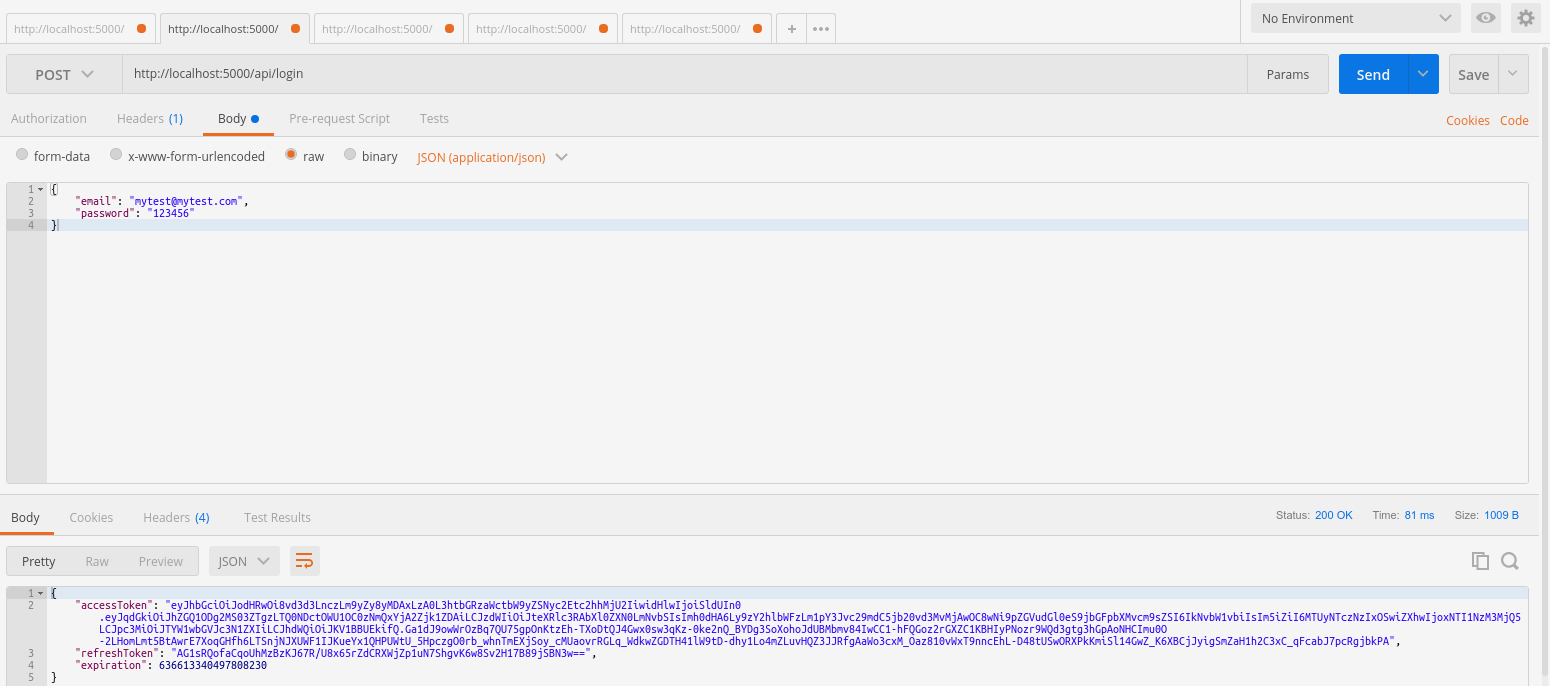
To request the access tokens, make a POST request to http://localhost:5000/api/login sending a JSON object with user credentials. The response will be a JSON object with:
- An access token which can be used to access protected API endpoints;
- A request token, necessary to get a new access token when an access token expires;
- A long value that represents the expiration date of the token.
Access tokens expire after 30 seconds, and refresh tokens after 60 seconds (you can change this in the appsetings.json).
There are two API endpoints that you can test:
http://localhost:5000/api/protectedforcommonusers: users of all roles can access this endpoint if a valid access token is specified;http://localhost:5000/api/protectedforadministrators: only admin users can access this endpoint.
With a valid access token in hands, make a GET request to one of the endpoints mentioned above with the following header added to your request:
Authorization: Bearer your_valid_access_token_here
If you get a token as a common user (a user that has the Common role) and make a request to the endpoint for all users, you will get a response as follows:
But if you try to pass this token to the endpoint that requires admin permission, you will get a 403 - forbidden response:
If you sign in as an admin and make a GET request to the admin endpoint, you will receive the following content as response:
If you pass an invalid token to any of the endpoints (a expired one or a token that was changed by hand, for example), you will get a 401 unauthorized response.
Imagine you have a single page application or a mobile app and you do not want the users to have to log in again every time an access token expires. To deal with this, you can get a new token with a valid refresh token. This way, you can keep users logged in without explicitly asking them to sign in again.
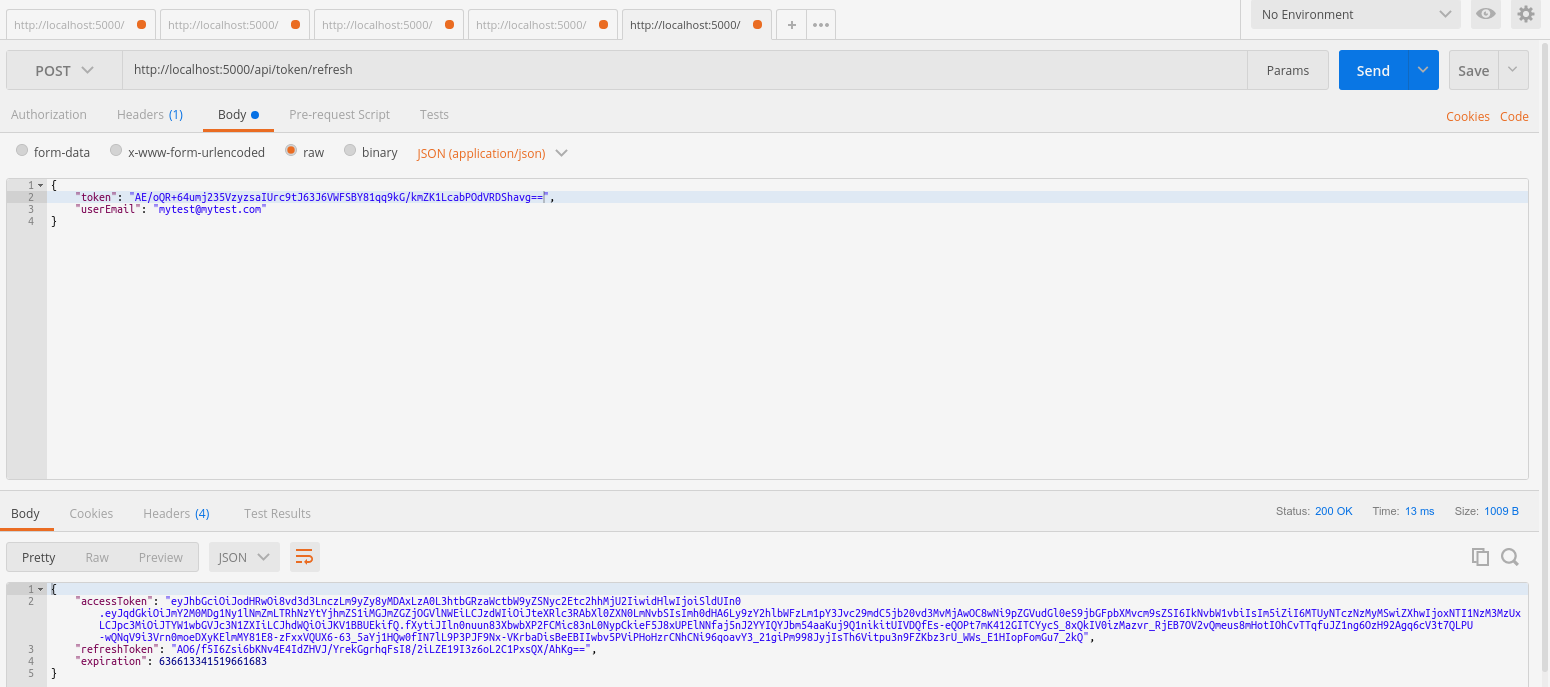
To refresh a token, make a POST request to http://localhost:5000/api/token/refresh passing a valid refresh token and the user's e-mail in the body of the request.
{
	"token": "your_valid_refresh_token",
	"userEmail": "user@email.com"
}
You will receive a new token if the specified refresh token and e-mail are valid:
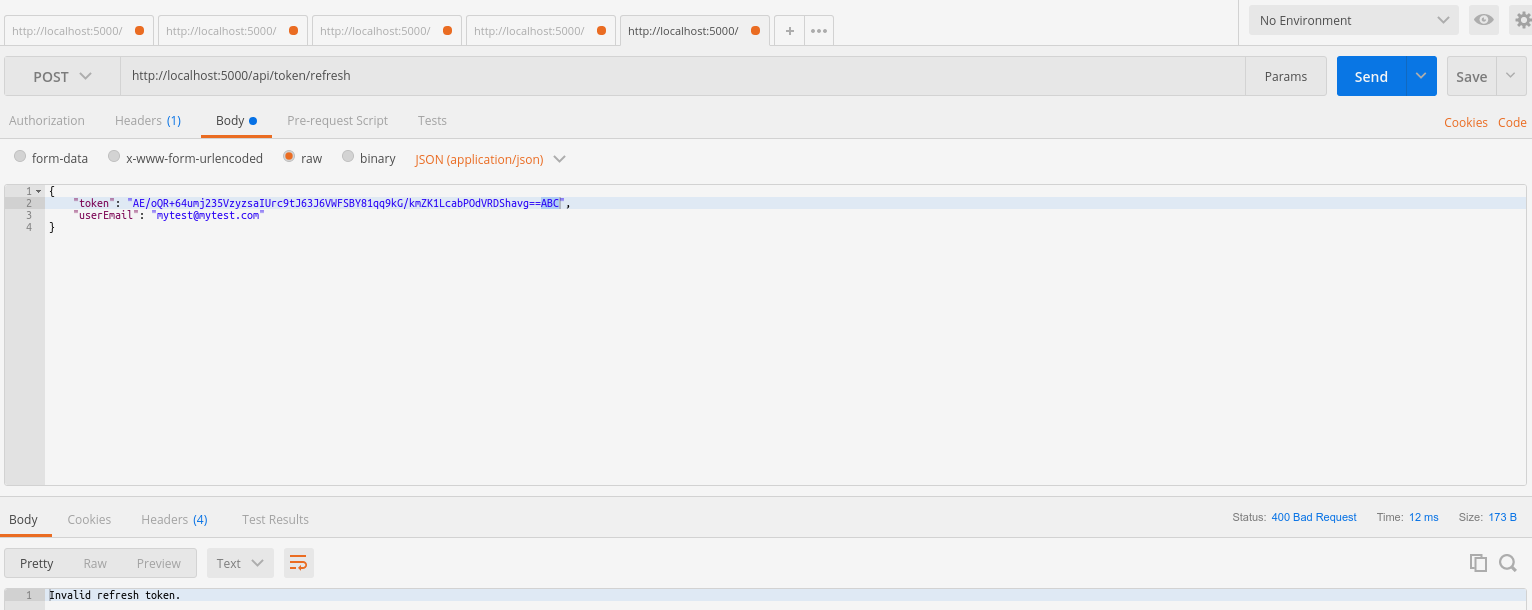
If the request token is invalid, you will receive a 400 response:
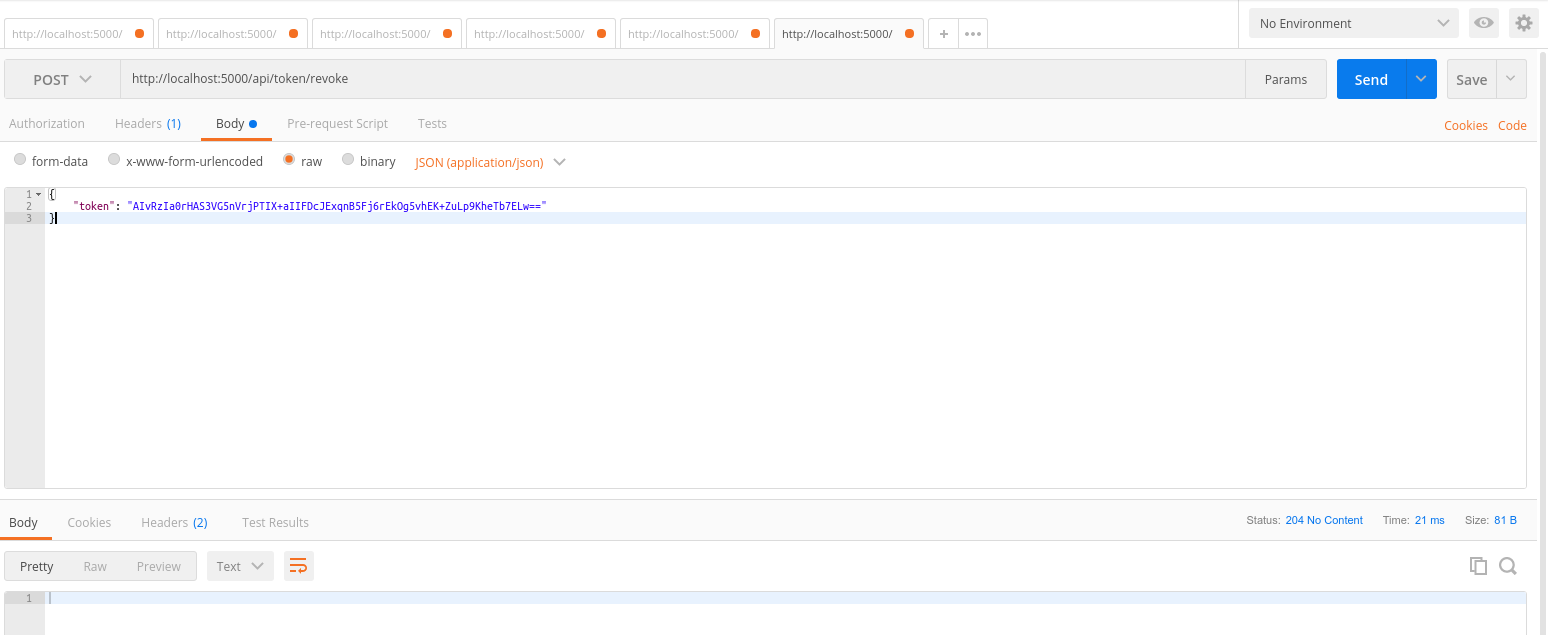
Now imagine that you want the user to sign out, or you want to revoke a refresh token for any reason. You can revoke a refresh token making a POST request to http://localhost:5000/api/token/revoke, passing a valid refresh token into the body of the request.
{
	"token": "valid_refresh_token"
}
You will get a 204 No Content response after calling this endpoint.
This example was created with the intent of helping people who have doubts on how to implement authentication and authorization in APIs to consume these features in different client applications. JSON Web Tokens are easy to implement and secure.
If you have doubts about the implementation details or if you find a bug, please, open an issue. If you have ideas on how to improve the API or if you want to add a new functionality or fix a bug, please, send a pull request.

