Refer list:
https://github.com/SensorsIot/Bluetooth-BLE-on-Arduino-IDE/blob/master/BLE_Proximity_Sensor/BLE_Proximity_Sensor.ino
https://github.com/knolleary/pubsubclient
https://github.com/prampec/IotWebConf
https://github.com/ropg/ezTime
I add some code to more easy using for mqtt sensor by windgo@gmail.com
follow discuss link
old version
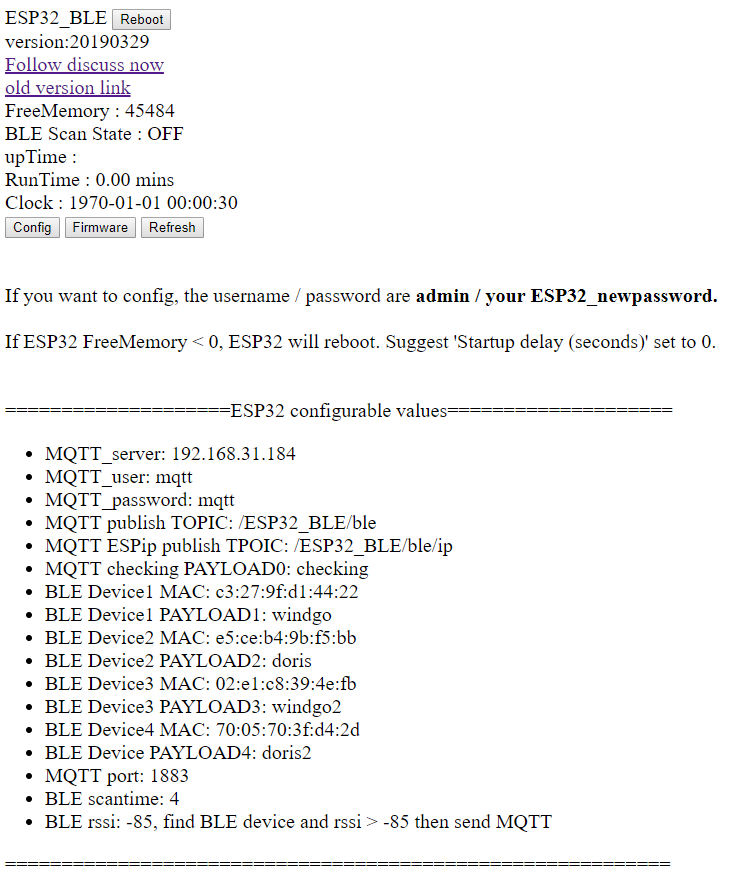
HA is home-assistant
==Arduino編譯所需相關庫安裝==
1.參考這篇加入ESP32開發板相關庫
https://github.com/espressif/arduino-esp32/blob/master/docs/arduino-ide/boards_manager.md
2.在Arduino工具列內的Sketch-->Include library-->Manage Libraries-->搜尋pubsubclient並安裝
3.在Arduino工具列內的Sketch-->Include library-->Manage Libraries-->搜尋iotWebConf並安裝
4.在Arduino工具列內的Sketch-->Include library-->Manage Libraries-->搜尋eztime並安裝
ESP32_BLE.rar include:
AutoErase.exe : clear flash ESP32 tool
FlashESP32.bat : auto flash ESP32 tool
setup.mp4 : ESP32_BLE scanner setup video

![]()
update 20190327版本更新
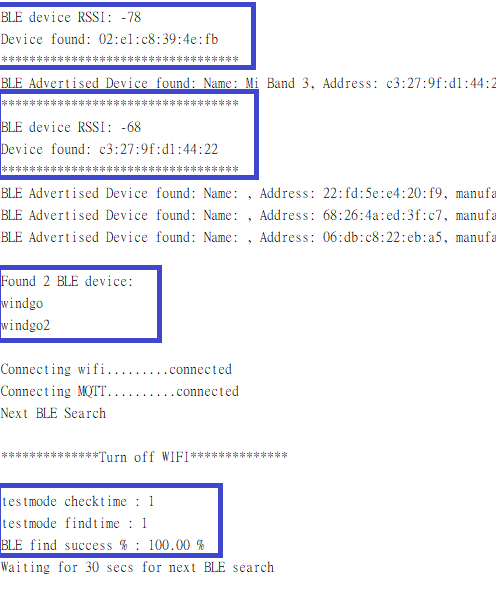
1.原本掃描時Wifi+BLE互相干擾導致搜尋率4成左右改成純BLE掃描,掃描成功率接近100%,掃到後再開啟Wifi發MQTT
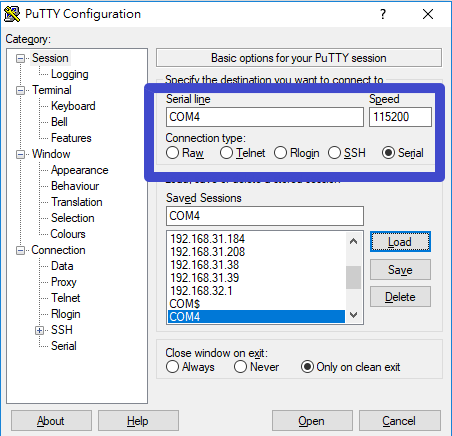
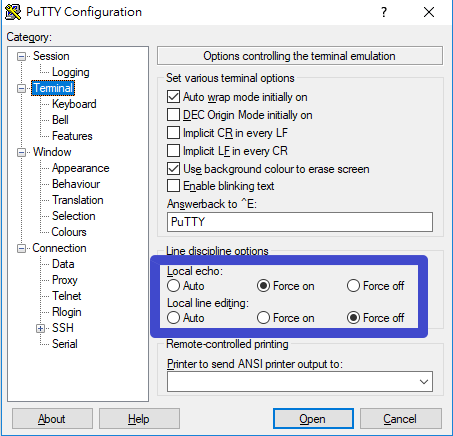
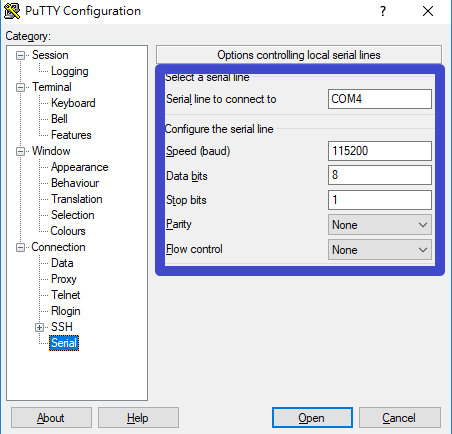
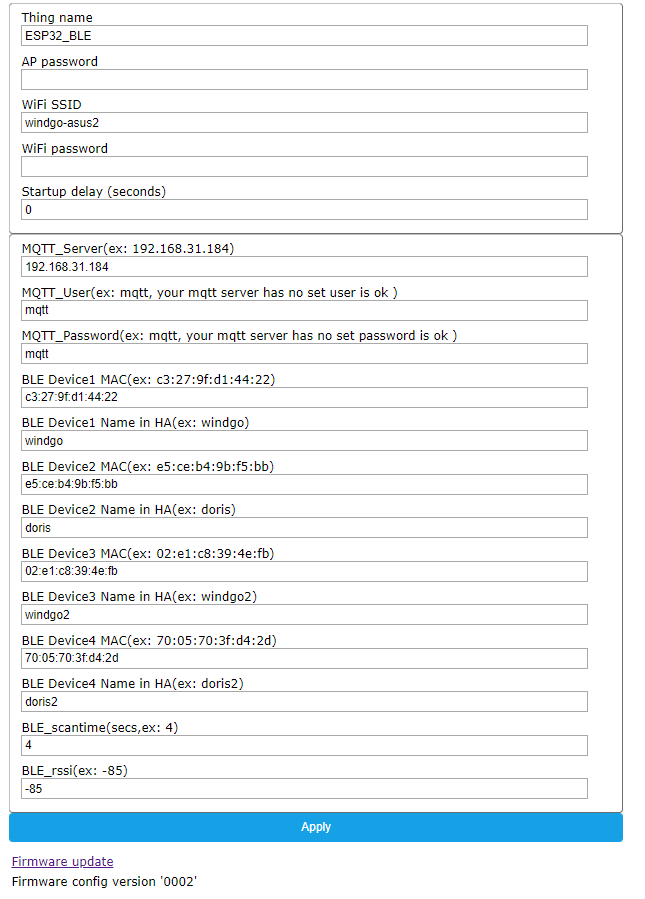
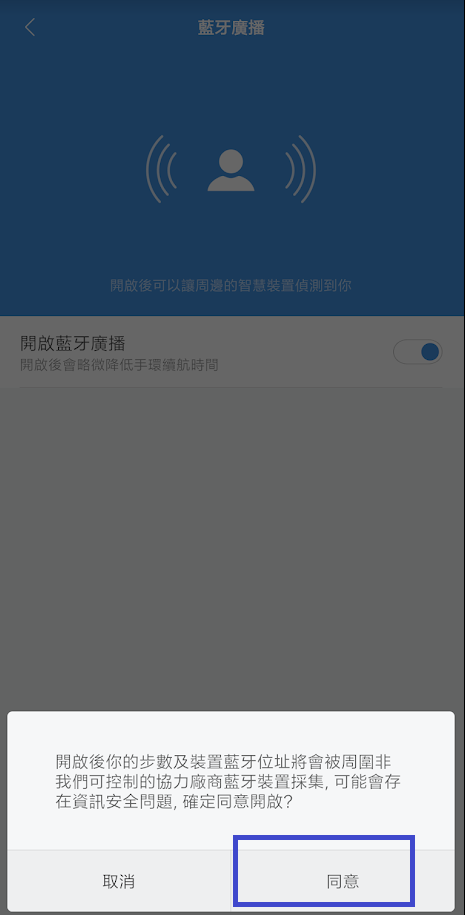
2.因為平常掃描時沒有Wifi,所以需要修改設定時,可以使用終端機或arduino console接入ESP32,手動開啟Wifi來設定
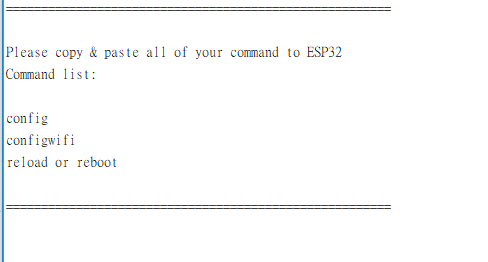
(可在console模式使用下列指令)
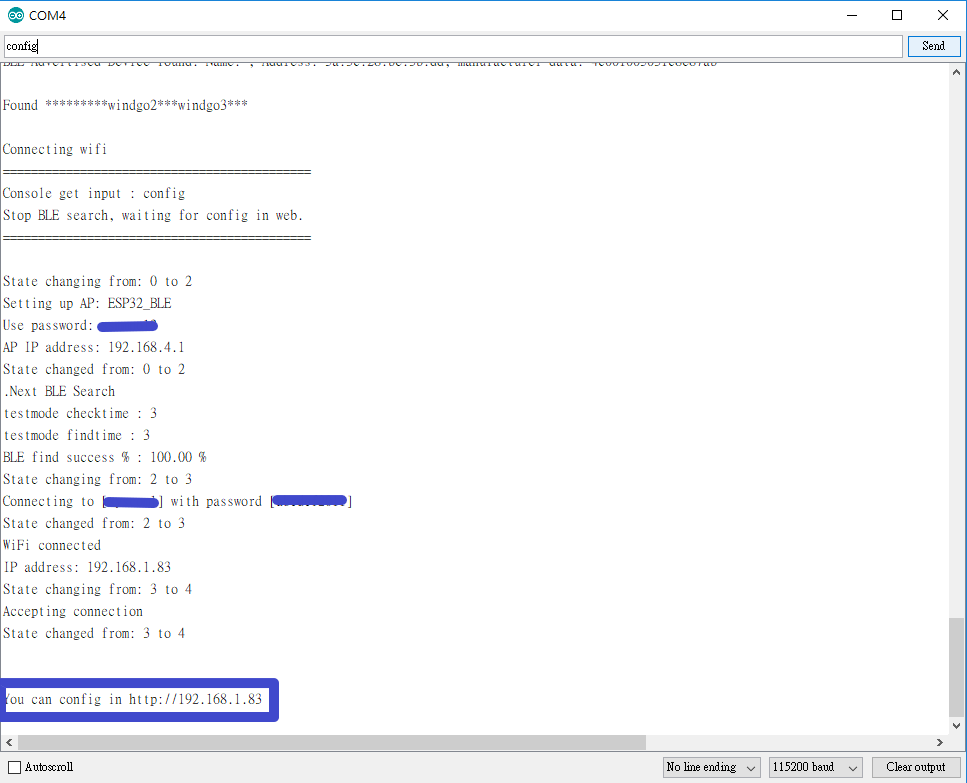
config: 開啟wifi,關閉BLE掃描,等待你連入網頁設定
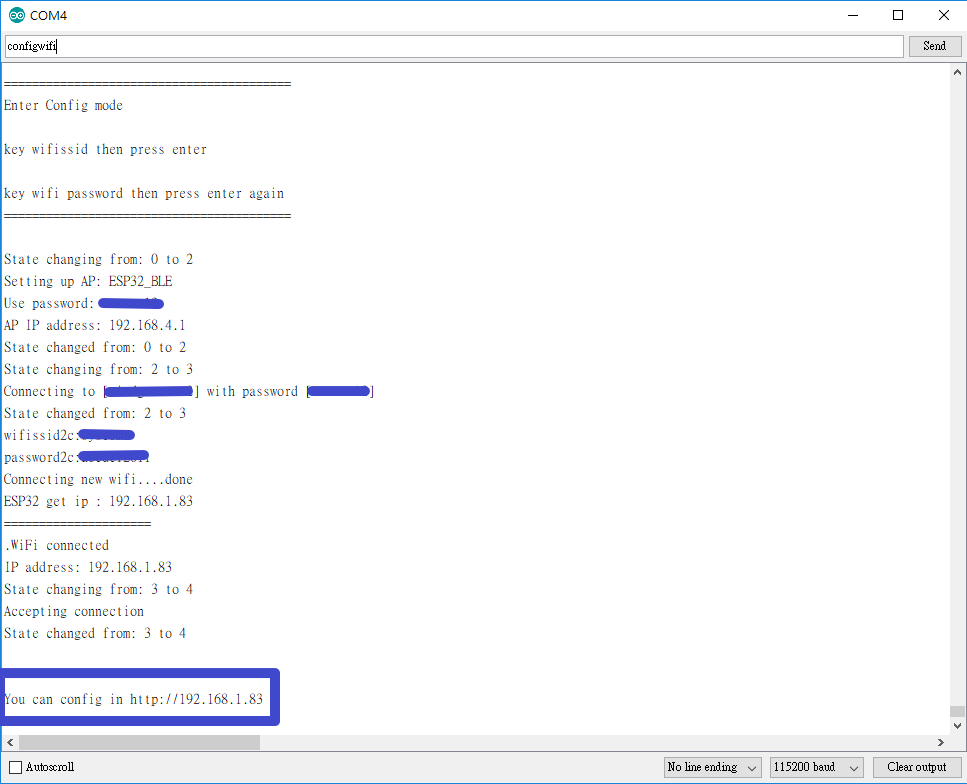
configwifi: 如果你的無線網路環境變更,可使用此指令來輸入新的ssid與password
configmqtt: 如果你的MQTT server/user/password變更,可使用此指令來輸入新的設定(建議可直接網頁改)
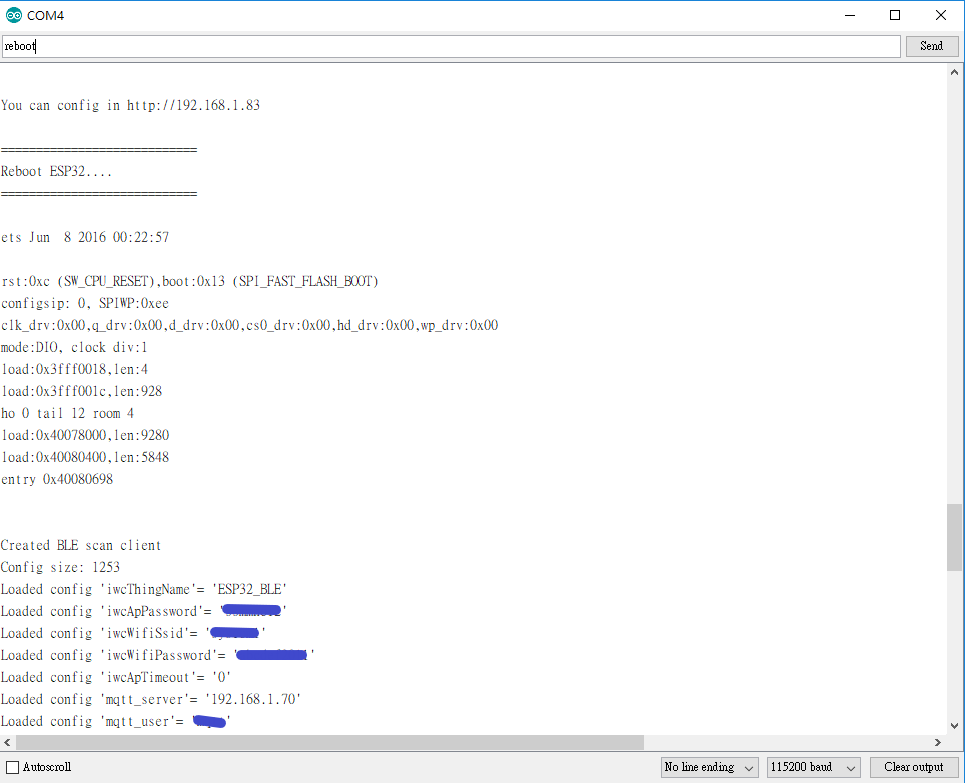
reload或reboot: 重啟ESP
3.加入大量console訊息,方便觀察ESP32掃描訊息與除錯
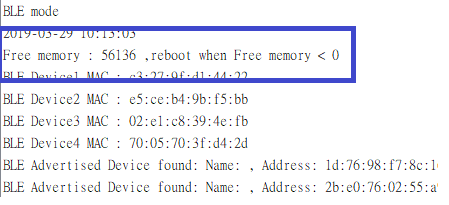
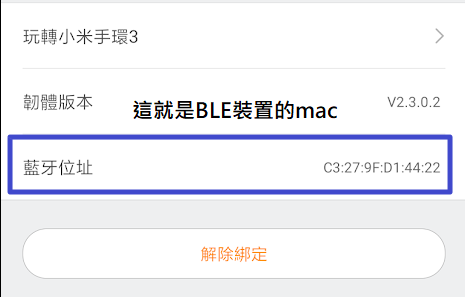
4.支援最大同時四組BLE裝置掃描,並且在你設定的掃瞄時間到後,通知mqtt Server數值變動
(先前版本就算設定多台也只支援通知掃描到的第一台BLE裝置)