All-in-one Starsector launcher, mod manager, and toolkit.
- Launcher/Dashboard: Replacement for the game launcher.
- Mod Manager: Manage your installed mods.
- Mod Profiles: Save custom mod loadouts. Load save game mod loadouts.
- VRAM Estimator: Now with visualization.
- StarModder: Online mod catalog & downloader.
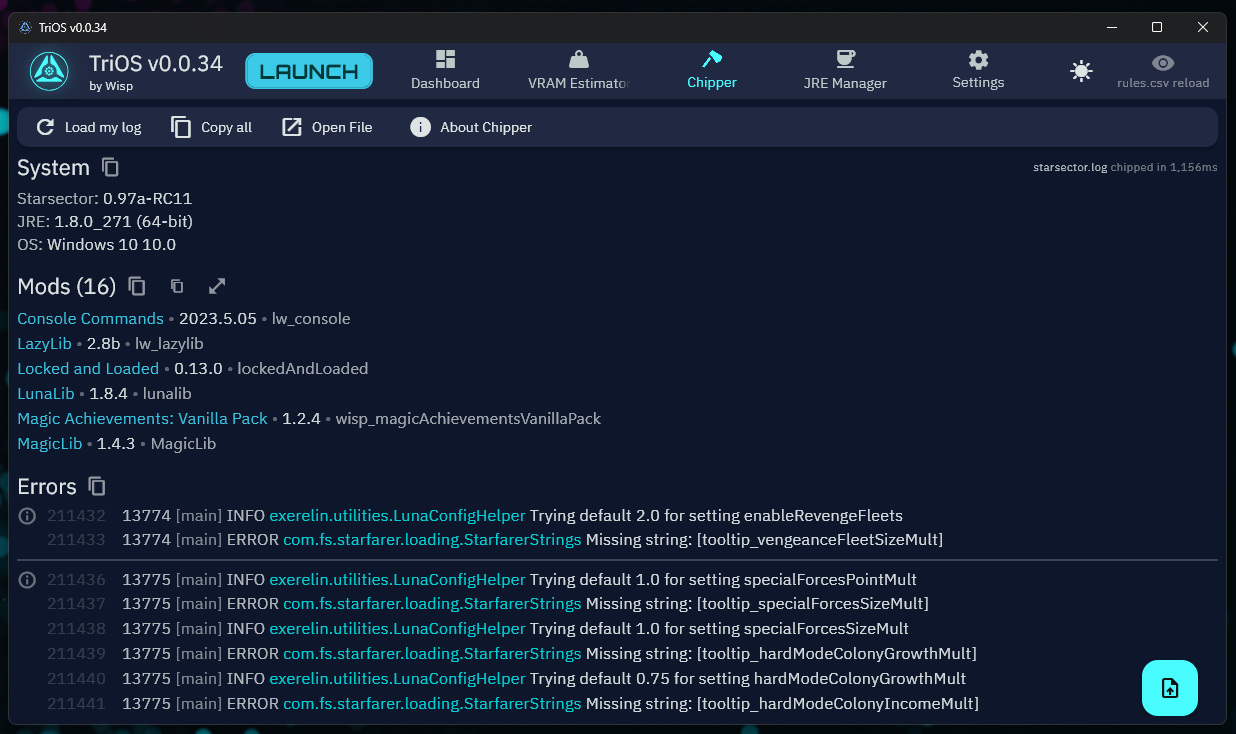
- Chipper: Logfile viewer.
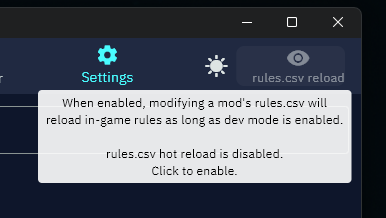
- Rules.csv Autoreloader: Hot reload for your mod rules.csv.
- Download and install/extract Flutter SDK so that it's on your path.
- Download the TriOS source code, navigate to it, and run
(substitute
flutter build windowsmacosorlinuxdepending on your platform). - The output should tell you where it placed the compiled program.
Whenever you change a model class (anything using code gen), you'll need to run the following command in a terminal in the project's root folder (I run it in IntelliJ's terminal). No need to do this unless you're changing TriOS code; the generated code is included in the source code.
dart run build_runner watch --delete-conflicting-outputs
Note: you probably do not need to build libarchive yourself. TriOS has libarchive binaries already included in assets/<platform>/libarchive.
The only time you need to build it yourself is if you have some architecture that the prebuilt ones don't support.
- Download latest source: https://github.com/libarchive/libarchive/releases.
- Download/install Visual Studio, add C/C++ support module stuff.
- Download
vcpkg. https://vcpkg.io/en/getting-started - Symlink the
vcpkgfolder into thelibarchivefolder, or just move it there. - Use vcpkg to install libarchive:
./vcpkg/vcpkg.exe install libarchive:x64-windows. - Add the following to CMakeLists.txt before the first PROJECT() call:
set(CMAKE_TOOLCHAIN_FILE "${CMAKE_CURRENT_SOURCE_DIR}/vcpkg/scripts/buildsystems/vcpkg.cmake" CACHE STRING "Vcpkg toolchain file") - Download and install CMake for Windows. https://cmake.org/download/
- Run the CMake GUI, set output to
libarchive/build, hitConfigure, wait, hitGenerate, then clickOpen Project. - In VS, pick a Release Configuration and Run. It'll appear in
build/bin.MinSizeRelseems good.
- Install deps:
brew install autoconf automake libtool pkg-config bzip2 xz lz4 zlib zstd - Tell it where to find xz (use
whereis xzto make sure the paths are right):export LDFLAGS="-L/opt/homebrew/opt/xz/lib -L/opt/homebrew/opt/zlib/lib -L/opt/homebrew/opt/lz4/lib -L/opt/homebrew/opt/zstd/lib" export CPPFLAGS="-I/opt/homebrew/opt/xz/include -I/opt/homebrew/opt/zlib/include -I/opt/homebrew/opt/lz4/include -I/opt/homebrew/opt/zstd/include" export PKG_CONFIG_PATH="/opt/homebrew/opt/xz/lib/pkgconfig:/opt/homebrew/opt/zlib/lib/pkgconfig:/opt/homebrew/opt/lz4/lib/pkgconfig:/opt/homebrew/opt/zstd/lib/pkgconfig" - Check out source:
git clone https://github.com/libarchive/libarchive.git cd libarchive - Build:
The output will be in
./build/autogen.sh ./configure --prefix=$HOME/libarchive-output --with-bz2lib --with-lzma --with-lz4 --with-zlib --with-zstd make make install$HOME/libarchive-output.
- Install deps:
TODO copy/paste here - Check out source:
git clone https://github.com/libarchive/libarchive.git cd libarchive - Build for x86-64 (assuming you're on this):
The output will be in
./build/autogen.sh ./configure --prefix=$HOME/libarchive-output-x86-64 --with-bz2lib --with-lzma --with-lz4 --with-zlib --with-zstd make make install$HOME/libarchive-output-x86-64. x84-64 covers just about all desktop PCs and laptops. And the Steam Deck.


