Meteor环境安装指南
本指南主要针对采用Ubuntu开发meteor,并且需要在本地实现部署的用户,配置完毕以后可以通过 mup deploy在本机实现meteor部署。 对于哪些希望在国内服务器上部署的开发者,本文也具备参考意义。
如果是仅需本地开发的用户(包括Ubuntu用户和Mac用户)可以执行官方指令
curl https://install.meteor.com/ | sh
特别说明:基于国内开发者被墙的现状,已经将nodejs和phantomjs两个package提前下载放到script目录下,clone有点慢。
- 安装配置Ubuntu14.04
首先安装Ubuntu主机,我们推荐采用虚拟机开发,我们在Vmware里安装Ubuntu14.04,用户名是meteor
注意,安装时需要下载的文件尽量skip掉,安装完毕以后可以在比较快的镜像里面下载
- 启用root用户
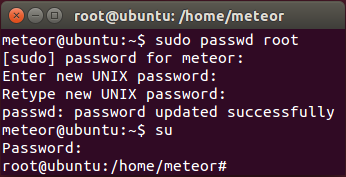
可以通过设置root密码的方式来启用root用户
$ sudo passwd root
设置完以后可以试一下su指令,进入root模式,后面很多操作采用root操作
- 配置源并更新
安装以后通过编辑/etc/apt/sources.list配置源
meteor@ubuntu:~$ sudo gedit /etc/apt/sources.list
对于清华校内的用户,可以采用tuna的源,可以节省对外流量
deb http://mirrors.i.tuna.tsinghua.edu.cn/ubuntu trusty main restricted universe multiverse
deb http://mirrors.i.tuna.tsinghua.edu.cn/ubuntu trusty-security main restricted universe multiverse
deb http://mirrors.i.tuna.tsinghua.edu.cn/ubuntu trusty-updates main restricted universe multiverse
deb http://mirrors.i.tuna.tsinghua.edu.cn/ubuntu trusty-proposed main restricted universe multiverse
deb http://mirrors.i.tuna.tsinghua.edu.cn/ubuntu trusty-backports main restricted universe multiverse
deb-src http://mirrors.i.tuna.tsinghua.edu.cn/ubuntu trusty main restricted universe multiverse
deb-src http://mirrors.i.tuna.tsinghua.edu.cn/ubuntu trusty-security main restricted universe multiverse
deb-src http://mirrors.i.tuna.tsinghua.edu.cn/ubuntu trusty-updates main restricted universe multiverse
deb-src http://mirrors.i.tuna.tsinghua.edu.cn/ubuntu trusty-proposed main restricted universe multiverse
deb-src http://mirrors.i.tuna.tsinghua.edu.cn/ubuntu trusty-backports main restricted universe multiverse
对于北京公网用户而言,经测试,最快的ubuntu镜像是http://mirrors.yun-idc.com/ubuntu/的镜像
deb http://mirrors.yun-idc.com/ubuntu/ trusty main restricted universe multiverse
deb http://mirrors.yun-idc.com/ubuntu/ trusty-security main restricted universe multiverse
deb http://mirrors.yun-idc.com/ubuntu/ trusty-updates main restricted universe multiverse
deb http://mirrors.yun-idc.com/ubuntu/ trusty-proposed main restricted universe multiverse
deb http://mirrors.yun-idc.com/ubuntu/ trusty-backports main restricted universe multiverse
deb-src http://mirrors.yun-idc.com/ubuntu/ trusty main restricted universe multiverse
deb-src http://mirrors.yun-idc.com/ubuntu/ trusty-security main restricted universe multiverse
deb-src http://mirrors.yun-idc.com/ubuntu/ trusty-updates main restricted universe multiverse
deb-src http://mirrors.yun-idc.com/ubuntu/ trusty-proposed main restricted universe multiverse
deb-src http://mirrors.yun-idc.com/ubuntu/ trusty-backports main restricted universe multiverse
随后执行更新指令
meteor@ubuntu:~$ sudo apt-get update -y
meteor@ubuntu:~$ sudo apt-get upgrade -y
4.配置openssh和root的登录
meteor@ubuntu:~$ sudo apt-get install openssh-client openssh-server git -y
meteor@ubuntu:~$ ssh-keygen -t rsa
meteor@ubuntu:~$ su
root@ubuntu:/home/meteor# cd
root@ubuntu:~# mkdir .ssh
root@ubuntu:~# cp /home/meteor/.ssh/id_rsa.pub /root/.ssh/authorized_keys
安装openssh并生成sshkey,
然后再进入root用户的home,创建/root/.ssh/
最后将客户端的id_rsa.pub内容复制到 /root/.ssh/authorized_keys 内,以达到权限认证目的
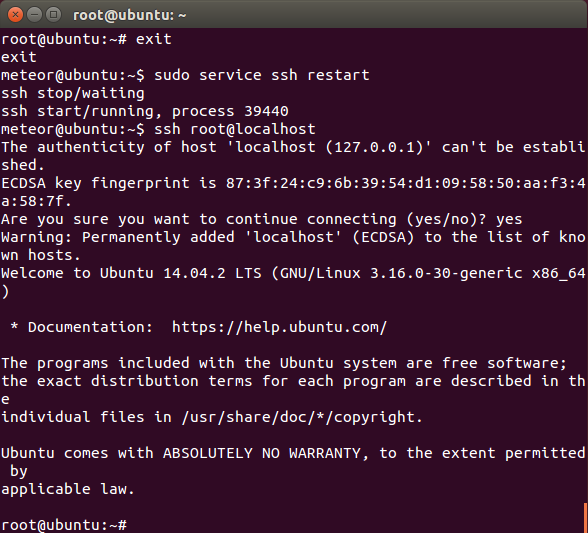
然后再退出root用户,在重启ssh服务,最后使用root用户连接到本地的ssh里面
- 配置GitHub账户,并clone本项目
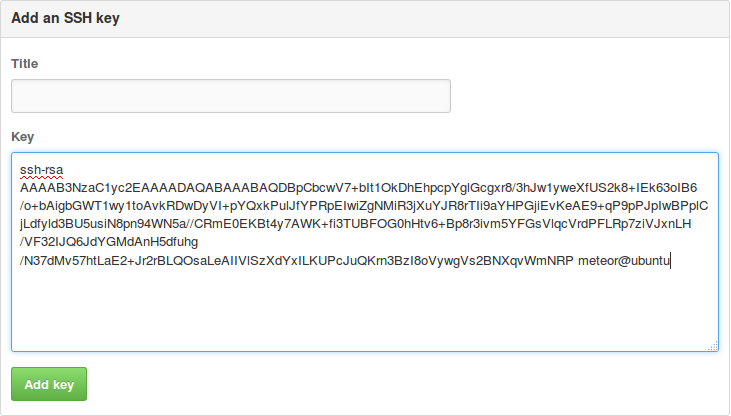
首先登陆github,再进入如下界面 https://github.com/settings/ssh
点击右上角的Add SSH key
然后执行
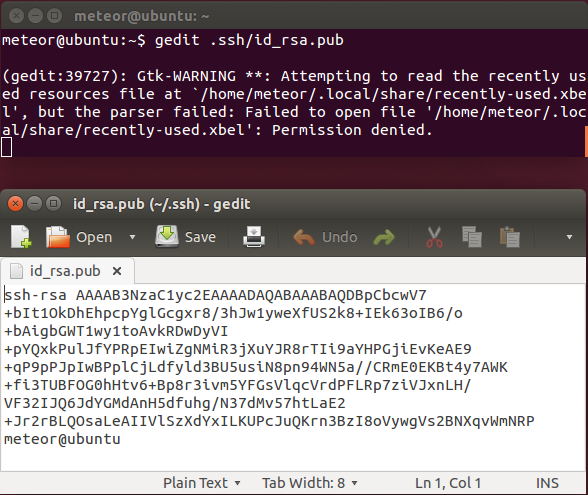
meteor@ubuntu:~$ gedit .ssh/id_rsa.pub
复制所有内容,黏贴到页面里
然后在命令行执行如下指令下载部署用项目,项目有点大,稍微等一段时间
meteor@ubuntu:~$ git clone git@github.com:wmzhai/setup-meteor-machine.git
- 安装phantomjs
切换目录,执行如下脚本
meteor@ubuntu:~/setup-meteor-machine/scripts$ cd ~/setup-meteor-machine/scripts
meteor@ubuntu:~/setup-meteor-machine/scripts$ ./install-phantomjs.sh
执行完毕成功了会显示版本号1.9.8
- 安装nodejs
执行如下脚本
meteor@ubuntu:~/setup-meteor-machine/scripts$ ./install-node.sh
执行完毕成功了会nodejs和npm的版本号
- 安装mongodb v3
确保网络畅通,执行如下脚本
meteor@ubuntu:~/setup-meteor-machine/scripts$ ./install-mongodb.sh
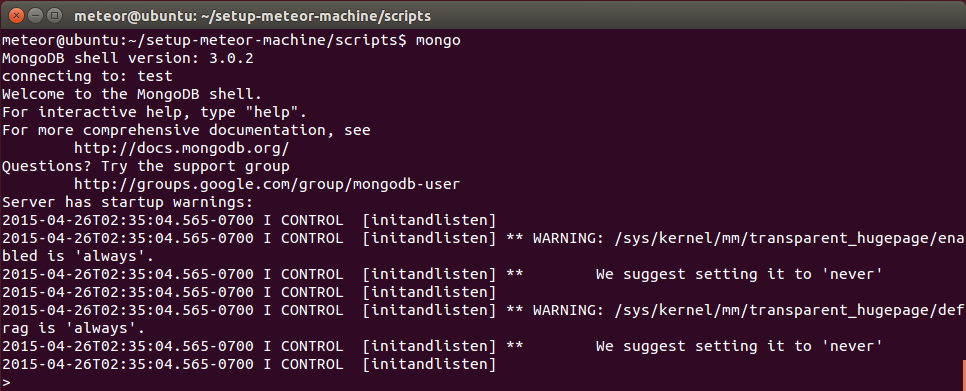
这一步需要从网上下载文件,需要等一段时间,安装完毕以后输入如下指令验证,一切正常的话会进入mongodb的shell
- 安装meteor
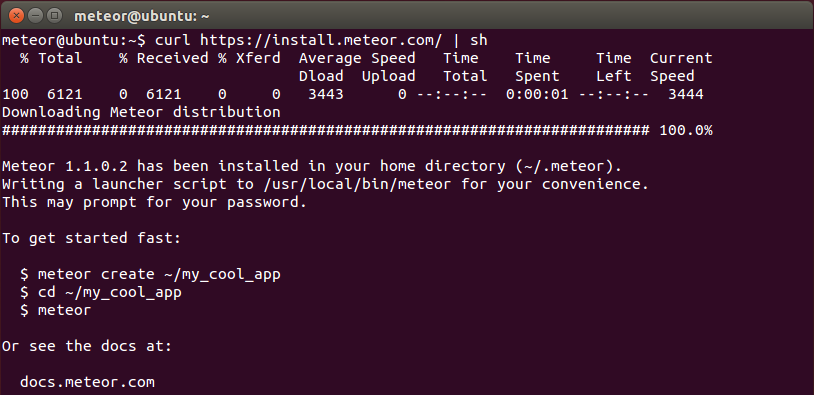
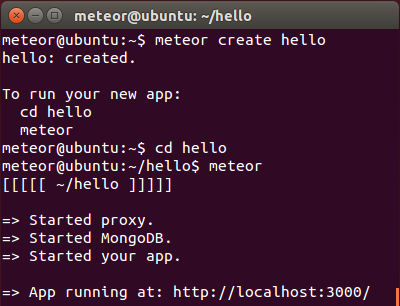
切换回home路径,执行如下指令安装meteor并新建项目运行
meteor@ubuntu:~$ curl https://install.meteor.com/ | sh
meteor@ubuntu:~$ meteor create hello
meteor@ubuntu:~$ cd hello
meteor@ubuntu:~$ meteor
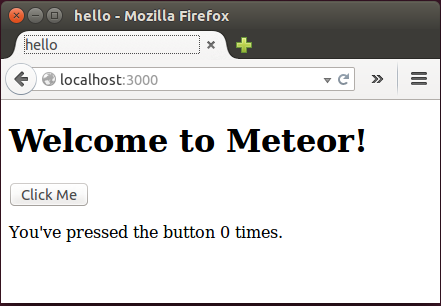
用浏览器进入http://localhost:3000/ 验证项目正常运行
- 安装mup
Ctrl-C退出服务器运行
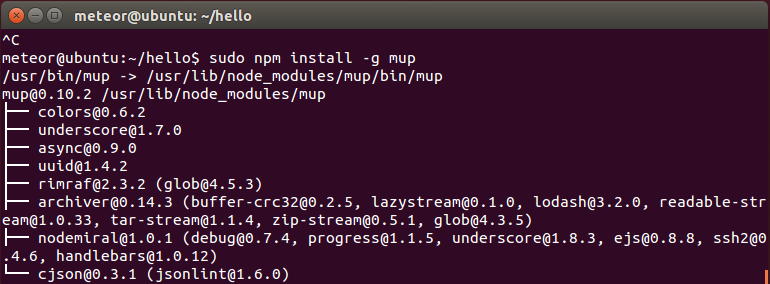
meteor@ubuntu:~/hello$ sudo npm install -g mup
- mup init
执行mup init生成配置文件
meteor@ubuntu:~/hello$ mup init
然后编辑mup.json如下
{
  // Server authentication info
  "servers": [
    {
      "host": "localhost",
      "username": "root",
      "pem": "~/.ssh/id_rsa"
    }
  ],

  // Install MongoDB in the server, does not destroy local MongoDB on future setup
  "setupMongo": false,

  // WARNING: Node.js is required! Only skip if you already have Node.js installed on server.
  "setupNode": false,

  // WARNING: If nodeVersion omitted will setup 0.10.36 by default. Do not use v, only version number.
  "nodeVersion": "0.10.36",

  // Install PhantomJS in the server
  "setupPhantom": false,

  // Application name (No spaces)
  "appName": "hello",

  // Location of app (local directory)
  "app": ".",

  // Configure environment
  "env": {
    "ROOT_URL": "http://localhost"
  },

  // Meteor Up checks if the app comes online just after the deployment
  // before mup checks that, it will wait for no. of seconds configured below
  "deployCheckWaitTime": 15
}
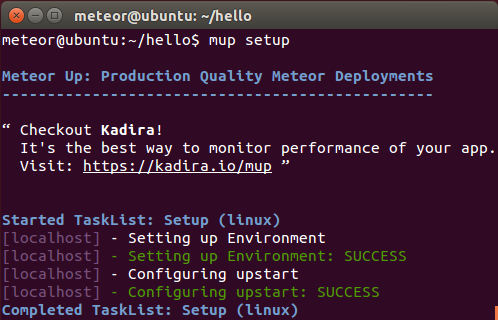
- mup setup安装环境
再执行mup setup,这个步骤有点久,需要等一段时间
meteor@ubuntu:~/hello$ mup setup
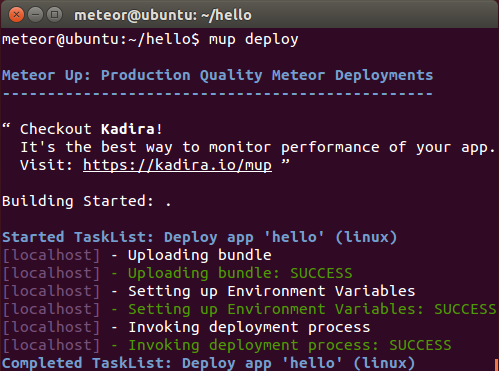
- mup deploy部署
meteor@ubuntu:~/hello$ mup deploy
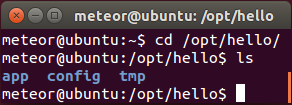
项目是被安装到/opt/hello目录下,可以切换目录进去看看
- 浏览部署结果
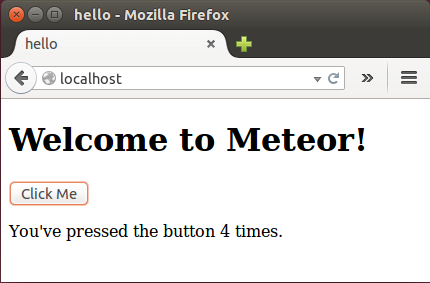
最后在浏览器里面打开http://localhost验证是否部署正常
