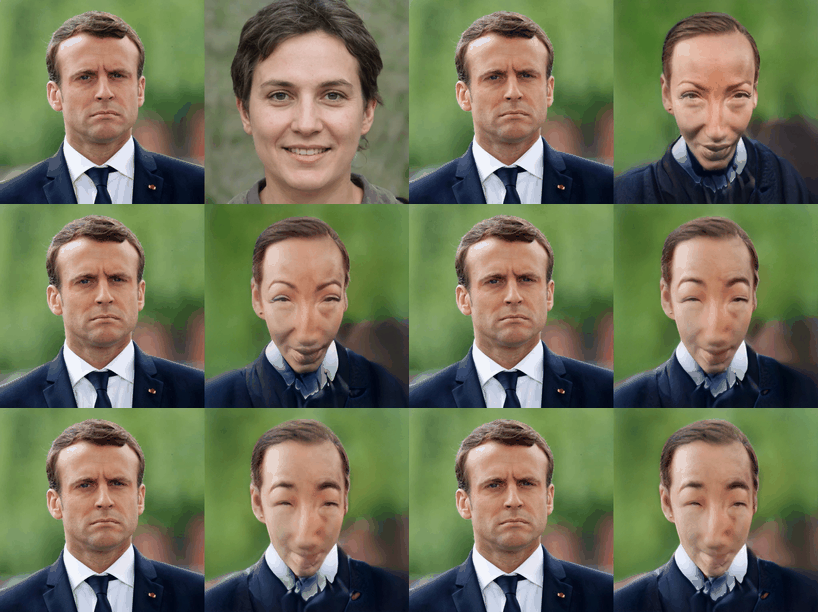
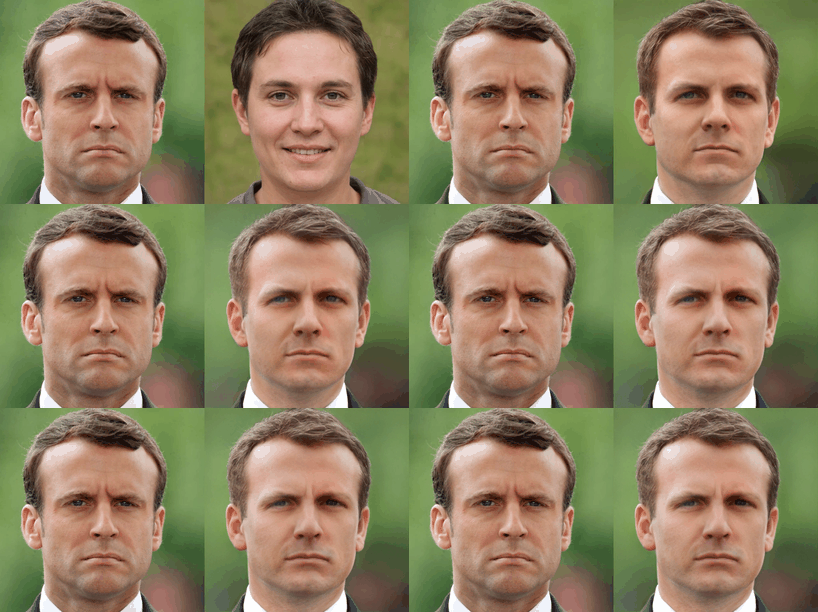
The goal of this Google Colab notebook is to project images to latent space with StyleGAN2.
To discover how to project a real image using the original StyleGAN2 implementation, run:
To process the projection of a batch of images, using either W(1,*) (original) or W(18,*) (extended), run:
To edit latent vectors of projected images, run:
For more information about W(1,*) and W(18,*), please refer to the the original paper (section 5 on page 7):
Inverting the synthesis network
$g$ is an interesting problem that has many applications. Manipulating a given image in the latent feature space requires finding a matching latent code$w$ for it first.
The following is about W(18,*):
Previous research suggests that instead of finding a common latent code
$w$ , the results improve if a separate$w$ is chosen for each layer of the generator. The same approach was used in an early encoder implementation.
The following is about W(1,*), which is the approach used in the original implementation:
While extending the latent space in this fashion finds a closer match to a given image, it also enables projecting arbitrary images that should have no latent representation. Instead, we concentrate on finding latent codes in the original, unextended latent space, as these correspond to images that the generator could have produced.
Data consists of:
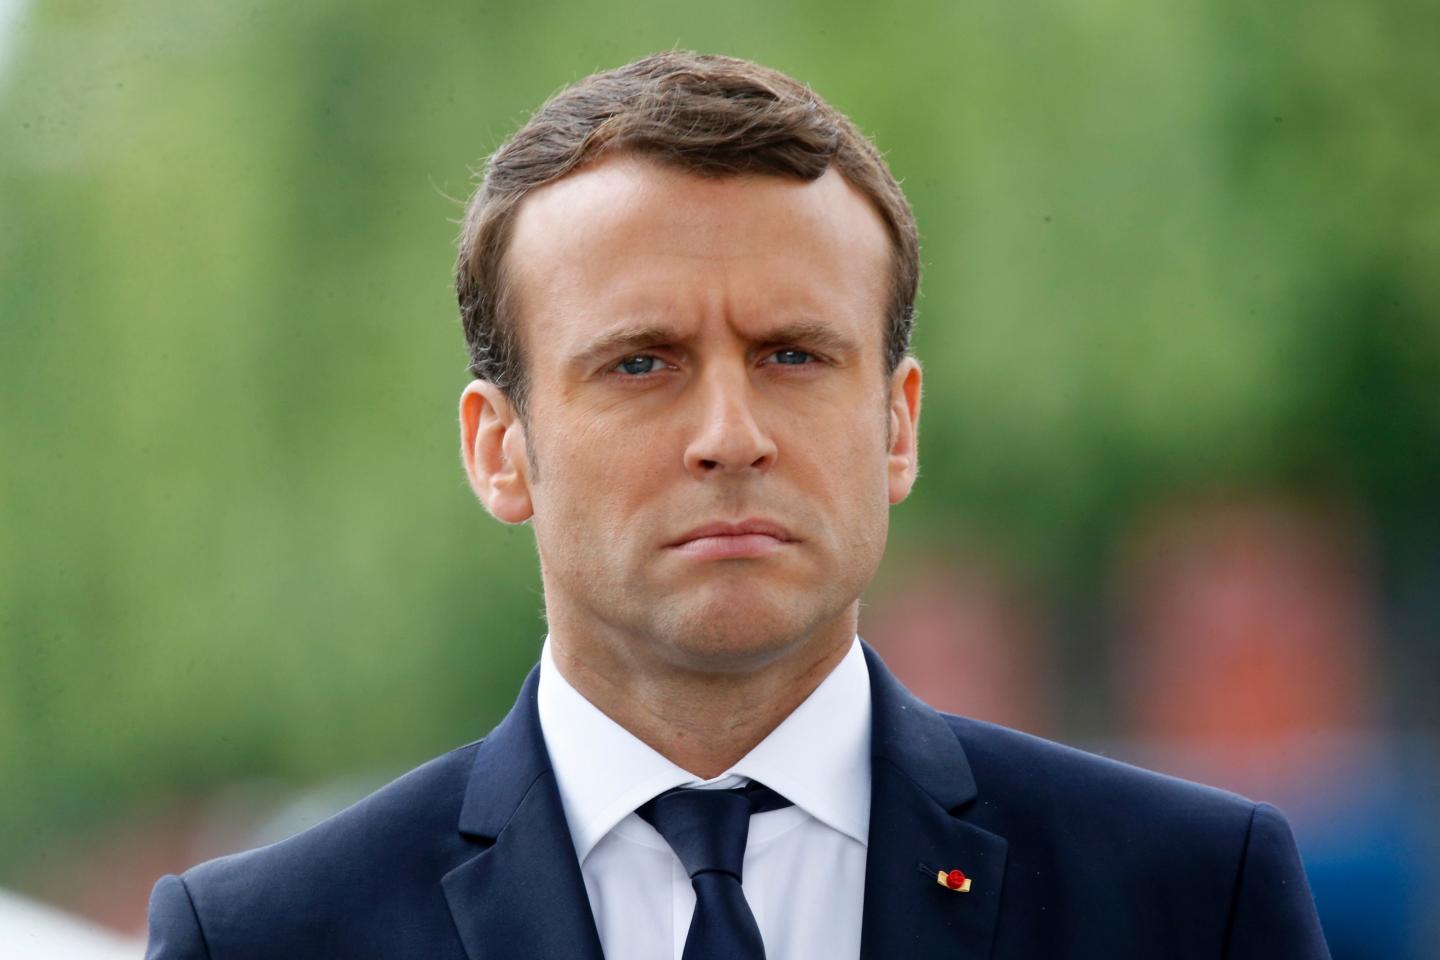
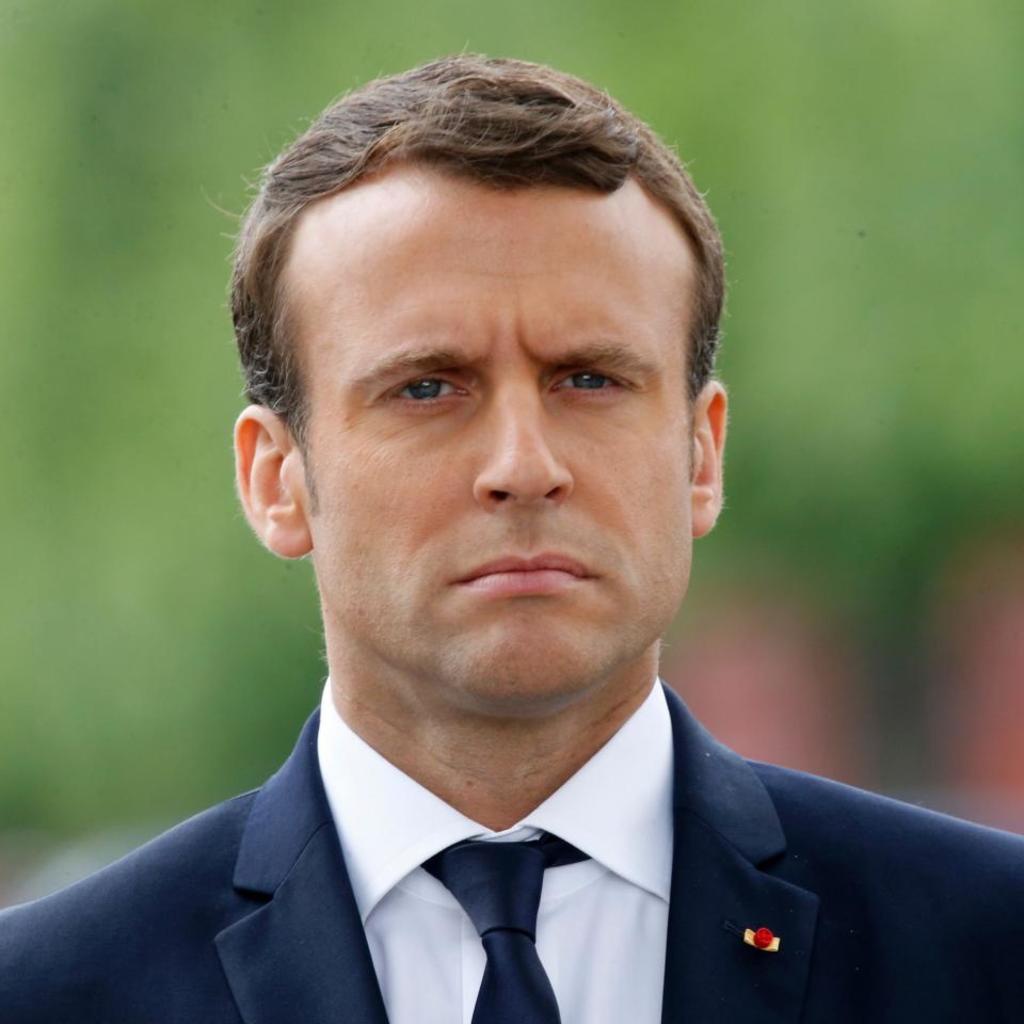
- 1 picture of the French president Emmanuel Macron, found on Nice Matin (archive),
- 37 individual pictures of the French government, found on Wikipedia (list),
- 5 pictures of famous paintings, found on Wikipedia (list):
There are two possible pre-processing methods:
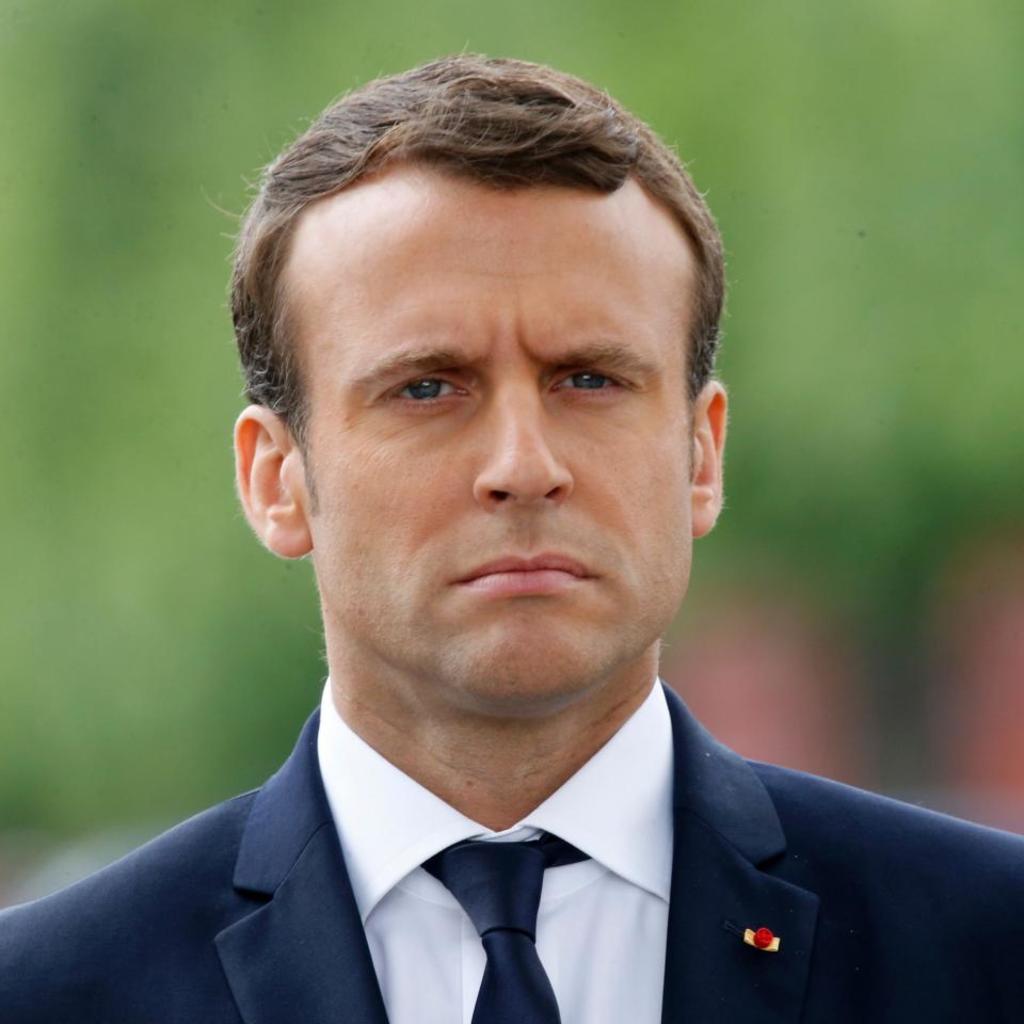
- either center-cropping (to 1024x1024 resolution) as sole pre-processing,
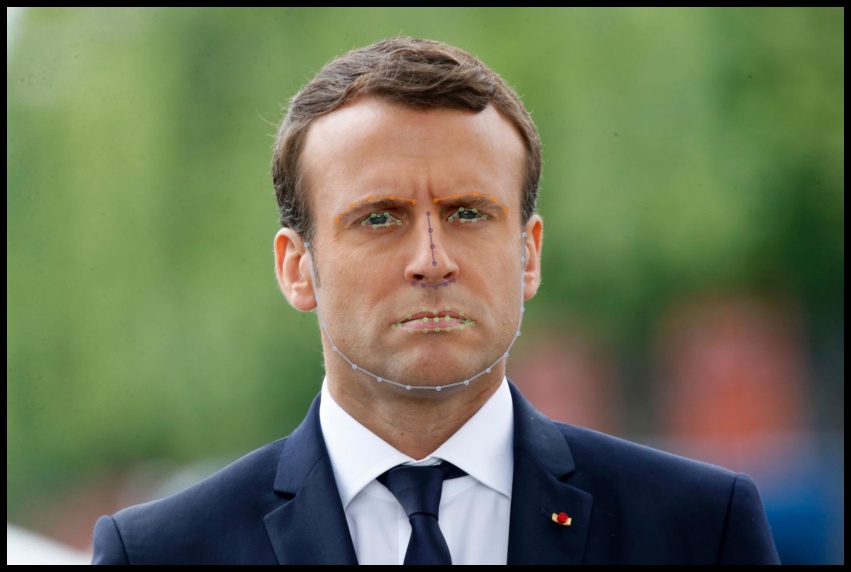
- or the same pre-processing as for the FFHQ dataset:
- first, an alignment based on 68 face landmarks returned by dlib,
- then reproduce
recreate_aligned_images(), as detailed in FFHQ pre-processing code.
Finally, the pre-processed image can be projected to the latent space of the StyleGAN2 model trained with configuration f on the Flickr-Faces-HQ (FFHQ) dataset.
NB: results are different if the code is run twice, even if the same pre-processing is used.
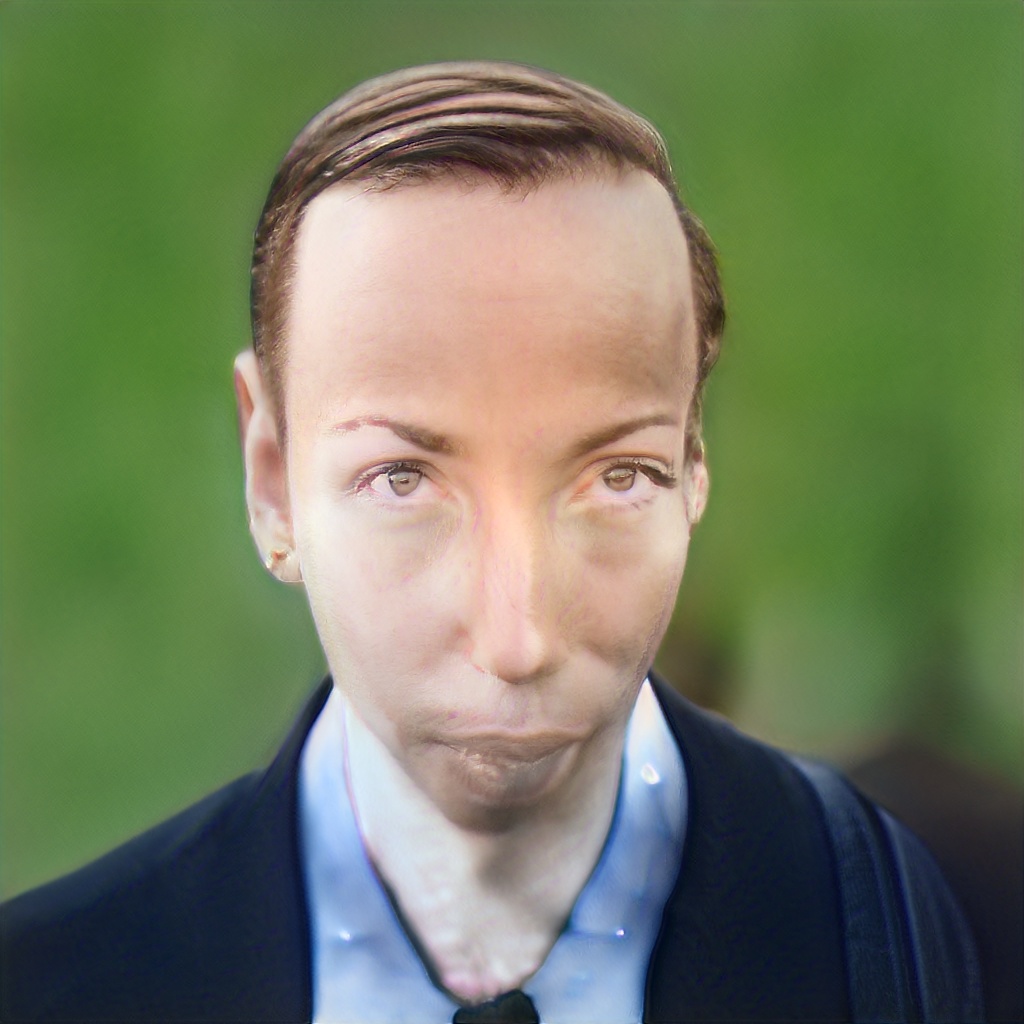
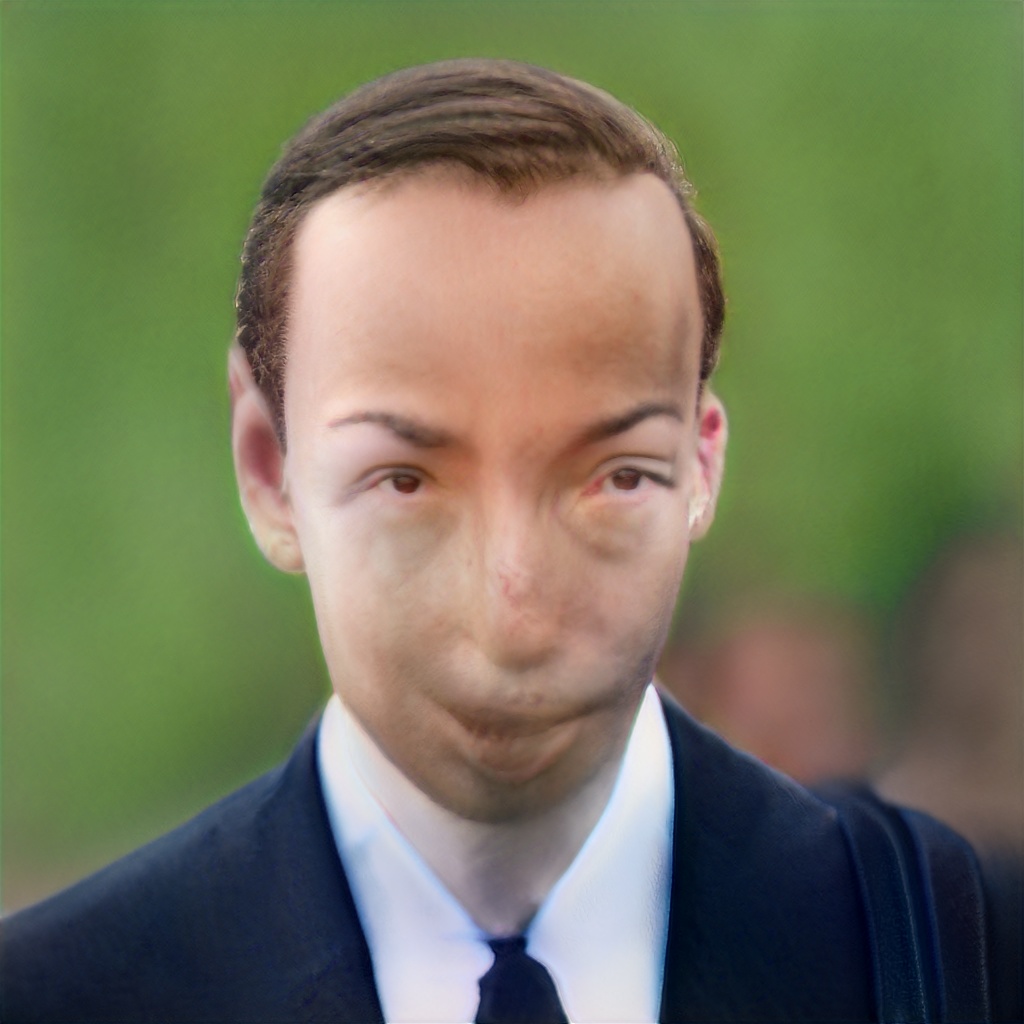
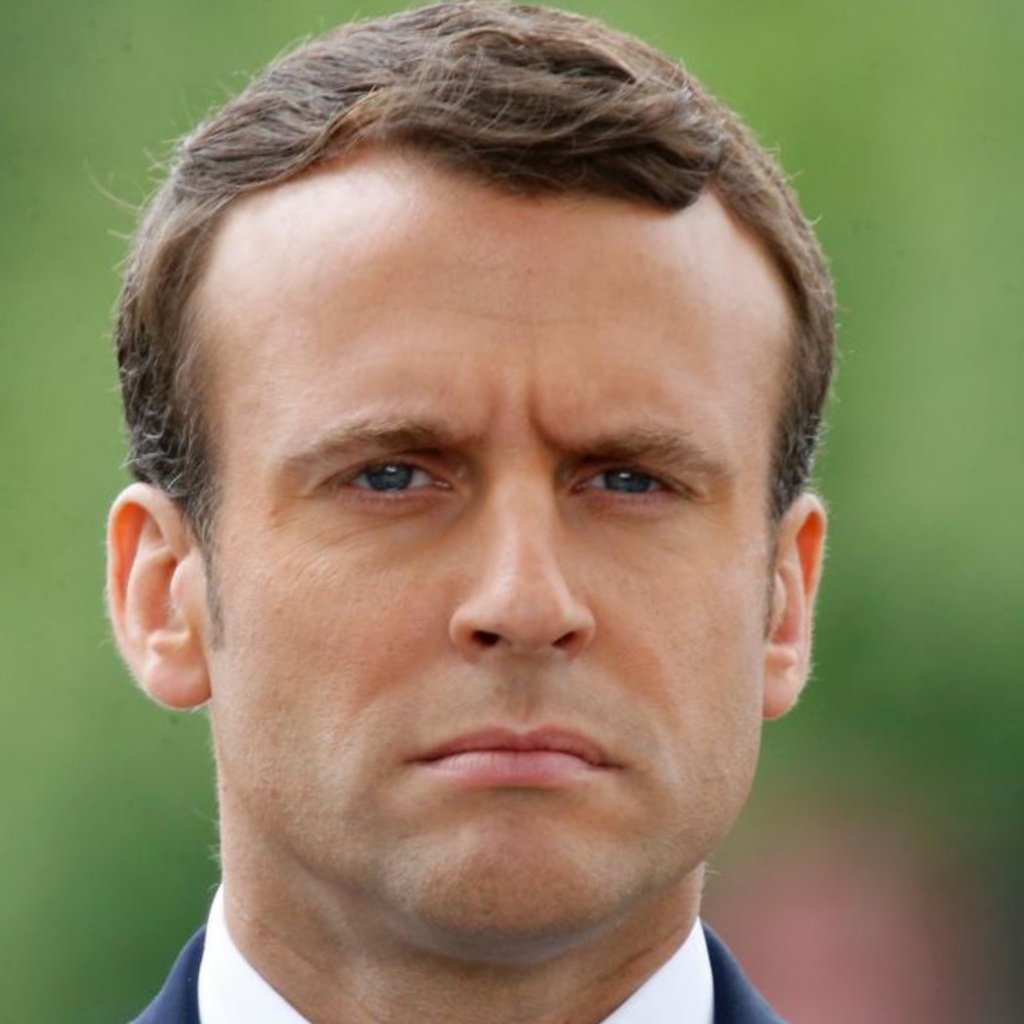
The result below is obtained with center-cropping as sole pre-processing, hence some issues with the projection.
From left to right: the target image, the result obtained at the start of the projection, and the final result of the projection.
From left to right: the target image, the result obtained at the start of the projection, intermediate results, and the final result.
The background, the hair, the ears, and the suit are relatively well reproduced, but the face is wrong, especially the neck (in the original image) is confused with the chin (in the projected images). It is possible that the face is too small relatively to the rest of the image, compared to the FFHQ training dataset, hence the poor results of the projection.
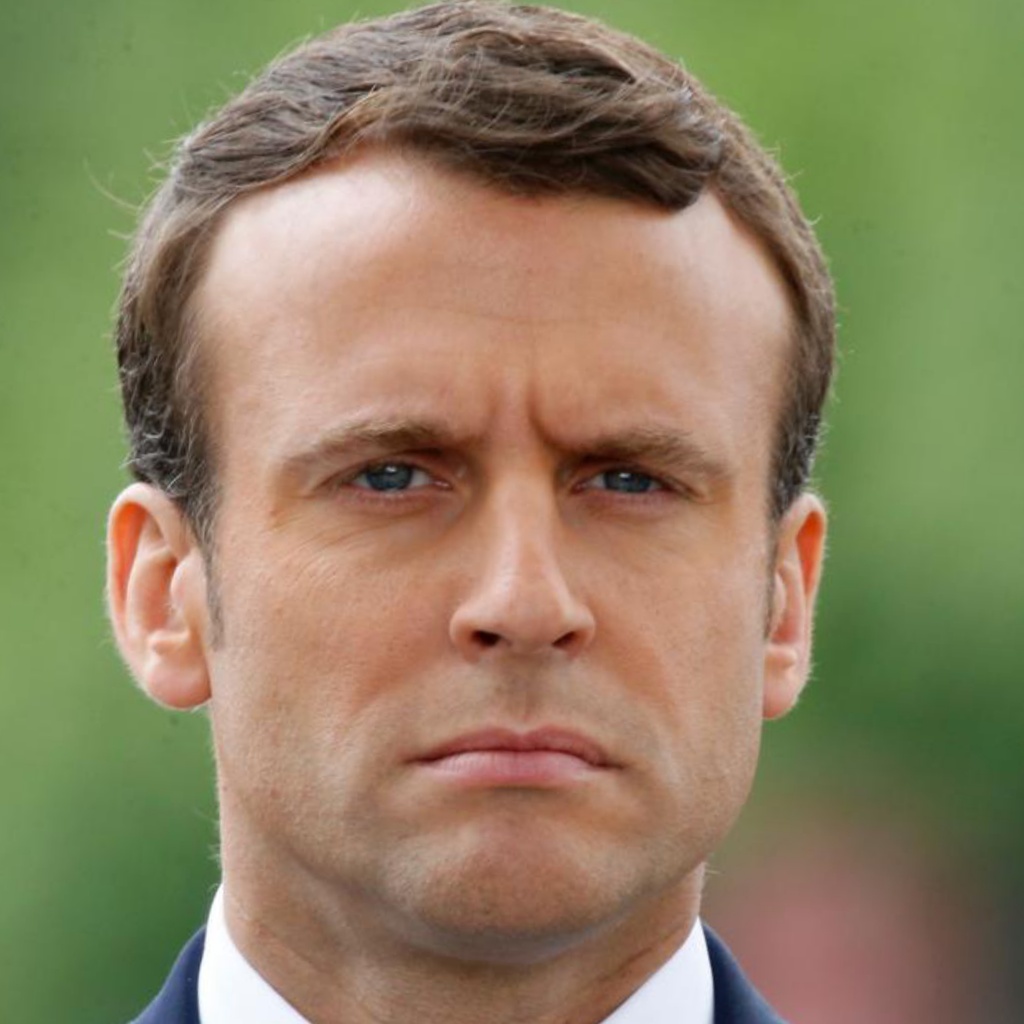
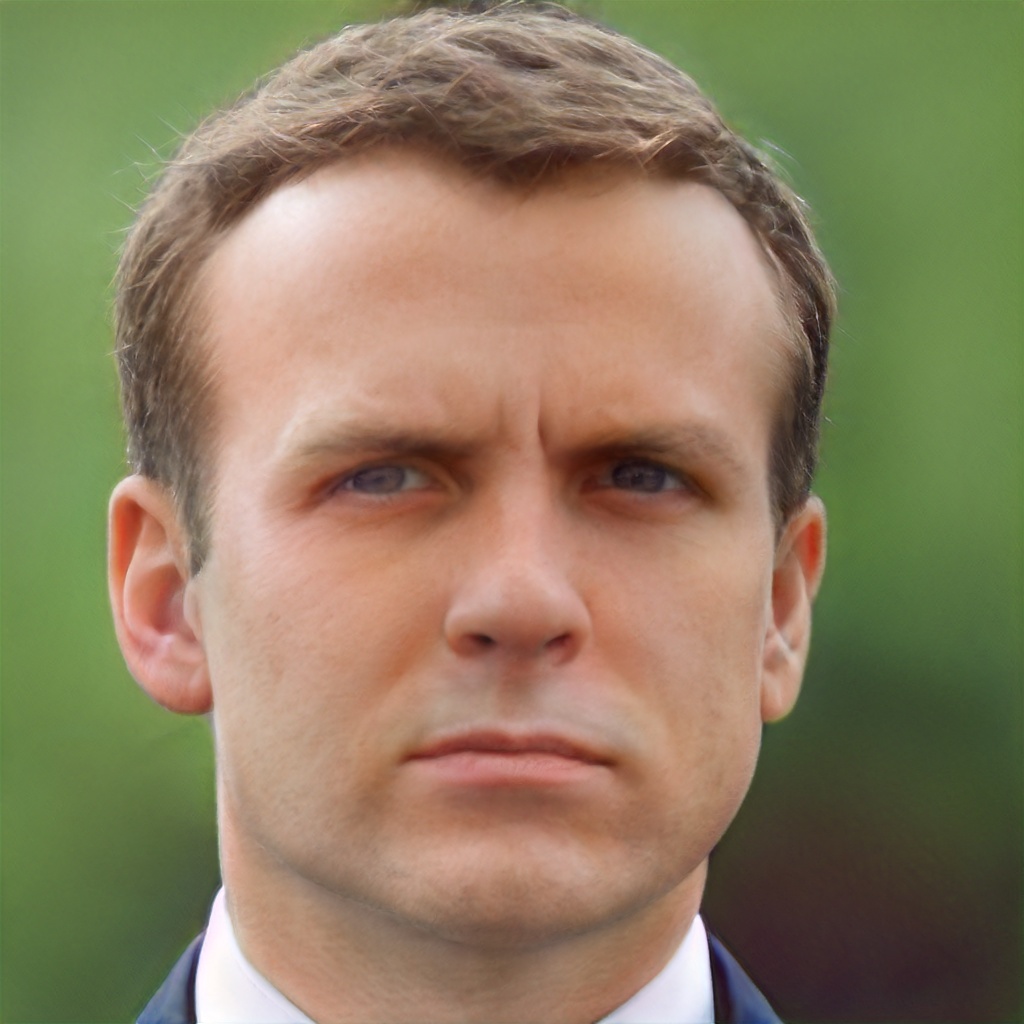
The result below is obtained with the same pre-processing as for the FFHQ dataset, which allows to avoid the projection issues mentioned above.
From left to right: the target image, the result obtained at the start of the projection, and the final result of the projection.
From left to right: the target image, the result obtained at the start of the projection, intermediate results, and the final result.
For the rest of the repository, the same-preprocessing as for the FFHQ dataset is used.
Additional projection results are shown on the Wiki.
To make it easier to download them, they are also shared on Google Drive.
The directory structure is as follows:
stylegan2_projections/
├ aligned_images/
├ └ emmanuel-macron_01.png    # FFHQ-aligned image
├ generated_images_no_tiled/  # projections with `W(18,*)`
├ ├ emmanuel-macron_01.npy    # - latent code
├ └ emmanuel-macron_01.png    # - projected image
├ generated_images_tiled/     # projections with `W(1,*)`
├ ├ emmanuel-macron_01.npy    # - latent code
├ └ emmanuel-macron_01.png    # - projected image
├ aligned_images.tar.gz             # folder archive
├ generated_images_no_tiled.tar.gz  # folder archive
└ generated_images_tiled.tar.gz     # folder archive
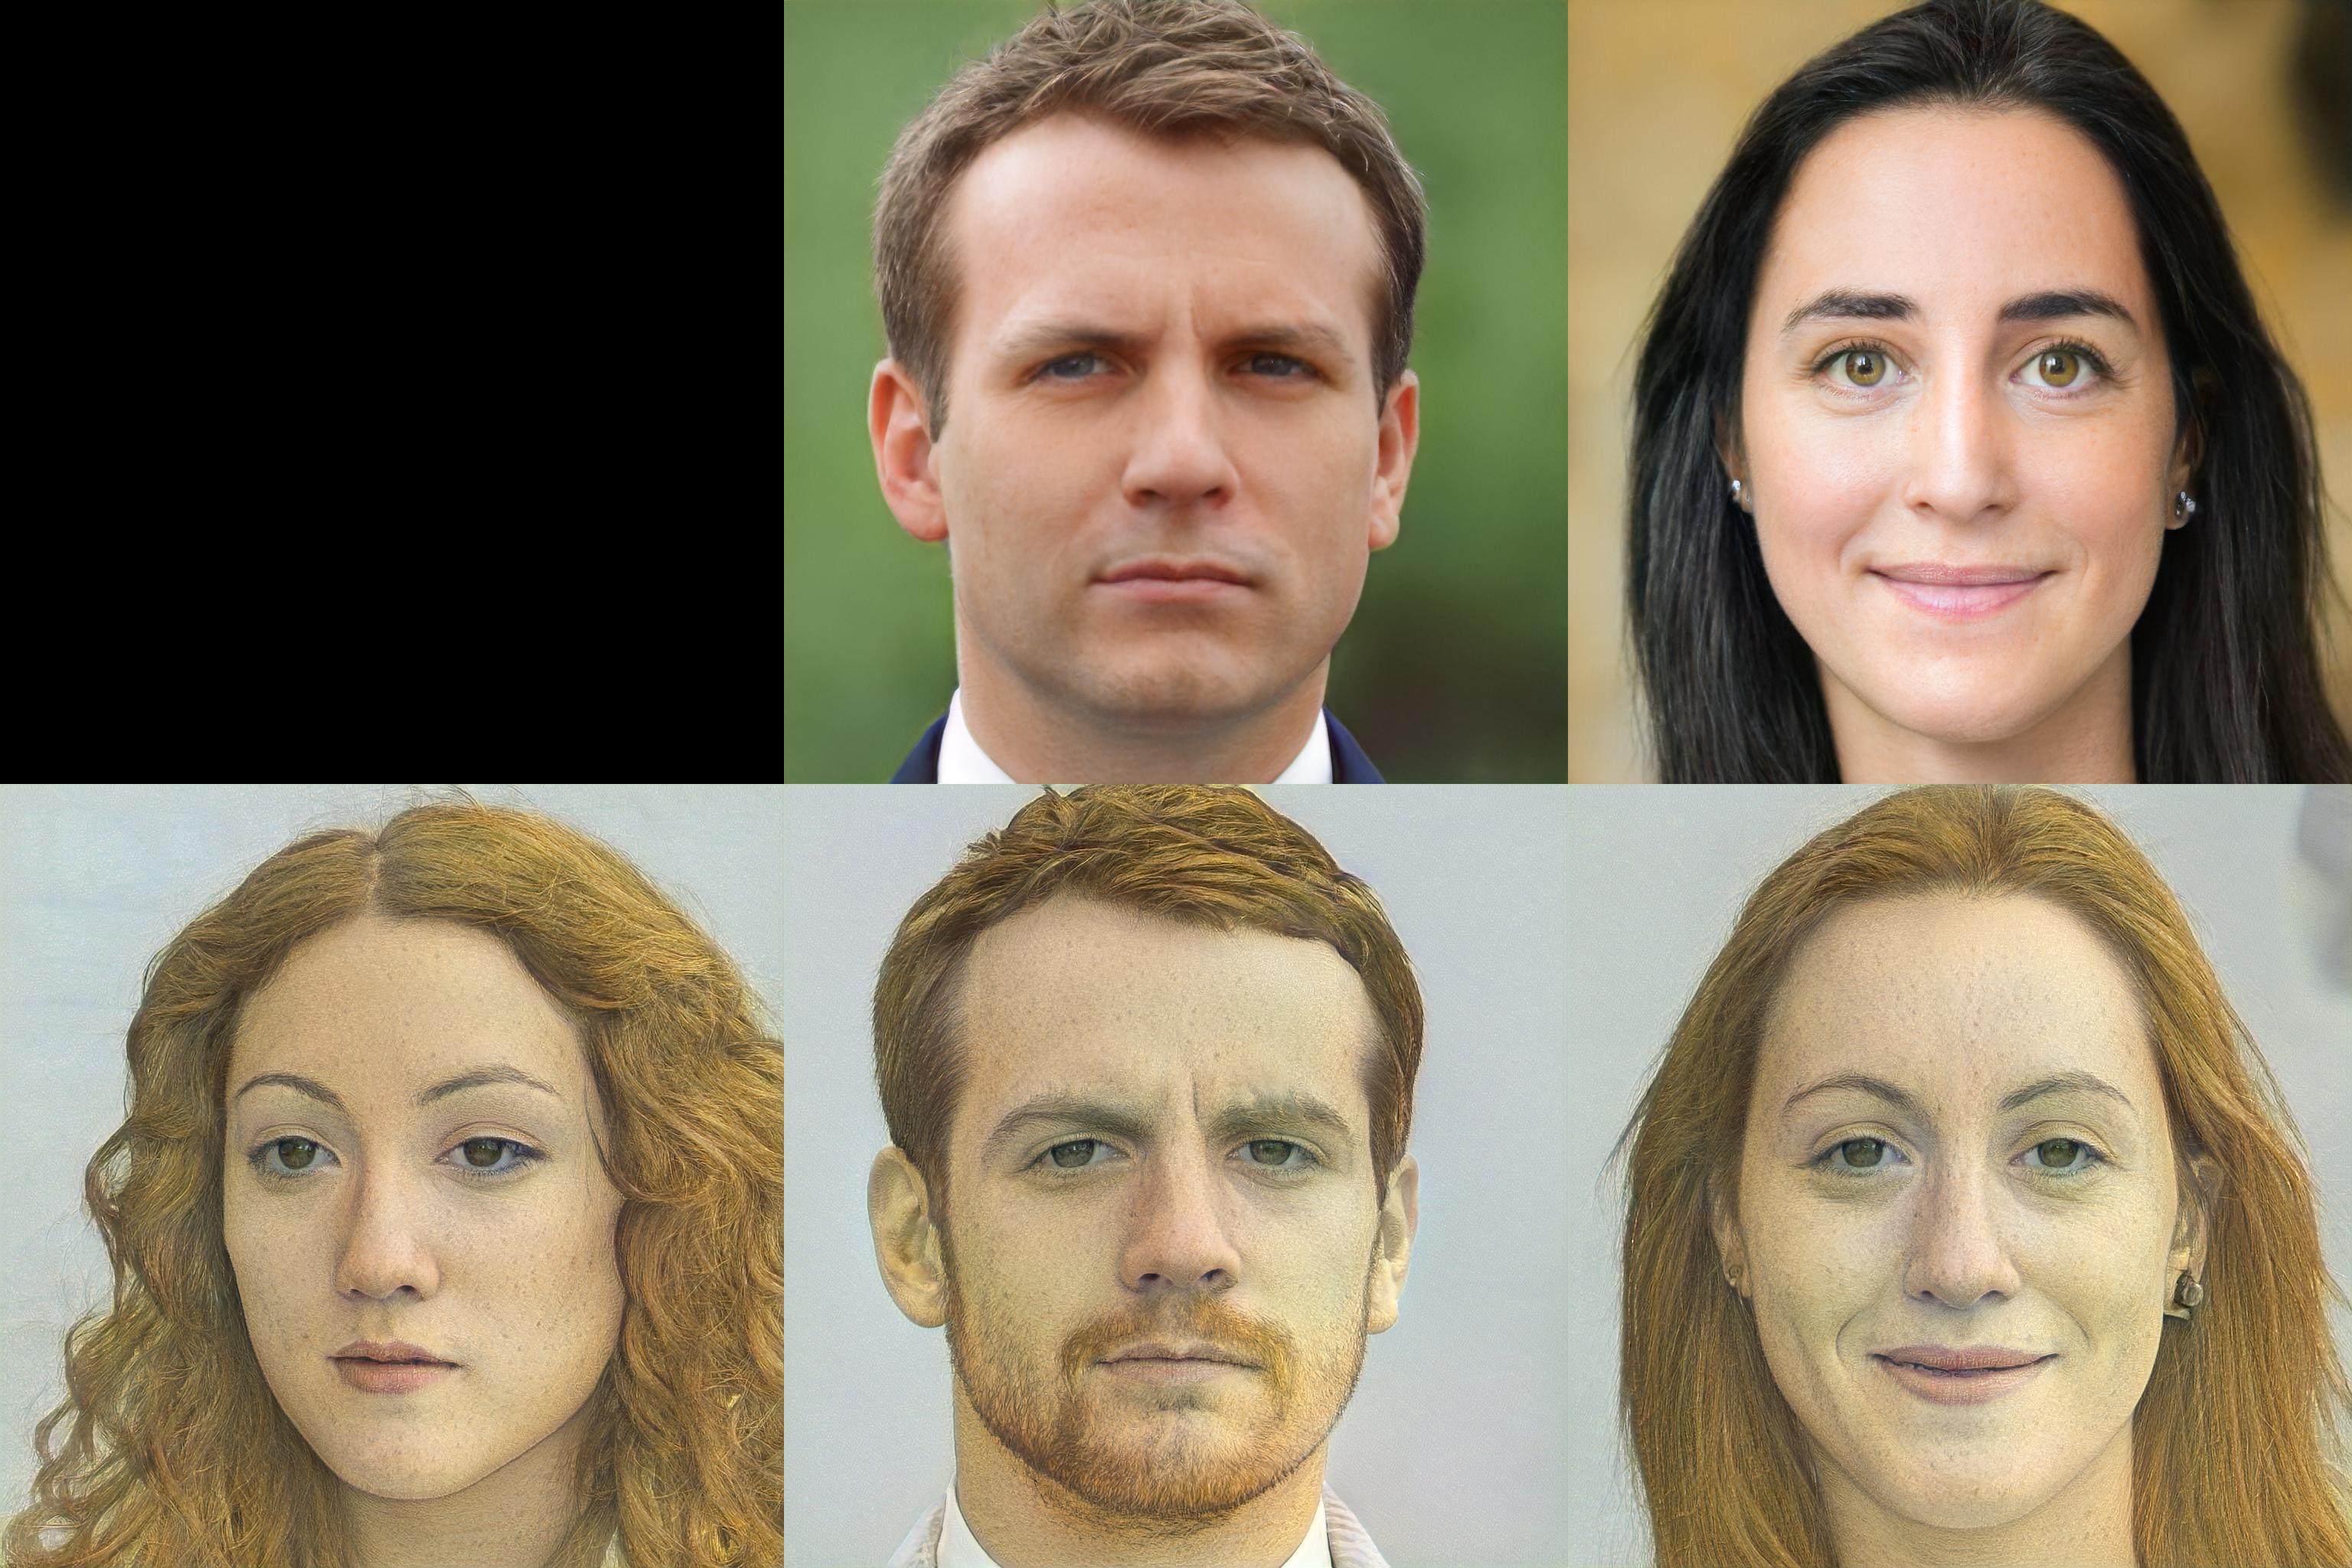
Images below allow us to compare results obtained with the original projection W(1,*) and the extended projection W(18,*).
A projected image obtained with W(18,*) is expected to be closer to the target image, at the expense of semantics.
If image fidelity is very important, W(18,*) can be run for a higher number of iterations (default is 1000 steps), but truncation might be needed for later applications.
From top to bottom: aligned target image, projection with W(1,*), projection with W(18,*).
From top to bottom: aligned target image, projection with W(1,*), projection with W(18,*).
From top to bottom: aligned target image, projection with W(1,*), projection with W(18,*).
In the following, we assume that real images have been projected, so that we have access to their latent codes, of shape (1, 512) or (18, 512) depending on the projection method.
There are three main applications:
- morphing (linear interpolation),
- style transfer (crossover),
- expression transfer (adding a vector and a scaled difference vector).
Results corresponding to each application are:
- shown on the Wiki,
- shared on Google Drive.
The directory structure is as follows:
stylegan2_editing/
├ expression/                   # expression transfer
| ├ no_tiled/                   # - `W(18,*)`
| | └ expression_01_age.jpg     # face n°1 ; age
| └ tiled/                      # - `W(1,*)`
|   └ expression_01_age.jpg
├ morphing/                     # morphing
| ├ no_tiled/                   # - `W(18,*)`
| | └ morphing_07_01.jpg        # face n°7 to face n°1
| └ tiled/                      # - `W(1,*)`
|   └ morphing_07_01.jpg
├ style_mixing/                 # style transfer
| ├ no_tiled/                   # - `W(18,*)`
| | └ style_mixing_42-07-10-29-41_42-07-22-39.jpg
| └ tiled/                      # - `W(1,*)`
|   └ style_mixing_42-07-10-29-41_42-07-22-39.jpg
├ video_style_mixing/           # style transfer
| ├ no_tiled/                   # - `W(18,*)`
| | └ video_style_mixing_000.000.jpg
| ├ tiled/                      # - `W(1,*)`
| | └ video_style_mixing_000.000.jpg
| ├ no_tiled_small.mp4          # with 2 reference faces
| ├ no_ tiled.mp4               # with 4 reference faces
| ├ tiled_small.mp4
| └ tiled.mp4
├ expression_transfer.tar.gz    # folder archive
├ morphing.tar.gz               # folder archive
├ style_mixing.tar.gz           # folder archive
└ video_style_mixing.tar.gz     # folder archive
Morphing consists in a linear interpolation between two latent vectors (two faces).
Results are shown on the Wiki.
Style transfer consists in a crossover of latent vectors at the layer level (cf. this piece of code).
There are 18 layers for the generator. The latent vector of the reference face is used for the first 7 layers. The latent vector of the face whose style has to be copied is used for the remaining 11 layers.
Results are shown on the Wiki.
Thanks to morphing of the faces whose style is copied, style transfer can be watched as a video.
Thanks to morphing of the faces whose style is copied, style transfer can be watched as a video.
Expression transfer consists in the addition of:
- a latent vector (a face),
- a scaled difference vector (an expression).
Expressions were defined, learnt, and shared on Github by a Chinese speaker:
- age
- angle_horizontal
- angle_pitch
- beauty
- emotion_angry
- emotion_disgust
- emotion_easy
- emotion_fear
- emotion_happy
- emotion_sad
- emotion_surprise
- eyes_open
- face_shape
- gender
- glasses
- height
- race_black
- race_white
- race_yellow
- smile
- width
Results are shown on the Wiki.
- StyleGAN2:
- StyleGAN2 / StyleGAN2-ADA / StyleGAN2-ADA-PyTorch
- Steam-StyleGAN2
- My fork of StyleGAN2 to project a batch of images, using any projection (original or extended)
- Programming resources:
- rolux/stylegan2encoder: align faces based on detected landmarks (FFHQ pre-processing)
- Learnt latent directions tailored for StyleGAN2 (required for expression transfer)
- Minimal example code for morphing and expression transfer
- Experimenting materials:
- The website ArtBreeder by Joel Simon
- Colab user interface for extended projection and expression transfer
- A fast projector called
encoder4editingand released in 2021
- Reading materials:
- A blog post about editing projected images to add a cartoon effect
- On the Wiki: GIF editing with MoviePy and Gifsicle
- Papers:
