首先安装nvm(nodejs版本管理器): https://github.com/nvm-sh/nvm
# git and source nvm
git clone https://github.com/creationix/nvm ~/.nvm
source ~/.nvm/nvm.sh

# Make sure nvm can be loaded, this will write in ~/.zshrc
export NVM_DIR="$([ -z "${XDG_CONFIG_HOME-}" ] && printf %s "${HOME}/.nvm" || printf %s "${XDG_CONFIG_HOME}/nvm")"
[ -s "$NVM_DIR/nvm.sh" ] && \. "$NVM_DIR/nvm.sh"

# Change to npm mirrors
export NVM_NODEJS_ORG_MIRROR=http://npmmirror.com/mirrors/node

# install latest nodejs version
# nvm install node  # Don't install lastest version
nvm install 20.10.0  # Use LTS version 20.10.0

# check whether the installation is successful
node -v
# v20.10.0
npm -v
# 10.2.3在**使用阿里的镜像源会快得多
npm install cnpm -g --registry=https://registry.npmmirror.com

# check whether the installation is successful
cnpm -v
以后就用 cnpm 命令代替 npm.
cnpm install -g hexo-cli我已写好脚本 setup.sh 修改权限运行脚本即可安装完成
cd /blog
chmod 777 setup.sh
./setup.sh
具体做了以下两件事:
- 安装依赖包,所有依赖包名称位于
package.json,进入/blog文件夹下,执行
cnpm install  # download all the packages in package.json
cnpm update  # redownload all the packages
执行完上述安装后可以看到多出 /blog/node_modules 文件夹,这就是下载好的包.
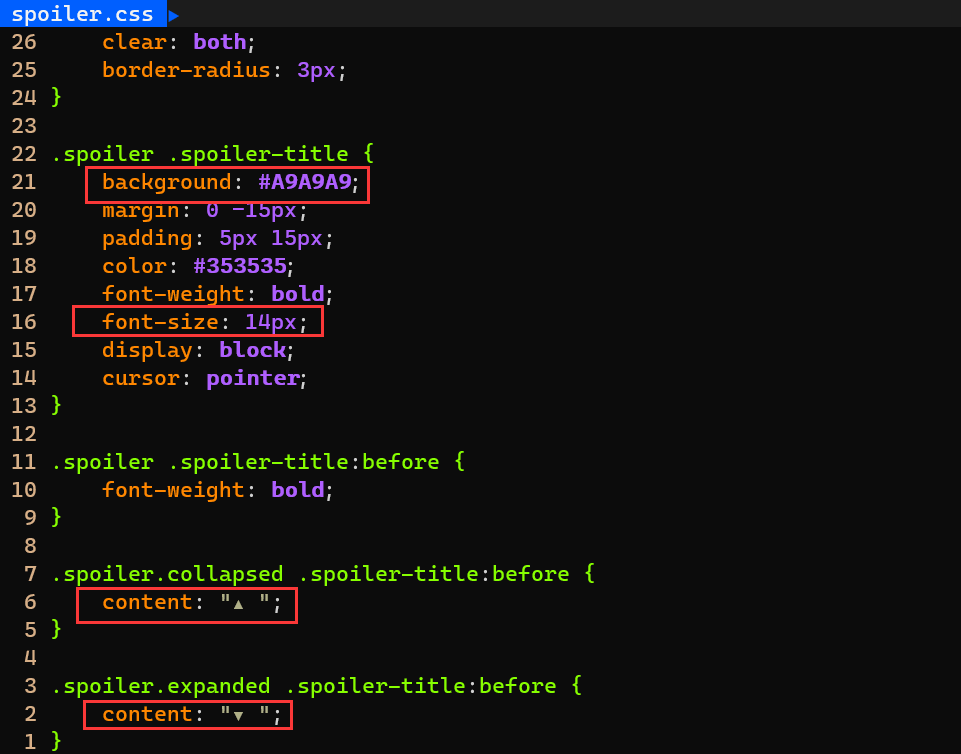
- 修改折叠框细节
详见 Hexo Fluid 代码折叠,修改
/blog/node_modules/hexo-sliding-spoiler/assets/spoiler.css下内容为:
hexo clean
hexo s  # abbrev of "hexo server"
如果成功则进入给出的连接即可,不成功看有哪些package未安装,使用 cnpm 安装即可.
在 ~/.zshrc 文件中,使用 hexos 作为上述两行代码的别名,更方便的进行部署blog:
alias hexos='hexo clean && hexo s'hexo d # abbrev of "hexo deploy"