This crate is a driver for WS28XX (WS2811, WS2812, WS2812B, WS2818) RGB LED chains/strips. They are also known as "NeoPixel" devices or "Smart LEDs".
At the beginning I was not aware of that WS2811, WS2812, WS2812B, ..., WS2818 are basically the same. I just did not notice it. I had WS2818 LEDs and there wasn't a driver for that specific product with WS2818 in its name. See these links to learn about the differences:
- https://www.alldatasheet.com/view.jsp?Searchword=WS2818
- https://www.witop-tech.com/what-is-the-difference-ws2818-vs-ws2811-usc1903-magic-color-digital-led-strip/
- https://www.sdiplight.com/what-is-ws2818-and-how-to-use-ws2818/
It seems like all of them work use the same protocol, though. That means this driver probably works for all of them.
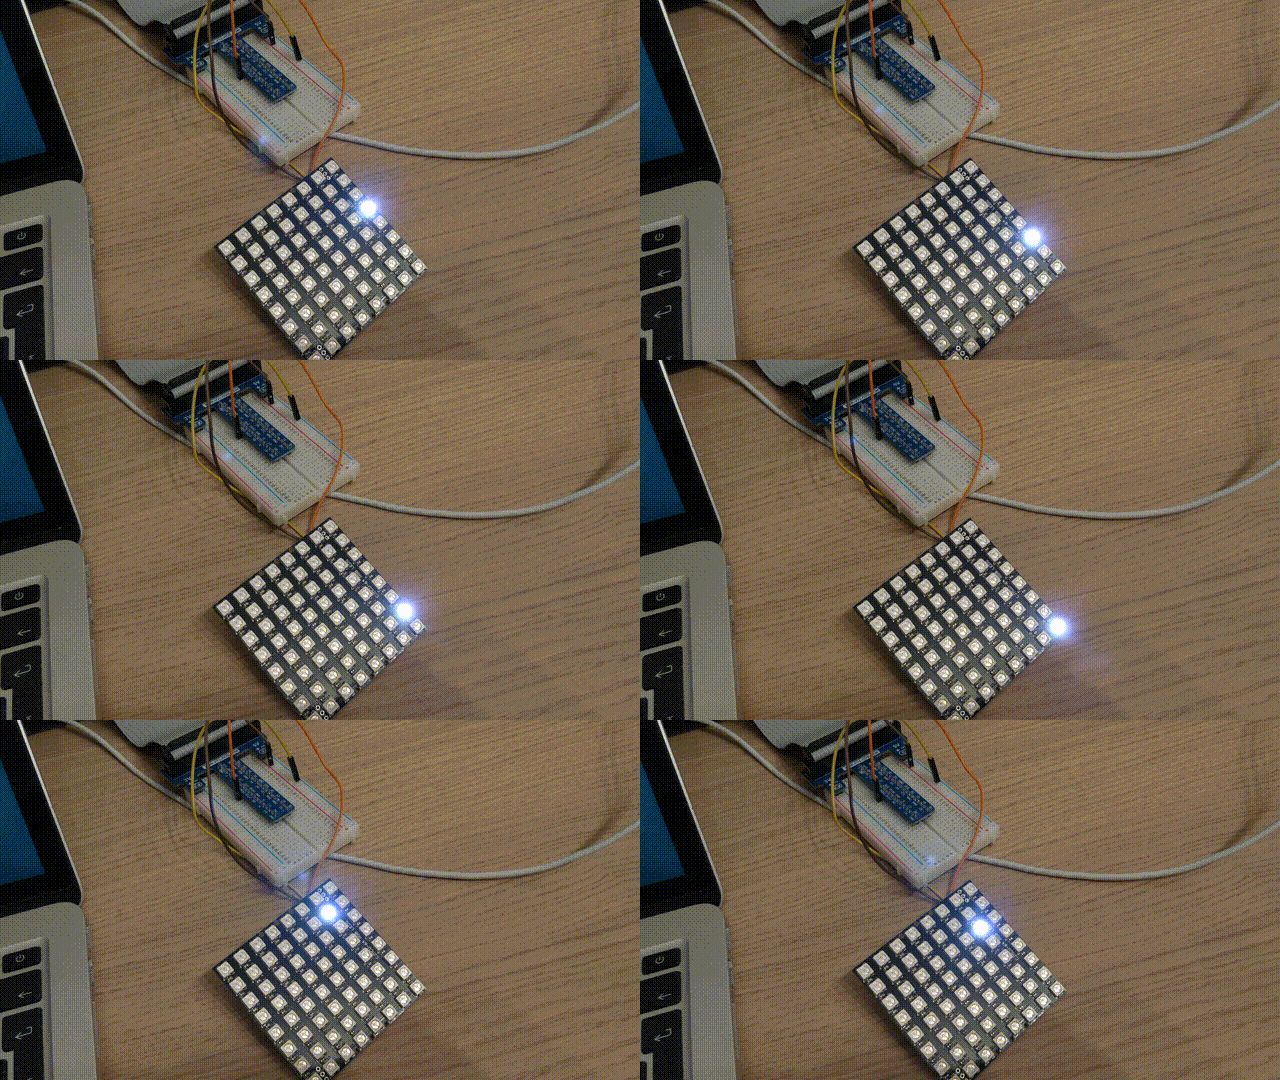
It's a simple, stripped down, educational example how to bring your LEDs to life. This [0] is an example device with chained WS2818 RGB LEDs that can be used with this driver. This driver only works on Linux systems with a SPI device, like Raspberry Pi [1]. This is needed because my driver operates at 15.6MHz. This is required because I need to reach specific timings in nanoseconds according to the specification while sending data [2]. WS28xx LEDs use a one wire protocol without a clock, therefore the timings during data transmission are important.
The SPI device in your Raspberry Pi has a reliable clock with high frequencies available. Regular GPIO pins won't work! Toggling GPIO pins takes 1µs (in my testing) which is WAY TOO SLOW! Therefore I use SPI. There is a clock device in hardware - much more reliable!
Find the MOSI-Pin on your device (e.g. Raspberry Pi) and connect it with DIN-Port of the LED. That's all what's needed.
Have a look into the examples/code for further explications. :)
There is no warranty that this will work on your setup! High frequency stuff is complicated!
Demo using a 8x8 RGB LED matrix. DIN is connected with MOSI (SPI Out Port).
See https://github.com/phip1611/ws2818-rgb-led-spi-driver/tree/master/examples.
[dependencies]
ws2818-rgb-led-spi-driver = "<latest version>"
# or if you need no_std
ws2818-rgb-led-spi-driver = { version = "<latest version>", default-features = false }//! Example that definitely works on Raspberry Pi.
//! Make sure you have "SPI" on your Pi enabled and that MOSI-Pin is connected
//! with DIN-Pin of the LEDs. You just need DIN pin, no clock. WS2818 uses an one-wire-protocol.
//! See the specification for details.
use ws2818_rgb_led_spi_driver::adapter_gen::WS28xxAdapter;
use ws2818_rgb_led_spi_driver::adapter_spi::WS28xxSpiAdapter;
use ws2818_rgb_led_spi_driver::encoding::encode_rgb;
fn main() {
println!("make sure you have \"SPI\" on your Pi enabled and that MOSI-Pin is connected with DIN-Pin!");
let mut adapter = WS28xxSpiAdapter::new("/dev/spidev0.0").unwrap();
// Method 1: encode first and write in two step (preferred way; better performance)
{
let mut spi_encoded_rgb_bits = vec![];
// set first three pixels to bright red, bright green and bright blue
spi_encoded_rgb_bits.extend_from_slice(&encode_rgb(255, 0, 0));
spi_encoded_rgb_bits.extend_from_slice(&encode_rgb(0, 255, 0));
spi_encoded_rgb_bits.extend_from_slice(&encode_rgb(0, 0, 255));
adapter.write_encoded_rgb(&spi_encoded_rgb_bits).unwrap();
}
// Method 2: encode and write in one step
{
let mut rgb_values = vec![];
// set first three pixels to bright red, bright green and bright blue
rgb_values.push((255, 0, 0));
rgb_values.push((0, 255, 0));
rgb_values.push((0, 0, 255));
adapter.write_rgb(&rgb_values).unwrap();
}
}My example code uses CPU intensive spin locks in order to work properly all the time.
If you experience a flickering of the LEDs when using thread::sleep() instead, then
please have a look at: phip1611#9
[0] https://www.az-delivery.de/products/u-64-led-panel?variant=6127700738075
[1] https://www.raspberrypi.org/documentation/hardware/raspberrypi/spi/README.md
[2] https://cdn-shop.adafruit.com/datasheets/WS2812.pdf
