WeatherTop
WeatherTop is a web application where members can submit weather reports from their stations to the website where their entries are recorded, capturing the reading from a specific time. Each member can create any number of weather stations records. The web application utilises weather analytics and conversions for each reading which is automatically calculated when a report is made.
View the live project here: https://rocky-wildwood-27122.herokuapp.com/
(Project is DESKTOP & LAPTOP ONLY)
Project Goal
The goal of the project is to create a web app that incorporates the principles of CRUD and designed according to the MVC pattern. The project will achieve this by allowing users to create accounts, stations, weather reports and either edit or delete these as the user pleases. The web app provides only a very specific function by recording weather reports and providing a date/time recording of these reports. Thus, each recording will not be edited, however, user information can be edited by the user.
UX
Strategy
The user would like to record weather reports on the web app. The application must portray that it functions to serve this exact purpose from the get go. The application will be simple in design and will have a logical, almost natural flow where a page will have necessary and useful links and forms to help the user begin recording reports.
Scope
Features planned:
- Website Title and purpose immediately communicated.
- Navigation Menu.
- ElephantSQL database to store records and users profiles.
- Login functionality.
- Logout functionality.
- CRUD functionality for records and profiles.
- Registered user station creation and management.
- Admin dashboard for reviewing data.
Structure
The following main pages will be implemented:
-
Base Page - main.html
-
Sign Up Page - signup.html
-
Log In Page - login.html
-
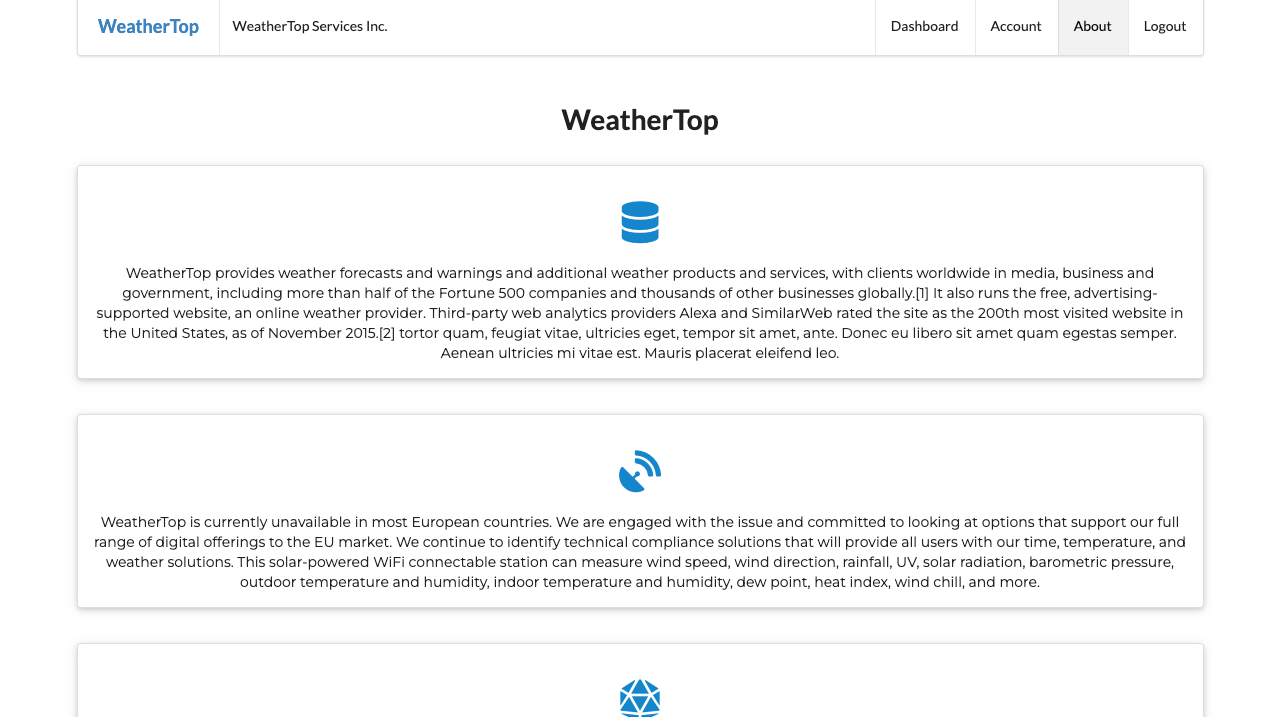
About page, explains the web app and its purpose - about.html
-
Home page, displays what the app is about - start.html
- Menu should the user have logged in - menu.html
- Menu if there is no user session ID - welcomemenu.html
-
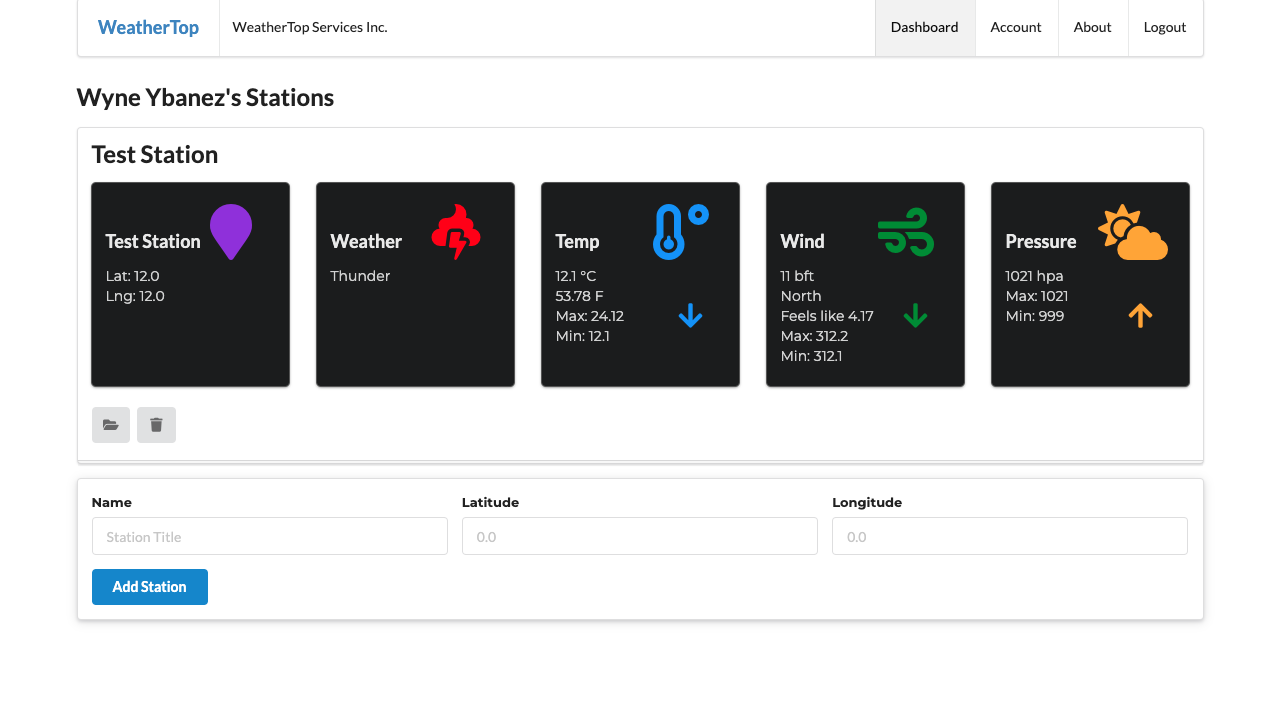
Dashboard, displays user records (Stations), allows users to add stations and delete stations - dashboard.html
- Create station - addstation.html
-
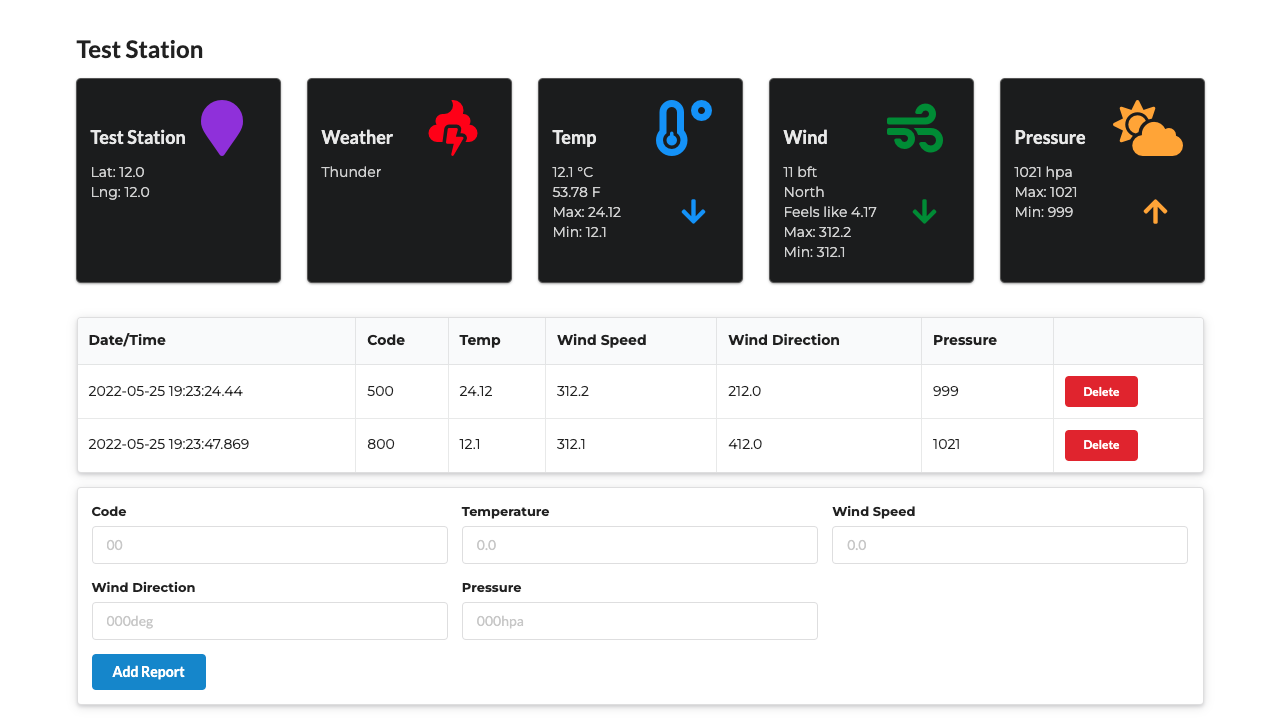
Station details - station.html
- Displays a list of the readings relating to the station - listreadings.html
- Create a report and record it in the station's readings list - addreading.html
-
Account details Page - accounts.html
- Edit account details page - editaccount.html
-
Admin Dashboard - admin.html
-
Error Handlers
- Error 404 - 404.html (error 404 handling)
- Error 500 - 500.html (error 500 handling)
Skeleton
-
Start Page:

-
Register:
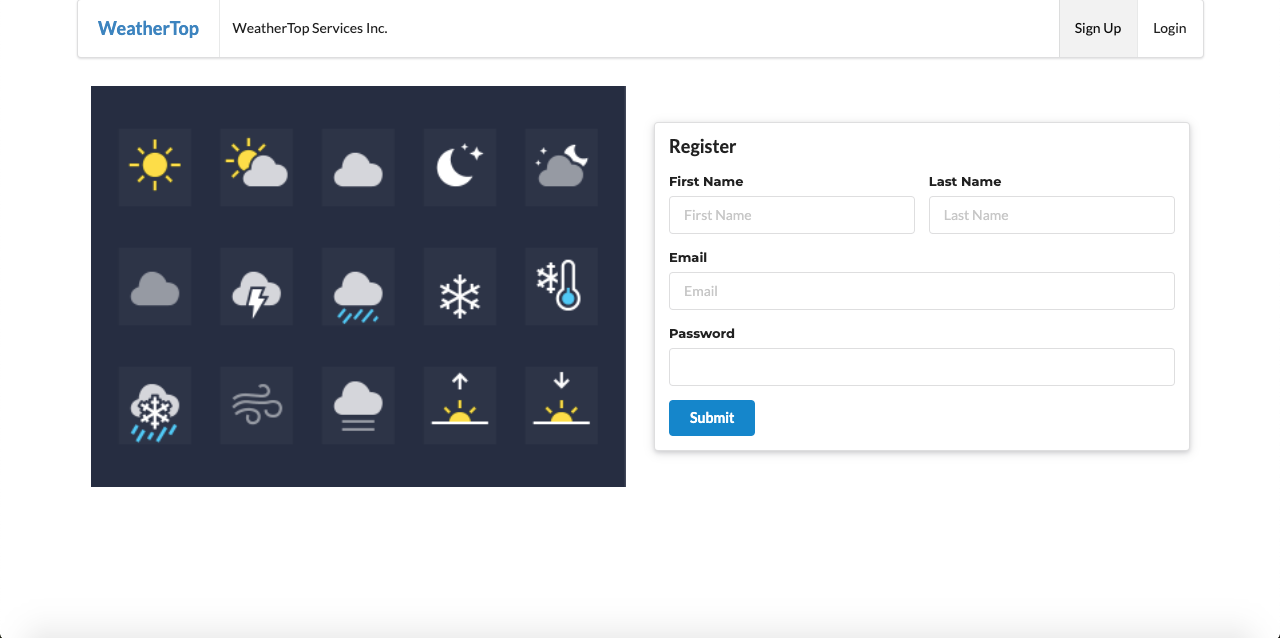
-
Log In:

-
Profile:

-
Dashboard:
-
About:
-
Station:


Surface
Frameworks
- Main template frameworks used
- Fomantic UI (https://fomantic-ui.com/)
- Play Framework (https://www.playframework.com/documentation/1.5.x/install)
Colour Scheme
-
Main Colors
- White
- Fomantic Blue
- Fomantic Red (for 'delete' buttons)
-
Secondary Colors, used for icons
- blueviolet
- red
- dodgerblue
- forestgreen
- orange
Fonts
- Montserrat is the main font-family for the website
- Sans-serif if the backup font-family for the website
Features
Simple Design:
The web app incorporates a simple design which is easy to understand and traverse as the user explores the website.
The website is also responsive for mobile display.
Each page provides a menu, links and forms to relevant areas of the web app. The colors are simple with white and blue being the main colors. The site maintains this theme on all pages only diverging from this color scheme when going to the dashboard. This is meant to allow the user to distinguish between differing station information, usually through icons. This portrays an easy to understand, easy to use application.
Efficiency:
The web app incorporates a utilities folder with the follow files: 'Conversions' and 'StationAnalytics'. This utilities folder is utilised in the web app for automatic calculations. The user's readings will be converted to its relevant data as per the user's input. Hence, it is an efficient system as the user will not need to do this from scratch.
Convenience:
The web app also incorporates a database and is deployed through Heroku. Hence, many users can access the site, create accounts and begin recording their own weather readings through their respective stations. This data is then recorded on ElephantSQL and is identified according to the user's member_id.
Testing
The web app has been tested by creating a test account and inputting a test station and test reading. This data has been successfully saved and this is reflected on 'admin.html' or at 'localhost:9000/@db' when viewing the site during development.
Technologies used:
Languages
IDE
- IntelliJ idea - The IDE used to code the website.
Frameworks, Libraries, CDN's, Resources etc.
Version Control
Github & Sourcetree
- Log into Github/Register for a Github account. Here is a link: https://github.com/
- Log into Bitbucket/Register for a Bitbucket account: https://bitbucket.org/
- Install Sourcetree: https://www.sourcetreeapp.com/
- In the Sourcetree settings, select Authentication and add a Github account (if you already have a Github account set up, it might be simpler to use your personal access token).
- Go to your github profile settings and click on "Developer settings" at the side menu.
- Go to Personal Access Tokens, Press generate token.
- The token can be set to unlimited (which is not recommended). Perhaps select 90 days. Give the token a name and press the Generate token button. You will then see the generated token and be able to copy it to the clipboard.
- Back in Sourcetree, click 'Refresh Password'.
- Here you will be pasting in the token generated on the Github site (in your clipboard hopefully). Press Ok.
- Create a new repository on Github.
- Back in Sourcetree, press the local button.
- Create a repository with the local project folder on your device.
- You can now 'stage' all the sources in the project by pressing the 'Stage All' button.
- You can enter a commit message down below the Sourcetree app, which is your commit message.
- Select master on the left, update the repository with the commit message.
- In Sourcetree, select Repository-Repository Settings, Press add, and enter the remote name: 'origin', the URL path is the repository path we have created.
- Back in the main Sourcetree window, press 'Push'. Thus, sending your files to the github remote repository.
Forking the Repository
You can fork the repository through the following steps. Forking the repository means you will have a copy of the repository and any changes you make will not affect the original repository.
- Log in to GitHub and locate the GitHub Repository. Here is a link for the repository
- At the top of the Repository (not top of page) just above the "Settings" Button on the menu. Looking towards the right of the page. Locate the button "Fork" then click
- You should now have a copy of the original repository in your GitHub account
Local Clone
This is used when you would like to make changes to the project code
- Should you wish to use a different IDE like VSCode. You first log in to Github and locate the required repository. Here is the link for this repository
- Open a new terminal on Git Bash
- Type
git clone, and then paste the URL you copied
$ git clone https://github.com/wyne-ybanez/weather-top
Here is a link that can explain this process further. Click Here
Deployment
-
For deployment we will be using 2 external services:
-
Sign up for Heroku and once confirmed on heroku, log in and go you your Dashboard: https://dashboard.heroku.com/apps
-
On ElephanSQL, once you have authorised/signed in with GitHub, you will be asked to create a team:
- https://www.elephantsql.com Create a Database Instance. Copy the Database connection string.
-
Test the local application connected to the Elephant SQL.
- in
app/conf/application.confchangedb.default=memto your ElephantSQL connection string. - add
jpa.dialect=org.hibernate.dialect.PostgreSQLDialectandjpa.ddl=update - save and restart the application
- in
-
Prepare the local application for Heroku deployment.
- In the project root, place this file:
java.runtime.version=11 - Edit the existing file 'conf/dependencies.yml'. Add
require: - play 1.5.3 - Ensure the application.conf file has
prod.application.mode=prod - Push the changes to Github
- In the project root, place this file:
-
Deploy Application to Heroku
- From the command line, Login to Heroku
heroku login - Use the buildpack:
heroku create --stack heroku-18 --buildpack https://github.com/heroku/heroku-buildpack-play - Deploy the project on the heroku dashboard by linking the project to the github repo.
- You can also push the changes to heroku by typing
git push heroku mainin the terminal.
- From the command line, Login to Heroku
Credits
Content
Content for the About page was taken from these websites
- https://en.wikipedia.org/wiki/AccuWeather
- https://www.acurite.com/gdpr
- https://www.weatherstationadvisor.com/
Media
-
Images for start.html banner, login.html banner and signup.html banner derived from Google.
-
Images:
- Start Page image: https://365webresources.com/weather-icon-sets-shouldnt-miss/
- Login Page image: https://www.decolore.net/weather-forecast-icon-sets/
- Registration page image: https://metro.co.uk/2018/02/26/iphone-weather-symbols-mean-7343734/
Future Implementations
- I would like to make the web app truly responsive, for the mean time, it is only responsive if the screen size is minimized directly on the browser. It is not responsive for mobile phones.
- I would like to add a footer for the webapp.
- I would like to add toasts to the website to make it more user-friendly.
Acknowledgements
- Thanks to the WIT lecturers and students on Slack for their guidance on this project.
Citations:
-
Finding the last item in an array list:
-
Sorting a List of Objects according to alphabetical order: