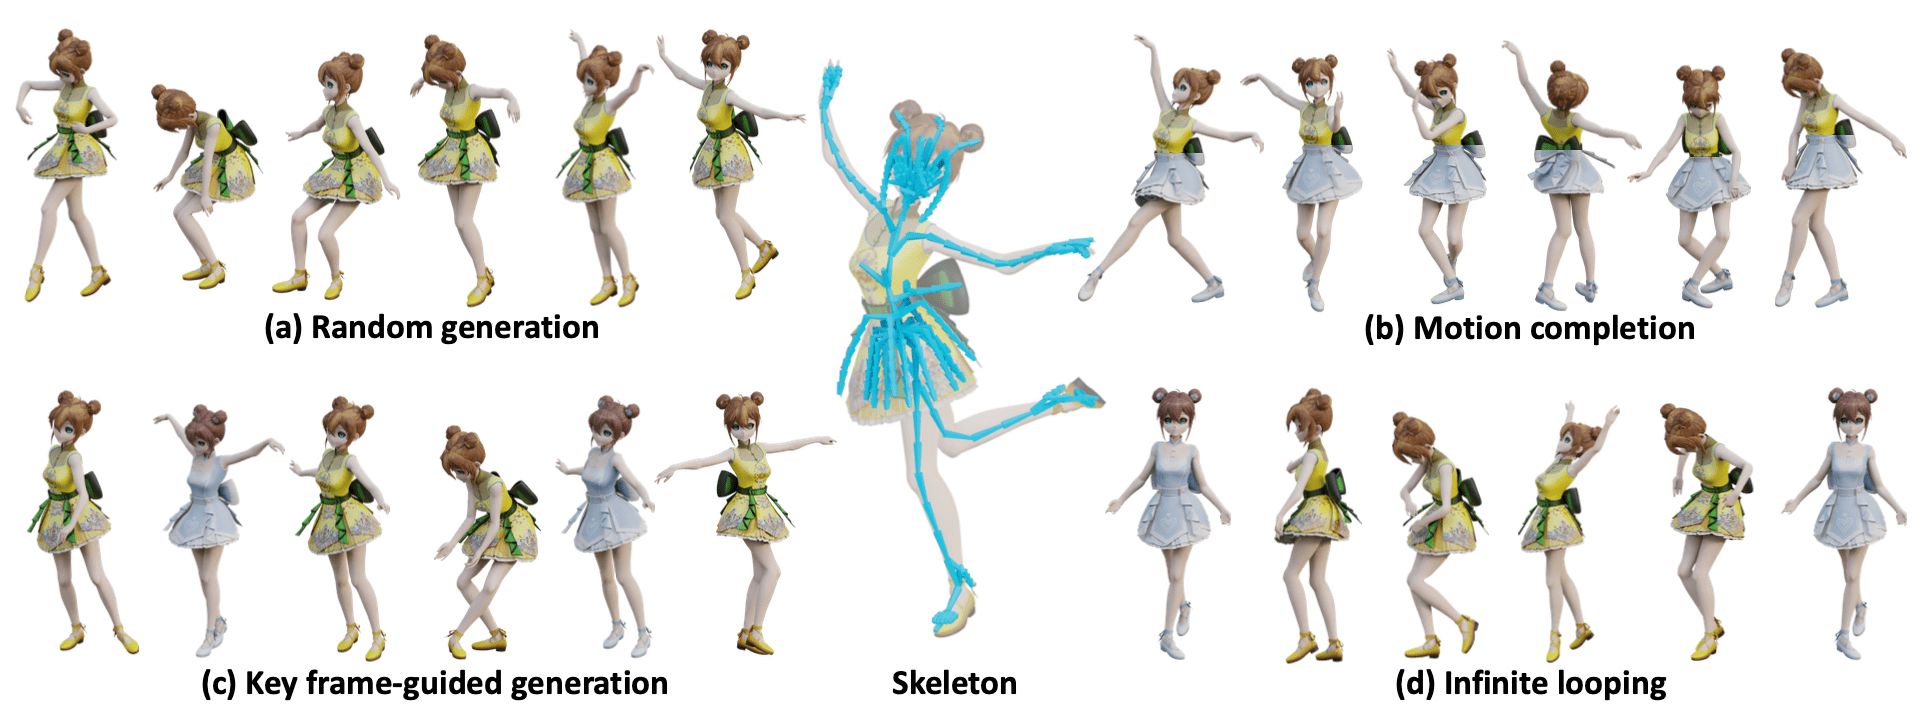
Example-based Motion Synthesis via Generative Motion Matching, ACM Transactions on Graphics (Proceedings of SIGGRAPH 2023)
Project Page | ArXiv | Paper | Video
All Code and demo will be released in this week(still ongoing...) 🏗️ 🚧 🔨
- Release main code
- Release blender addon
- Detailed README and installation guide
- Release skeleton-aware component, WIP as we need to split the joints into groups manually.
- Release codes for evaluation
Setup environment
😃 We also provide a Dockerfile for easy installation, see Setup using Docker.
- Python 3.8
- PyTorch 1.12.1
- unfoldNd
Clone this repository.
git clone git@github.com:wyysf-98/GenMM.gitInstall the required packages.
conda create -n GenMM python=3.8
conda activate GenMM
conda install -c pytorch pytorch=1.12.1 torchvision=0.13.1 cudatoolkit=11.3 && \
pip install -r docker/requirements.txt
pip install torch-scatter==2.1.1For local quick inference demo using .bvh file, you can use
python run_random_generation.py -i './data/Malcolm/Gangnam-Style.bvh'More configuration can be found in the run_random_generation.py.
We use an Apple M1 and NVIDIA Tesla V100 with 32 GB RAM to generate each motion, which takes about ~0.2s and ~0.05s as mentioned in our paper.
You can install and use the blender add-on with easy installation as our method is efficient and you do not need to install CUDA Toolkit. We test our code using blender 3.22.0, and will support 2.8.0 in the future.
Step 1: Find yout blender python path. Common paths are as follows
(Windows) 'C:\Program Files\Blender Foundation\Blender 3.2\3.2\python\bin'
(Linux) '/path/to/blender/blender-path/3.2/python/bin'
(Windows) '/Applications/Blender.app/Contents/Resources/3.2/python/bin'
Step 2: Install required packages. Open your shell(Linux) or powershell(Windows),
cd {your python path} && pip3 install -r docker/requirements.txt && pip3 install torch-scatter==2.1.0 -f https://data.pyg.org/whl/torch-1.12.0+${CUDA}.html, where ${CUDA} should be replaced by either cpu, cu117, or cu118 depending on your PyTorch installation. On my MacOS with M1 cpu,
cd /Applications/Blender.app/Contents/Resources/3.2/python/bin && pip3 install -r docker/requirements_blender.txt && pip3 install torch-scatter==2.1.0 -f https://data.pyg.org/whl/torch-1.12.0+cpu.htmlStep 3: Install add-on in blender. Blender Add-ons Official Tutorial. edit -> Preferences -> Add-ons -> Install -> Select the downloaded .zip file
Step 4: Have fun! Click the armature and you will find a GenMM tag.
(GPU support) If you have GPU and CUDA Toolskits installed, we automatically dectect the running device.
Feel free to submit an issue if you run into any issues during the installation :)
We thank @stefanonuvoli for the help for the discussion of implementation about Motion Reassembly part (we eventually manually merged the meshes of different characters). And @Radamés Ajna for the help of a better huggingface demo.
If you find our work useful for your research, please consider citing using the following BibTeX entry.
@article{10.1145/weiyu23GenMM,
    author     = {Li, Weiyu and Chen, Xuelin and Li, Peizhuo and Sorkine-Hornung, Olga and Chen, Baoquan},
    title      = {Example-Based Motion Synthesis via Generative Motion Matching},
    journal    = {ACM Transactions on Graphics (TOG)},
    volume     = {42},
    number     = {4},
    year       = {2023},
    articleno  = {94},
    doi = {10.1145/3592395},
    publisher  = {Association for Computing Machinery},
}