Not ready for "end users". See configuring below.
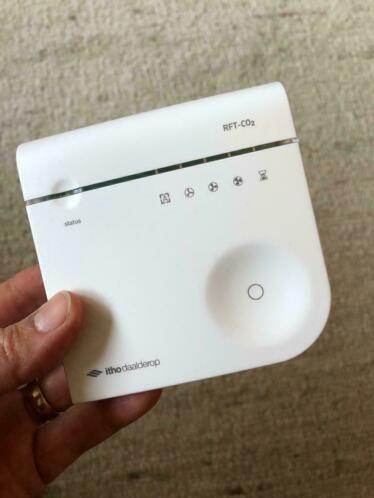
A library and esphome configuration with which you can control an Itho fan, when you have a setup with an Itho RFT-CO2. One that looks like:
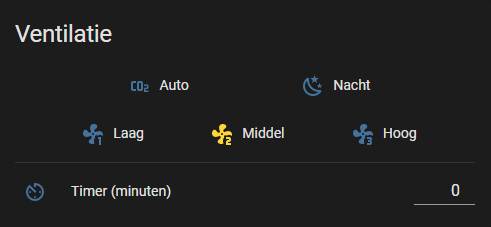
This software is meant to control your fan from within Home Assistant:
You'll need:
-
An ESP8266 of some kind. (ESP32 might work as well, but you'll have to figure out the pinout for yourself)
-
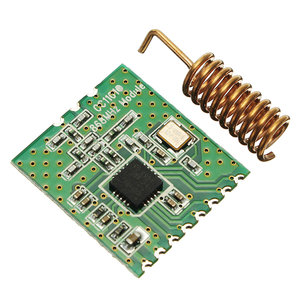
A CC1101 module that works on 868 MHz. Mine looks like this:
Then connect:
| ESP gpio num | ESP pin label | CC1101 pin |
|---|---|---|
| Vcc | 3.3v | Vcc |
| Gnd | Gnd | Gnd |
| GPIO13 | D7 | MOSI |
| GPIO14 | D5 | SCLK |
| GPIO12 | D6 | MISO |
| GPIO4 | D2 | GDO2* |
| GPIO5 | D1 | GDO0 |
| GPIO15 | D8 | CSn |
*gdo2 is not (yet) used in this library.
You will need to add a file "secrets.yaml" to the main directory. You need to specify some stuff here:
wifi_ssid: "secret wifi name"
wifi_password: "secret password"
api_password: "a password that will give access to your ESP"
ap_password: "another password that will give access to your ESP"For now, this is not ready for "end users". That's because the library needs to be configured with a "start byte", and the addresses of the Itho fan and remote. If I figure out a way to make this easy for you, I will update this page. Hint, you'll have to update this line in your ithoFan.yaml:
auto fan = new IthoFan(5, 0x1C, <fan address>, <remote address>);
You may be able to find these addresses by running the firmware and checking the debug log. You will start to see messages like:
Status message: Sender: <fan address> Receiver: <remote address> Status: 2 Timer: 0
Check whether this is really your fan, by manually changing the mode and/or timer on your remote and see if a message appears with the correct mode / timer. Then edit ithoFan.yaml with these addresses.
Make sure you have Python installed and install esphome (if you haven't already):
pip3 install esphomeThen run either
esphome run ithoFan.yamlor, in my case on windows:
python3 -m esphome run ithoFan.yaml

