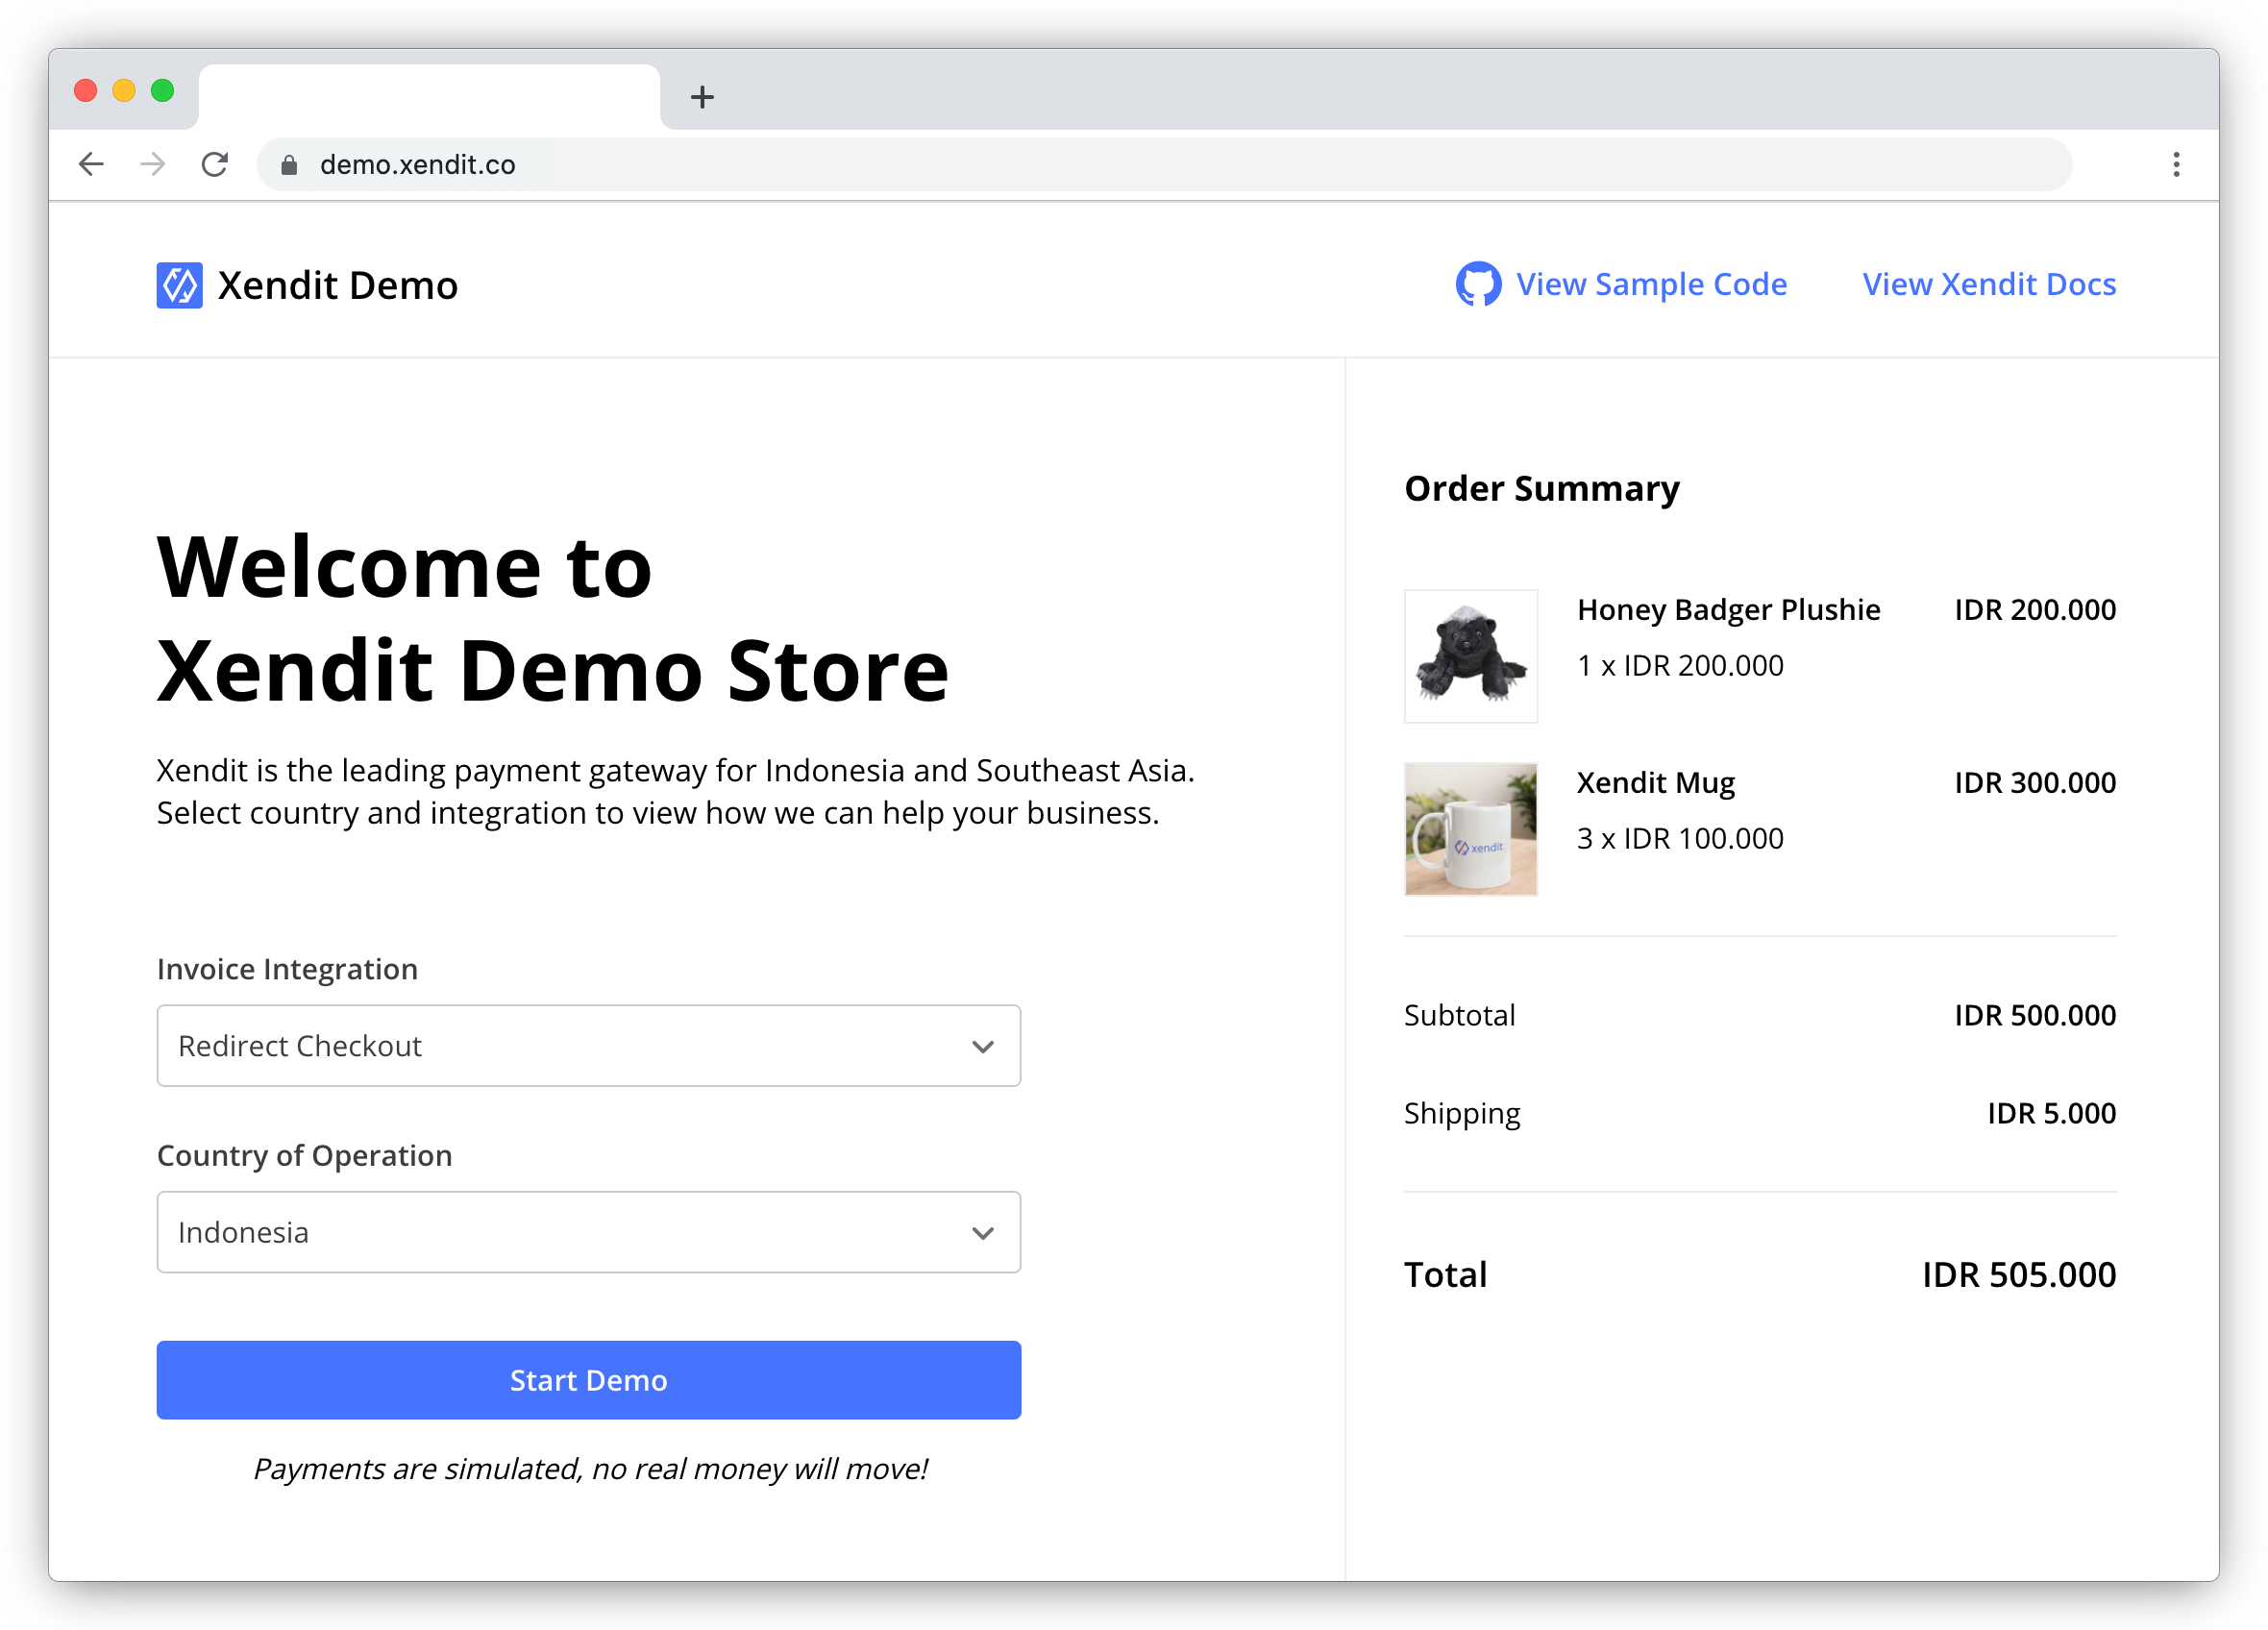
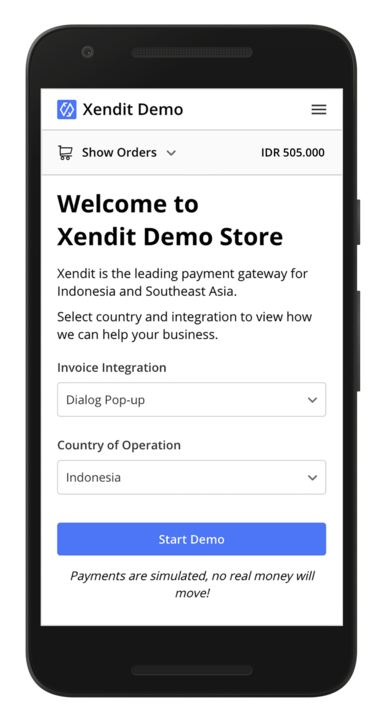
This demo is a mock e-commerce store that illustrates creation (backend) and presentation (frontend) of a hosted Xendit Checkout page. The backend uses a simple ExpressJS server to proxy the request from client-side to the Xendit API Gateway, while the frontend uses pure JavaScript & HTML.
You can see this demo app running in test mode at demo.xendit.co
Our sample code demonstrates for Xendit Checkout:
- Integration via dialog pop-up (a.k.a. modal iframe) and redirect
- Creation of checkout pages for IDR and PHP
- Simple integration to create an invoice using Xendit API Gateway
Xendit Checkout is the fastest way to start collecting online payments in Indonesia and Philippines.
| Features | |
|---|---|
| 💸 | Over 30 different payment methods. 19 payment methods accepting Indonesian Rupiah (IDR) and 14 payment methods accepting Philippine Pesos (PHP), with more on the way. For more information about our supported payment channels, visit here. |
| 📱 | Beautiful, responsive UIs optimized for each payment method. For example, we do barcode generation for Alfamart/Indomaret, and maintain 19 sets of up-to-date instructions for Virtual Accounts. We also formatting and front-end validation for phone numbers and credit card data. |
| 🔐 | PCI-DSS compliance and 3DS handling. Making it easier to offer and handle credit cards. |
| 🗺 | Supports multi-language integration. Full UI localization that has been tested across millions of successful transactions. |
| 🚀 | Ongoing maintenance and continuous improvement. Whenever a payment partner makes a change, our team of developers quickly handles it, so you don't have to. |
The frontend sample code for the demo is in the public/ directory.
The core logic of the Xendit Checkout is mostly contained within two files:
server/routes.jsdefines the routes on the backend that create Xendit invoice/checkout data.server/controller.jsdefines the request that will be forwarded to the Xendit API Gateway.
There is also one file called server/config.js that stores the configurable pre-filled invoice data (payer_email and description). You can override those values in the server/routes.js.
You’ll need the following:
- Node.js >=
10.0.0 - NPM >=
6.0.0 - Xendit account to accept payments (sign up for free). After registering, please generate a secret key with MONEY-IN WRITE permissions. You'll need this to perform requests for creating invoices.
After registering an account and generating a secret key, you can enable the payment methods you’d like to test by clicking on Customize button in the invoice page (Home > Accept Payments > Invoices). By default, all enabled and available payment methods will be available for an invoice.
You need to modify your environment variables as stated in .env.example to your needs. In this case, you need to set these values:
process.env.PORTprocess.env.API_GATEWAY_URLprocess.env.API_KEY
The value of API_GATEWAY_URL should be https://api.xendit.co. For the API_KEY, please use the key you previously generated. As for the PORT, you can define it by using the available port on your local machine or it will be provided by default value which is 8000.
Install dependencies using npm:
npm install
After installation is done, start the local server along with the environment variables:
PORT=<port> API_GATEWAY_URL=https://api.xendit.co API_KEY=<your-secret-key> npm run start
If everything went well, you should see the following message in your terminal:
server is listening on port: <port>
Then you can point your browser to the http://localhost:<port>

