Simple mini-project with Laravel 5.5 Passport Server and a Client (Laravel 5.5 + Vue.js 2) to authorize and get some data from API.
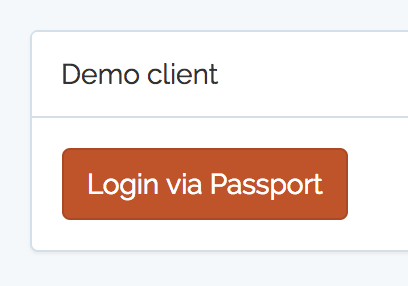
- You launch Client URL and see button Login with Passport
- You enter credentials from Server database's Users table and log in. Then you get to Authorize the client.
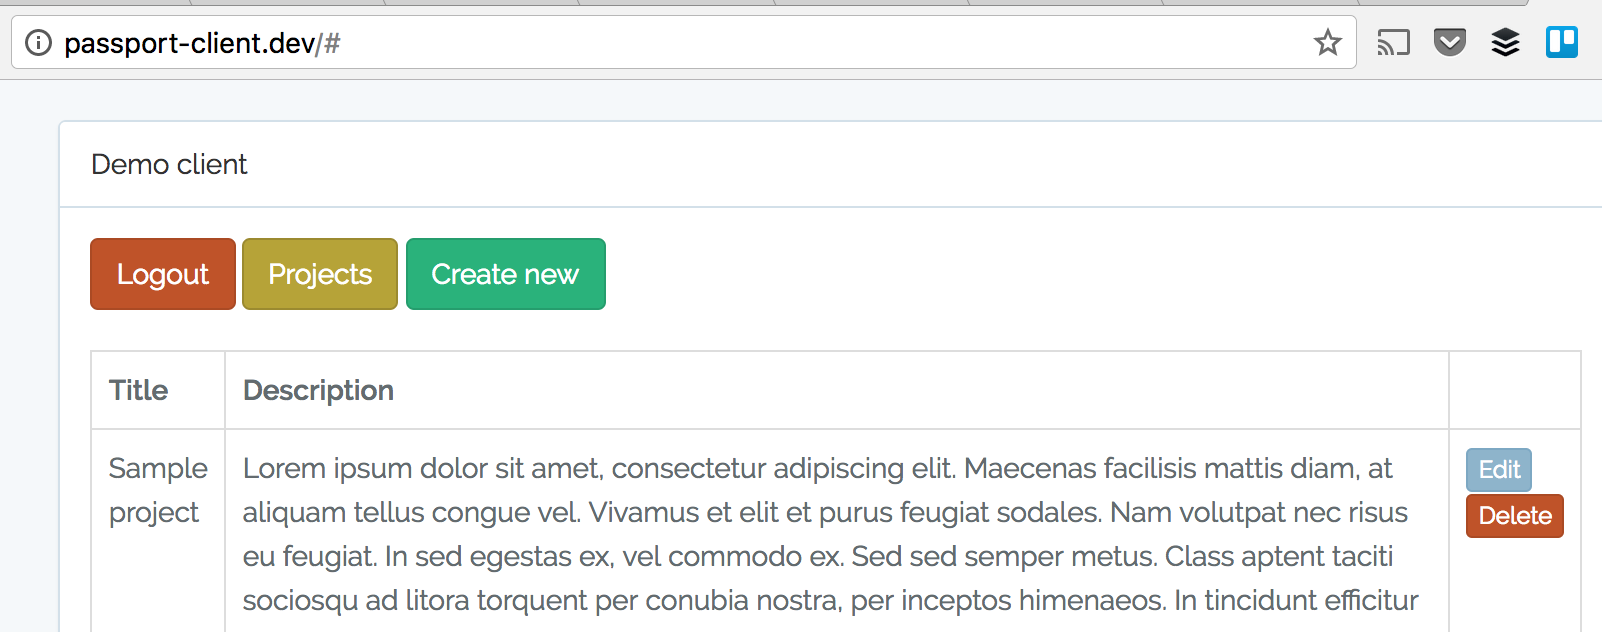
- Then you see a Sample CRUD Projects where all data management is done via API calls to the Server.
There are actually two different (but tied together) projects in this repository, so you see the folders.
First, Clone the repository and map your client and server domains separately to folder /passport-client and /passport-server from the repository.
Then, we need to take care of Server and Client separately.
Step 1. Install and configure Passport Server
- Go to folder /passport-server in your Terminal or Command Prompt
- Copy .env.example to .env and fill in your database credentials
- Run composer install
- Run php artisan key:generate
- Run php artisan migrate --seed
- Run php artisan passport:client - enter ID equals 1, name can be whatever, and callback should be http(s)://[your_client_url]/callback
- Run php artisan passport:keys
Step 2. Install and configure Passport Client
- Go to folder /passport-client in your Terminal or Command Prompt
- Copy .env.example to .env
- Run composer install
- Run php artisan key:generate
- In .env fill in these variables from Server Database:
- API_CLIENT_ID=[oauth_clients.id value]
- API_CLIENT_SECRET=[oauth_clients.secret value]
- API_URL = http(s)://[your_server_url]
Step 3. Launch client
That's it, launch your client URL, click Login with Passport and enter default credentials: admin@admin.com - password.
Please use and re-use however you want.
- Read our Daily Blog with Laravel Tutorials
- FREE E-book: 50 Laravel Quick Tips (and counting)
- Check out our adminpanel generator QuickAdminPanel: Laravel version and Vue.js version
- Subscribe to our YouTube channel Laravel Business
- Enroll in our Laravel Online Courses


