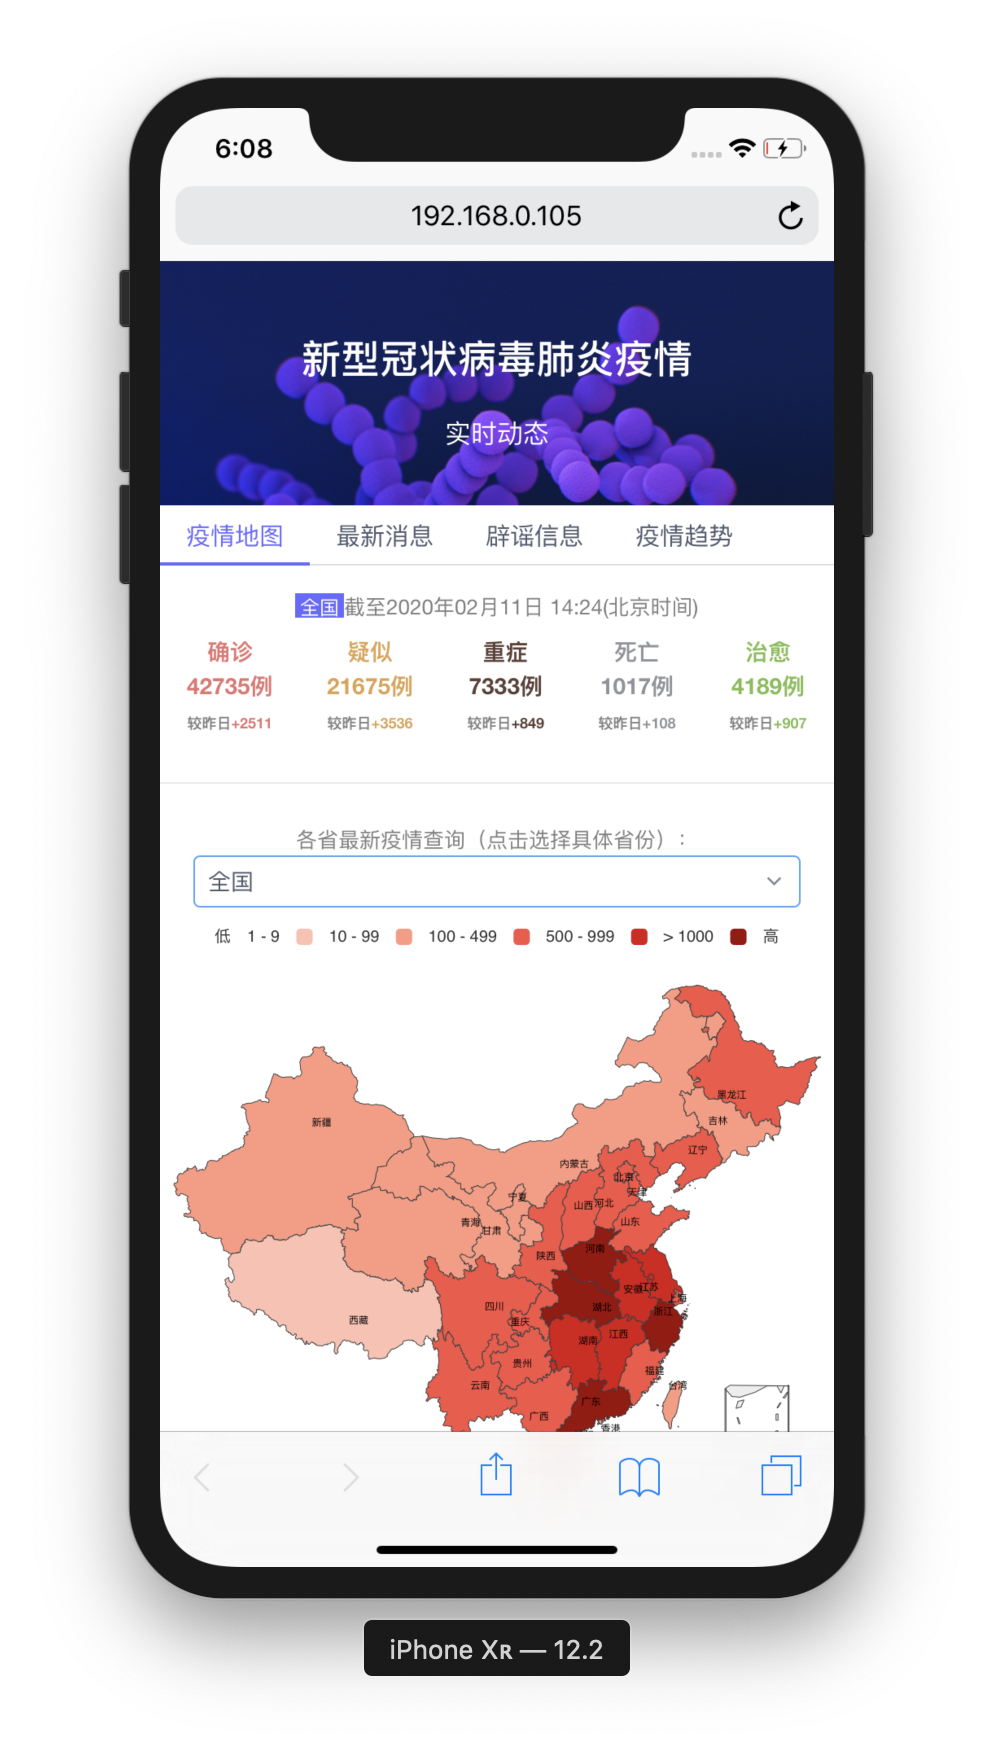
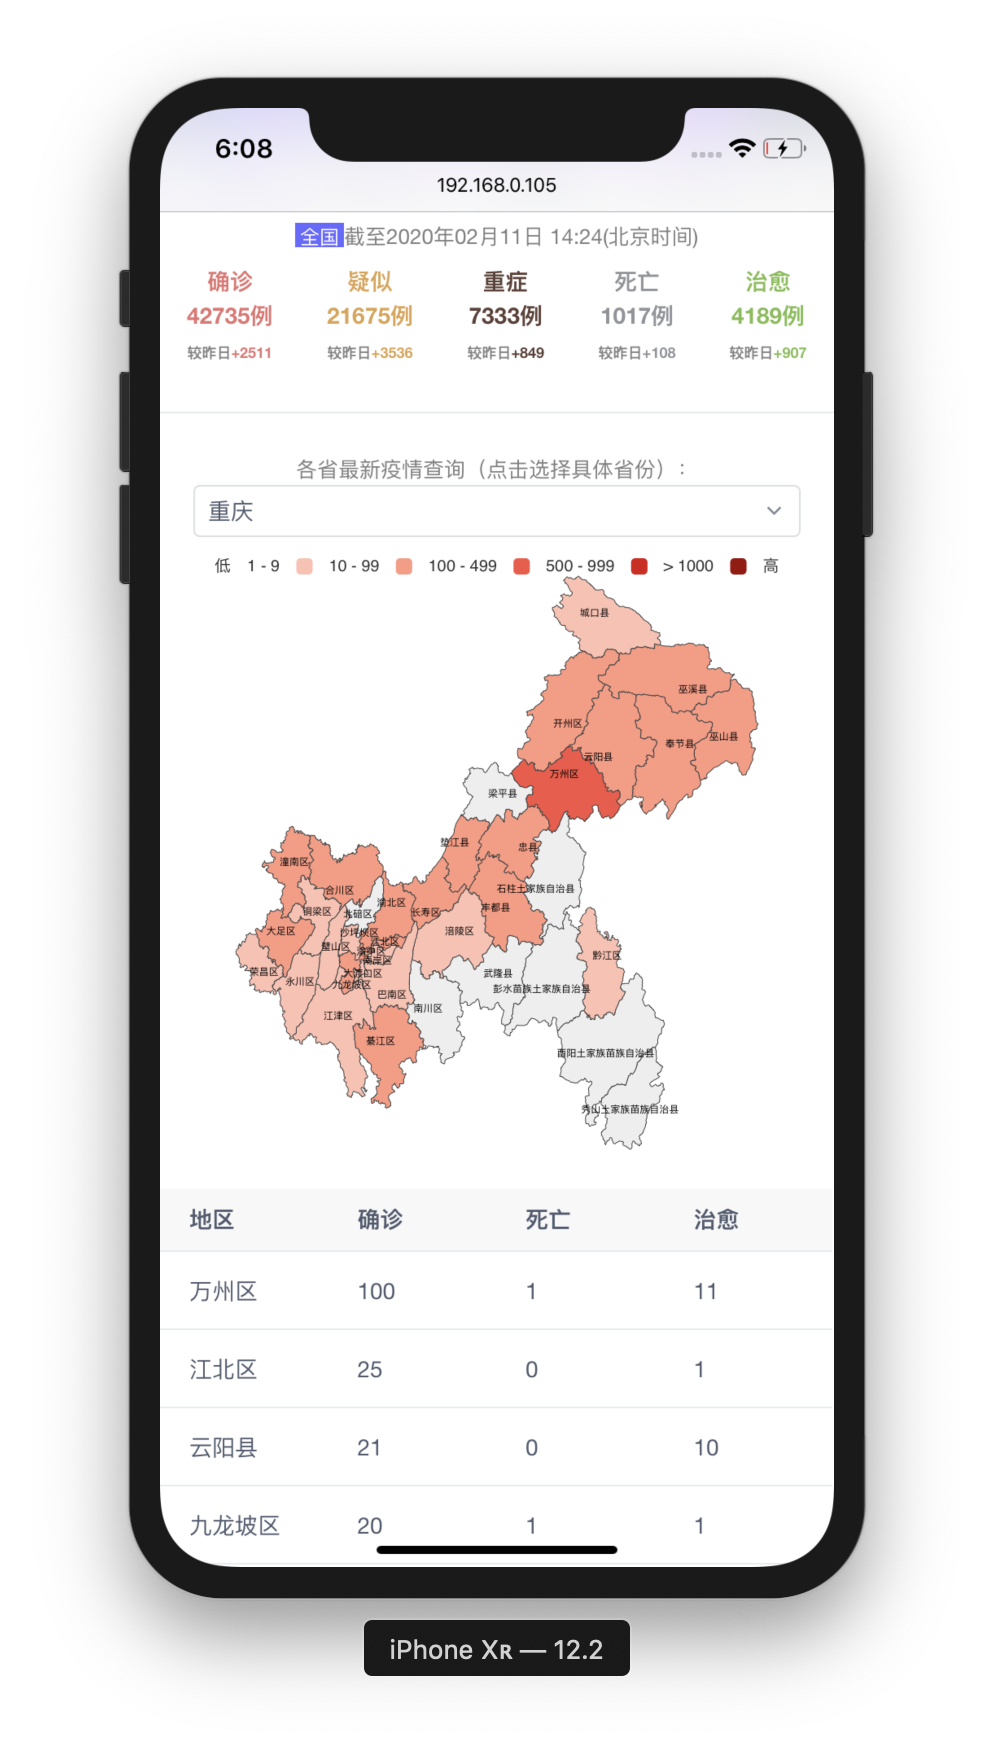
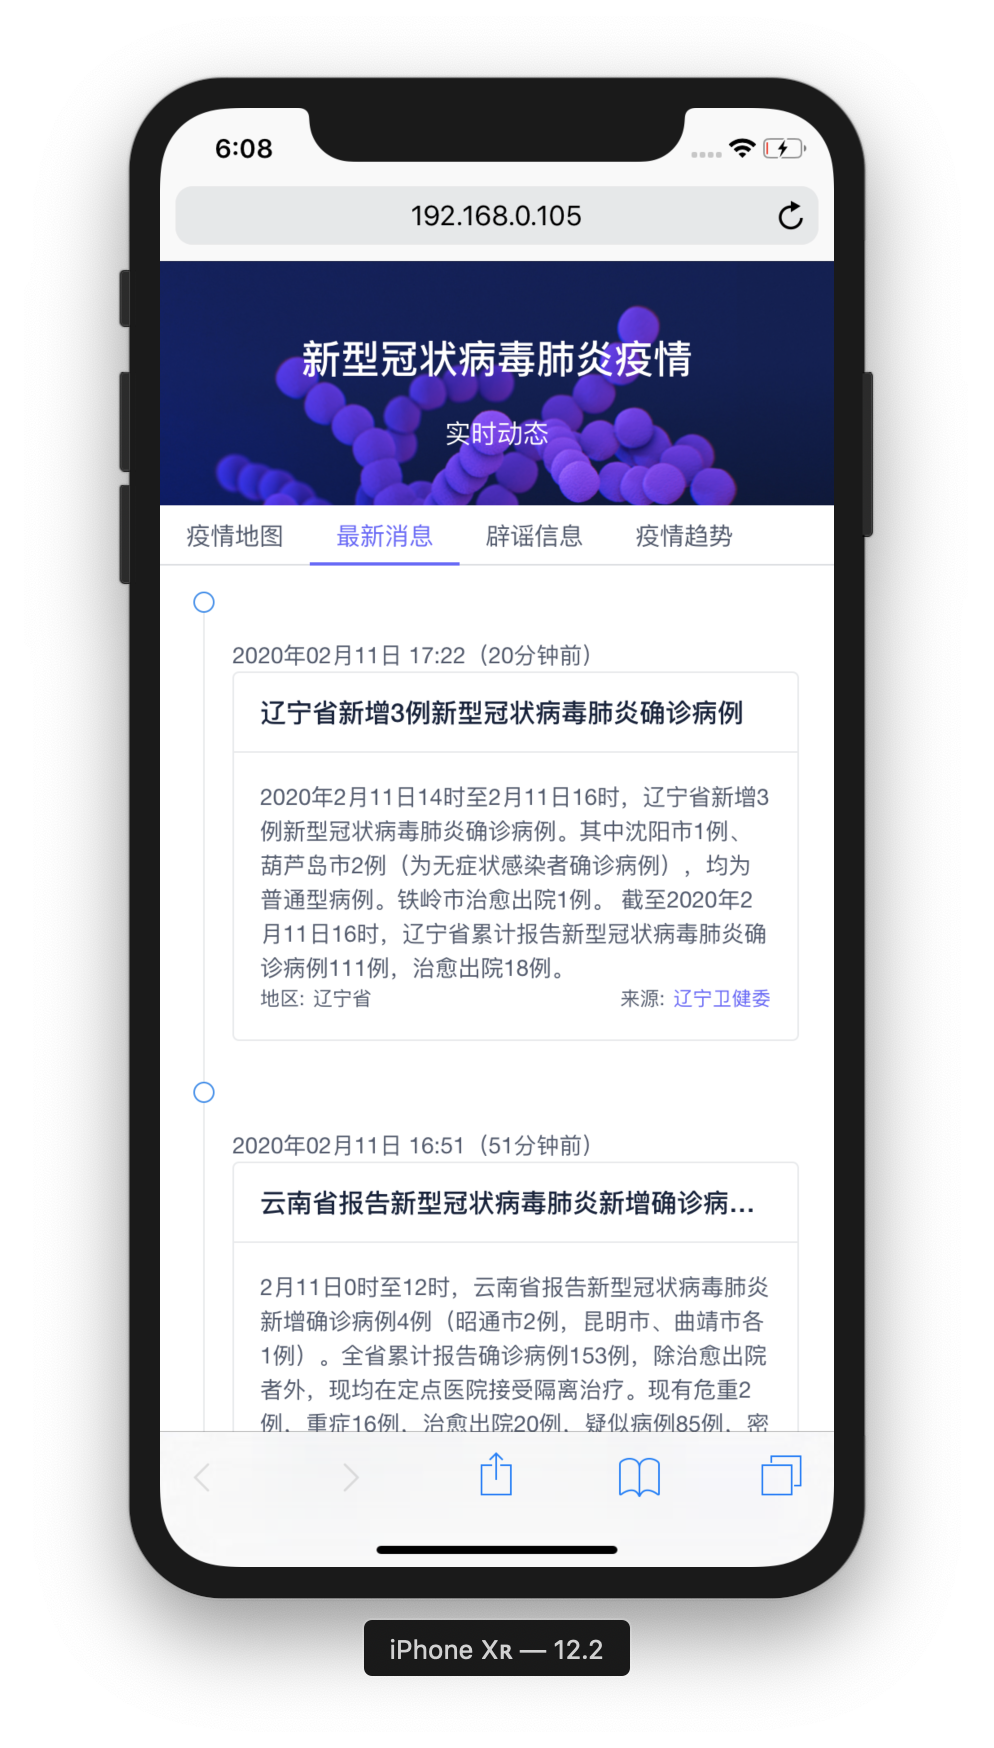
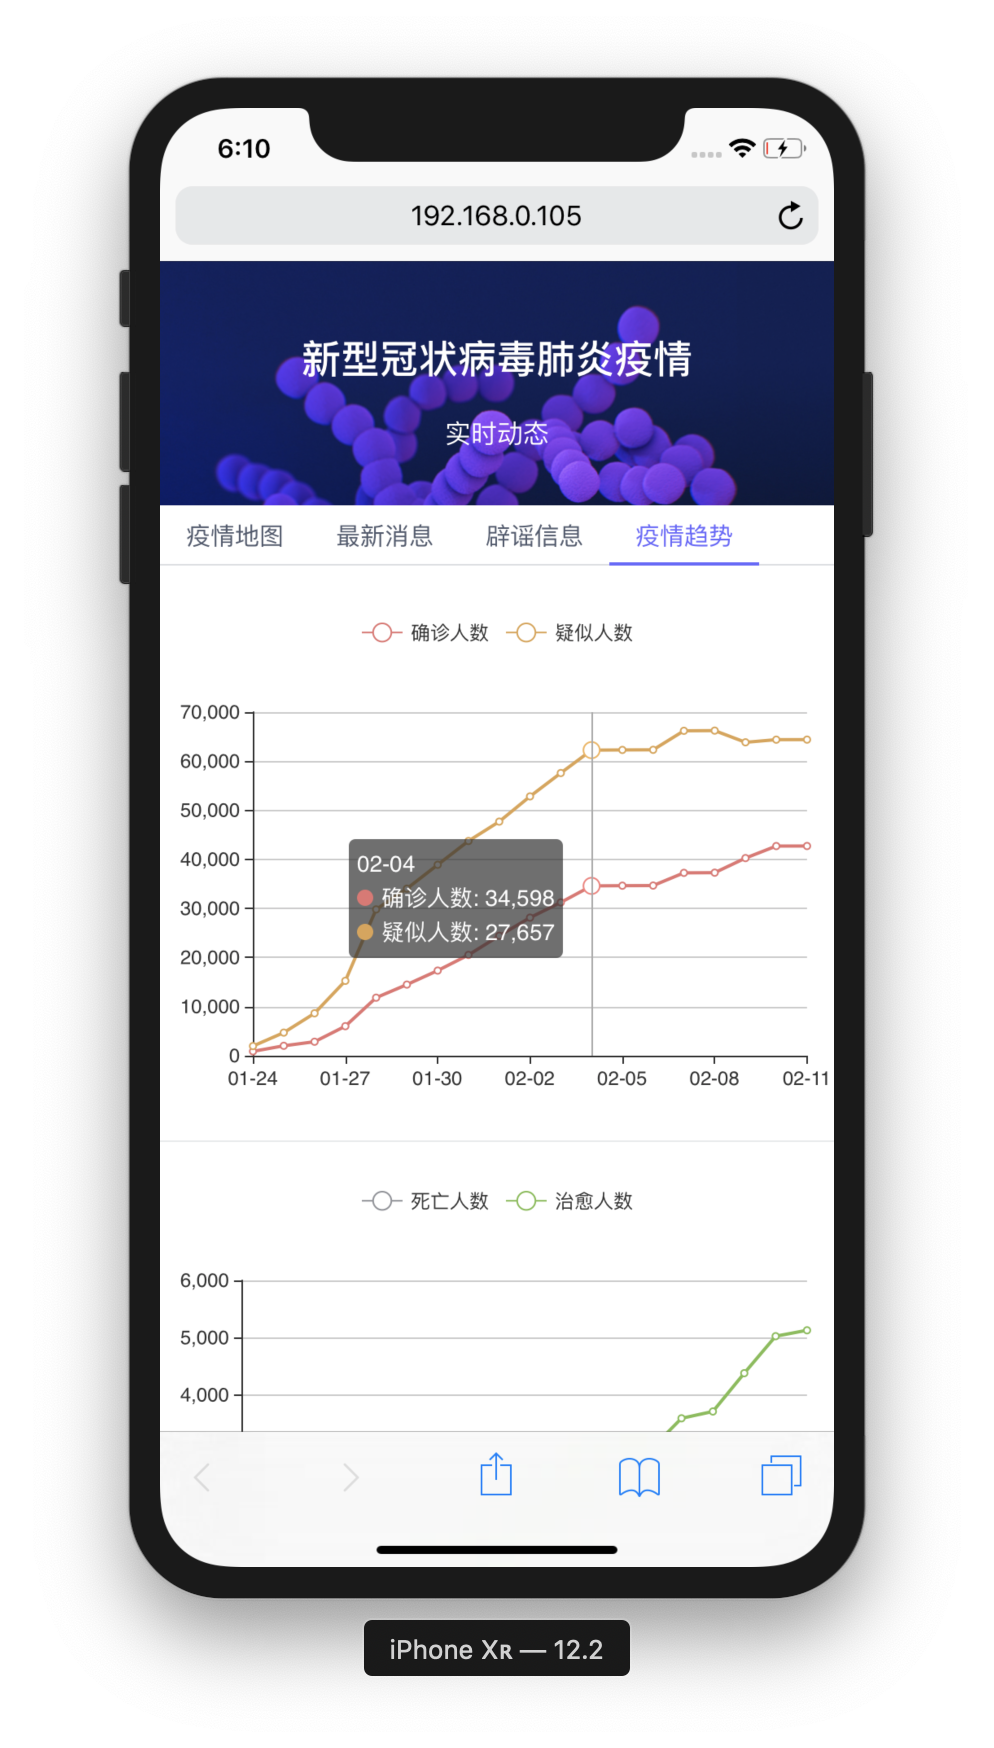
因为疫情太过严重,只能呆在家,所以前几天用 React+ Antd 写了一个疫情查询小工具:React 版本,也算为疫情的防控做了一点点贡献。这两天呢,看见 Vue3-Alpha 版本都出到 v3.0.0-alpha.4 了,如图:

Vue3: Vue-Composition-Api + Typescript 来重构我们的疫情查看小工具。
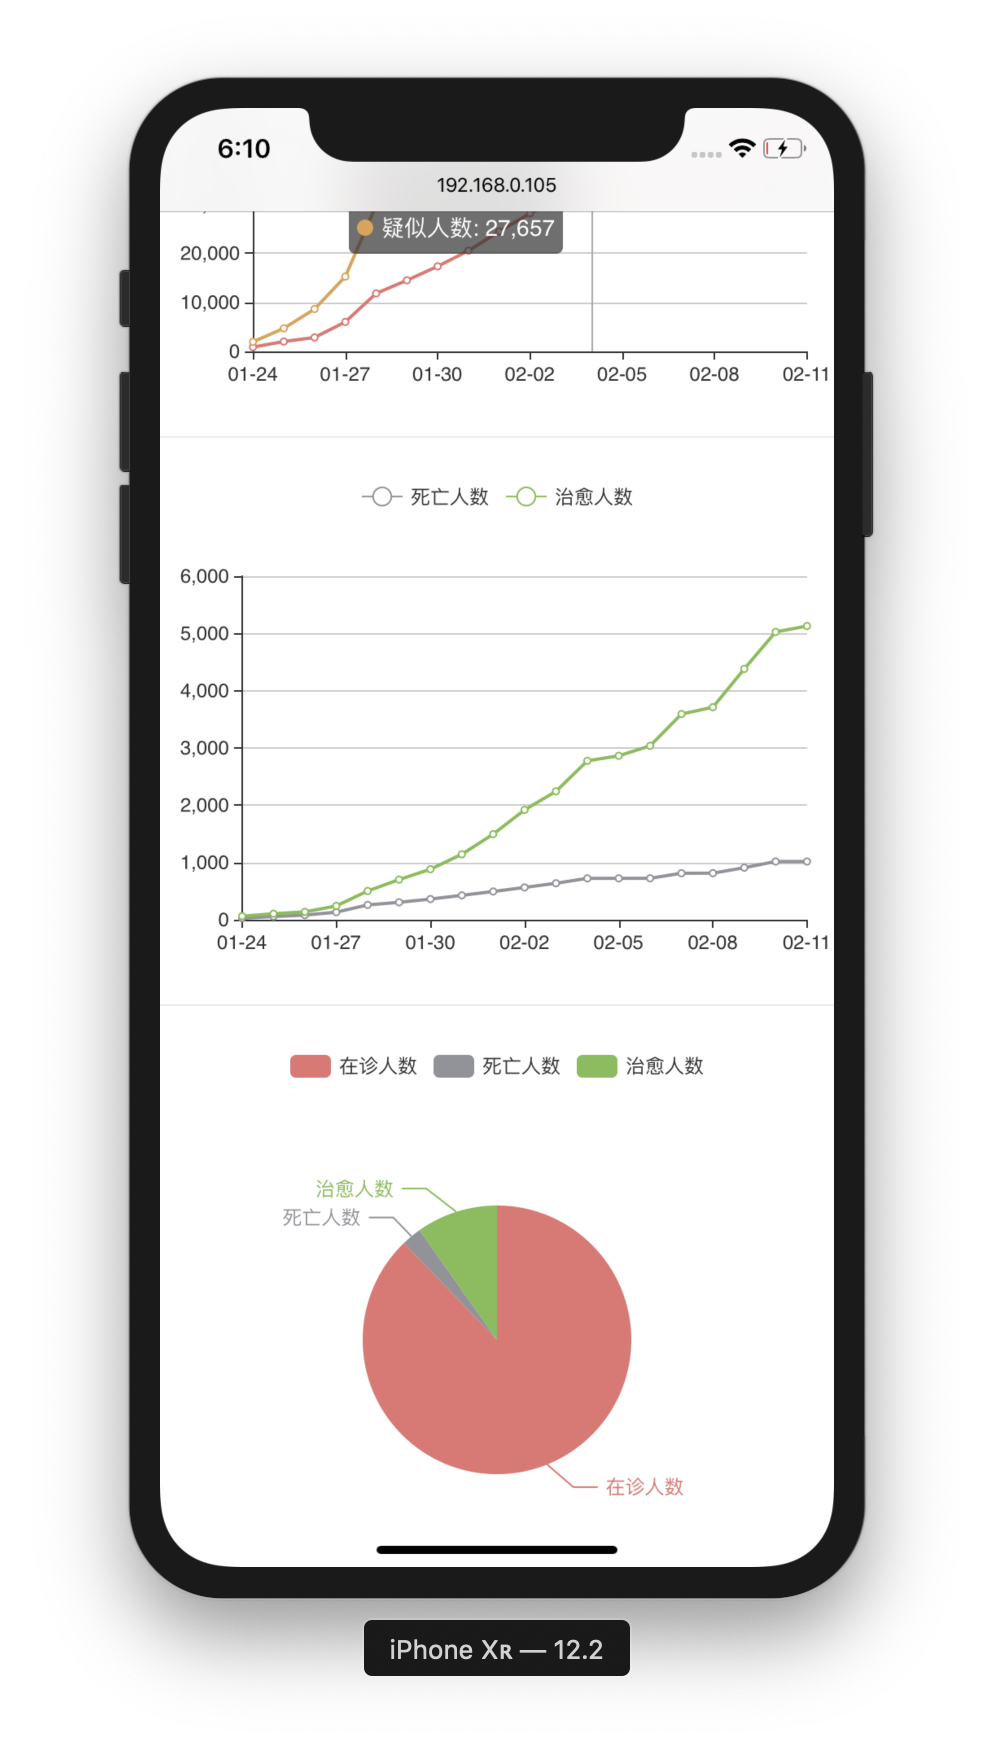
我们先来看看效果截图:
开始动手之前,我们先来学习一点相关知识。
setup() 函数是 vue3 中,专门为组件提供的新属性。它为我们使用 vue3 的 Composition API 新特性提供了统一的入口。setup 函数会在 beforeCreate 之后、created 。setup() 函数接收两个参数,setup(props,context)。其中:
props: 接收 props 数据
在 props 中定义当前组件允许外界传递过来的参数名称:通过 setup 函数的第一个形参,接收 props 数据:props: { propsName: String }
  setup(props) {
     console.log(props.p1)
  }
context: 这个上下文对象中包含了一些有用的属性,这些属性在 vue 2.x 中需要通过 this 才能访问到,在 vue 3.x 中,它们的访问方式如下:setup(props, context) { context.attrs context.slots context.parent context.root context.emit context.refs }
reactive() 函数接收一个普通对象,返回一个响应式的数据对象。
我们来看一下它的基本用法:
// js部分
import { reactive } from '@vue/composition-api'
setup() {
     // 创建响应式数据对象
    const state = reactive({count: 0})
     // setup 函数中将响应式数据对象 return 出去,供 template 使用
    return state // 必须return
}
// template里面使用
<p>当前的 count 值为:{{ state.count }}</p>
我们通过 reactive包裹的对象,return 之后,就相当于 Vue 2.x 的 data() hooks。 我们可以对其进行双向绑定等操作。
ref() 函数用来根据给定的值创建一个响应式的数据对象,ref() 函数调用的返回值是一个对象,这个对象上只包含一个 .value 属性:
  // js部分
   import { ref } from '@vue/composition-api'
   setup() {
       // 创建响应式数据对象 count,初始值为 0
       const count = ref(0)
       // 如果要访问 ref() 创建出来的响应式数据对象的值,必须通过 .value 属性才可以
       console.log(count.value) // 输出 0
       // 让 count 的值 +1
       count.value++
       // 再次打印 count 的值
       console.log(count.value) // 输出 1
       return {
           count,
           name: ref('zs')
       }
   }
  // template里面使用
   <template>
      <p>{{count}}-{{name}}</p>
</template>首先我们利用 Vue Cli 脚手架 初始化我们的应用:
注意,Use class-style component syntax ? 这一项我们要选择为no, 我们不用装饰器写法,我们要用composition api 的写法
然后开始搭建我们的项目目录:
  ├── package-lock.json
  ├── package.json
  ├── public
  │   ├── favicon.ico
  │   └── index.html
  ├── src
  │   ├── App.vue
  │   ├── assets
  │   ├── components
  │   ├── main.ts
  │   ├── map
  │   ├── pages
  │   ├── plugins
  │   ├── services
  │   ├── shims-vue.d.ts
  │   └── utils
  ├── tsconfig.json
  ├── vue.config.js
  ├── yarn-error.log
  └── yarn.lock
page目录:
  ├── home
  │   └── Home.vue
  ├── line
  │   └── TrendLine.vue
  ├── map
  │   └── Map.vue
  ├── news
  │   └── News.vue
  ├── pie
  │   └── Pie.vue
  └── rumor
      └── Rumor.vue
yarn add @vue/composition-api  //根目录执行
// main.ts
import VueCompositionApi from '@vue/composition-api'
Vue.use(VueCompositionApi)我们将Home作为根组件,我们先来定义一下这个组件:
  import { createComponent, onMounted, onUnmounted, reactive } from '@vue/composition-api'
  export default createComponent({
  name: 'Home',
  components: {
  },
  setup() {
      // 生命周期部分
      onMounted(() => {
      console.log('onMounted...')
      console.log(state)
      })
      onUnmounted(() => {
      console.log('onUnmounted...')
      })
      return {

      }
  }
 })
通过
createComponent函数结合 TypeScript 提供的类型推断来进行项目的开发。
接着我们得定义一些响应的数据:
export interface HomeState {
  newsList?: []
  caseList?: []
}
// 在 setup()里面
    const origin: HomeState = {
    newsList: [],
    caseList: []
  }
const state = reactive(origin)接着我们需要发起异步请求初始化数据
setup(){
  // methods
  const getRumorList = async () => {
    ....
  }
  const getTrendList = async () => {
    ....
  }
  const initData = async () => {
    ....
  }
  // 在生命周期里面调用
  onMounted(() => {
      console.log('onMounted...')
      initData()
      getRumorList()
      getTrendList()
  })
}假设我们要导入 News组件:
import News from '@/pages/news/News.vue'
// components
components: {
  News
},
setup(){
  .....
}
// template 中使用
<News :newlist="state.newsList" />
组件内部:
  import { createComponent } from '@vue/composition-api'
  export default createComponent({
  name: 'News',
  props: {
      newlist: Array
  }
}) # ncov-vue3 Dockerfile
#指定node镜像对项目进行依赖安装和打包
FROM node:10.16.0 AS builder
# 将容器的工作目录设置为/app(当前目录,如果/app不存在,WORKDIR会创建/app文件夹)
WORKDIR /app
COPY package.json /app/
RUN npm config set registry "https://registry.npm.taobao.org/" \
&& npm install
COPY . /app
RUN npm run build
#指定nginx配置项目,--from=builder 指的是从上一次 build 的结果中提取了编译结果(FROM node:alpine as builder),即是把刚刚打包生成的dist放进nginx中
FROM nginx
COPY --from=builder app/dist /usr/share/nginx/html/
COPY --from=builder app/nginx.conf /etc/nginx/nginx.conf
#暴露容器80端口
EXPOSE 80
看到这里,小伙伴们基本上了解Vue3 的相关操作和基本入门,大家也操作起来吧!
最后,武汉加油⛽️!
