Strapi Starter Next 13, Tailwind, Typescript and Strapi
note: This project was started with love by Trecia, Daniel and Paul. We were all new to Next 13 and Typescript. If you find any bugs or improvements feel free to create an issue. Thank you all for your support and participation.
If you prefer videos that guide you therought the setup process you can find them here
Getting Started
- Clone the repository locally:
  git clone https://github.com/strapi/nextjs-corporate-starter.git
    or
gh repo clone strapi/nextjs-corporate-starter- Run
setupcommand to setup frontend and backend dependencies:
yarn setup- Next, navigate to your
/backenddirectory and set up your.envfile. You can use the.env.examplefile as reference:
HOST=localhost
PORT=1337
APP_KEYS="toBeModified1,toBeModified2"
API_TOKEN_SALT=tobemodified
ADMIN_JWT_SECRET=tobemodified
JWT_SECRET=tobemodified
TRANSFER_TOKEN_SALT=tobemodified- Start your project by running the following command:
  yarn build
  yarn develop
You will be prompted to create your first admin user.
Great. You now have your project running. Let's add some data.
Seeding The Data
We are going to use our DEITS feature which will alow to easily import data into your project.
You can learn more about it in our documentation here.
In the root of our project we have our seed-data.tar.gz file. We will use it to seed our data.
-
Open up your terminal and make sure you are still in you
backendfolder. -
Run the following command to seed your data:
yarn strapi import -f ../seed-data.tar.gzThis will import your data locally. Log back into your admin panel to see the newly imported data.
Here is a quick video covering initial setup and data seeding.
seed-data-demo.mp4
Setting Up The Frontend
Next we need to switch to our /frontend directory and create our .env file and paste in the following.
NEXT_PUBLIC_STRAPI_API_TOKEN=your-api-token
NEXT_PUBLIC_PAGE_LIMIT=6
NEXT_PUBLIC_STRAPI_FORM_SUBMISSION_TOKEN=your-form-submission-token
NEXT_PUBLIC_STRAPI_API_URL=http://localhost:1337
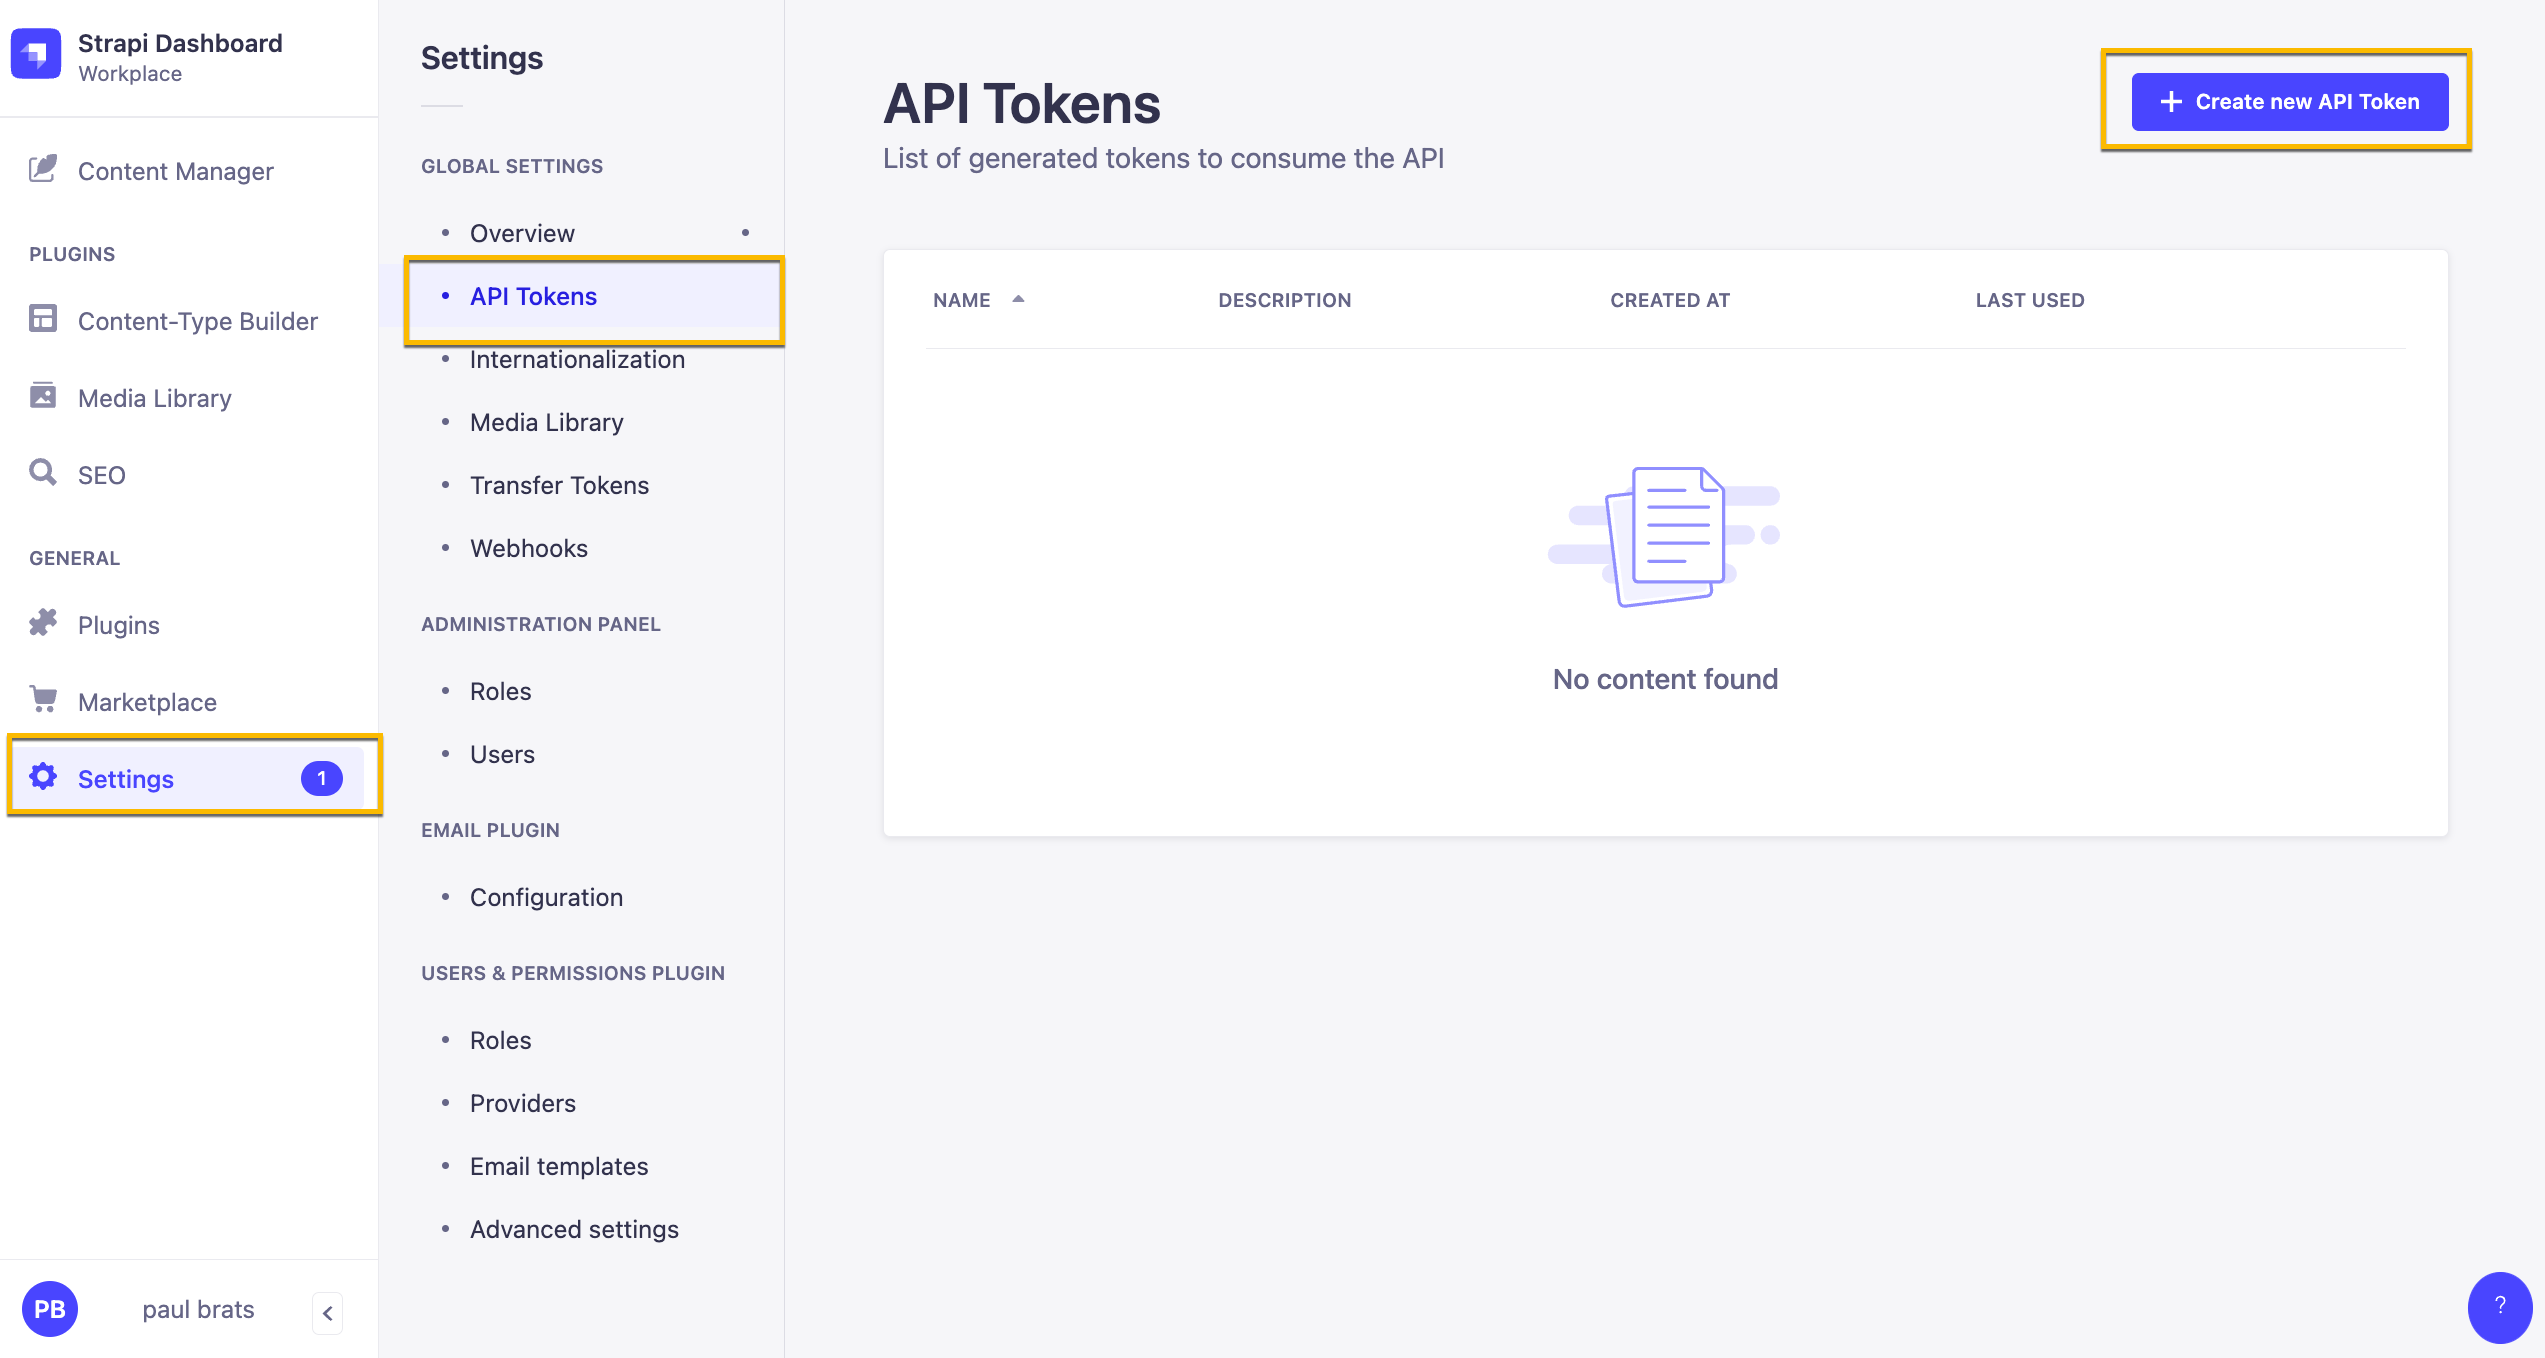
Before starting our Next JS app we need to go inside our Strapi Admin and create two tokens that we will be using for form submission and displaying our content.
Inside your Strapi Admin Panel navigate to Settings -> API Tokens and click on the Create new API Token.
Here are our Token Settings
Name: Public API Token Content Description: Access to public content. Token duration: Unlimited Token type: Custom
In Permissions lets give the following access.
| Content | Permissions |
|---|---|
| Article | find and findOne |
| Author | find and findOne |
| Category | find and findOne |
| Global | find |
| Page | find and findOne |
| Product-feature | find and findOne |
Once you have your token add it to your NEXT_PUBLIC_STRAPI_API_TOKEN variable name in the .env file.
Alternatively: you can create a READ only Token that will give READ permission to all your endpoints.
In this particular project this is not an issue. Although the above is the recommended way, just wanted to show you this option here as well.
When creating a Token, just select the Read-only option from token type drop down.

Next create a token that will allow us to submit our form.
Name: Public API Form Submit Description: Form Submission. Token duration: Unlimited Token type: Custom
In Permissions lets give the following access.
| Content | Permissions |
|---|---|
| Lead-Form-Submission | create |
Add your token to your NEXT_PUBLIC_STRAPI_FORM_SUBMISSION_TOKEN variable name in the .env file.
Once your environment variables are set you can start your frontend application by running yarn dev.
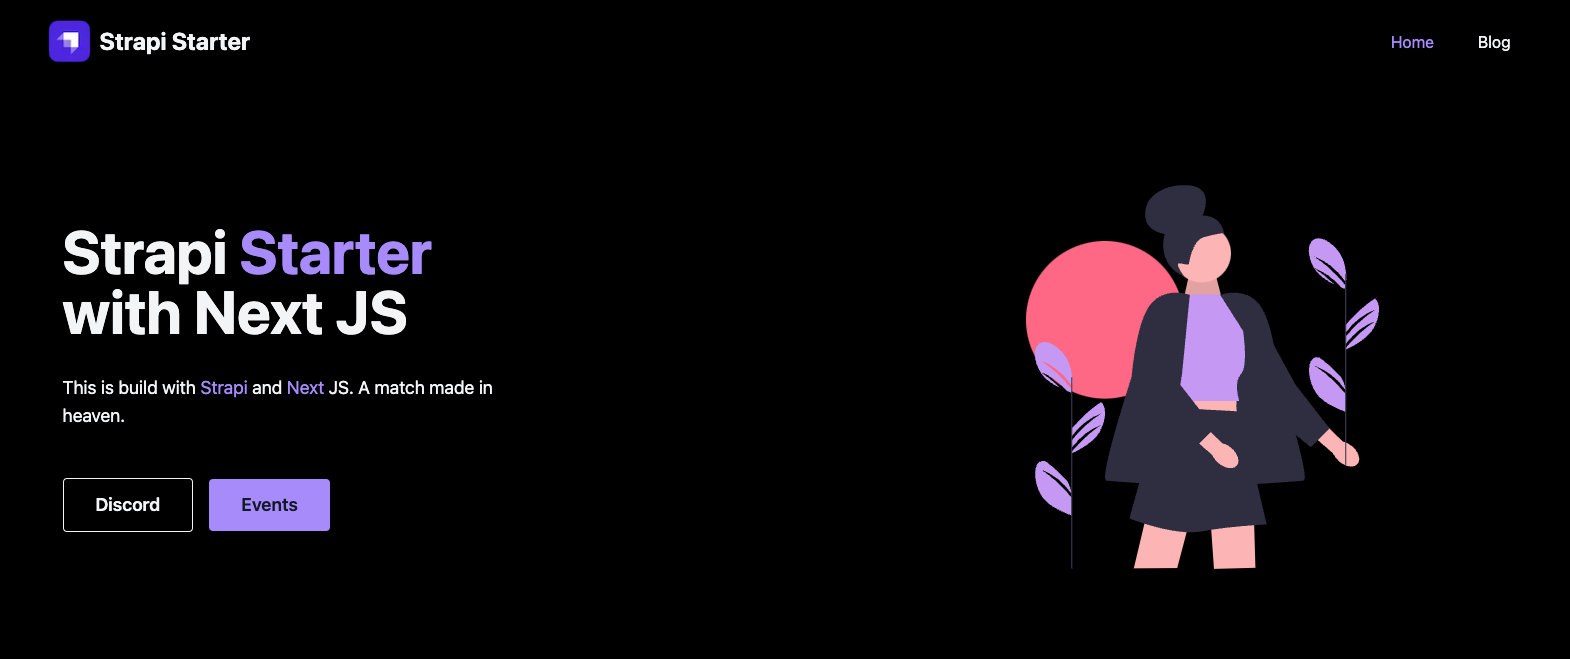
You should now see your Next JS frontend.
Start Both Projects Concurrently
We can also start both projects with one command using the concurrently package.
You can find the setting inside the package.json file inside the root folder.
{
  "scripts": {
    "frontend": "yarn dev --prefix ../frontend/",
    "backend": "yarn dev --prefix ../backend/",
    "clear": "cd frontend && rm -rf .next && rm -rf cache",
    "setup:frontend": "cd frontend && yarn",
    "setup:backend": "cd backend && yarn",
    "setup": "yarn install && yarn setup:frontend && yarn setup:backend",
    "dev": "yarn clear && concurrently \"cd frontend && yarn dev\" \"cd backend && yarn develop\""
  },
  "dependencies": {
    "concurrently": "^7.6.0"
  }
}
You can start both apps by running yarn dev.
Conclusion
Hope you find this starter useful, it is a bare-bone example to help you get started quickly.
Would love to hear what you will build using it.
If you find bugs or have suggestions feel free to create issues.
Thank you and stay awesome.
Contributing to the Next.js Corporate Starter repository
We're so excited that you're thinking about contributing to the Next.js Corporate Starter open-source project! If you're unsure or afraid of anything, just know that you can't mess up here. Any contribution is valuable, and we appreciate you!
This document aims to provide all the necessary information for you to make a contribution.
Prerequisites
Before you can contribute, you need to have the following installed:
- Node.js and npm: You can download these from the official Node.js website.
- Git: You can find installation instructions for Git in the official Git Book.
Steps to Contribute
1. Fork the Repository
In your web browser, navigate to https://github.com/strapi/nextjs-corporate-starter. Click the 'Fork' button in the upper right-hand corner of the page. This creates a copy of the repository in your GitHub account.
2. Clone your Fork
Now, go to your version of the repository. You can do this by navigating to https://github.com/USERNAME/nextjs-corporate-starter (replace 'USERNAME' with your GitHub username). Here, click the 'Clone' button and then 'Copy to clipboard' to copy the git URL.
Next, you need to open your terminal, navigate to where you want to store the project, and type the following command, followed by 'Enter':
git clone PASTE_CLONED_REPOSITORY_URLReplace 'PASTE_CLONED_REPOSITORY_URL' with the URL you copied earlier. This command downloads your fork to your computer.
3. Add Upstream Repository
Before you can start contributing, you have to set up a reference to the original repository. You can do this with the following command:
git remote add upstream https://github.com/strapi/nextjs-corporate-starter.gitThis command adds a new remote, named 'upstream', that points to the original repository.
4. Synchronize your Fork
Before you start making changes, you should synchronize your forked repository with the latest changes from the upstream. Here are the steps:
a. Fetch the branches and their respective commits:
git fetch upstreamb. Checkout to the main branch of your fork:
git checkout mainc. Merge changes from the upstream's main branch into your local main branch:
git merge upstream/mainThis brings your fork's main branch into sync with the upstream repository, without losing your local changes.
5. Create a Branch
When you're making a contribution, it's best to make your changes in a new branch instead of the main branch. You can create a new branch and switch to it using the following command:
git checkout -b BRANCH_NAMEReplace 'BRANCH_NAME' with a name that describes the change you're planning to make.
6. Make your Changes
Now, you can start making changes to the project. Feel free to make changes that you think will enhance the project.
7. Commit your Changes
When you've made your changes, you need to commit them. This is like creating a save point in a game. You can do this using the following commands:
git add -A
git commit -m "Your detailed commit message"
Replace "Your detailed commit message" with a description of the changes you made.
8. Push your Changes
After committing your changes, you need to push them to your forked repository on GitHub. You can do this with the following command:
git push origin BRANCH_NAMEReplace 'BRANCH_NAME' with the name of the branch you created earlier.
9. Create a Pull Request
After you've pushed your changes, you're ready to create a pull request (PR). Navigate to your forked repository in your web browser and click on 'Pull request' (near the top of the page), then on 'New pull request'. Ensure that the base fork is the original repository and the base is 'main', and that the head fork is your fork and the compare is the branch you created.
Enter a title for your PR and describe the changes you made. Once you're ready, click 'Create pull request'.
Congrats! 🎉
You've just made a contribution to the Next.js Corporate Starter project! The team will review your changes and may suggest some modifications or improvements. Once your changes have been approved, they will be merged into the main codebase.
Thank you for your contribution. We appreciate you!
Remember, everyone was new to open-source at some point. If you're unsure about something, don't hesitate to ask for help. Good luck and happy hacking!
Psst...
If you find yourself contributing frequently, we've provided a script in the package.json to help keep your local project synchronized with the main branch of the upstream (original) project. Simply execute the following command:
yarn repo:upstreamFAQ
How do I add additional pages?
Check out this video where I will guide on how to do this.
How do I update my Strapi version?
Check out this this issue comment


