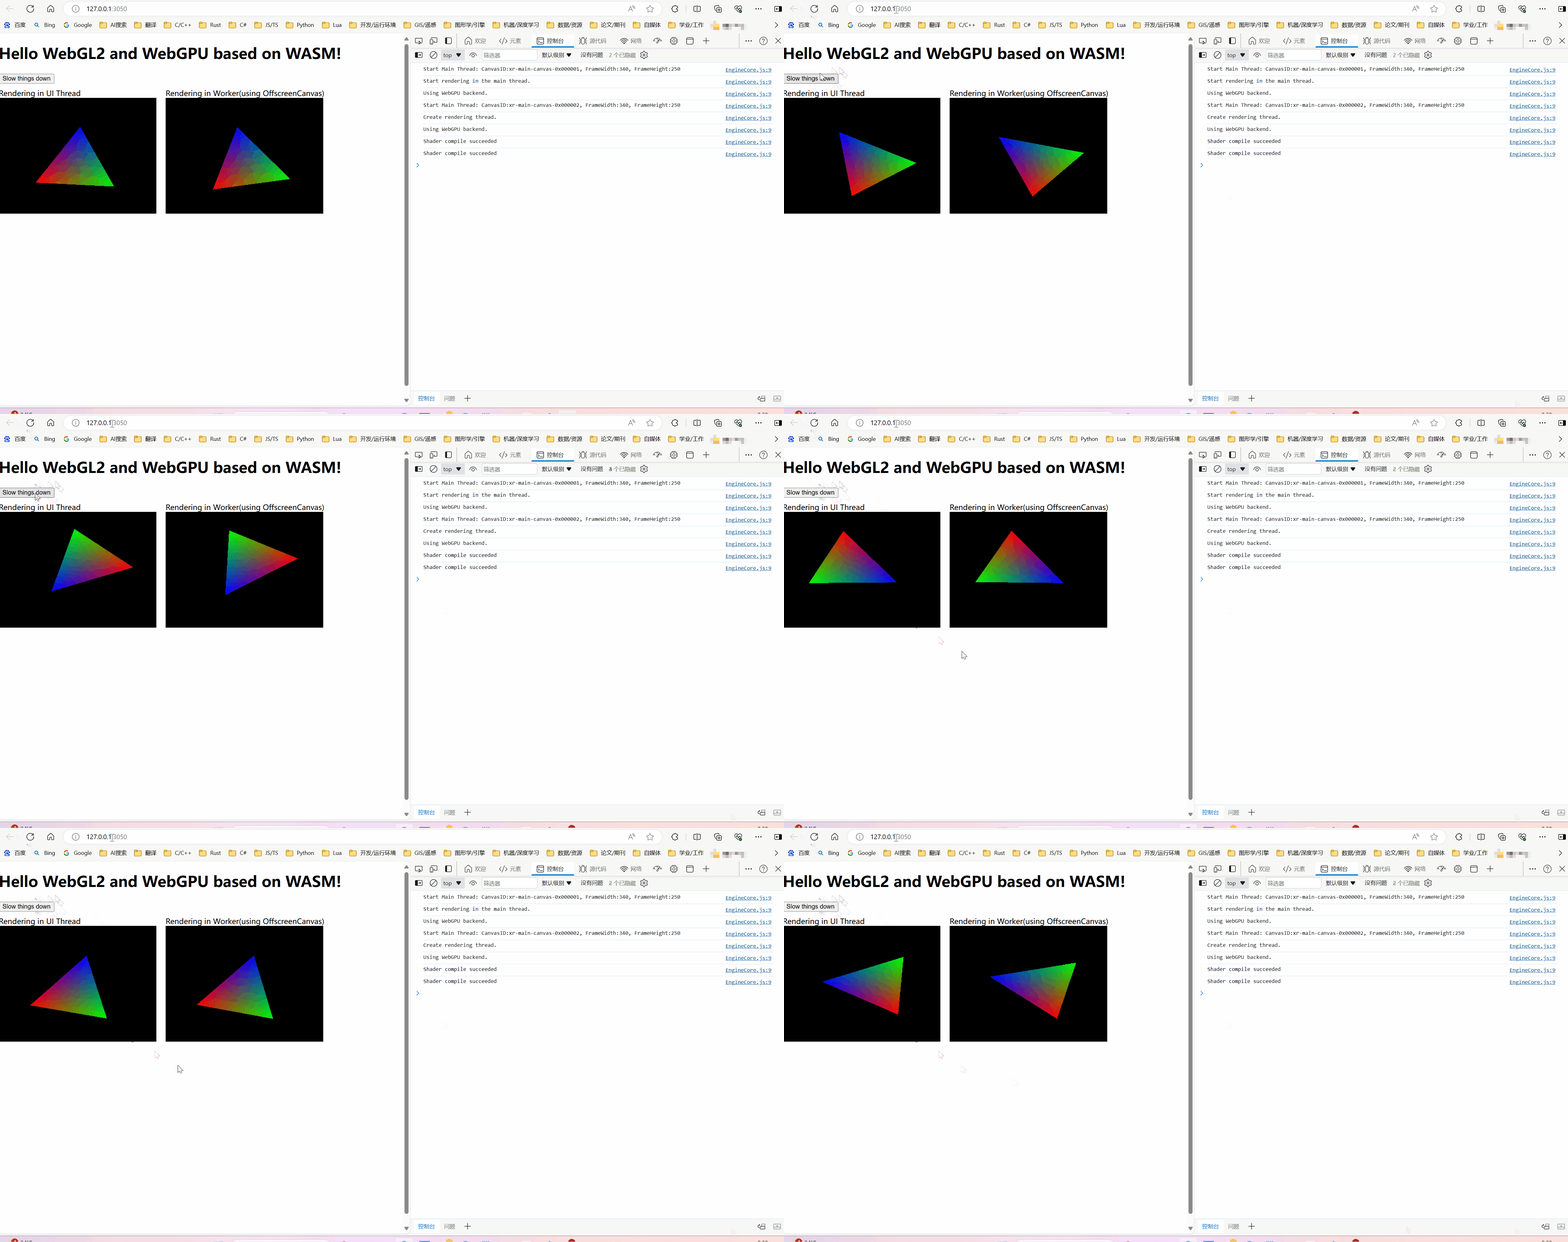
This is a project that uses C++ to test the use of webgl and webgpu in OffscreenCanvas. So, it is also an webgl/webgpu offscreencanvas demo. Based on OpenGL(GLES3), WebGPU(webgpu.h implementation:webgpu_cpp.h) from Emscripten, it is compiled into a WebAssembly module from C++ code, and ultimately uses webgl2 and webgpu through OffscreenCanvas in modern browsers. A more complete usage approach that can track this project: https://github.com/xrui94/iEngine.
-
Features:
- Support selecting to get context from canvas or OffscreenCanvas
- Support multi-threaded rendering when using OffscreenCanvas (Rendering in a worker. As shown in the above figure, in some cases, the time-consuming task of the main thread (UI thread) can cause rendering lag issues.)
- Support selecting WebGL2 or WebGPU as rendering backend
- ES6 style WebAssembly module
-
Known issues:
- Event monitoring cannot directly control the DragState member variable of the Event class, and can only use the global g-DragState variable in a bad way.
engine.startEngine(startupOpts)There is only one API, and it only needs a "startupOpts" parameter, which is the object type in JS. It contains eight fields as shown in the following table.You can track this project: https://github.com/xrui94/iEngine for more usage methods. to learn more about how to implement webgl and webgpu usage in C++.
| field | type | desc |
|---|---|---|
| containerId | string | The ID of a DIV element, which is considered as the parent element and is used to carry canvas |
| width | number | The width of DIV element |
| height | number | The height of DIV element |
| backend | string | The backend of the engine, with valid values of webgl2 or webgpu(default) |
| usingOffscreenCanvas | bool | Enable OffscreenCanvas |
| canvasId | string | The id of CANVAS element |
| customCanvas | bool | Whether to use a custom canvas |
| style | string | The style of canvas element |
- Note:
You need to first configure your server as follows: Add "Cross-Origin-Opener-Policy:same-origin" and "Cross-Origin-Embedder-Policy:require-corp" to response headers in your server, please check https://developer.chrome.com/blog/coep-credentialless-origin-trial?hl=zh-cn for more details.
- Example 1:
<script type="module">
	import EngineCore from './lib/EngineCore.js'

	const canvasId = "xr-dxasf-0ddas-main-canvas";
	const container = document.getElementById("engine-container");

	EngineCore().then(engine => {
		engine.startEngine({
			containerId: "engine-container",
			width: container.clientWidth,
			height: container.clientHeight,
			backend: "webgpu",  // Valid values: webgl2 or webgpu
			usingOffscreenCanvas: true,
			canvasId: canvasId,
			customCanvas: false,
			style: ""   // A css text, it is only working when "customCanvas" is set to false
		});
	});
</script>- Example 2:
If you want to define the canvas element, and pass it in the wasm initialization function as a property of the "Module" object ( an object with a fixed name in wasm ), you can do it follow this example:
<script type="module">
	import EngineCore from './lib/EngineCore.js'

	const canvasId = "xr-dxasf-0ddas-main-canvas";
	const container = document.getElementById("engine-container");

	const Module = {
		canvas: (() => {
			const canvas = document.createElement('canvas');
			canvas.id = canvasId;
			canvas.style.cssText = `
				width: ${container.clientWidth}px;
				height: ${container.clientHeight}px;
				margin: 0;
				padding: 0;
			`;
			canvas.addEventListener("webglcontextlost", (e) => { alert('WebGL context lost. You will need to reload the page.'); e.preventDefault(); }, false);
			document.getElementById("engine-container").appendChild(canvas);
			return canvas;
		})(),
	};

	EngineCore(Module).then(engine => {
		engine.startEngine({
			containerId: "engine-container",
			width: container.clientWidth,
			height: container.clientHeight,
			backend: "webgpu",  // Valid values: webgl2 or webgpu
			usingOffscreenCanvas: true,
			canvasId: canvasId,
			customCanvas: true,
			style: ""   // A css text, it is only working when "customCanvas" is set to false
		});
	});
</script>- First, make a build directory
mkdir dist
cd dist- Generate the Ninja project file
Replace the value of the parameter "- DCMAKE-TOOLCHAIN-FILE" with the absolute path of your Emscripten.cmake file.
- Note:
- If emscripten tool chain(or call it "emsdk") is not installed, you need to first download and install it according to this instructions: https://emscripten.org/docs/getting_started/downloads.html;
- If there is no Ninja in your system env, you need to first download a from https://github.com/ninja-build/ninja/releases and configure system environment variables for it!
cmake .. -DCMAKE_TOOLCHAIN_FILE="C:/env/emsdk/upstream/emscripten/cmake/Modules/Platform/Emscripten.cmake" -G "Ninja"- Build
ninja- First, Install dependencies
pnpm i- Second, Prepare HTTPS service ( optional )
If you do not need to access the application through an IPV4 address, you can skip this step. Use OpenSSL tool to generate certificates for HTTPS protocol services.Here 's a simple example:
.\openssl.exe req -nodes -new -x509 -keyout C:\Users\xrui94\Desktop\a\test_server.key -out C:\Users\xrui94\Desktop\a\test_server.cert- Third, use the app
After executing the command bellow, you can use the app by opening the url http://localhost:3050/ in browser. However, When using multi-threads with "Cross-Origin-Opener-Policy:same-origin" and "Cross-Origin-Embedder-Policy:require-corp" response headers, you must be use the IPV4 host to access app by opening the url: http://YourIPV4Address:3051
npm startIn this project, some code has been referenced from the following projects:
- webgpu basic rendering example: https://github.com/emscripten-core/emscripten/blob/main/test/webgpu_basic_rendering.cpp
- A simple wgpu example:https://github.com/eliemichel/LearnWebGPU-Code/tree/step050
- webgpu cross platform demo:https://github.com/kainino0x/webgpu-cross-platform-demo
- web端子线程调用opengl es: https://blog.csdn.net/qq_34754747/article/details/108150004
