Remix of the Mini-Stealthburner to run other Extruders
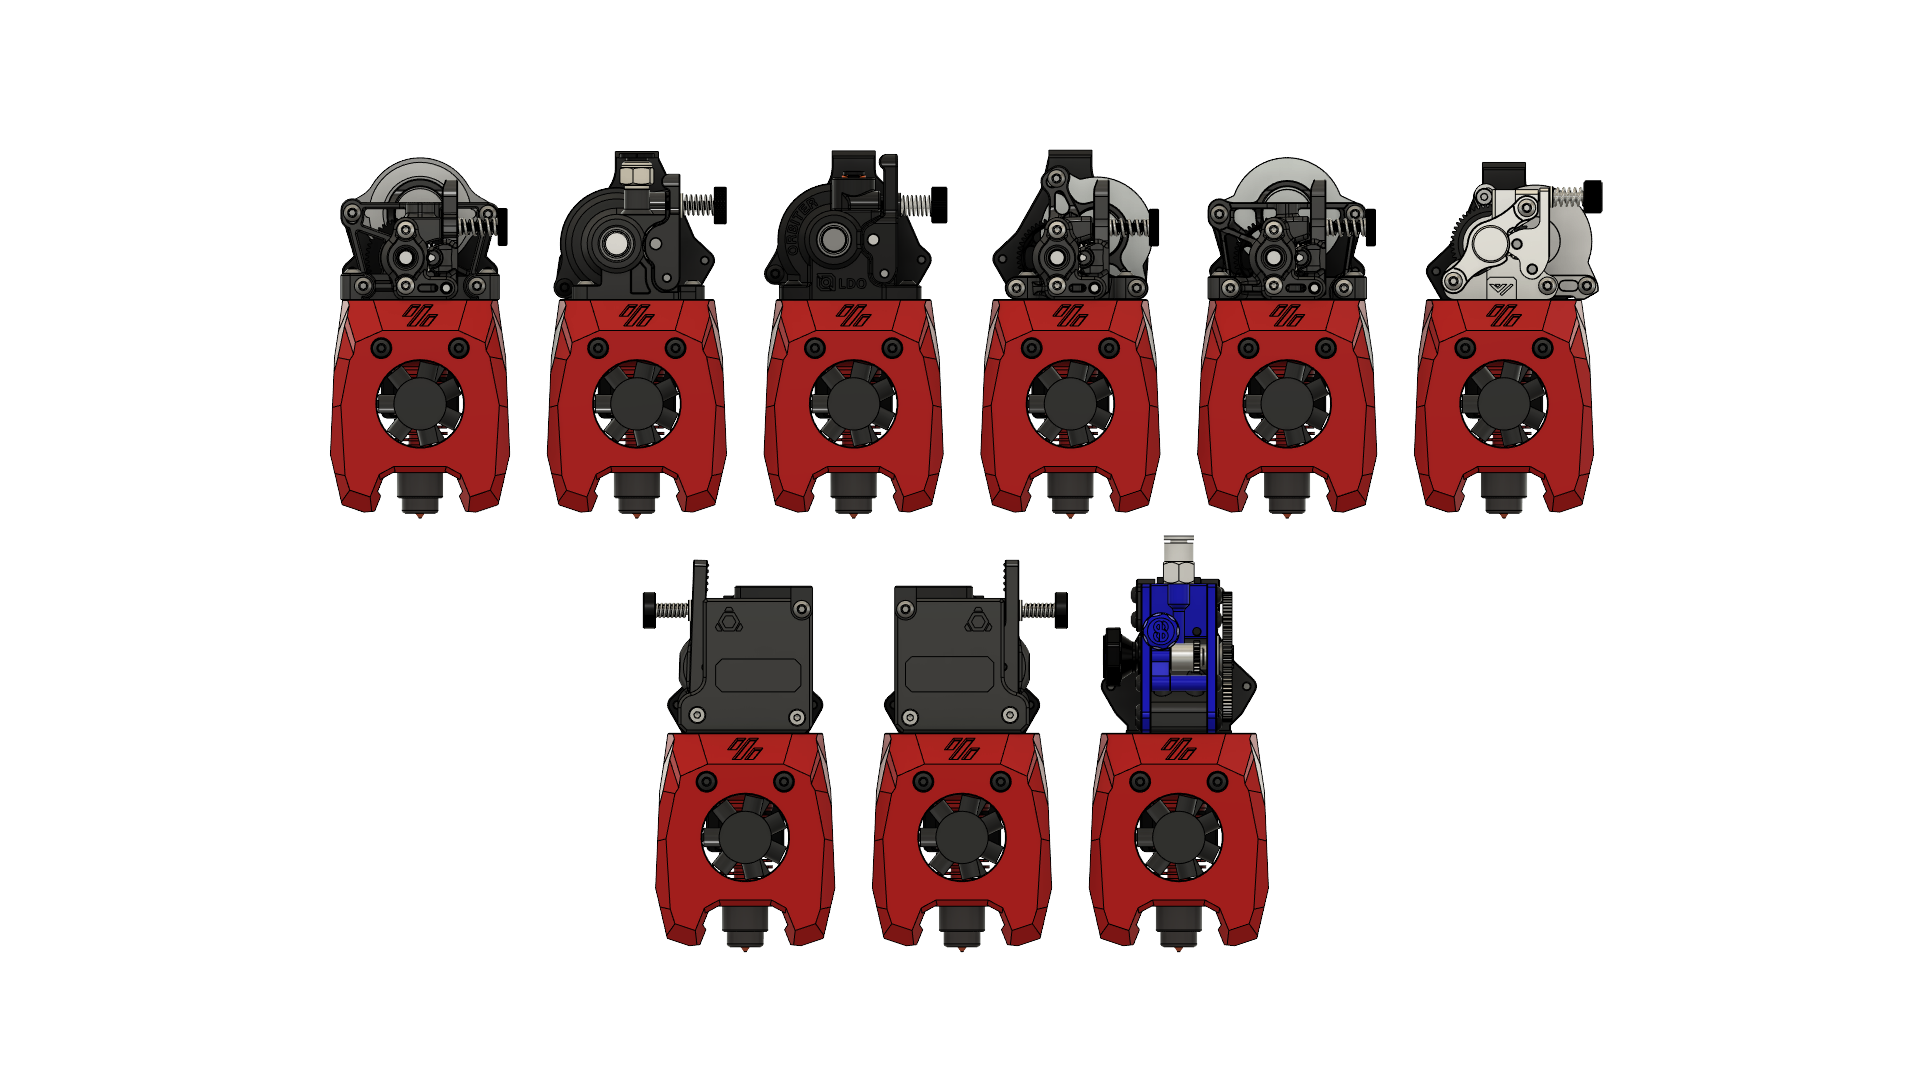
This repo includes reworked Files of the Mini-Stealthburner to allow you to use diferent Extruders, namely:
- Phaetus Apus
- Mellow Libra Mini
- Annex Engineering Sherpa Micro
- Annex Engineering Sherpa Mini
- Orbiter v1.5
- LDO Orbiter v2.0
- Trianglelab TBG-Lite (Left- and Right-Version)
- Vz-Hextrudort Low CNC
The only parts that have changed are the Cowling, Strain-Relief and the Spacers. Everything else is Stock(Hotend-Mount, X-Carriage) so this is a drop-in-replacement for Printers with the V0.2-Style X-Carriage.
As I don't have all of the extruders some are untested, however if the CAD-Files are accurate they should work fine. This table shows the versions i have verified to work (green checkmark):
| Extruder | Standard | Minified |
|---|---|---|
| Phaetus Apus | N/A | ❔ |
| Libra Mini | ❔ | ❔ |
| Sherpa Micro | ✔️ | ✔️ |
| Sherpa Mini | ✔️ | ✔️ |
| Orbiter v1.5 | ❔ | ❔ |
| Orbiter v2.0 | ✔️ | ✔️ |
| TBG-Lite Left | ✔️ | ✔️ |
| TBG-Lite Right | ✔️ | ✔️ |
| Vz-Hextrudort Low CNC | ✔️ | ✔️ |
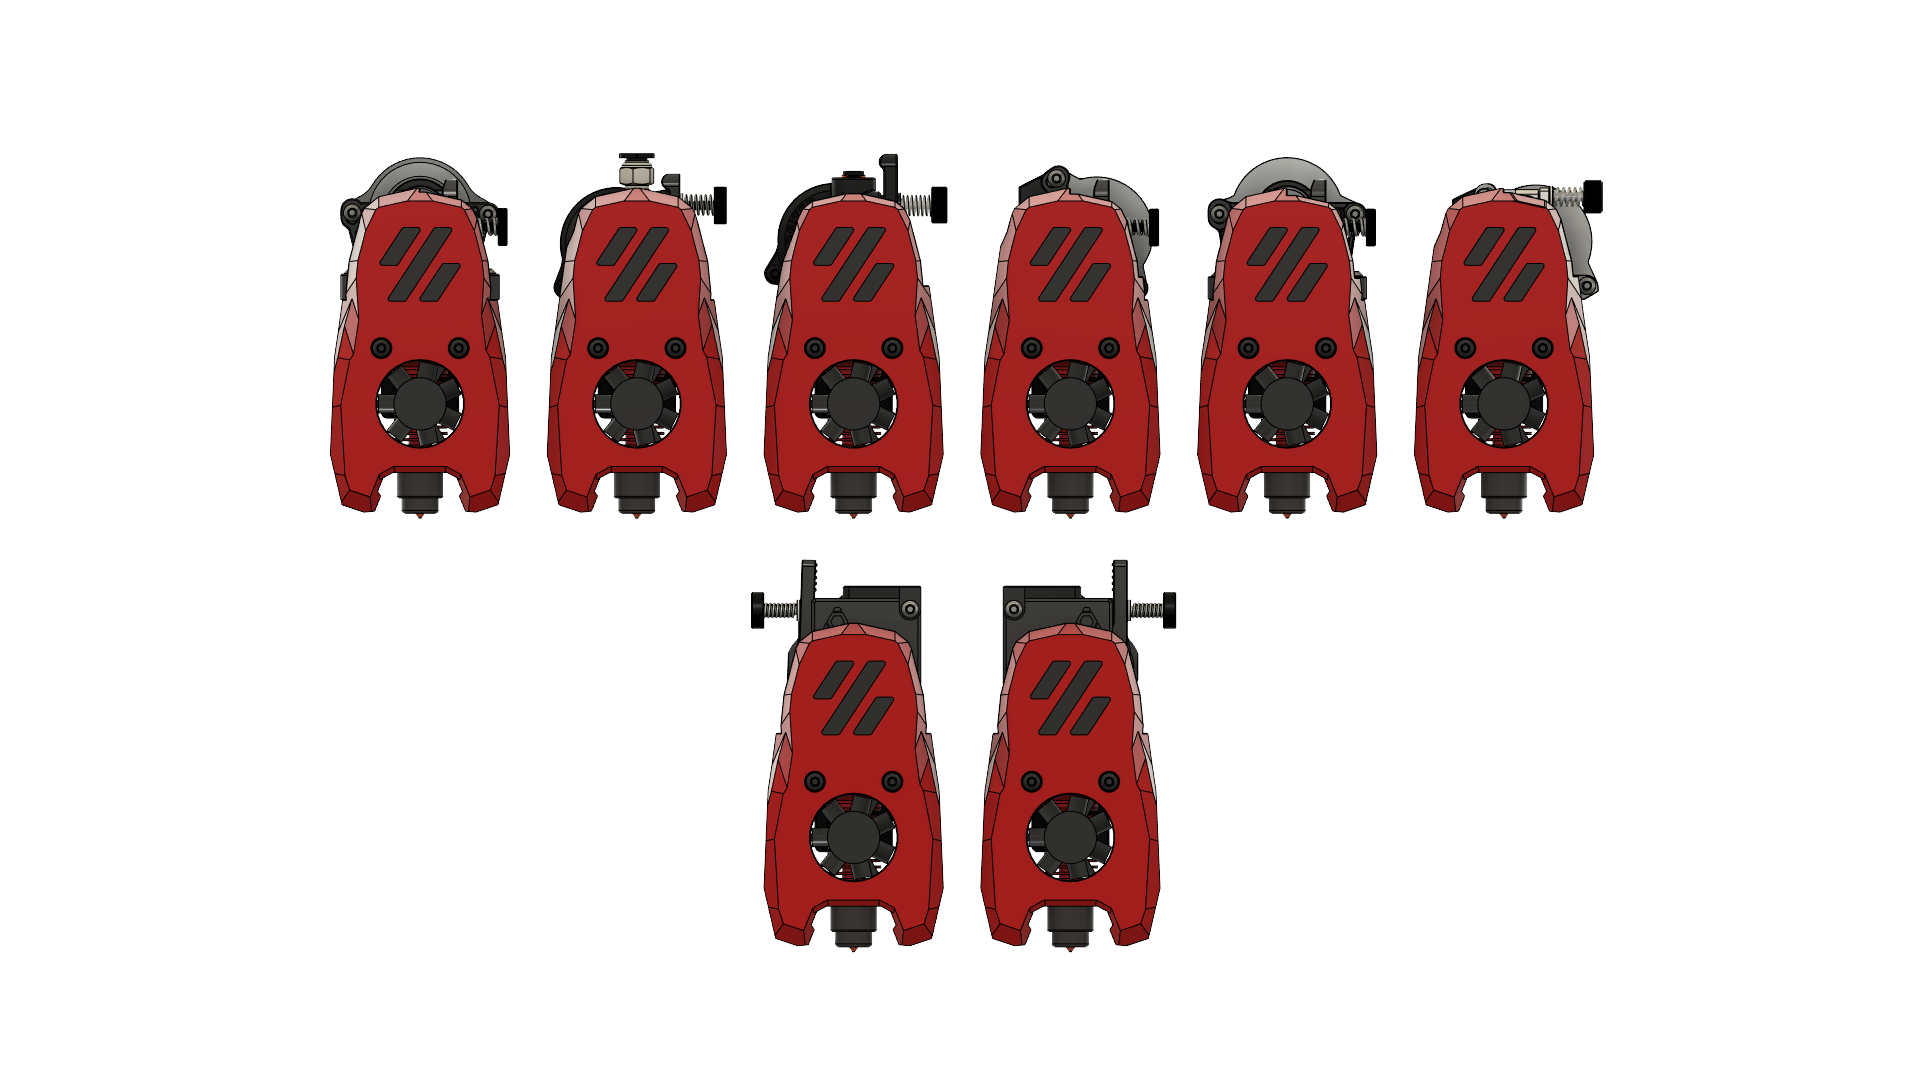
There are two Versions, a "Standard" and a "Minified" Version. The Standard-Version has the upper Logo-Part of the MiniStealthburner in front of the Extruder (like Mavericks LGX-Lite Mod). The Minified Version doesn't have this cover and is more in line with the Bowden-Toolhead or Mini-AfterSherpa.
There is a Version that aims to support as many extruders as possible, while needing as few printed parts as possible. Dubbed swiss cheese.
Also included are Strain-Reliefs (quickly and crappily thrown together) and Mounting Plates for the Umbilical-PCB by Timmit.
The needed Spacers (Size according to CAD) are also included, both in the standard round shape and a octagon version inspired by KayosMaker. The Octagon Spacers are the preferred version, because these don't rely on layer-adhesion for their strength and can be printed lying down instead. Also note that depending on which motor you have on your extruder the Spacer-Length can change because Moons-Motors have a thicker Mounting-Flange (2.5mm) compared to LDO (2mm). Keep in mind, when installing the Heatsets into the spacers they can get squished, so the alignment is not 100% correct anymore. If you have issues with this try using longer spacers.
Standard Voron Print-Settings (0.2mm Layer Height, 4 Perimeters, 40% Infill, 5 Top- and Bottom-Layers). No Supports are needed and all STLs are oriented the correct way and ready to import and print.
Pretty much all of the mounts get assembled the same way, important differences get called out in the mount-specific Assembly Manual:
- Install Heatset-Inserts into Spacers, if your Extruder gets screwed down from the top also install Heatsets into the Cowling
- Install Fans according to V0.2 Assembly Manual (page 165-167)
- Insert the M3 Hex-Nut into the slot on the top of the cowling
- Secure Extruder to the Cowling with hardware mentioned in the mount-specific BOM
- Install Hotend, make sure to cut the PTFE-Tube to the correct length.
- Install everything to the X-Carriage, secure with 2 M3x35 BHCS from the front and 1 M3x22 BHCS from the rear
- Add Spacers for strain-relief/umbilical plate, you may need to replace some screws to have enough thread to engage with the spacers
- Add strain-relief/umbilical plate, secure to spacers and X-Carriage
The files have been remixed from Mavericks LGX-Lite Mod. CAD-Files are included as well as Base-CAD-Files so you can easily create a Version for your Extruder.
There are Toolhead-Pictures for the Mainsail sidebar included in the Extras Folder.
2023-07-29:
- Update Rapido Cowlings to use R1-style part-cooling-ducts (a bit ugly but should work pretty well)
- Add Dragon UHF Mount, as it should work just like the Rapido HF
- Update One Fits Most Version to use R1 part-cooling-ducts (missed that last time)
2023-06-13:
- Update Cowling ducts to the improved ones from the V0.2r1 Release. Rapido Cowlings are using the old ducts for now.
2023-06-06:
- Add Experimental Rapido HF Cowlings based on Mavericks mod.


