This is a learning project to play with Raspberry Pi and Arduino. The reason behind this learning is to save your plant while you are travelling for longer time (e.g., 2 weeks +). I forked the original code from https://github.com/xyd945/Plant-Watering , where Caroline Dunn built a automated watering system based on moisture sensors. I don't really trust the system and leave it alone for a few weeks. I'd rather manually control it. So feel free to use her code if you want to run everything automatically, or refer to my code (much simpler) if you just want to remotely control your pump.
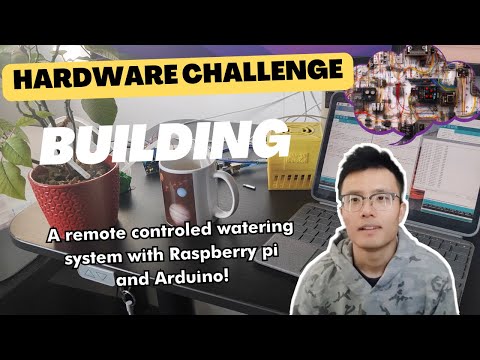
I also made a Youtube video for fun , make sure you subscribe and like it😉 Your feedback is invaluable to my learning journey.
- your plant
- Raspberry pi (why do we need it? it plays the role as a computer that you can remotely access and it connect to your Arduino. You can also use a computer and leave that computer always on. I think that cuase more eneryg right?😆)
- Arduino
- A power supply (find your own power supply with a snap connector to a battery or use a charger)
- Male to male and male to female jumper wires (just get a few more)
- Breadboard (you need that, it makes things more handy so you don't need to do soldeing)
- Relay module
- Soil moisture sensor
- Water pump and tubing
- Connect the VCC on the relay to 5V pin on Arduino
- Connect GND from the relay to the negative power rail of the breadboard
- Connect IN on relay to Pin 8 on Arduino
- Connect negative (black) wire from the battery pack to the negative power rail of the breadboard
- Connect the black wire of the pump to the negative power rail of the breadboard
- Connect the AOut from the soil moisture sensor to A0 on the Arduino
- Connect the GND from the soil moisture sensor to GND on the Arduino
- Connect the VCC from the soil moisture sensor to 3.3v on the Arduino
- Connect the red wire from the pump to the NC on the relay
- Connect the black wire from the pump to the GND rail of your breadboard
- Connect the red wire from the battery pack to COM on the relay
- Connect negative power rail from the breadboard to GND on the Arduino
- Connect the Arduino to the Raspberry Pi via USB
- Connect keyboard/mouse and monitor to your Raspberry Pi
- Connect the water tubing to the pump
- Place the pump in a container of water
- Power up your Raspberry Pi
Or just watch my video slowly https://youtu.be/WOh4RYnrt0Q you won't mess it up.
I highly suggest just use the simplest Arduino UNO, not the mega or wifi version etc... they are using different chip, and it sometimes causes issues. For example I have issue uploading code to the Arduino UNO Wife Rev2. It just doesn't work even with new drivers etc.
- Open terminal in your reaspberry pi
- Run this script to update the packages:
sudo apt-get update && sudo apt-get upgrade - Then install Arduino running this command:
sudo apt-get install arduino - Click on the raspberry icon in the top left corner, go to "Programming" and click Arduino IDE to launch the program
- Click File, Examples, Basic, Blink to open the Blink.ino, then select the right board and port from Tools.
- Upload the Blink.ino code to check if the connection between your Raspberry Pi and Arduino is correct.
We can use Caroline's code to test the sensor and pump.
- to test the moisture sensor, you can use this code:moistureSensorTest.ino
- to test the pump and moisture sensor together, use this code:pumpTesting.ino
Once everything is setup properly, you may want to prepare your startPump.ino and stopPump.ino code. Just upload the code you want to Arduino to perform certain task.
Previous steps can be done locally with a monitor, keyboard and mouse or via local ssh, but our ultimate goal is to access our raspberry pi from remote networks (not from the same home network). So here is the way:
well... it depends, there are couple of ways to do it. One way is called port forwarding: I found this video that explains very well: https://www.youtube.com/watch?v=ZKfnGqMrnug it also depends on your router and internet service provider. And here is an example how TP-link router works to setup port forwarding: https://www.youtube.com/watch?v=2tIUts0fyFk