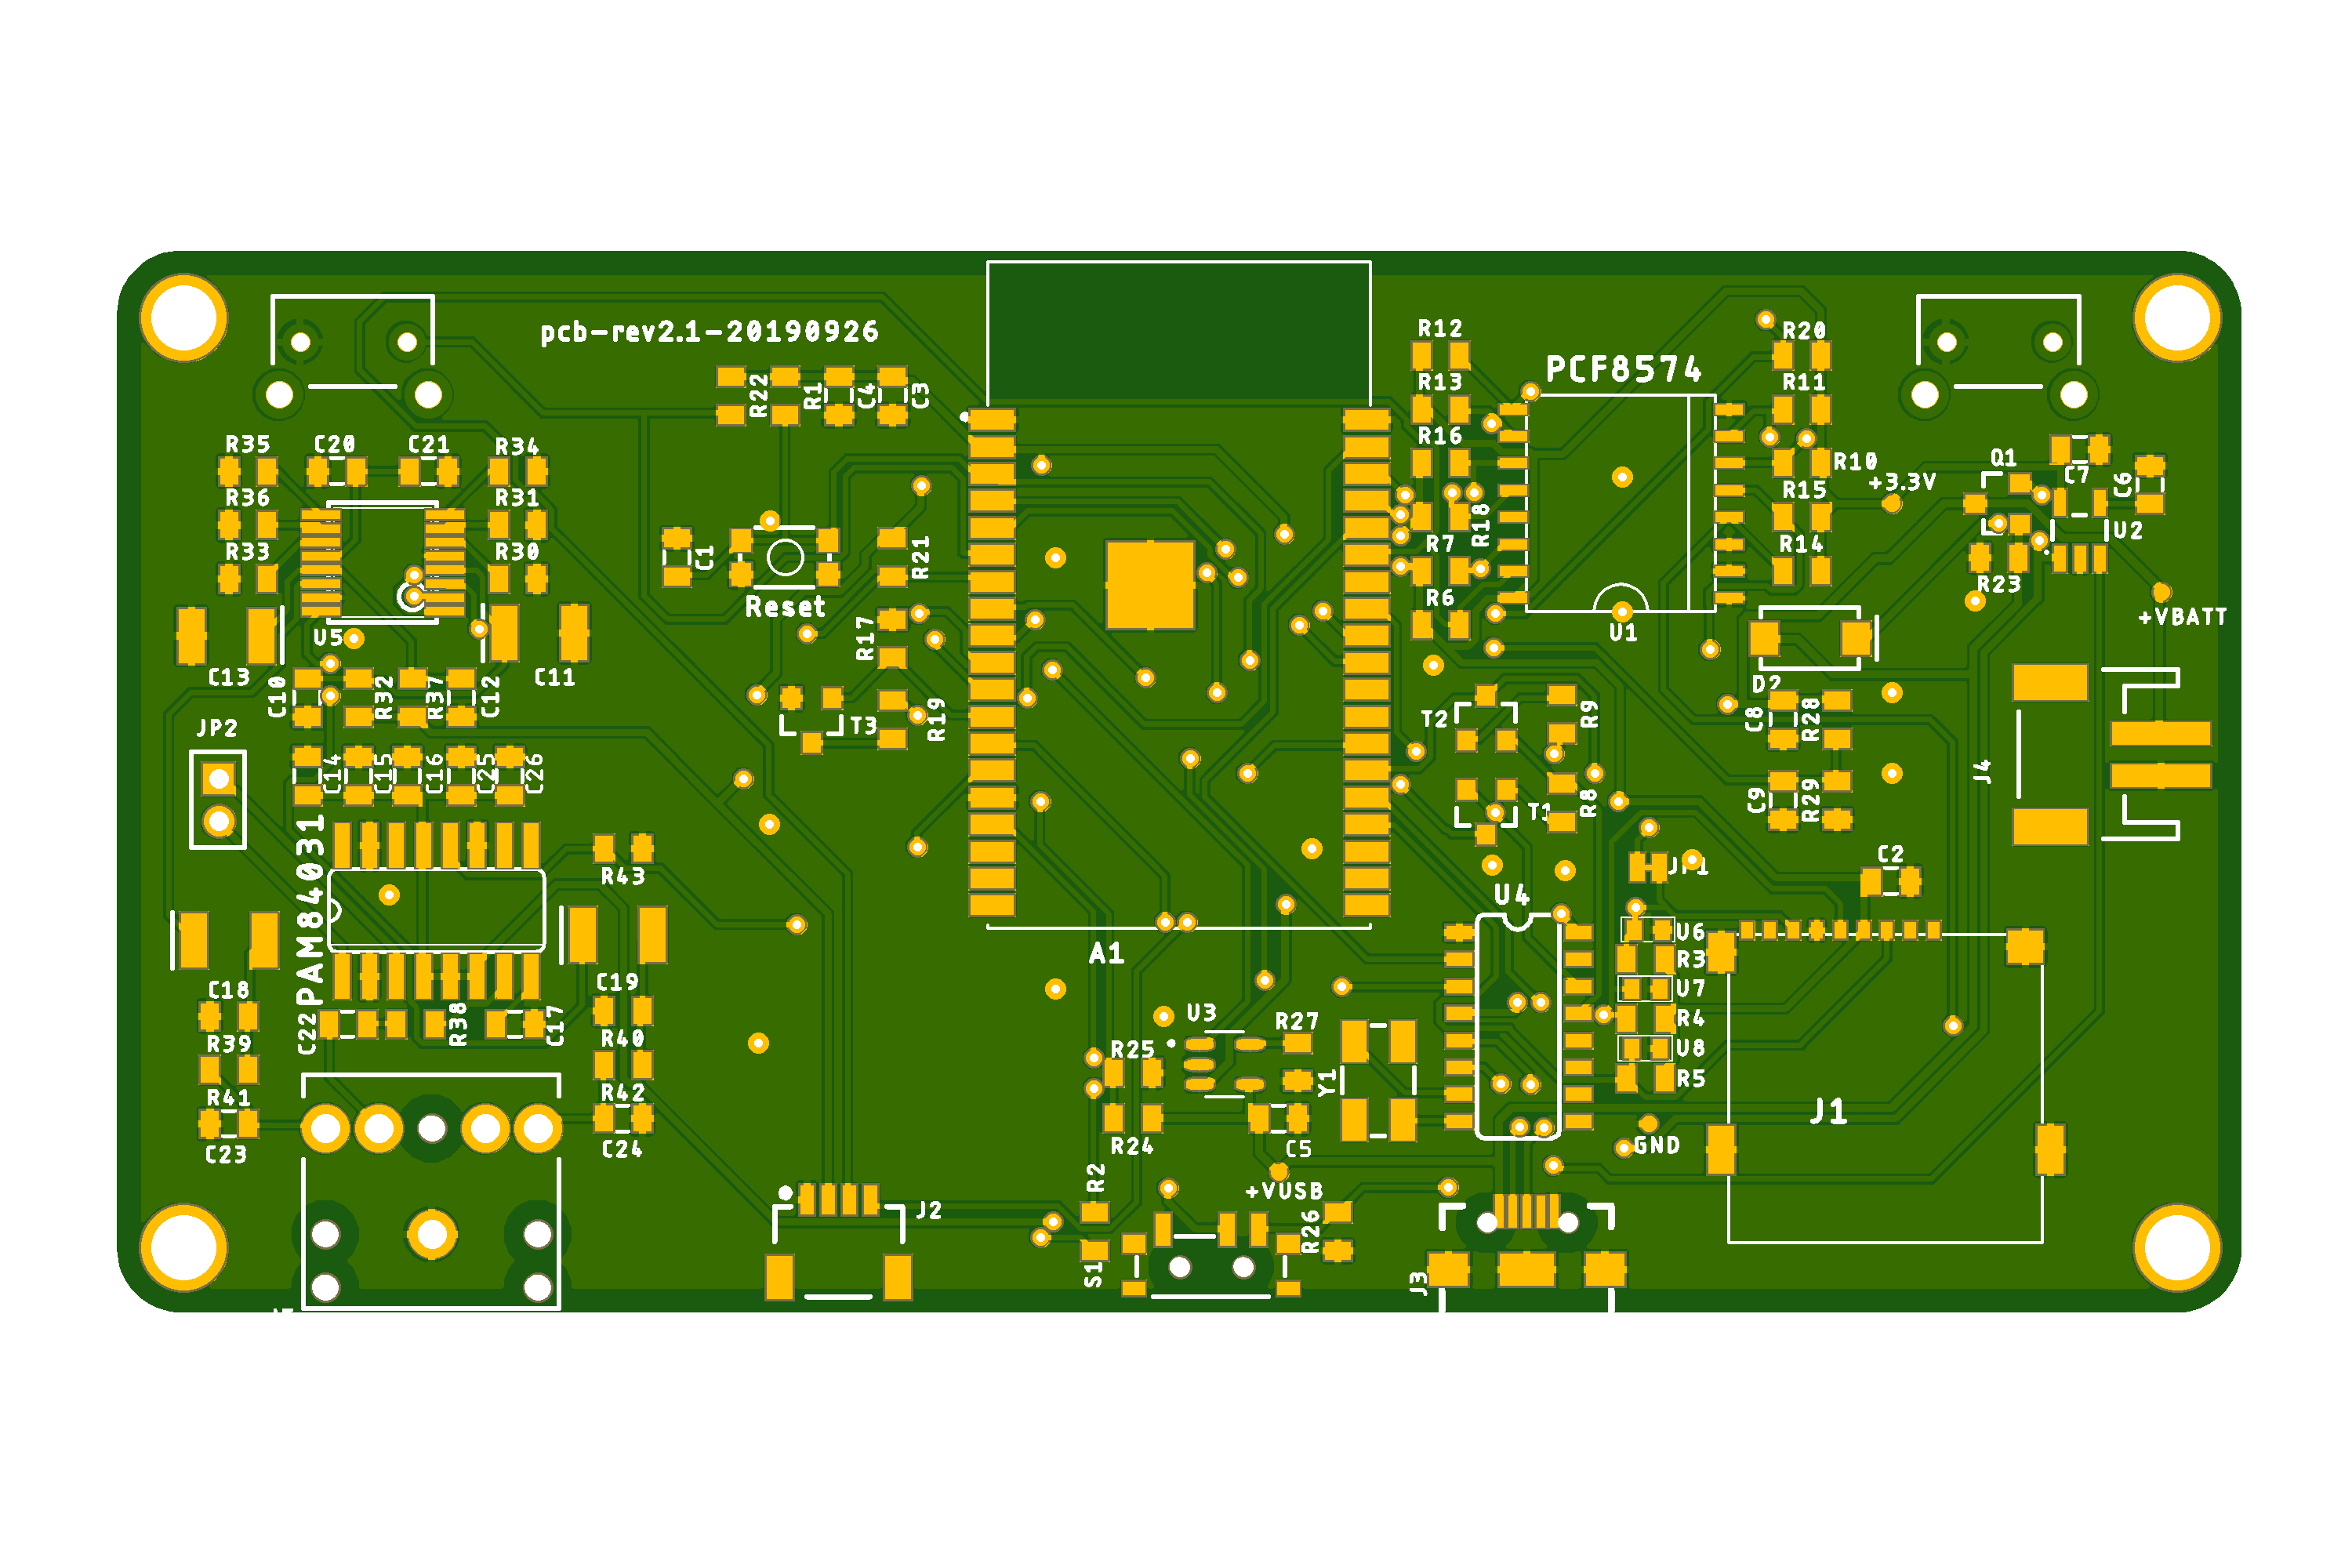
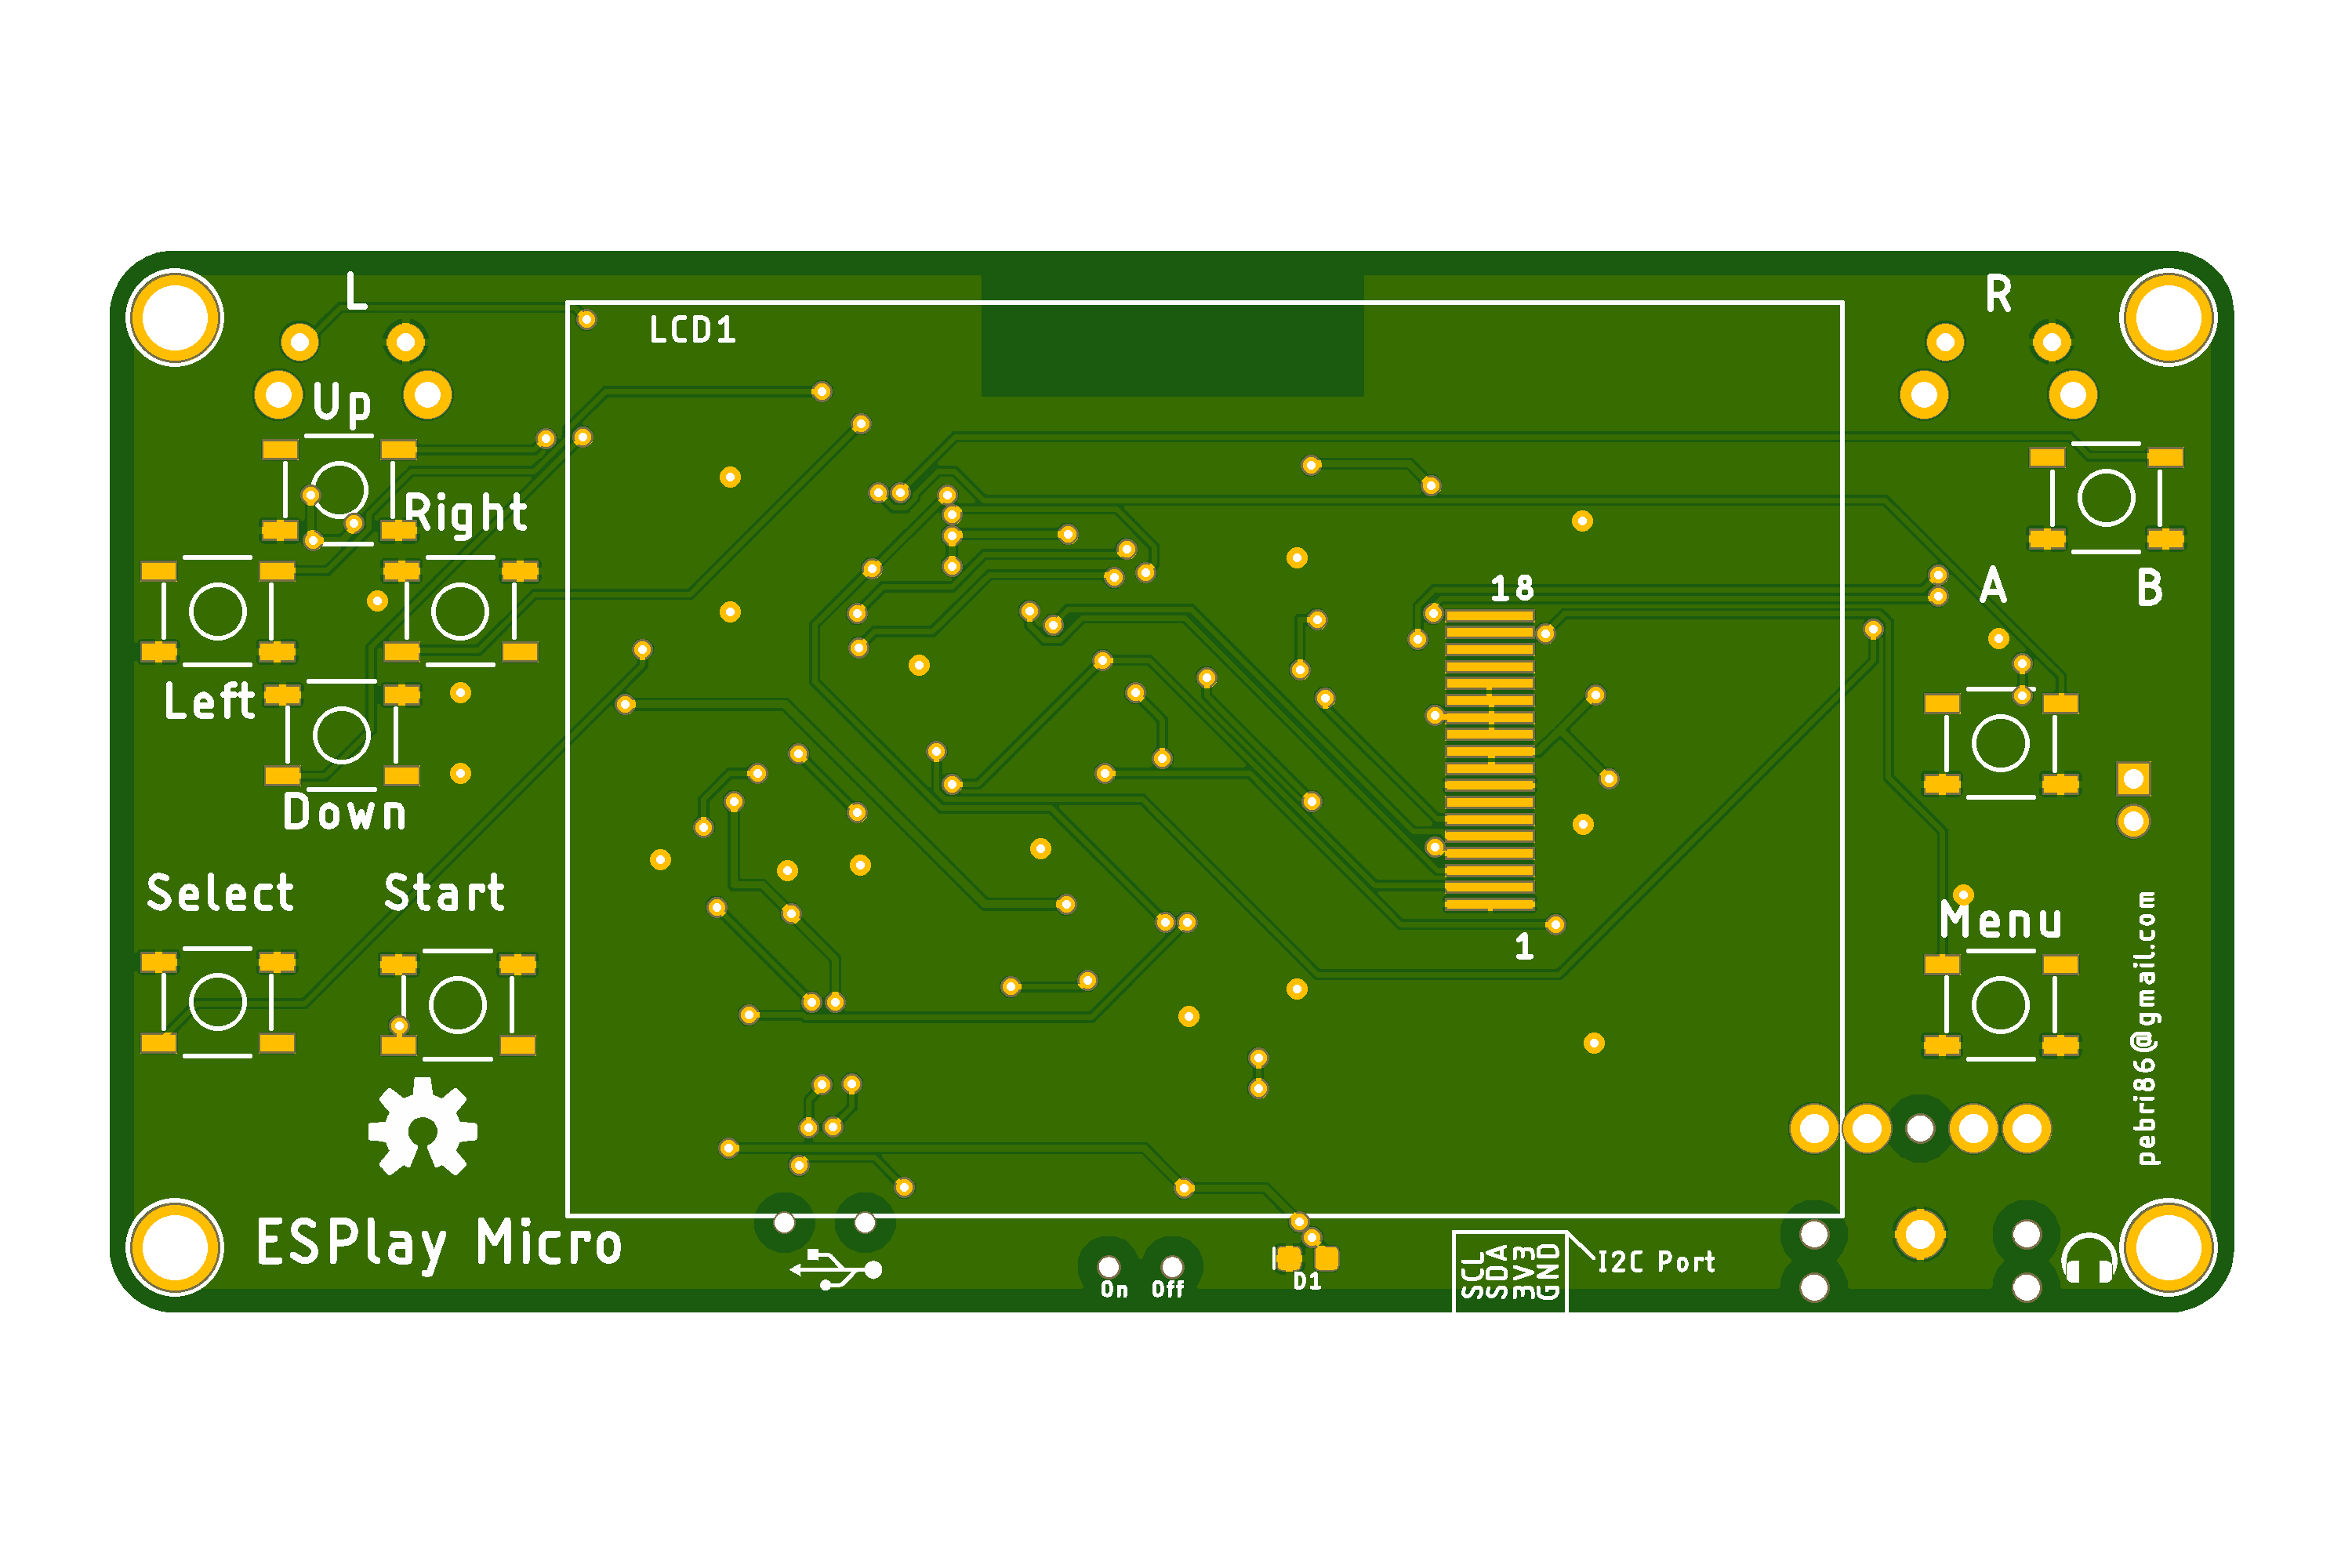
This board is micro version (smaller device but same as powerfull as big brother EsPlay Hardware), an ESP 32 Based portable gaming console. See the project logs at my hackaday page. Also if you want this board without much effort, you can buy it at Makerfabs Online Store they sell the PCB Assembly so you can get the board which ready to play.


- ESP32 WROVER, Dual core processor with Integrated 4MB Flash + 4MB PSRAM
- Integrated WIFI and Bluetooth 4 BLE
- 2,4" ILI9341 TFT Panel
- More button (expanded via PCF8574 I2C GPIO)
- Micro SD slot connected to SDMMC Host in 1 Line Mode for save GPIO pin
- Integrated I2S DAC via UDA1334A
- Integrated USB to Serial for programming and debugging using CH340C/G
- Built-in
TP4056LTC4054 Li-Po charger Touchscreen, yes resitive touchscreen of ili9341 now connected to ESP32 GPIO- I2C port for expandable function
- 3,5mm Headphone jack
- Smaller Size, PCB only 100 x 50 mm.
Flash this board with this bootloader for the ability flashing via sdcard, so you doesn't need computer to switch application firmware, and last but not least the emulator itself for playing the game ESPlay Retro Emulation.
There is also collections of available compiled firmware (.fw) application files on my repo Firmware Collections
- Bugs fix brighness control issue
- Bugs fix autoreset circuit
- Bugs fix audiojack placement
- Remove touchscreen control due to other function that more important
- Audio amplifier shutdown
- Audio amplifier chip change to PAM8304
- Change li-po charger with LTC4054
- Add Charger management sensing (USB plug and Chrge state)
- Add ESD Protection on SDCard
- Add status LED (charging) controlled via ESP32 GPIO
- Add amplifier circuits for internal speaker.
- Add ground for EXP pin ESP32 Wrover module.
- Connect micro usb shield to ground.
- Remove some unnecessary vias.