| title | subtitle | date | tags | bigimg | ||||||||||
|---|---|---|---|---|---|---|---|---|---|---|---|---|---|---|
Syntexmex V0.2 |
UV Texture Synthesis based on syntexmex for blender |
2020-03-20 |
|
|
Syntexmex is an addon for blender which helps generating UV-textures (PBR textures work as well) based on examples.
taking an image such as this one:
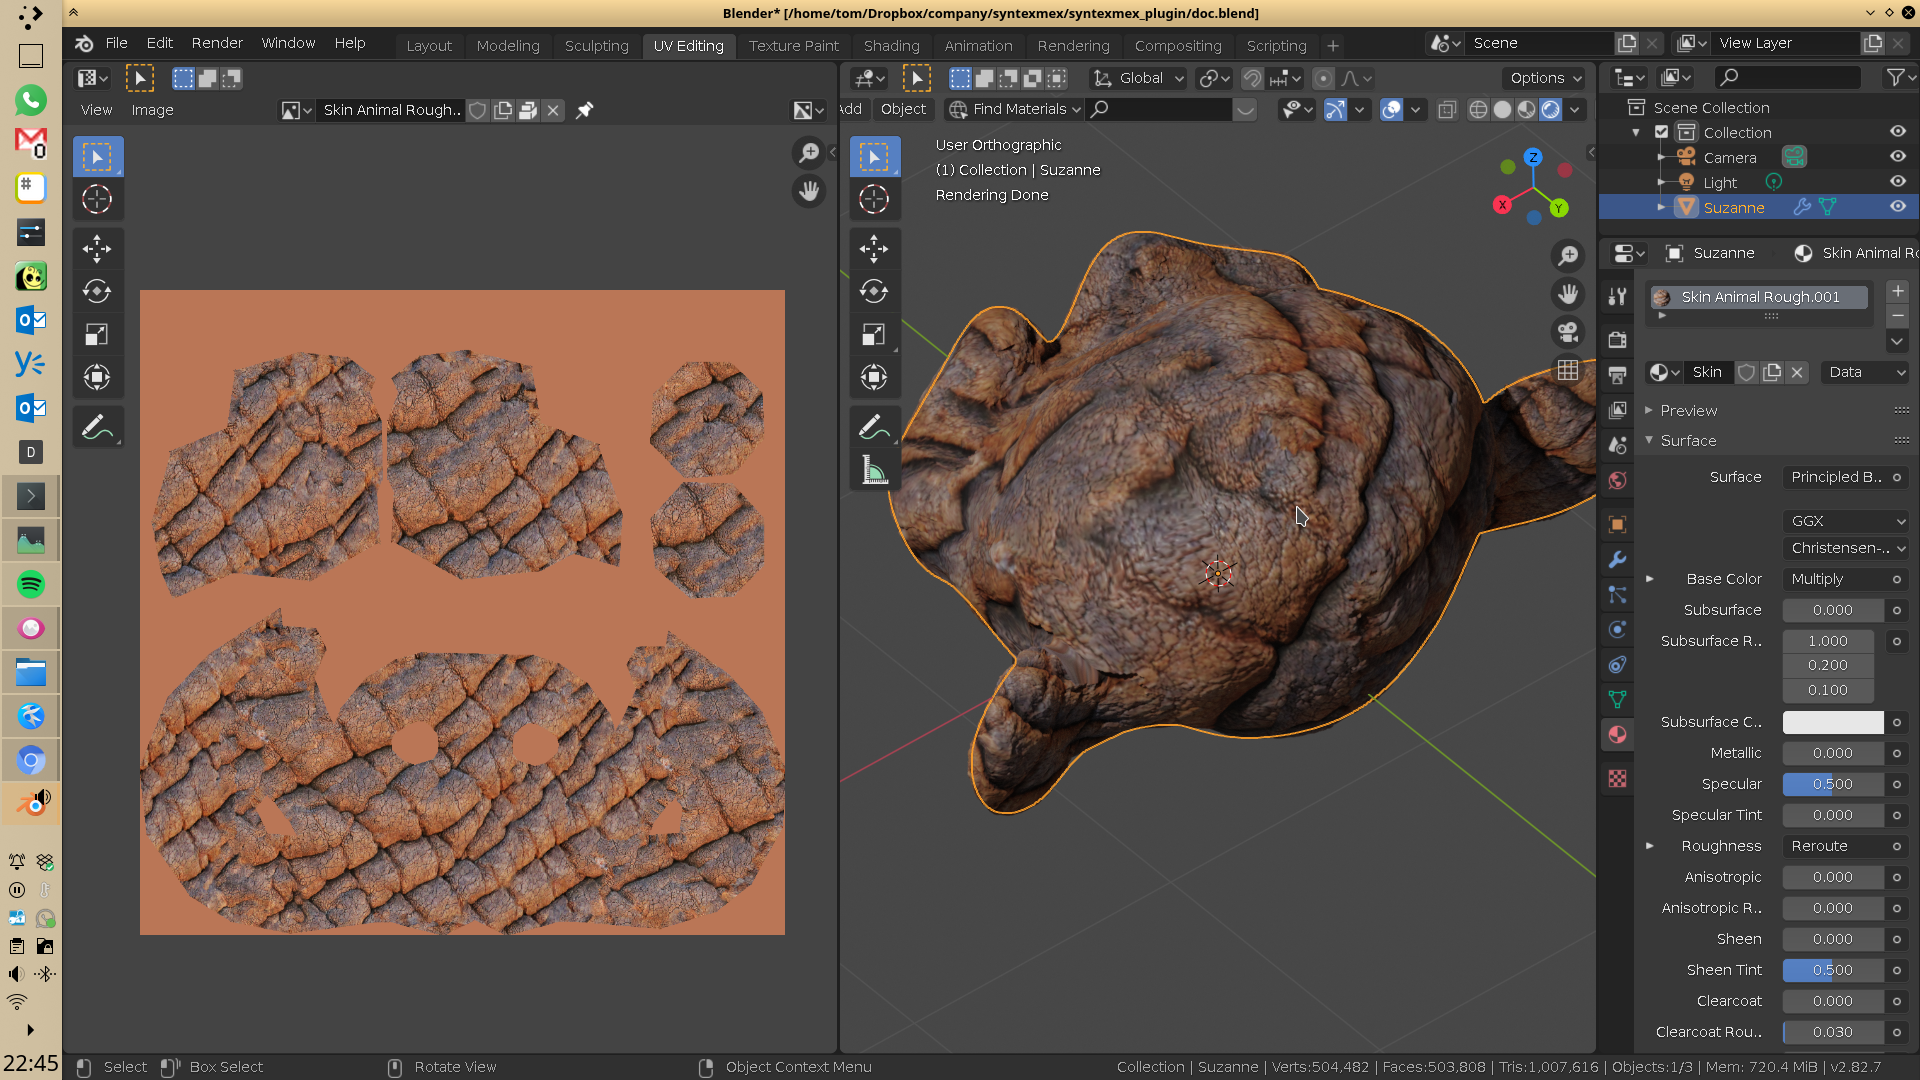
we can synthesize new texture from the example image:
or make a texture seamless, also using an example image (example image can be the texture itself):
Download the zip file from this location:
-> prebuilt-packages (Linux/Windows)
After downloading, open blender and go to:
Edit -> Preferences -> Add-ons -> Install...
Choose the downloaded zip file and press
"Install Add-on from File..."
Afterwards in Preferences, search for the Syntexmex plugin and put a checkmark in the box to enable the addon.nn
building the addon form source is quiet complicated as it involves a lot of 3rd party libraries.
These are:
skimage, shapely, pynndescent, Pillow, decorator, sklearn, scipy, numba, networkx, PIL, llvmlite
after the add-on directory has been copied into the blender addons directory (TODO; where?), these libraries have to be copied into a "lib/" directory inside of the blender plugin.
The Addon can be accessed through the properties sidebar in 3D View (Access with shortcut key: 'N') in a the syntexmex tab
quick explanation:
- the plugin takes a copy of an existing material.
- it generates a new image texture on UV islands based on the selected images in the material.
- it makes that image texture seamless.
- it creates a synthmap which gets used to synthesize all other images in the textures the exact same way.
- it replaces the other images afterwards
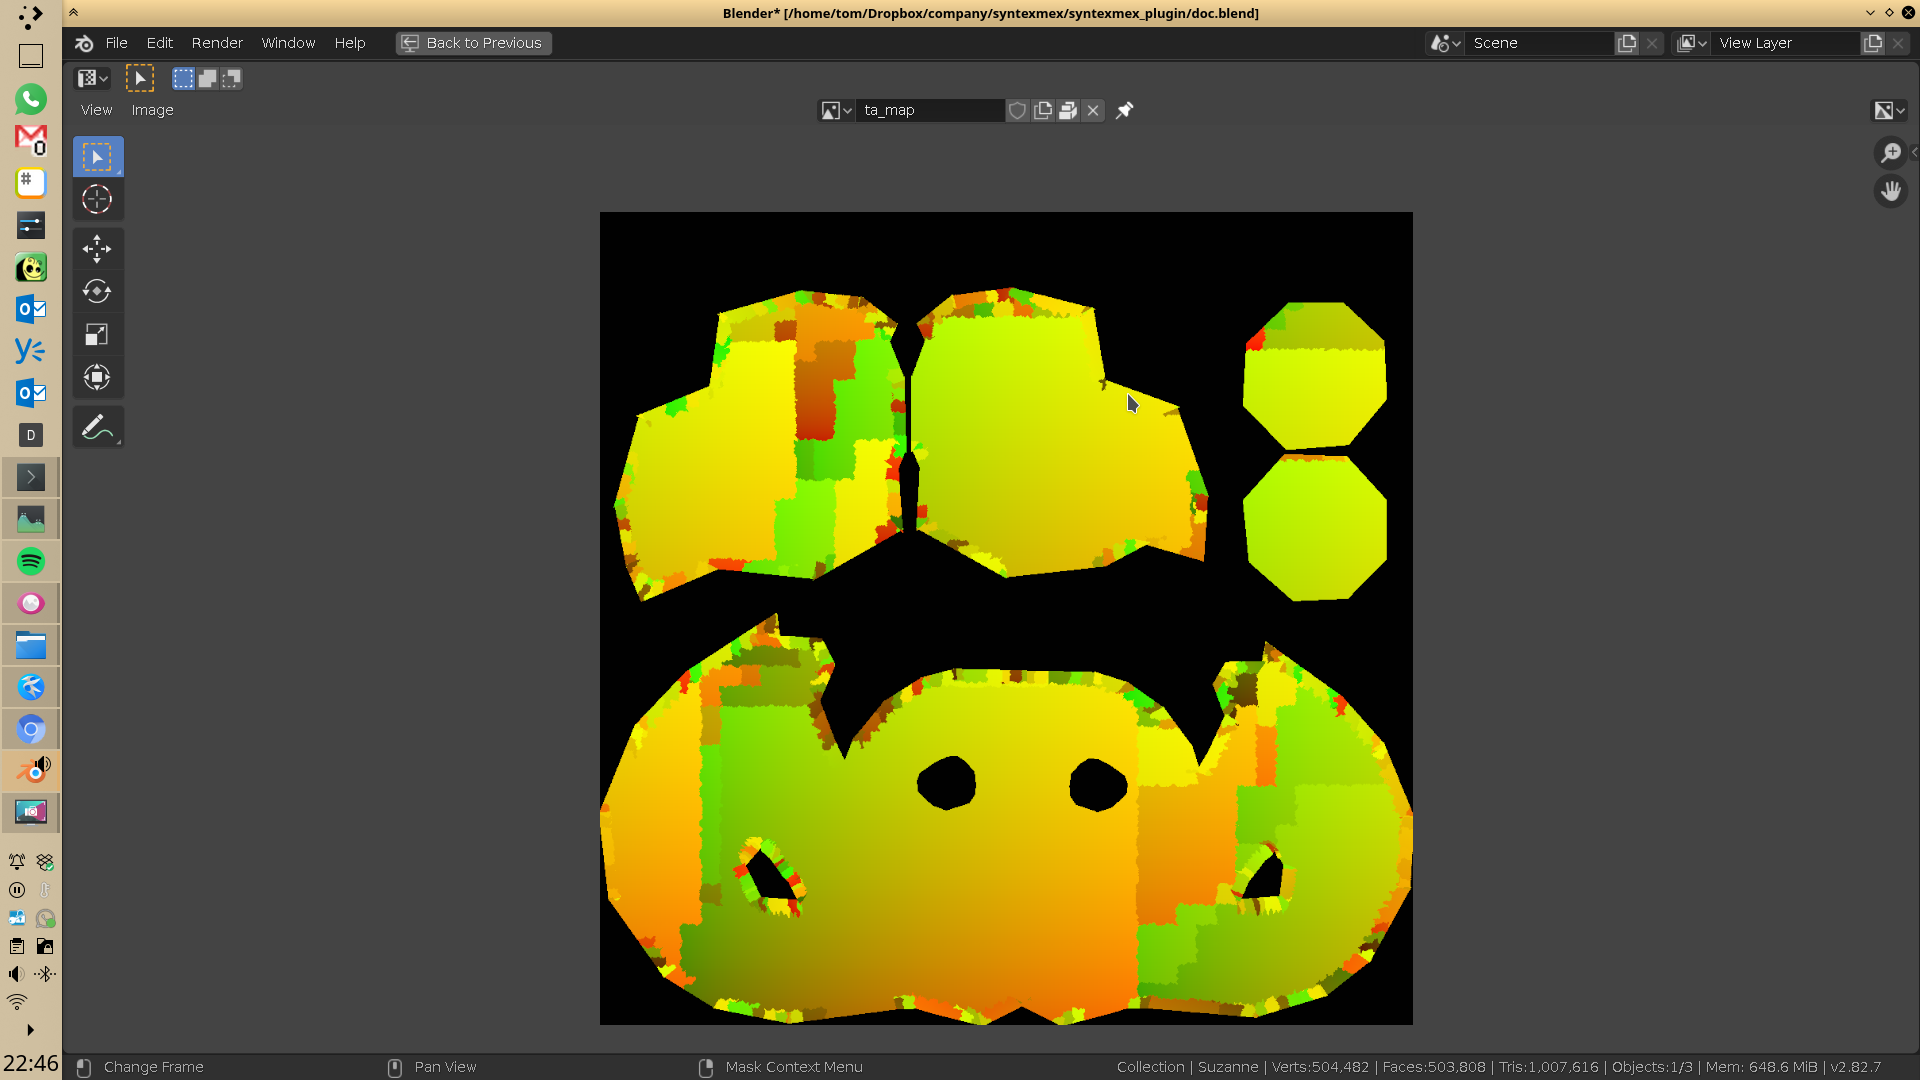
Example of a generated synthmap for Suzanne. You can see the generated patches at the borders of the UV islands. The synthmap also helps for debugging and finding the right parameters for the texture:
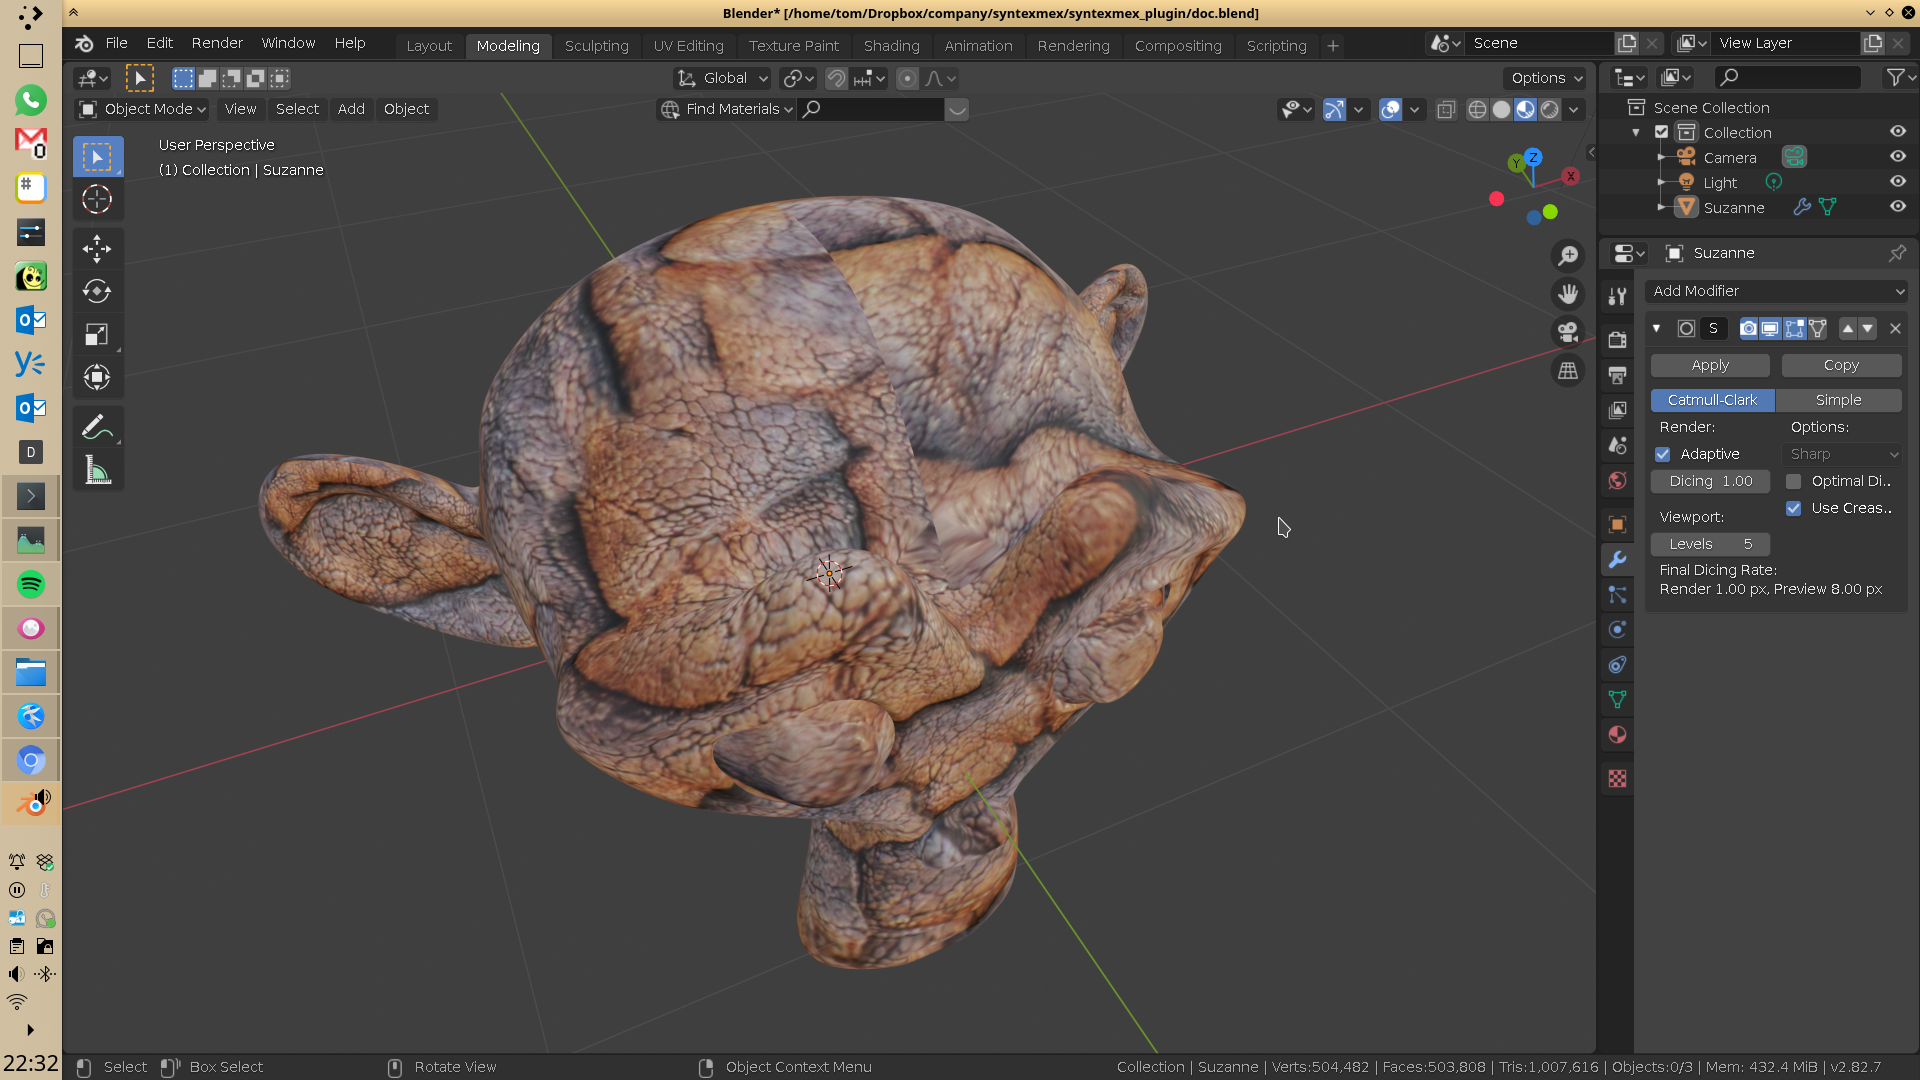
Example of Suzanne before making edges seamless and after:
Synthesize UV example based texture : Synthesize textures for UV islands and make edges between them seamless.
Synthesize textures to UV islands : Only synthesize texture for each UV island without making edges seamless.
Make UV seams seamless : Make edges between UV islands seamless.
source material : Choose the source material which should get used for synthesizing a new material without seems on a given UV map
source texture : choose one of the textures within the material as the basis for the synthesis
ex. scaling : the example texture can be scaled up /down by a factor. Use this if you want to achieve a different scaling of the example texture in the final result.
library size : This controls the quality of the algorithm. It defines the size of the search-index that the algorithm builds. Higher values will need more calculation time and memory. The quality is limited by the amount of available memory on your system. Normally values up to 100000 should not be a problem for most systems (~1-2GB).
patch size ratio : The algorithm stitches together patches from the original example image. The size of the patches in relation to the example image can be controlled with this parameter. Larger sizes tend to improve the quality (although not always) and the coherence of the final result.
synth-res : The resolution of the target texture. The higher this value the "smaller" synthesized features will become and vice versa.
seed value : The algorithm makes use of some random internal parameters this value enables an option to get different versions of a synthesized texture
debugging options : Turn detailed debugging in console on/off.
-
usually its a good idea to first make a test run with a low value for library size to get a quick preview of what it might look like then once you are satisfied with the patch size, example scaling etc... turn library size up to the maximum value possible with the available memory.
-
make Sure to unwrap the UVs of your model. You will want to make sure that there are no overlapping UVs. The same rules apply here as for every other UV-unwrapping process. Good results can be achieved when UVs aren't too warped, and areas of UV faces correspond to the actual face areas. Also there should be a little gap of at least a couple pixels between each UV island to prevent textures from bleeding into other uv faces.
-
make sure when using "subdivision modifier" to put Options on "Sharp", because otherwise seams are going to be visible again due to the smoothing of UV coordinates
-
increase patch size for better adherence to the patterns found in the example image
-
alorithm automatically iterates over the longer of two edges and writes pixels from there into the face of the shorter edge


