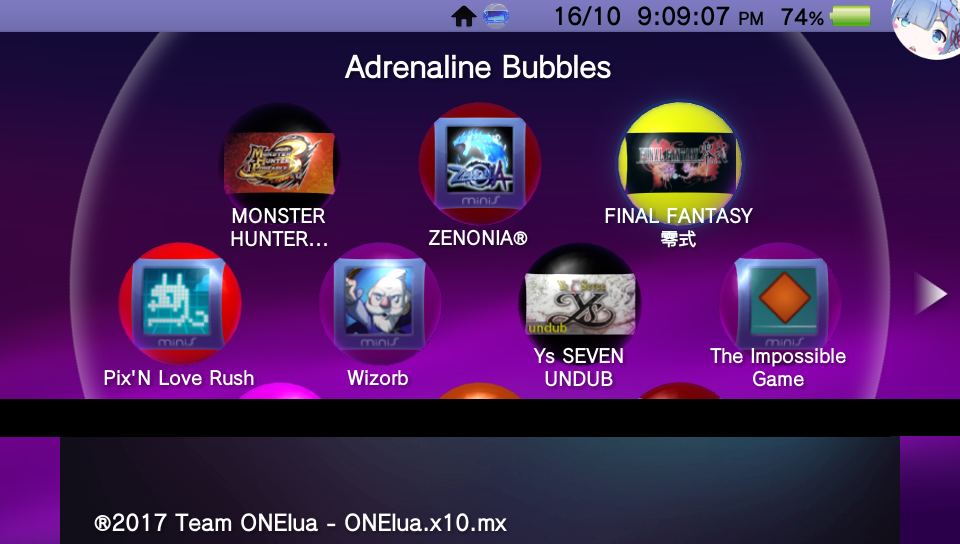
Create and organize your direct adrenaline bubbles.
This useful application allows you to make personalized bubbles with 'icon' and 'title' of your PSP content (HBS/PSX/ISO/CSO) quick and easy, using the 'LMAN' plugin, forgetting completely of the tedious and long manual method.
Adrenaline Bubbles Manager (ABM) purpose is to create the bubbles and necesary links to boot chosen psp iso/cso/pbp files with adrenaline v6.x through Lman's plugin adrbblbooter, all done within the ps vita, but, ABM does not change cpu speed, any issue related with that should be mentioned to Lman or the_flow
-
Install Adrenaline v6.9 Make sure Adrenaline works correctly, to be able to boot Adrenaline opening it just once, it is highly recommended to add the following line below the kernel line in ur0:tai/config.txt.
*KERNEL
ux0:app/PSPEMUCFW/sce_module/adrenaline_kernel.skprx -
After taking care of step 1, then you can start using Adrenaline Bubbles Manager to create bubbles for your PSP/PSX content.
- Fixed bug when changing psp content path (bubble edit).
- Fixed callback getfile.
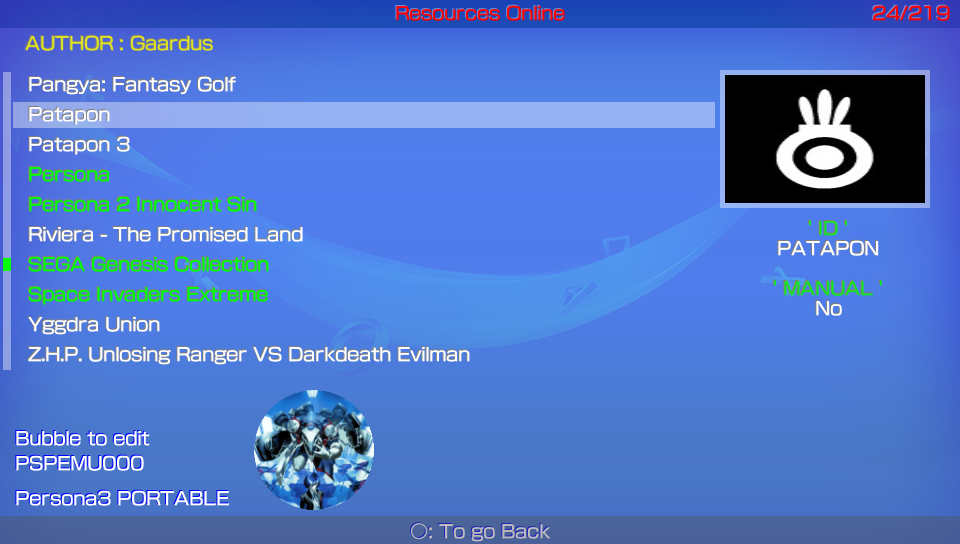
- In the option Online Resources, you can see the list of the Resources availables separated by Authors or Creators. (You can move around the authors with the left/right key).
- Added the option to take the titleID of the PSP/PSX game to create the Shortcut. To apply this change, go to Extra Settings menu (press START in the iso/cso/pbp list), put the option BubbleID in TitleID.
Because a lot of PSP Homebrews have the same TitleID, the shotcuts of homebrew will be created like PSPEMUXXX.
Adrenaline Bubbles Manager does recognize the accept/cancel buttons According to console region.
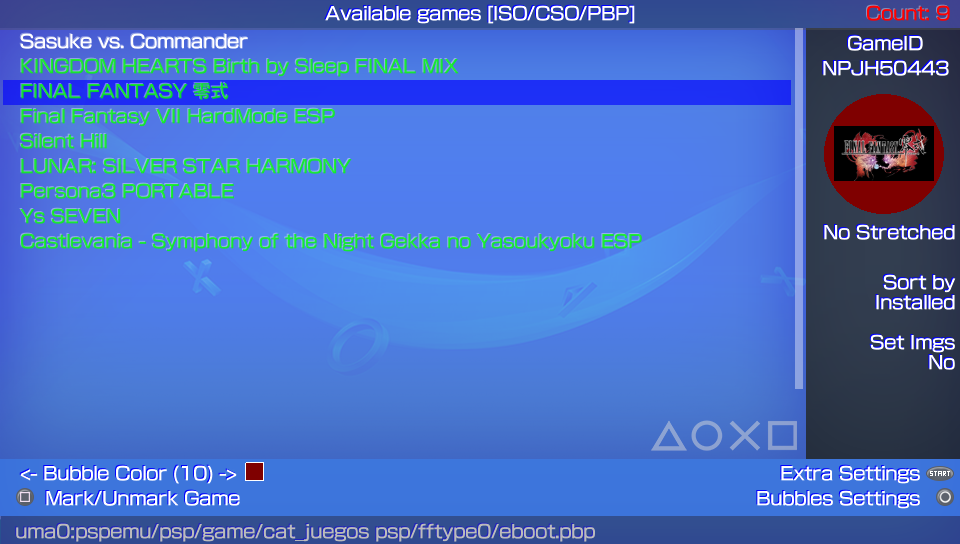
Creating Bubbles
- Triangle: Batch Installation for non installed content.
- L: To switch the way the bubble will look like in Livearea (original icon look/stretched icon look)
- R: Select the SetPack for each bubble.
- SELECT: Sort List: Device, Install, GameId, Category.
- Left/Right: To change the bubble background color for the selected content (when using original size not stretched icons, 17 available colors ).
- Square: Multiple Selection.
- Start: Open Extra Settings menu (set default bubble color, sort list, Adrenaline version check, Adrenaline Bubbles Manager version check).
- X: Create Bubbles.
- O: Configurate/Edit Bubbles.
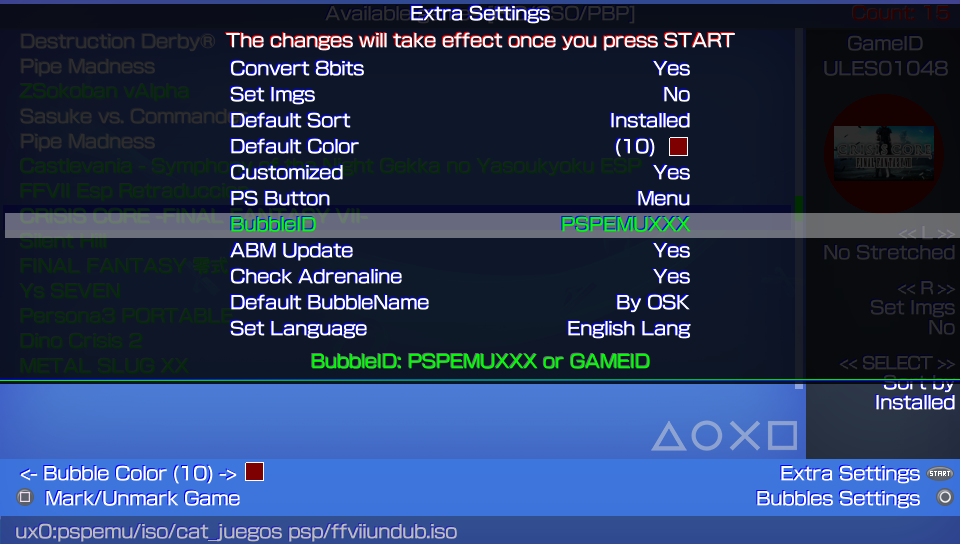
Extra Settings
This option allows you to set some preferences as default for ABM such as:
- Now you can disable the 8bit image conversion when creating or editing ABM bubbles.
You must be sure the images you are using are in compatible format, otherwise the bubble will fail. Enter the submenu to change this settings with start. - Set Imgs: Set1 to Set5, or Set PSP/PSX.
- Set sort list of your iso/cso/pbp.
- Select the default color for your bubbles.
- Customized: To let each bubble have its own settings keep it in YES.
- BubbleID: PSPEMUXXX or GAMEID.
- Enable/Disable ABM updates.
- Adrenaline version check.
This option disables/enables ABM to check the Adrenaline version you have installed in your ps vita. - Default BubbleName: By Title, By File Name or Input the desired Name.
If your Adrenaline.vpk gets updated online to a higher version used by ABM, then you'll have to disable this option to avoid reinstalling the adrbblbooter plugins to the PSPEMUCFW folder everytime you open ABM.
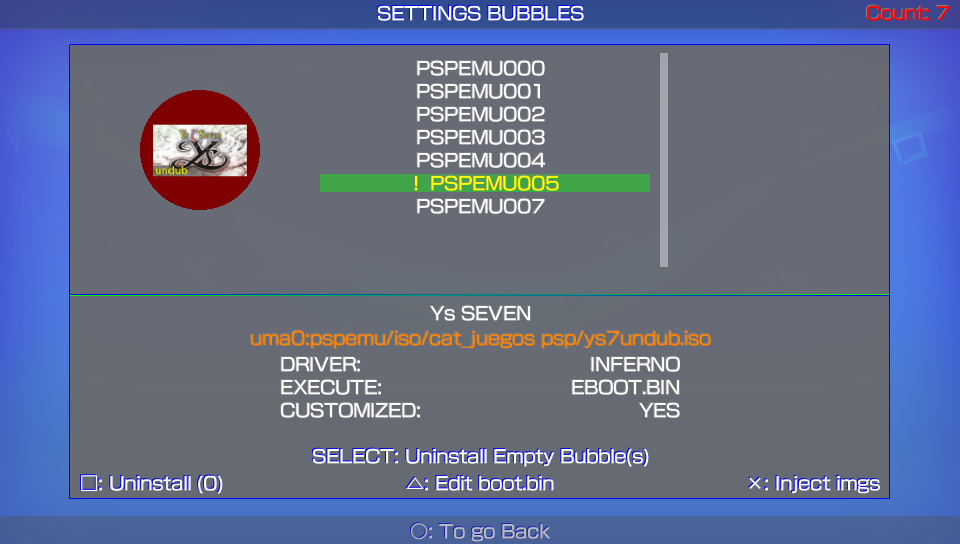
Editing Bubbles
Triangle: Allows to edit the configuration file boot.inf
- Change driver: "INFERNO", "MARCH33", "NP9660"
- Changes the .bin booting mode: "EBOOT.BIN", "BOOT.BIN", "EBOOT.OLD"
- "Suspend game" Stop the game running on the psp when PS button is pressed.
- Disable/Enable plugins: "ENABLE", "DISABLE"
- "NonpDRM Engine" Load content using Quickrazor's plugin.
- "High Memory" Force high memory layout. (Disabled for GTA Native Resolution Patch)
- "Change game cpu clock speed" Improves loading speed and game response depending of chosen speed.
- "English or Custom:"Allows to load selected language at start: English or Custom", loads chosen language if set as default (ABM only not bubbles).
Uninstall Bubbles
- Press SELECT (single) or START (all) to select bubbles you wish to uninstall.
- Square: To uninstall the selected bubbles.
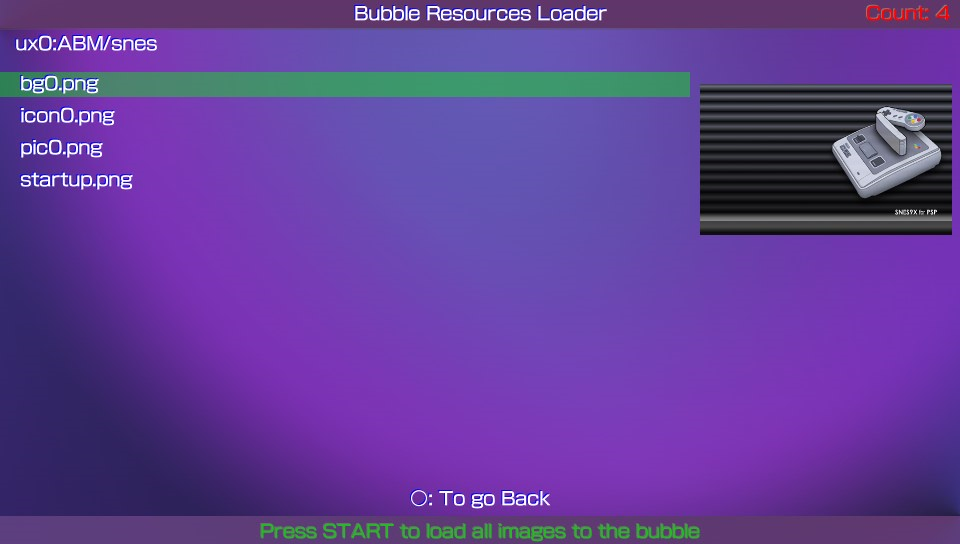
This option allows you to Insert your desired images to the selected bubble, this will improve the looks of your bubbles in Livearea.
To use this feature you have to follow the instructions below:
- Download or create the images to insert, those images to use have to be renamed and resized to:
- icon0.png 128x128
- startup.png 280x158 (max)
- pic0.png 960x544
- bg0.png 840x500
- boot.png 480x272
- template.xml
- Manual images inside (001.png, 002.png 960x544)
- Create a new folder, rename to anything you want, recommended to use your game name, inside this folder place the images created in step 1.
- Now is possible inject the Manual folder with your manual's images inside (001.png, 002.png 960x544). The folder of the Manual must be place in the following path ux0:ABM/(Gameid)/
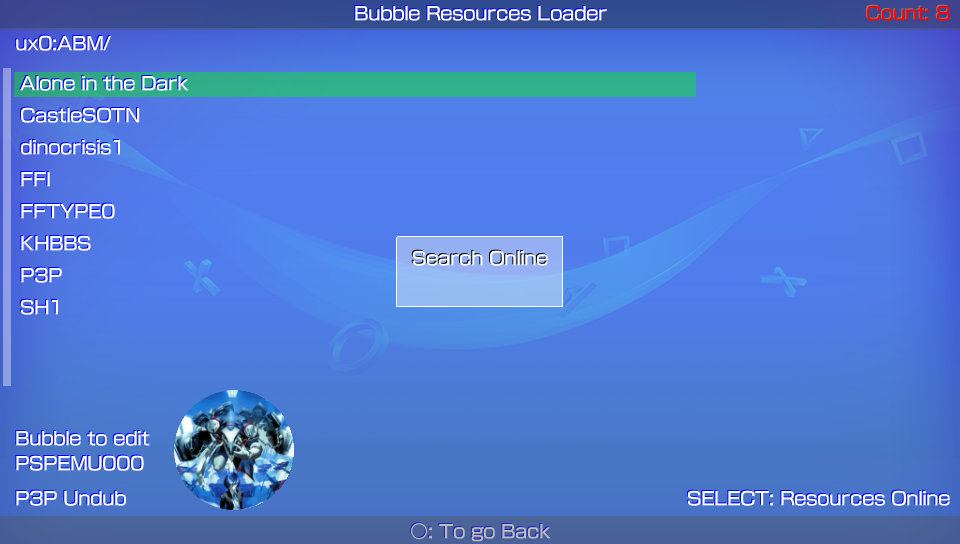
- Copy/paste your newly created folder with the images inside to the path ux0:ABM/
Make sure the images are renamed as mentioned above and to be in png format, also make sure the images are resized to corresponding sizes mentioned avobe (if your images sizes are close to specs they will work too).
You can add your own template.xml file. (Make sure the images names are the same to images linked in the template.xml).
To insert new images to any selected bubble, when you are in the Edit Bubble menu:
- X: To open images folder list.
In images folder list:
- X: To choose the folder where you have the images to insert (preview of the images will be shown).
- O: To go back.
After choosing a folder, when you can see the images previews:
-- O: To go back.
- START: Insert the previewed images to chosen bubble.
Press SELECT in the Inyector of Images option to install incredibles Online Resources created by the community for all of us.
- eCFW Adrenaline By TheFloW.
- Adrenaline Bubble Booter By LMAN 'leecherman'
- startup.png By Freakler.
- Testers @Falaschi, @baltazarregala4.
- Translator @Z3R0N3__.
- Some graphics By WZ-JK.
In case you want to support the work of the team on the vita, you can always donate for some coffee. Any amount is highly appreciated:
