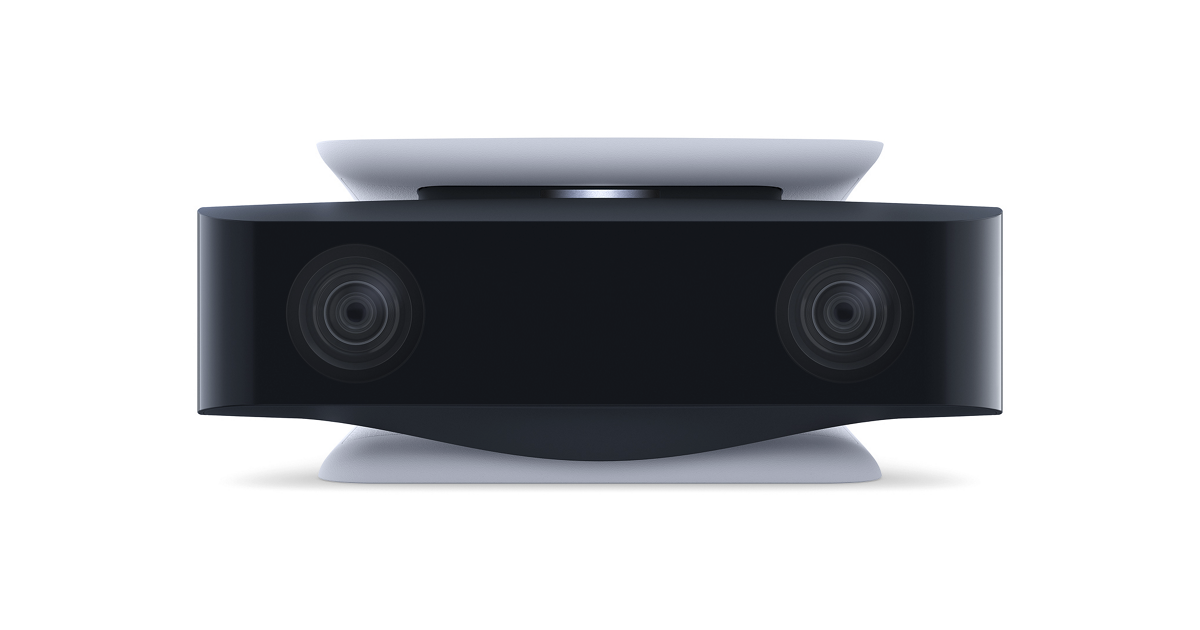
This tool is used to load firmware onto a PS5 camera: https://www.playstation.com/en-us/accessories/hd-camera/
The main reason why you'd want to load custom firmware onto the camera is to be able to use it as a UVC device.
This is a Linux port of OrbisEyeCam for Windows. Kudos to @psxdev for the initial effort of reverse-engineering it.
To use this as a webcam, we'll load a custom firmware onto the device. Download firmware.bin from here: https://github.com/Hackinside/PS5_camera_files/blob/main/firmware.bin
(Kudos to @Hackinside for the custom firmware)
Connect your PS5 camera to your PC via USB.
Make sure you see the following in the dmesg log:
 usb 2-4.4.4.4: new SuperSpeed Gen 1 USB device number 7 using xhci_hcd
 usb 2-4.4.4.4: New USB device found, idVendor=05a9, idProduct=0580, bcdDevice= 1.00
 usb 2-4.4.4.4: New USB device strings: Mfr=1, Product=2, SerialNumber=0
 usb 2-4.4.4.4: Product: USB Boot
 usb 2-4.4.4.4: Manufacturer: OmniVision Technologies, Inc.
Keep the dmesg window open, we'll need it for later.
libusb needs permissions to be able to write to USB devices.
-
Make sure your user is part of the
plugdevgroup. Easiest way to do this is to check your/etc/groupfile. -
Copy the udev rules (
100-playstation-camera.rules) to/etc/udev/rules.d -
Reload the udev rules by running:
$ sudo udevadm control --reload ; sudo udevadm trigger
Build and run this project using CMake.
$ cmake CMakeLists.txt
$ make
$ ./ps5_camera_firmware_loader <firmware-file-path>Go back to the dmesg window from earlier. You should see the following line:
uvcvideo: Found UVC 1.00 device USB Camera-OV580 (05a9:058c)
Open your favorite webcam program and now you're all set. Note that you must reinstall the firmware every time the device power cycles.
Here's a test image:
If you're using the firmware that I linked to above, then these are the formats it supports:
ioctl: VIDIOC_ENUM_FMT
	Type: Video Capture

	[0]: 'YUYV' (YUYV 4:2:2)
		Size: Discrete 896x256
			Interval: Discrete 0.008s (120.000 fps)
		Size: Discrete 1920x1080
			Interval: Discrete 0.033s (30.000 fps)
			Interval: Discrete 0.067s (15.000 fps)
			Interval: Discrete 0.125s (8.000 fps)
		Size: Discrete 960x520
			Interval: Discrete 0.017s (60.000 fps)
		Size: Discrete 448x256
			Interval: Discrete 0.008s (120.000 fps)
		Size: Discrete 1280x800
			Interval: Discrete 0.017s (60.000 fps)
			Interval: Discrete 0.033s (30.000 fps)
			Interval: Discrete 0.067s (15.000 fps)
			Interval: Discrete 0.125s (8.000 fps)
		Size: Discrete 640x376
			Interval: Discrete 0.008s (120.000 fps)
		Size: Discrete 320x184
			Interval: Discrete 0.004s (240.004 fps)
		Size: Discrete 5148x1088
			Interval: Discrete 0.033s (30.000 fps)
			Interval: Discrete 0.067s (15.000 fps)
			Interval: Discrete 0.125s (8.000 fps)
		Size: Discrete 3840x1080
			Interval: Discrete 0.033s (30.000 fps)
			Interval: Discrete 0.067s (15.000 fps)
			Interval: Discrete 0.125s (8.000 fps)
		Size: Discrete 1920x520
			Interval: Discrete 0.017s (60.000 fps)
		Size: Discrete 2560x800
			Interval: Discrete 0.017s (60.000 fps)
			Interval: Discrete 0.033s (30.000 fps)
			Interval: Discrete 0.067s (15.000 fps)
			Interval: Discrete 0.125s (8.000 fps)
		Size: Discrete 1280x376
			Interval: Discrete 0.008s (120.000 fps)
		Size: Discrete 640x184
			Interval: Discrete 0.004s (240.004 fps)
Try turning down the frame rate. I've noticed that sometimes the auto-exposure control doesn't seem to work.

