Google Data Studio is an online tool for converting raw data into customizable informative reports and dashboards
- A Google Data Studio connector which can be used to connect to any excel file and create reports from it.
- The connector is built using Google Apps Script and Nodejs.
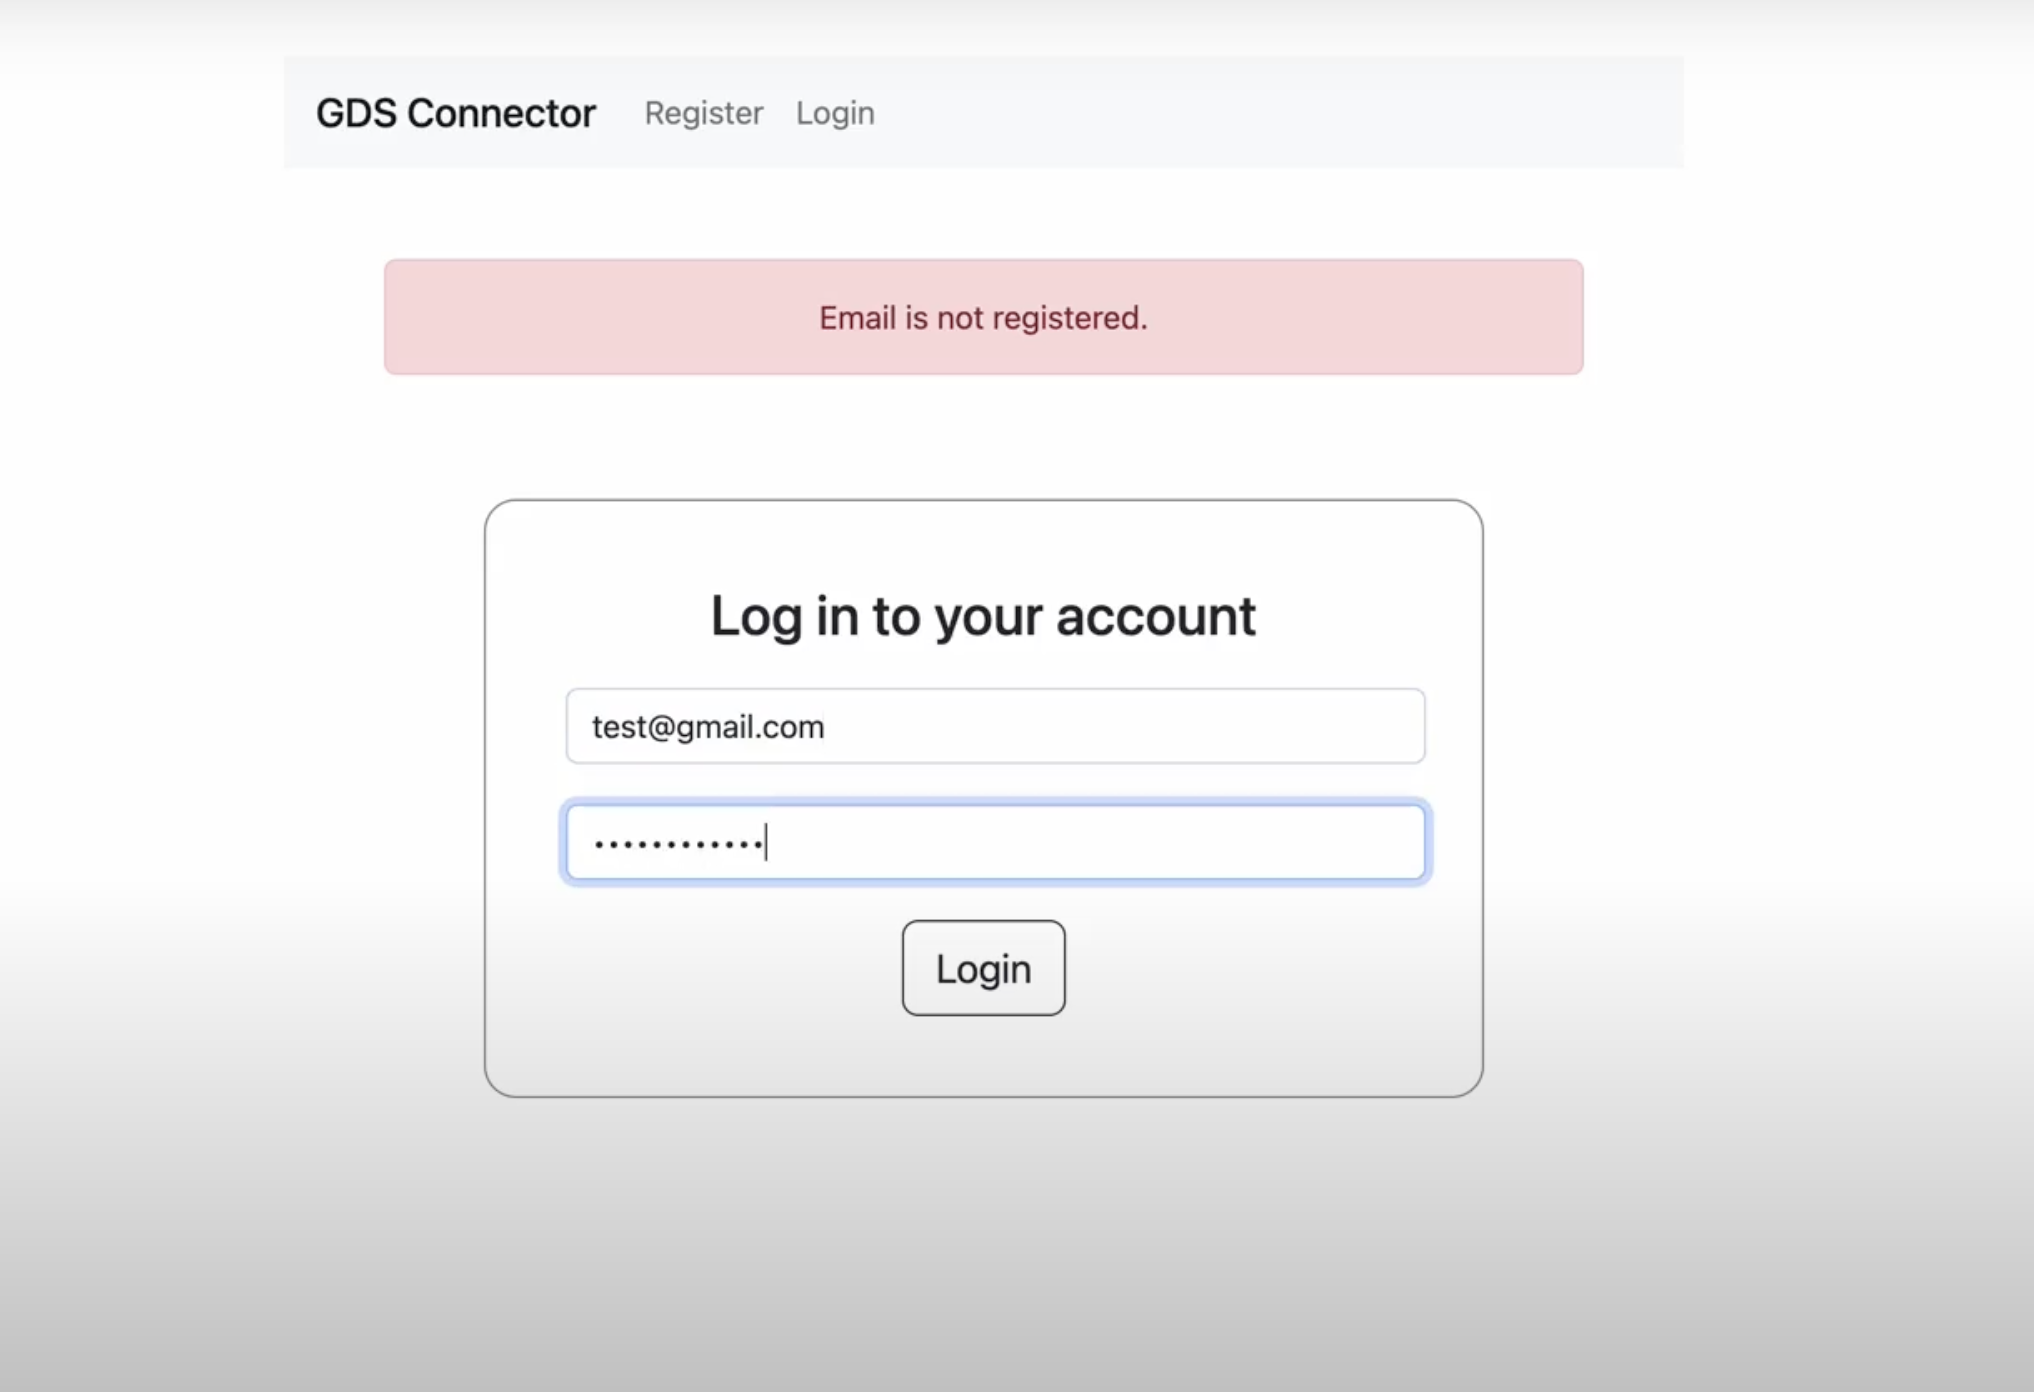
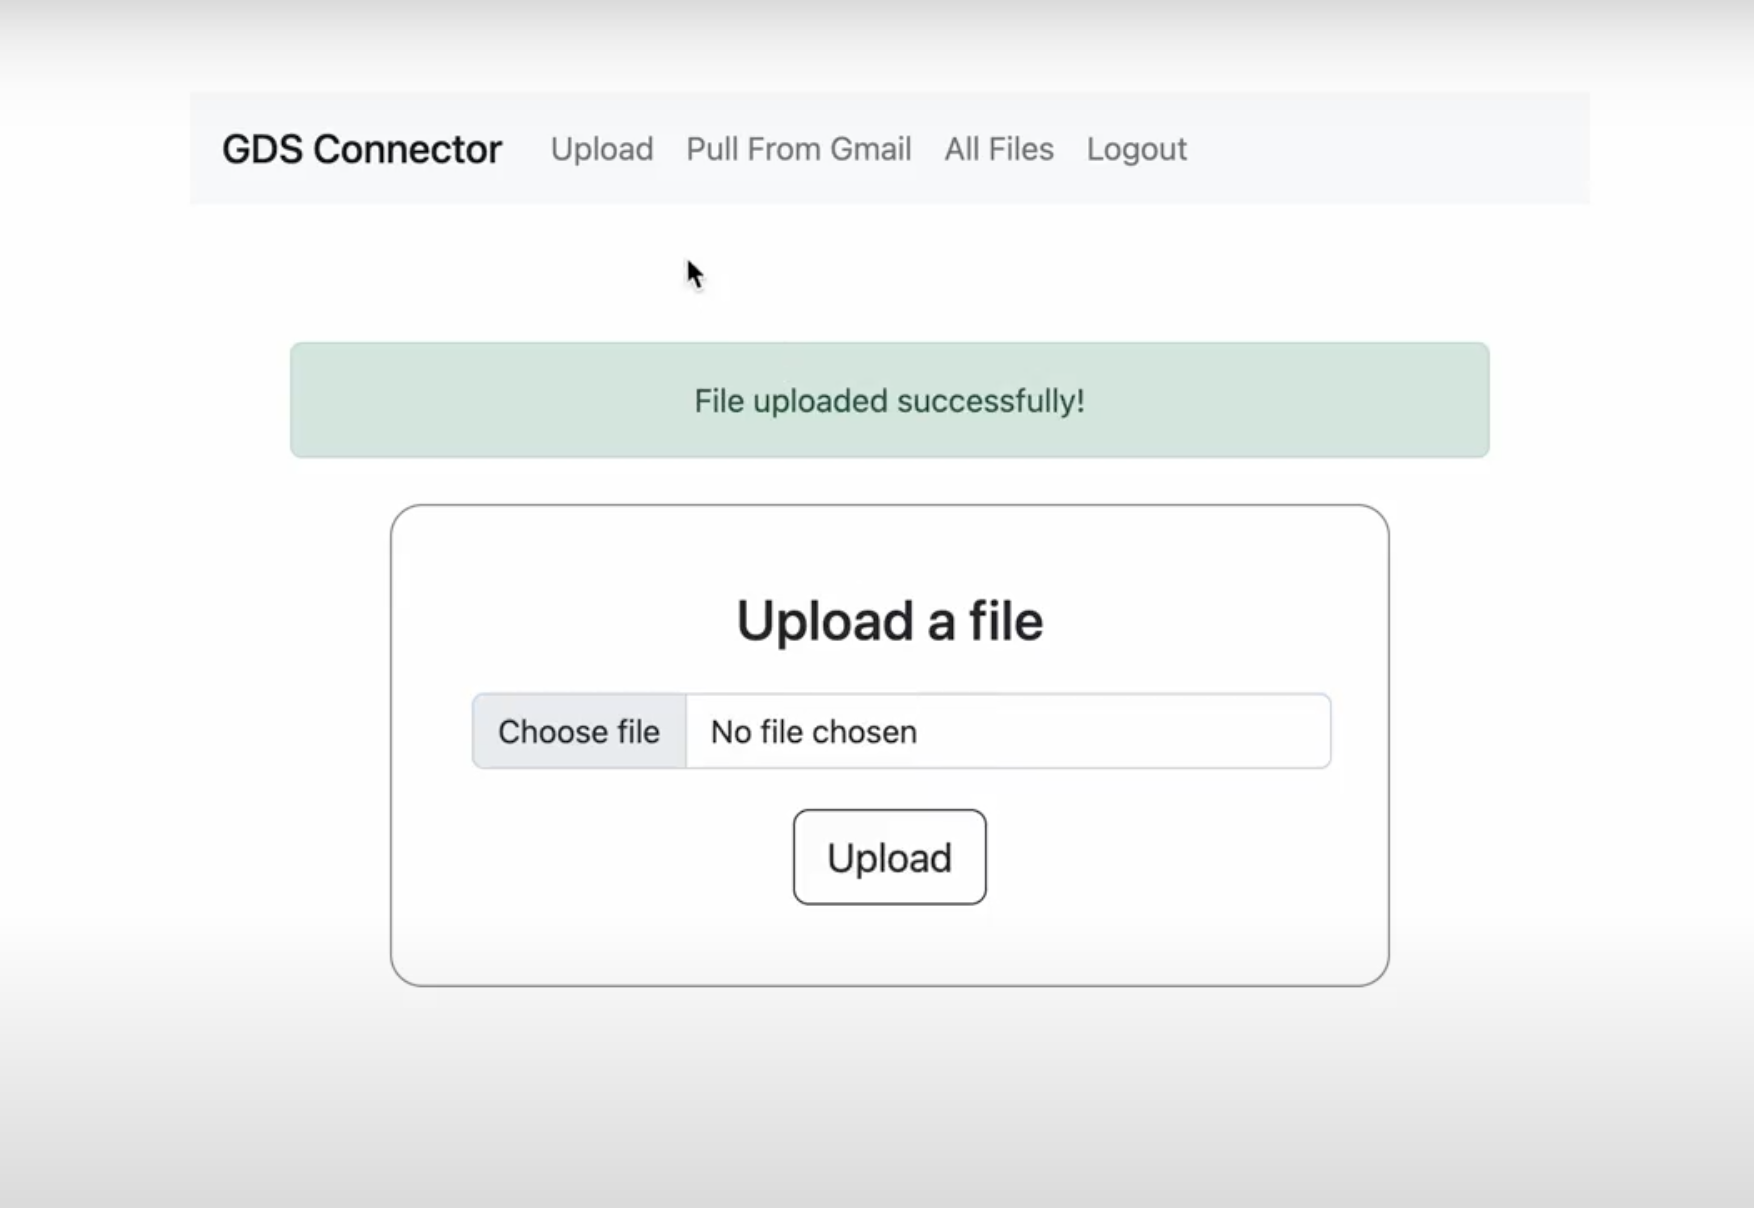
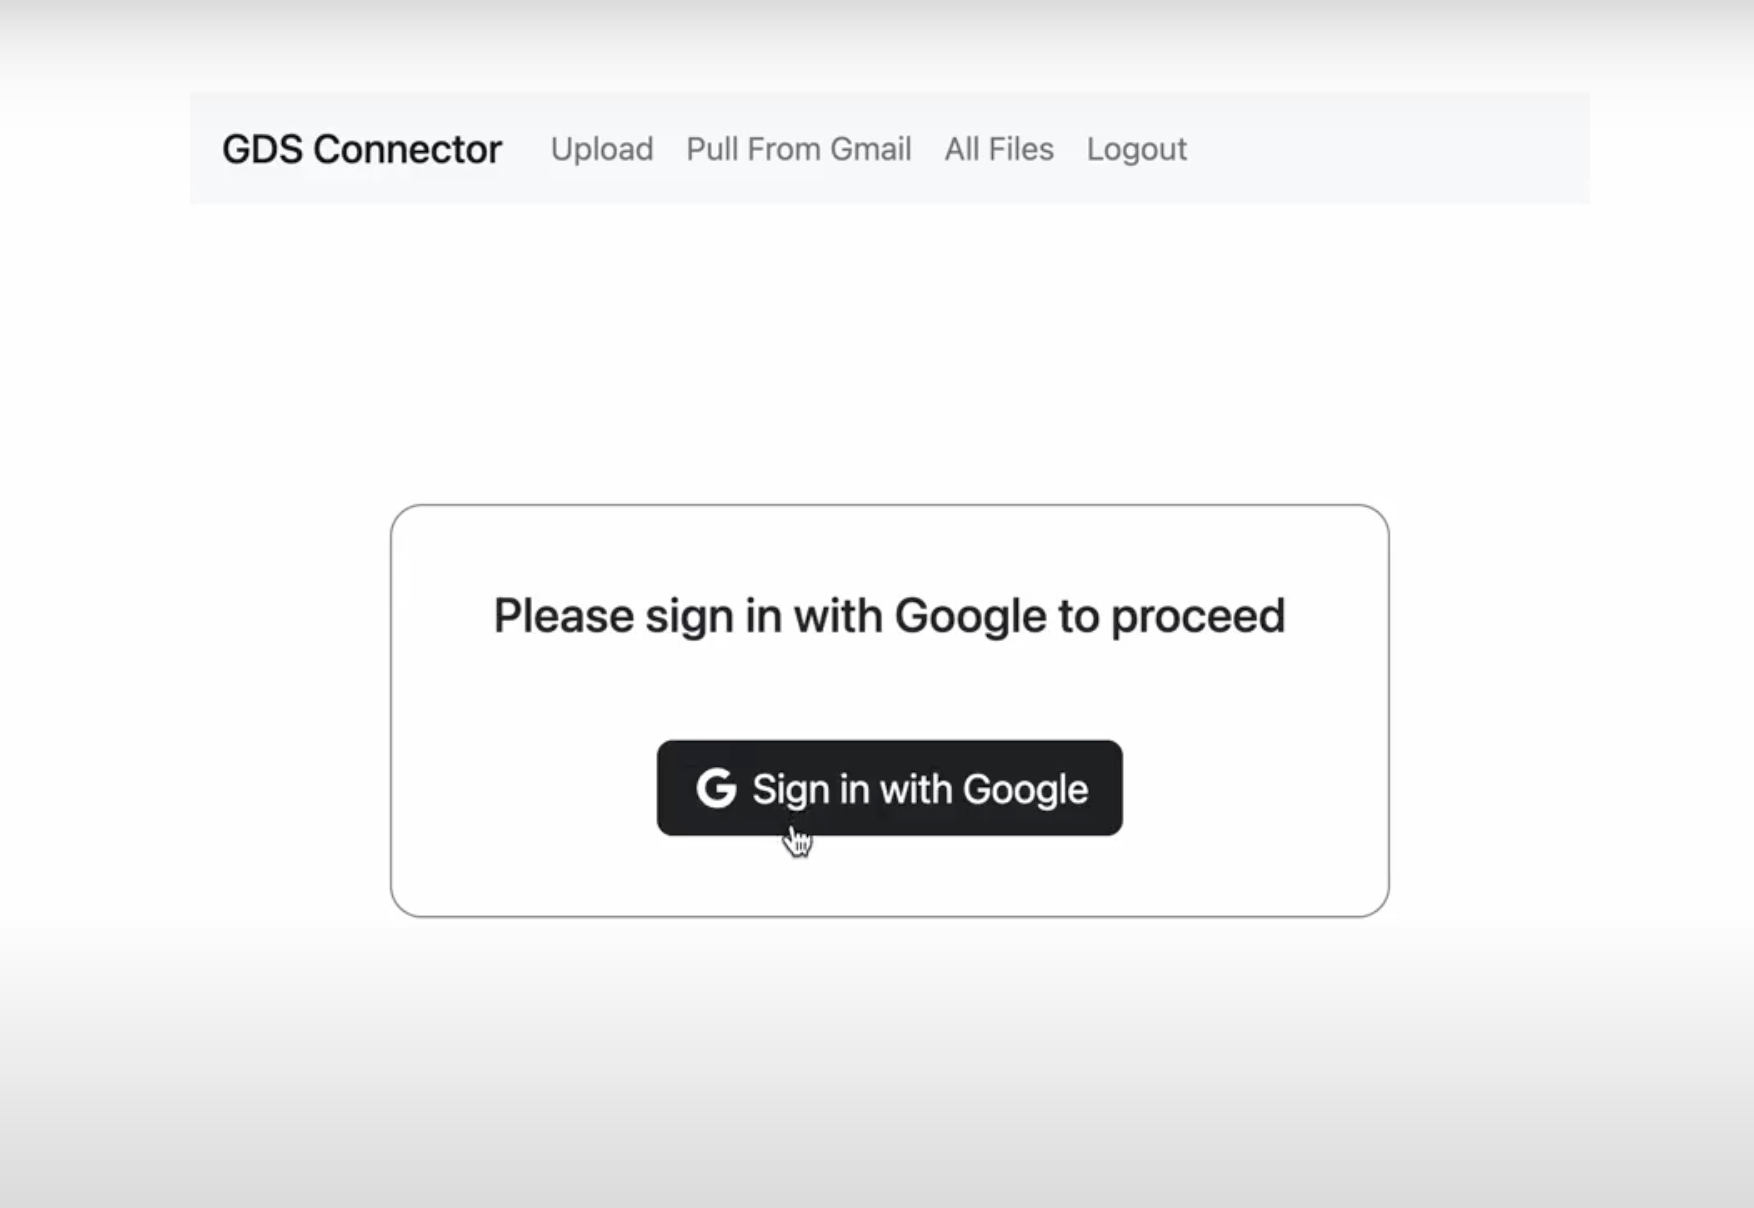
- The user can register/login using email and password and upload a file from the computer or can login using Google OAuth and get all the files from his/her Gmail account based on a search query.
- All the uploaded files will be stored in a MongoDB database and can be used to create reports in Google Data Studio.
- Git clone repo
- Run
npm ito install all the dependencies - Create a
filesfolder in the root of the repo. All the uploaded files will be stored here. - Create a cluster in mongodb and copy paste the url inside the
.envfile - Also, add a secret key for your session in the same file
- Go to Google Cloud Console and create a new project
- Enabling Google API
- In sidemenu options, select
APIs and Services->Library-> Search forGmail APIand enable it
- In sidemenu options, select
- Setting up the OAuth Screen
- Inside
APIs and Services->OAuth Consent Screen-> SelectUser Type(SelectExternalfor testing) and click onCreate - Now enter all the application details and click
Save and Continue - Inside
Scopessection ->Add Scopes-> Seach forGmail APIand select the/auth/gmail.readonlyscope. This gives our app access to read the user's emails ->Save and Continue - If your application is still in
Testingphase and you selectedExternaluser type in Step 1, you'll have to provide email ids of all the users who can access your app ->Save and Continue - Check the app summary and click
Save
- Inside
- Generating Credentials
- Again in
APIs and Services, selectCredentials->Create Credentials->oAuth Client ID - Select
Application Type(Web Application), add authorized origin (Usehttp://localhost:4000if you don't have a Domain) and a callback URL where Google will send the response after OAuth (http://localhost:4000/auth/google/callbackin our case). Also add this asCALLBACK_URLin the.envfile - Save you client id and secret as
GOOGLE_CLIENT_IDandGOOGLE_CLIENT_SECRETin the.envfile
- Again in
- Go to
http://localhost:4000/registerand create an account and/or login to your account - Here, you can upload the excel files you wish to use as data source in the connector.
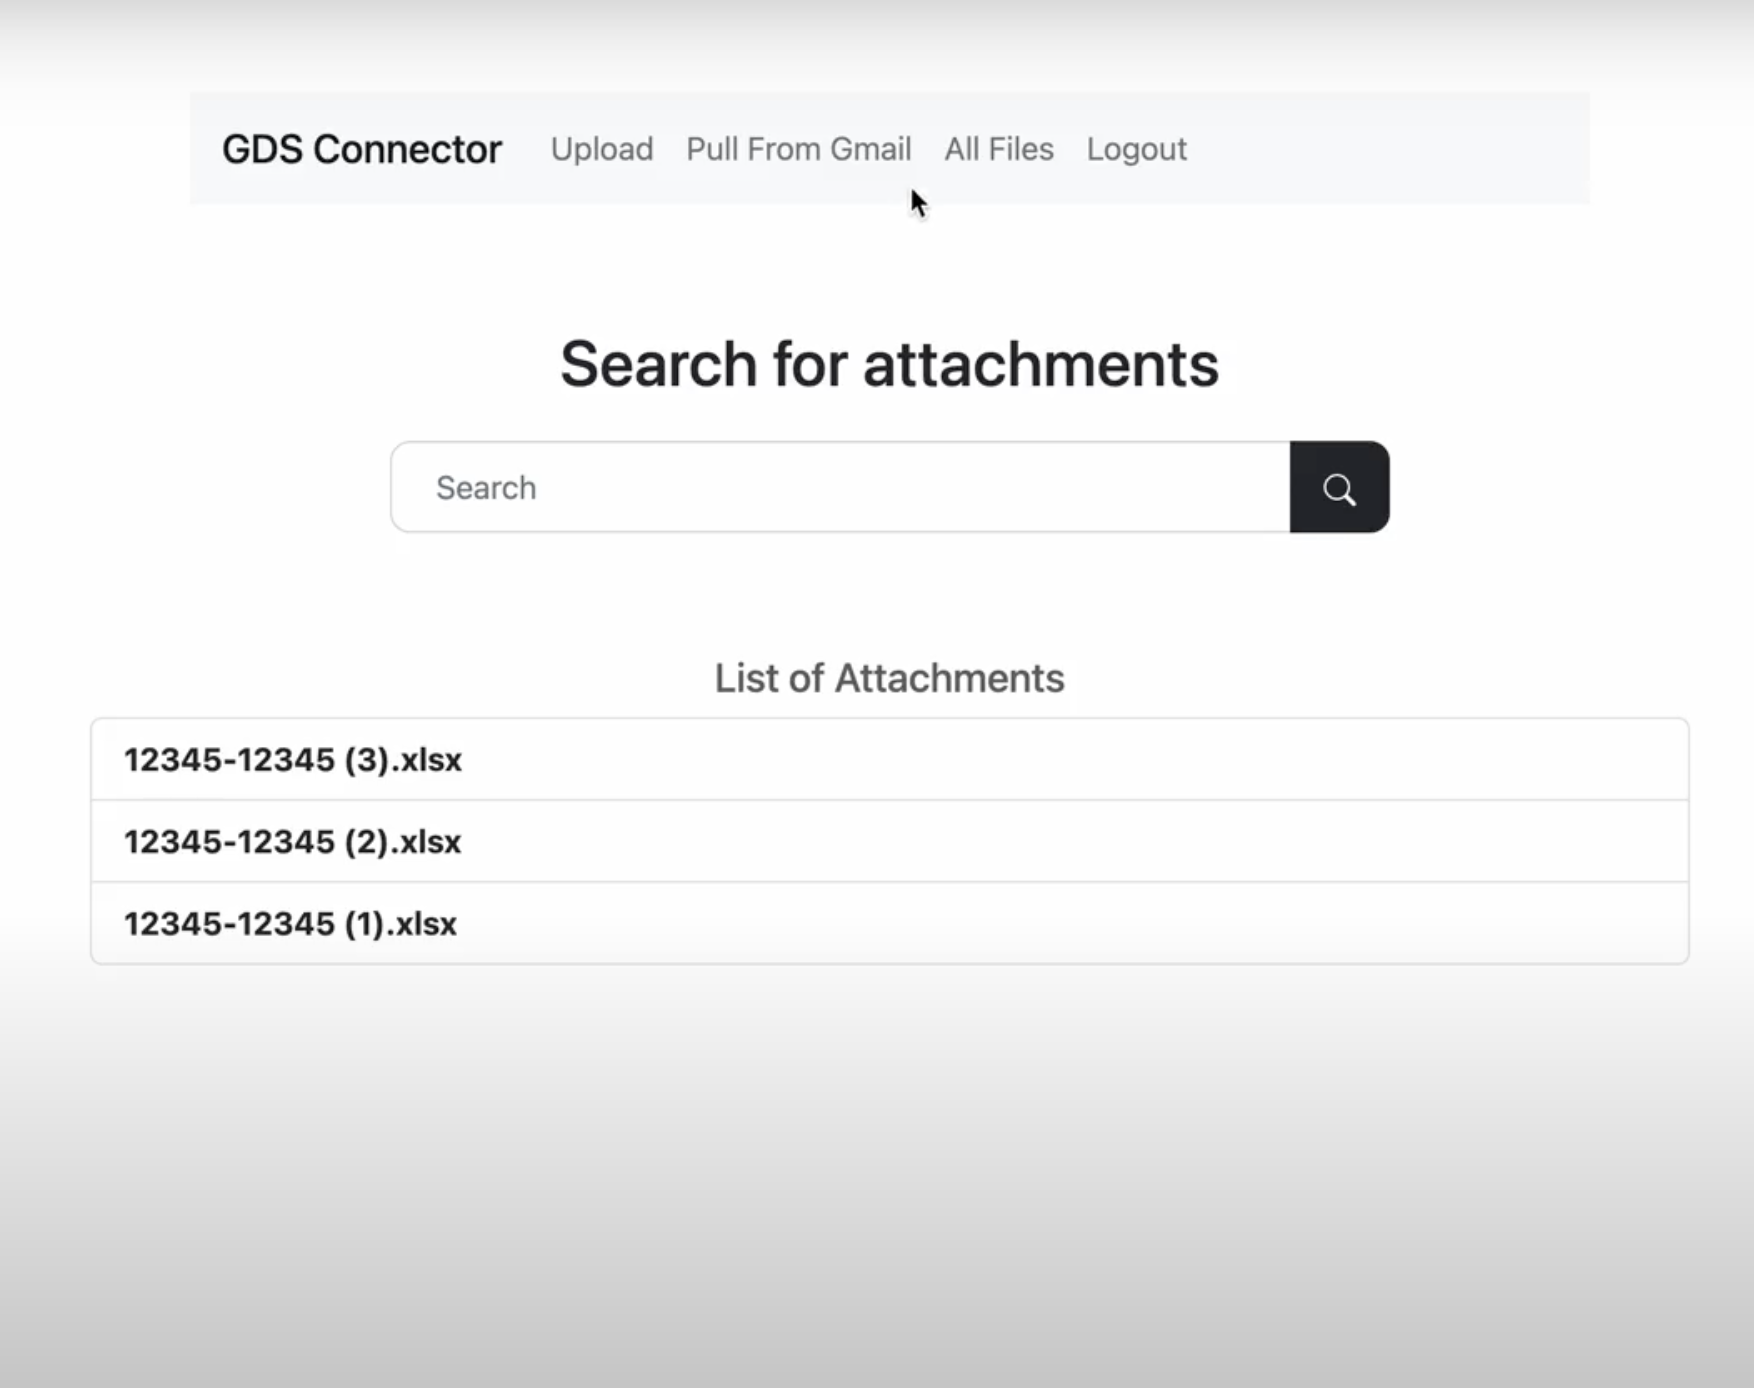
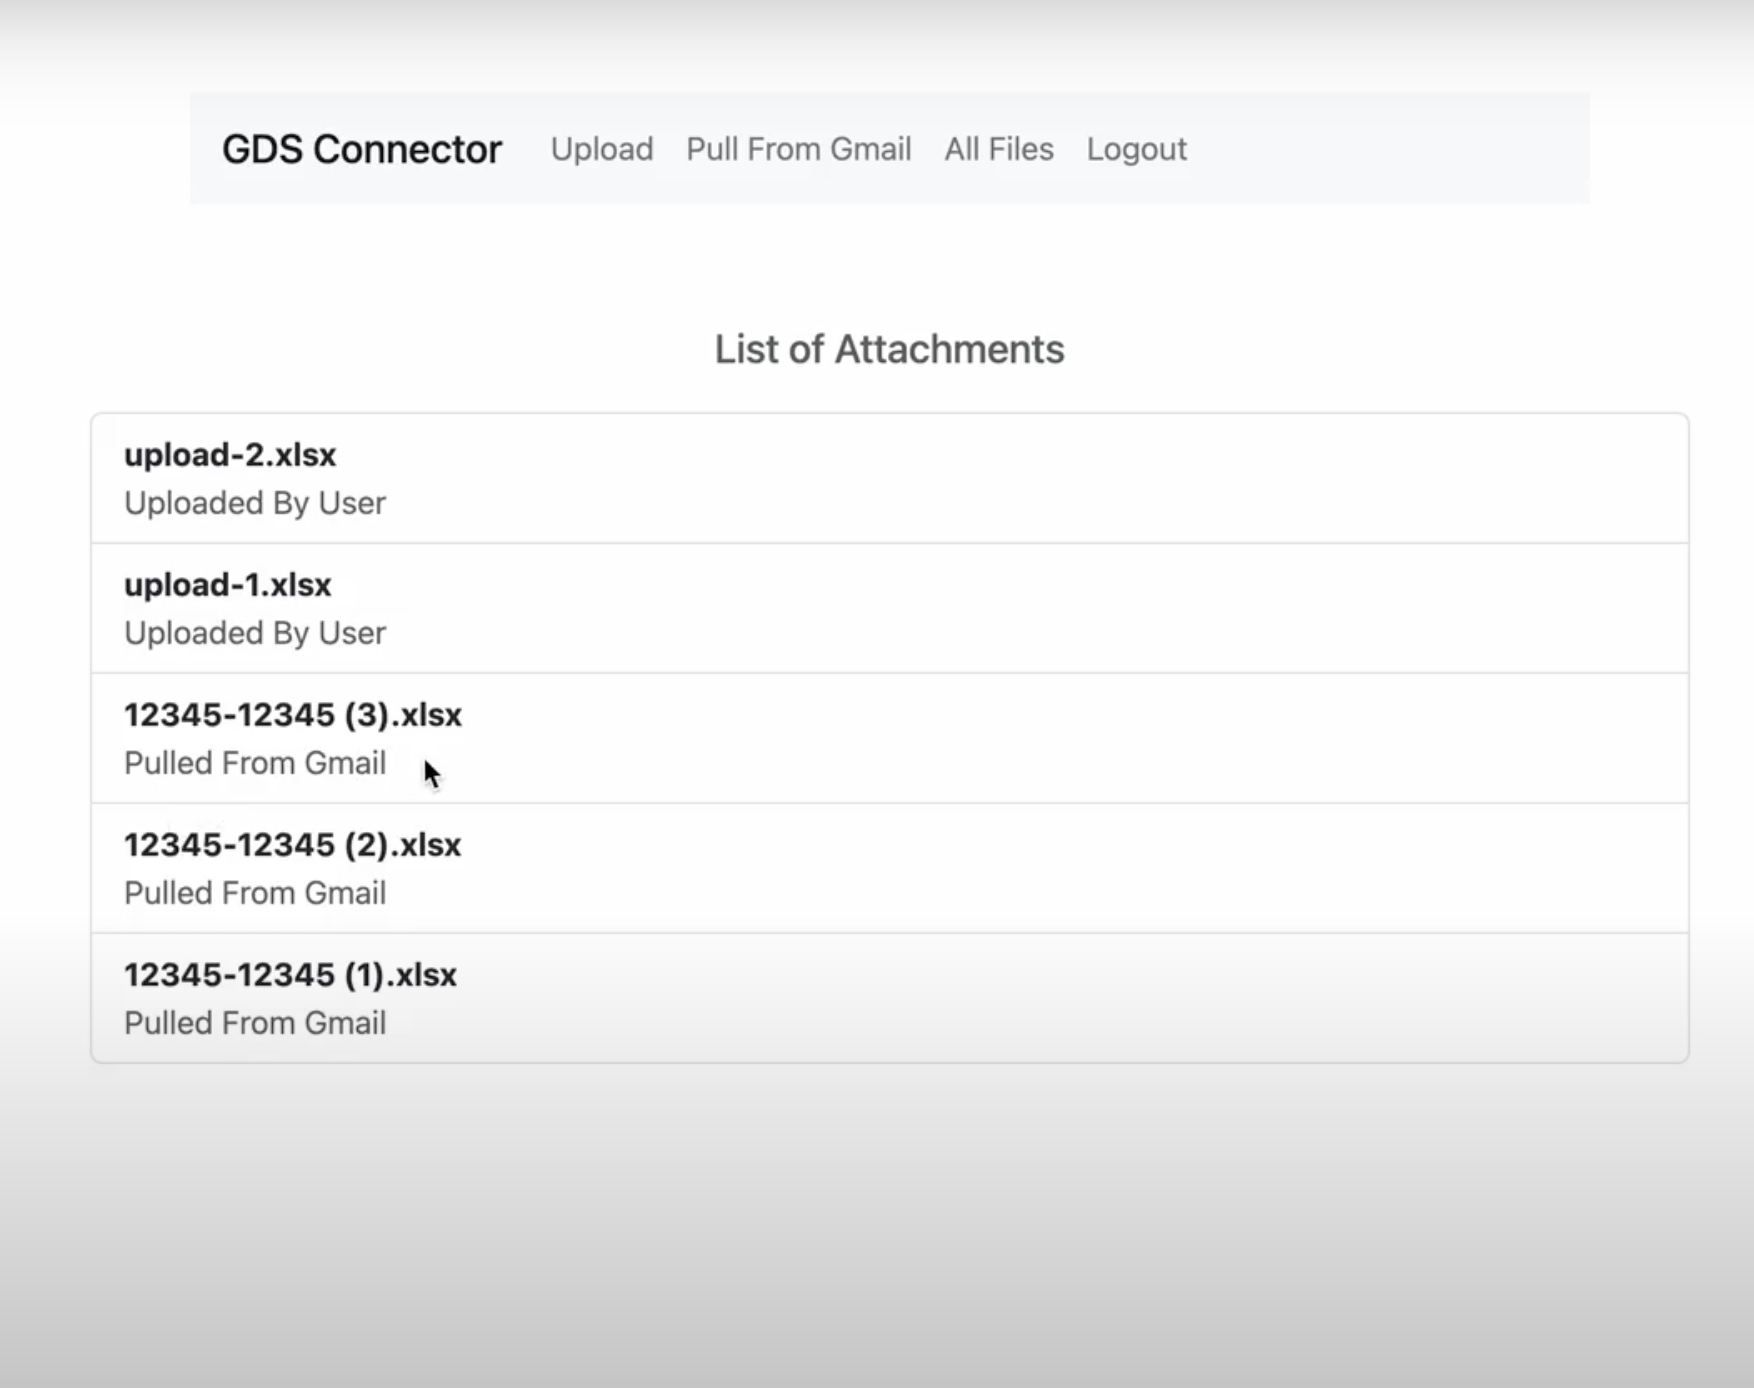
- To view all the files uploaded by you, select the
All Filesoption from the navbar
- Go to Google Apps Script and create a new project
- Some features are not yet available in the new ui of apps script. Click on
Use classic editorto switch to the older view. - Click on the file name and rename the current file from
Code.gstoAuth.gsand paste the code from the same file insidescriptsfolder in this repo. - Now, select
File->New->Script file-> and name the file asMain.gsand paste the code from thescriptsfolder - For viewing the manifest file, select
View->Show Manifest fileand you'll see a file namedappsscript.jsonin sidemenu. You can use the content of the same file from inside thescriptsfolder or make changes as needed
- Since our connector code is running in Google App Scrips, we need to make our node app is also available on the internet, so we're using ngrok. It basically hosts our localhost on a url which can be accessed from anywhere.
- Install ngrok in your system and run it using
ngrok http <port>. - You'll see a custom url, switch to your Apps Script project and assign this value to
ROOT_URIon line 1 inAuth.gs
- Now, to publish the connector, click on
Publish->Deploy From Manifest-> Click onLatest Version (Head), you'll see a link to data studio - Open it in a new tab, since this is a test connector, you may have to login once with your google account.
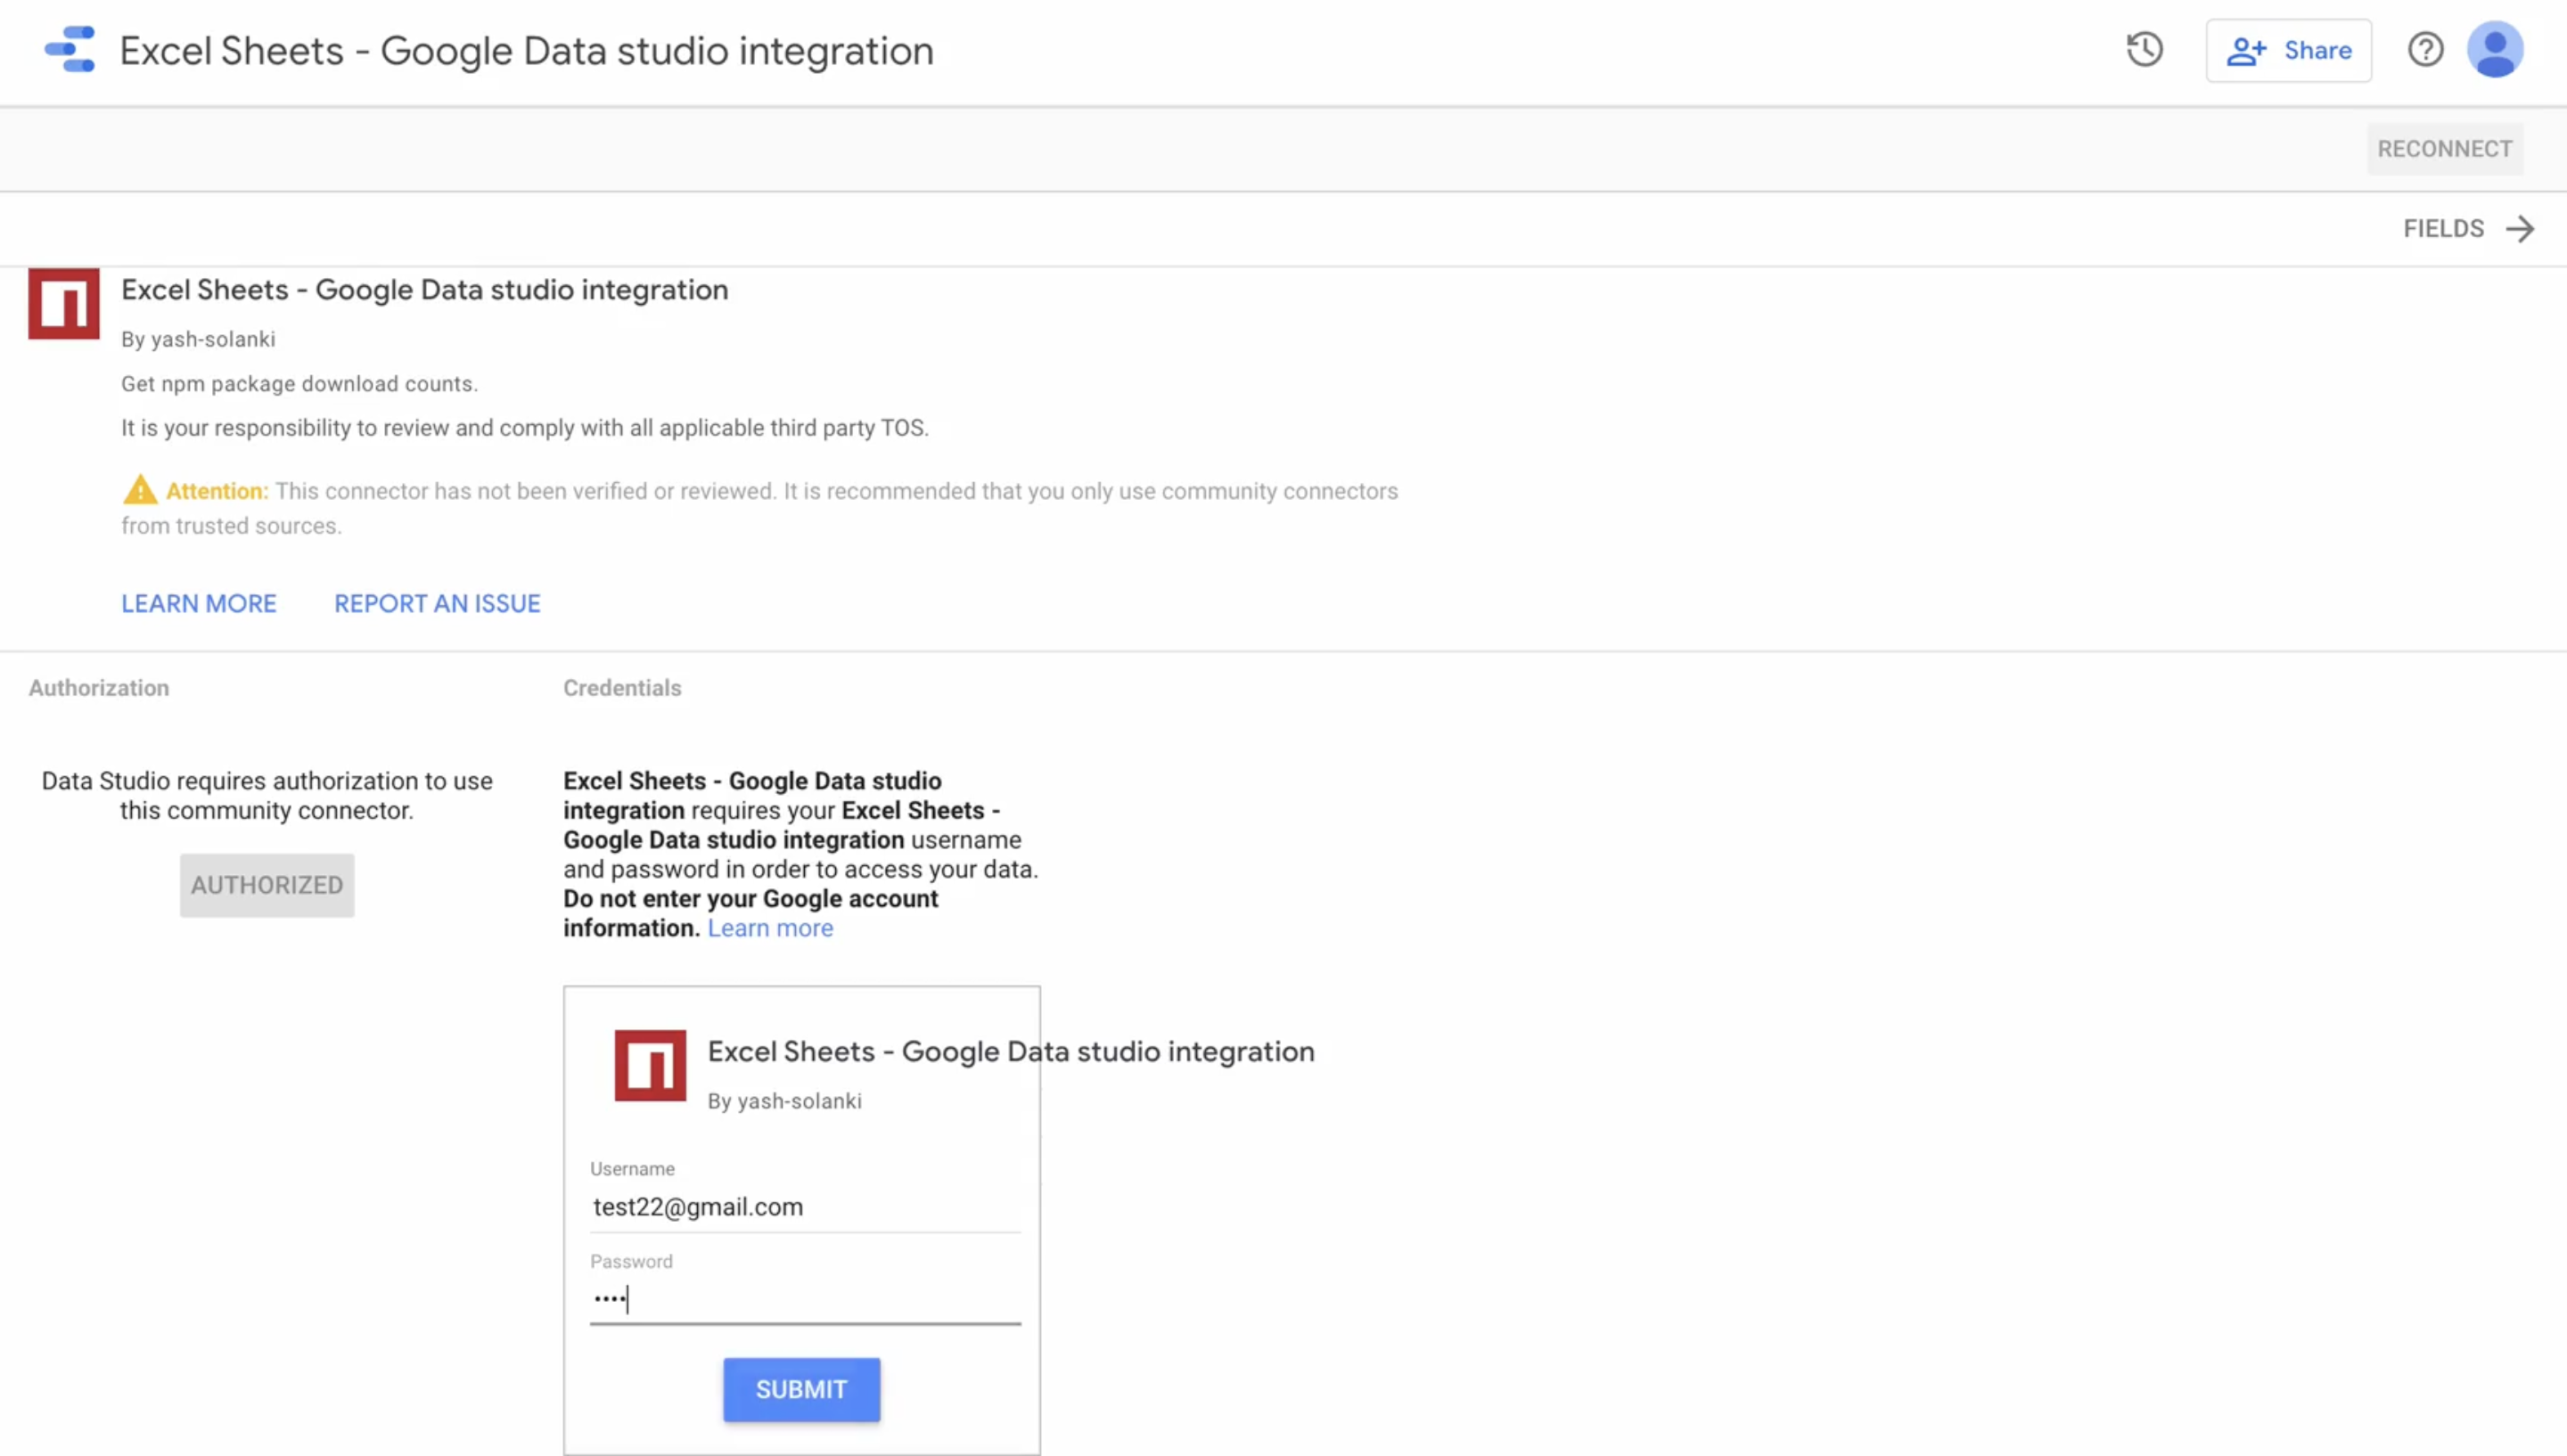
- After logging in with google, you'll see the connector username password auth screen. Here, you can login with the registered creds from the Nodejs app
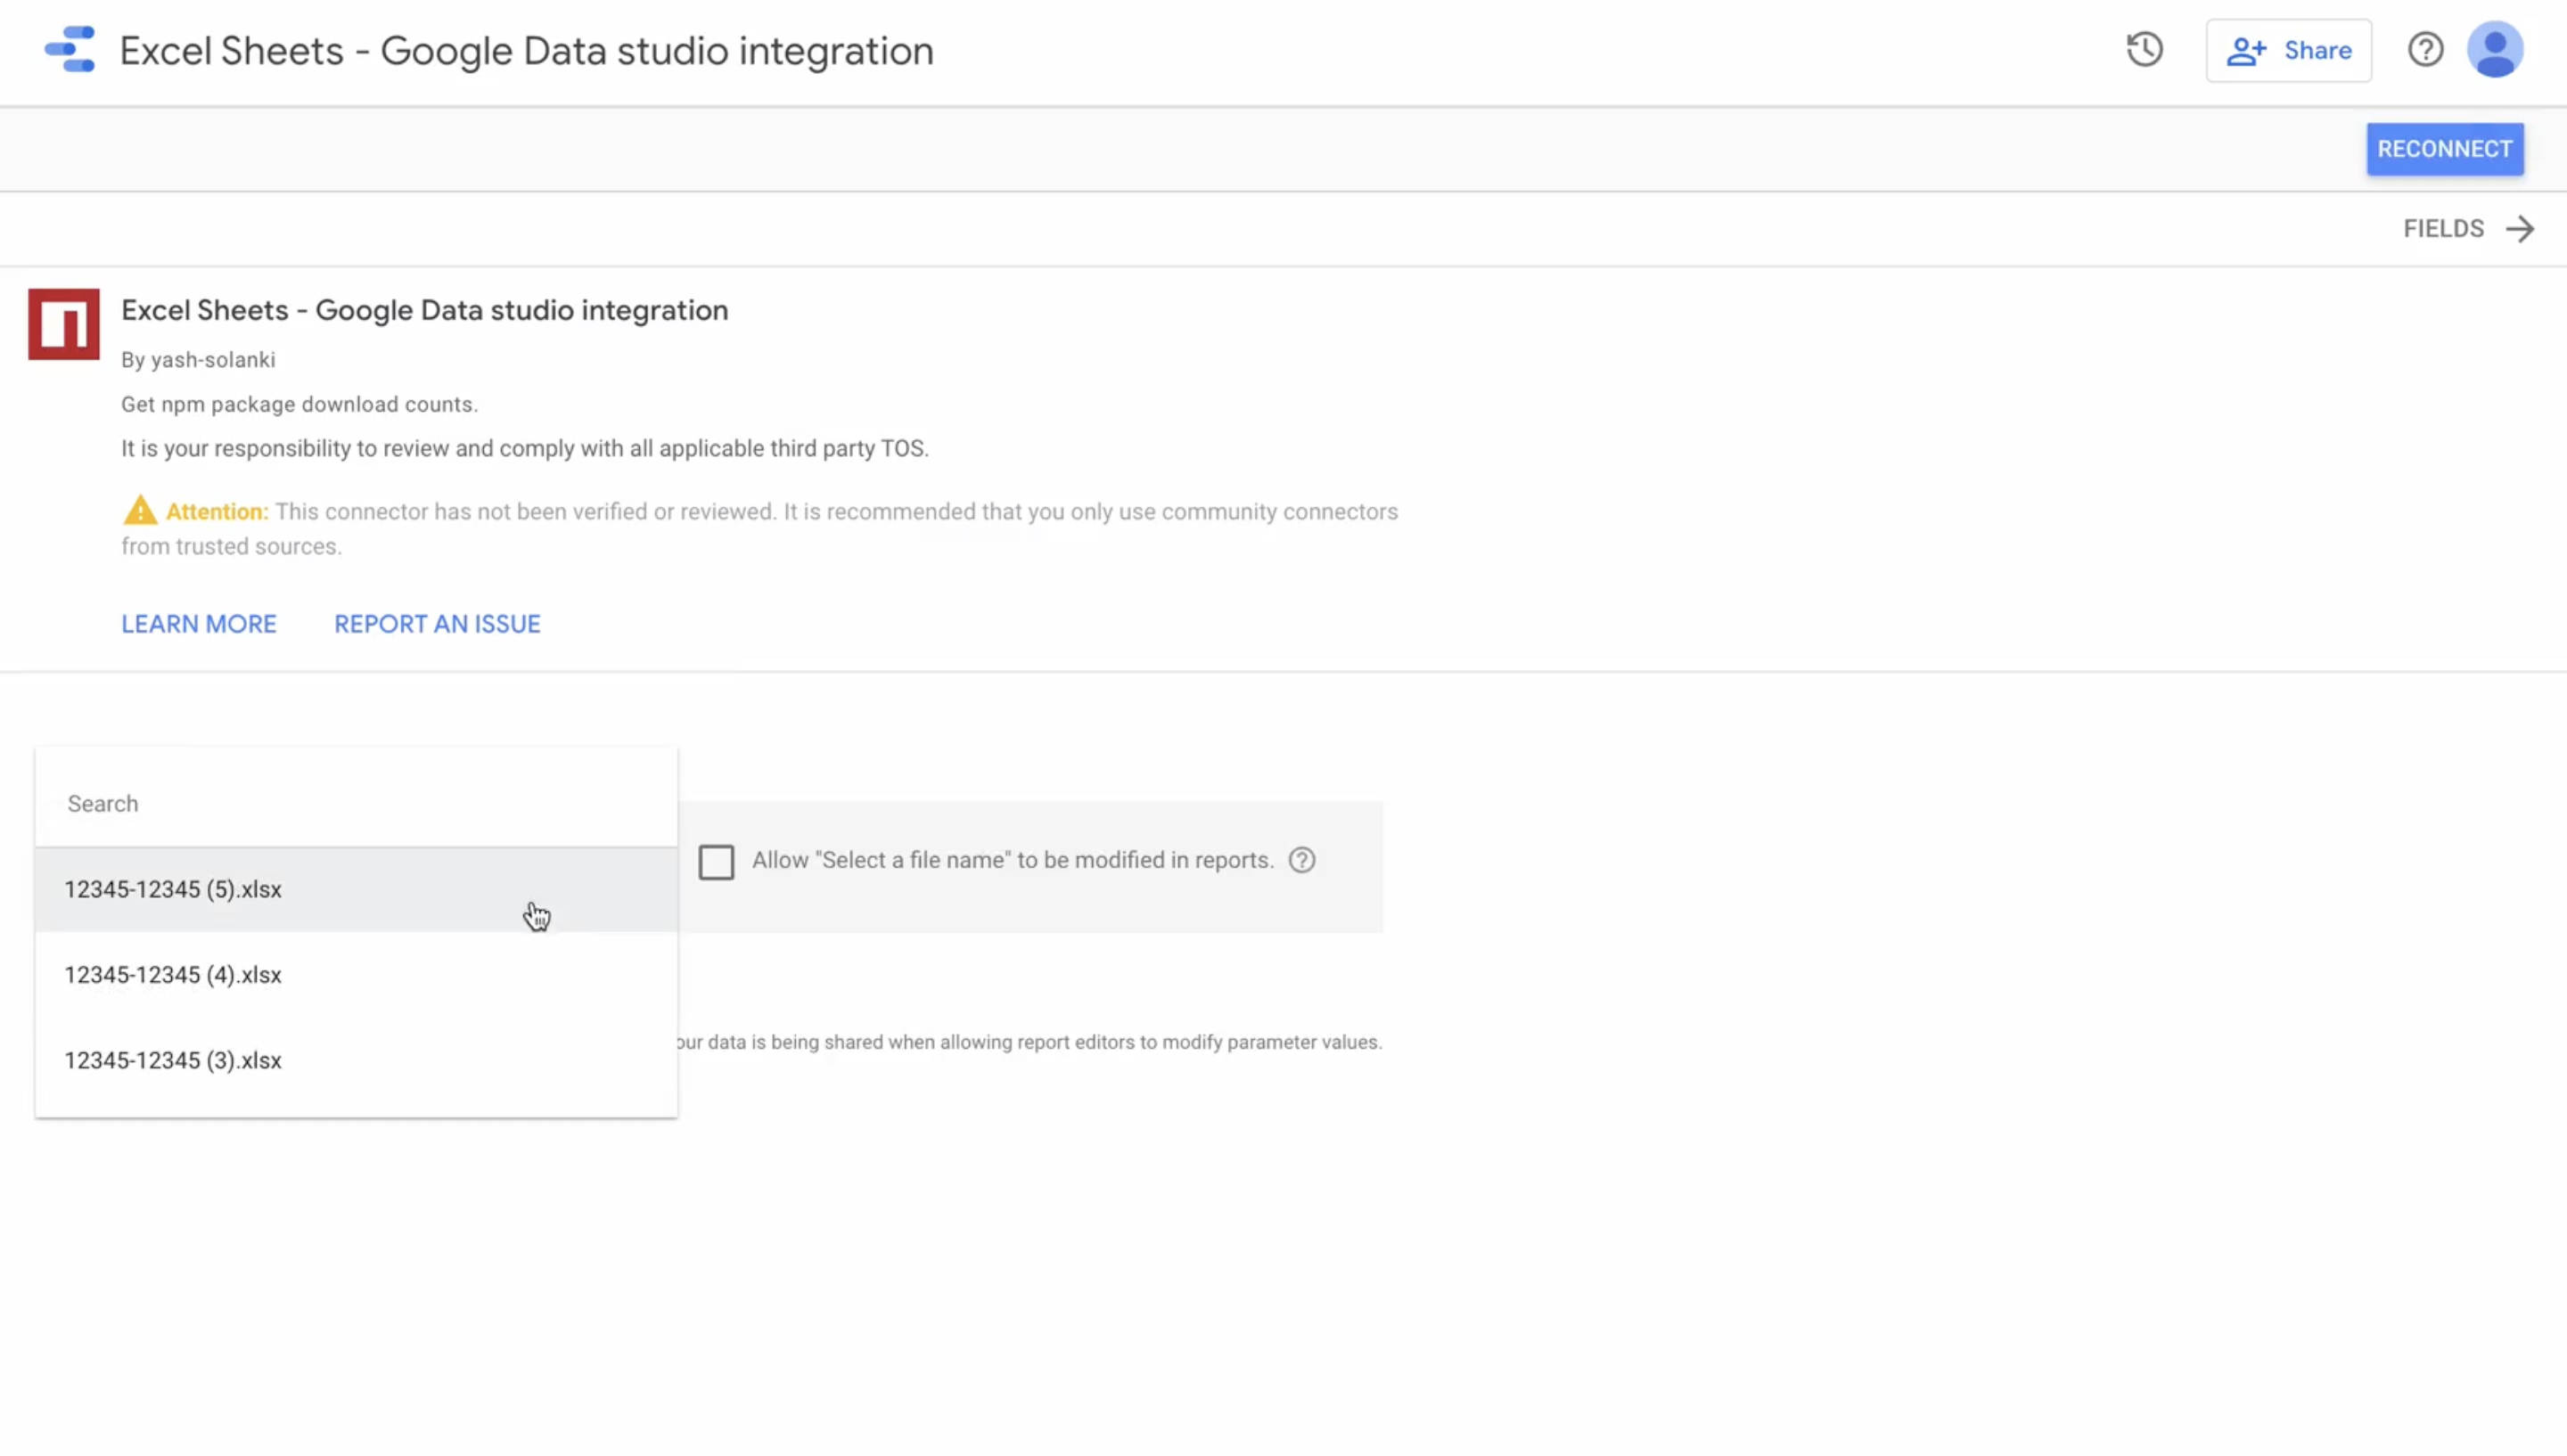
- In the next screen, you'll be asked to select a file name which will act as a data source. Here, you should be able to see all the files uploaded in the nodejs app.
- Select a file and click on
Connectin the top right - On the next page, you'll see the schema of the file and click on
Create Reportto create a new report in Google Data Studio - A new report with the selected file as a data source has been created. You can add visualizations and make changes to the report.
Please feel free to reach out to me at yashsolanki1709@gmail.com in case you have any queries.
