Your Payments Made Lightning Fast


Introduction · Features · Tech Stack · Quick Start · Manual Setup
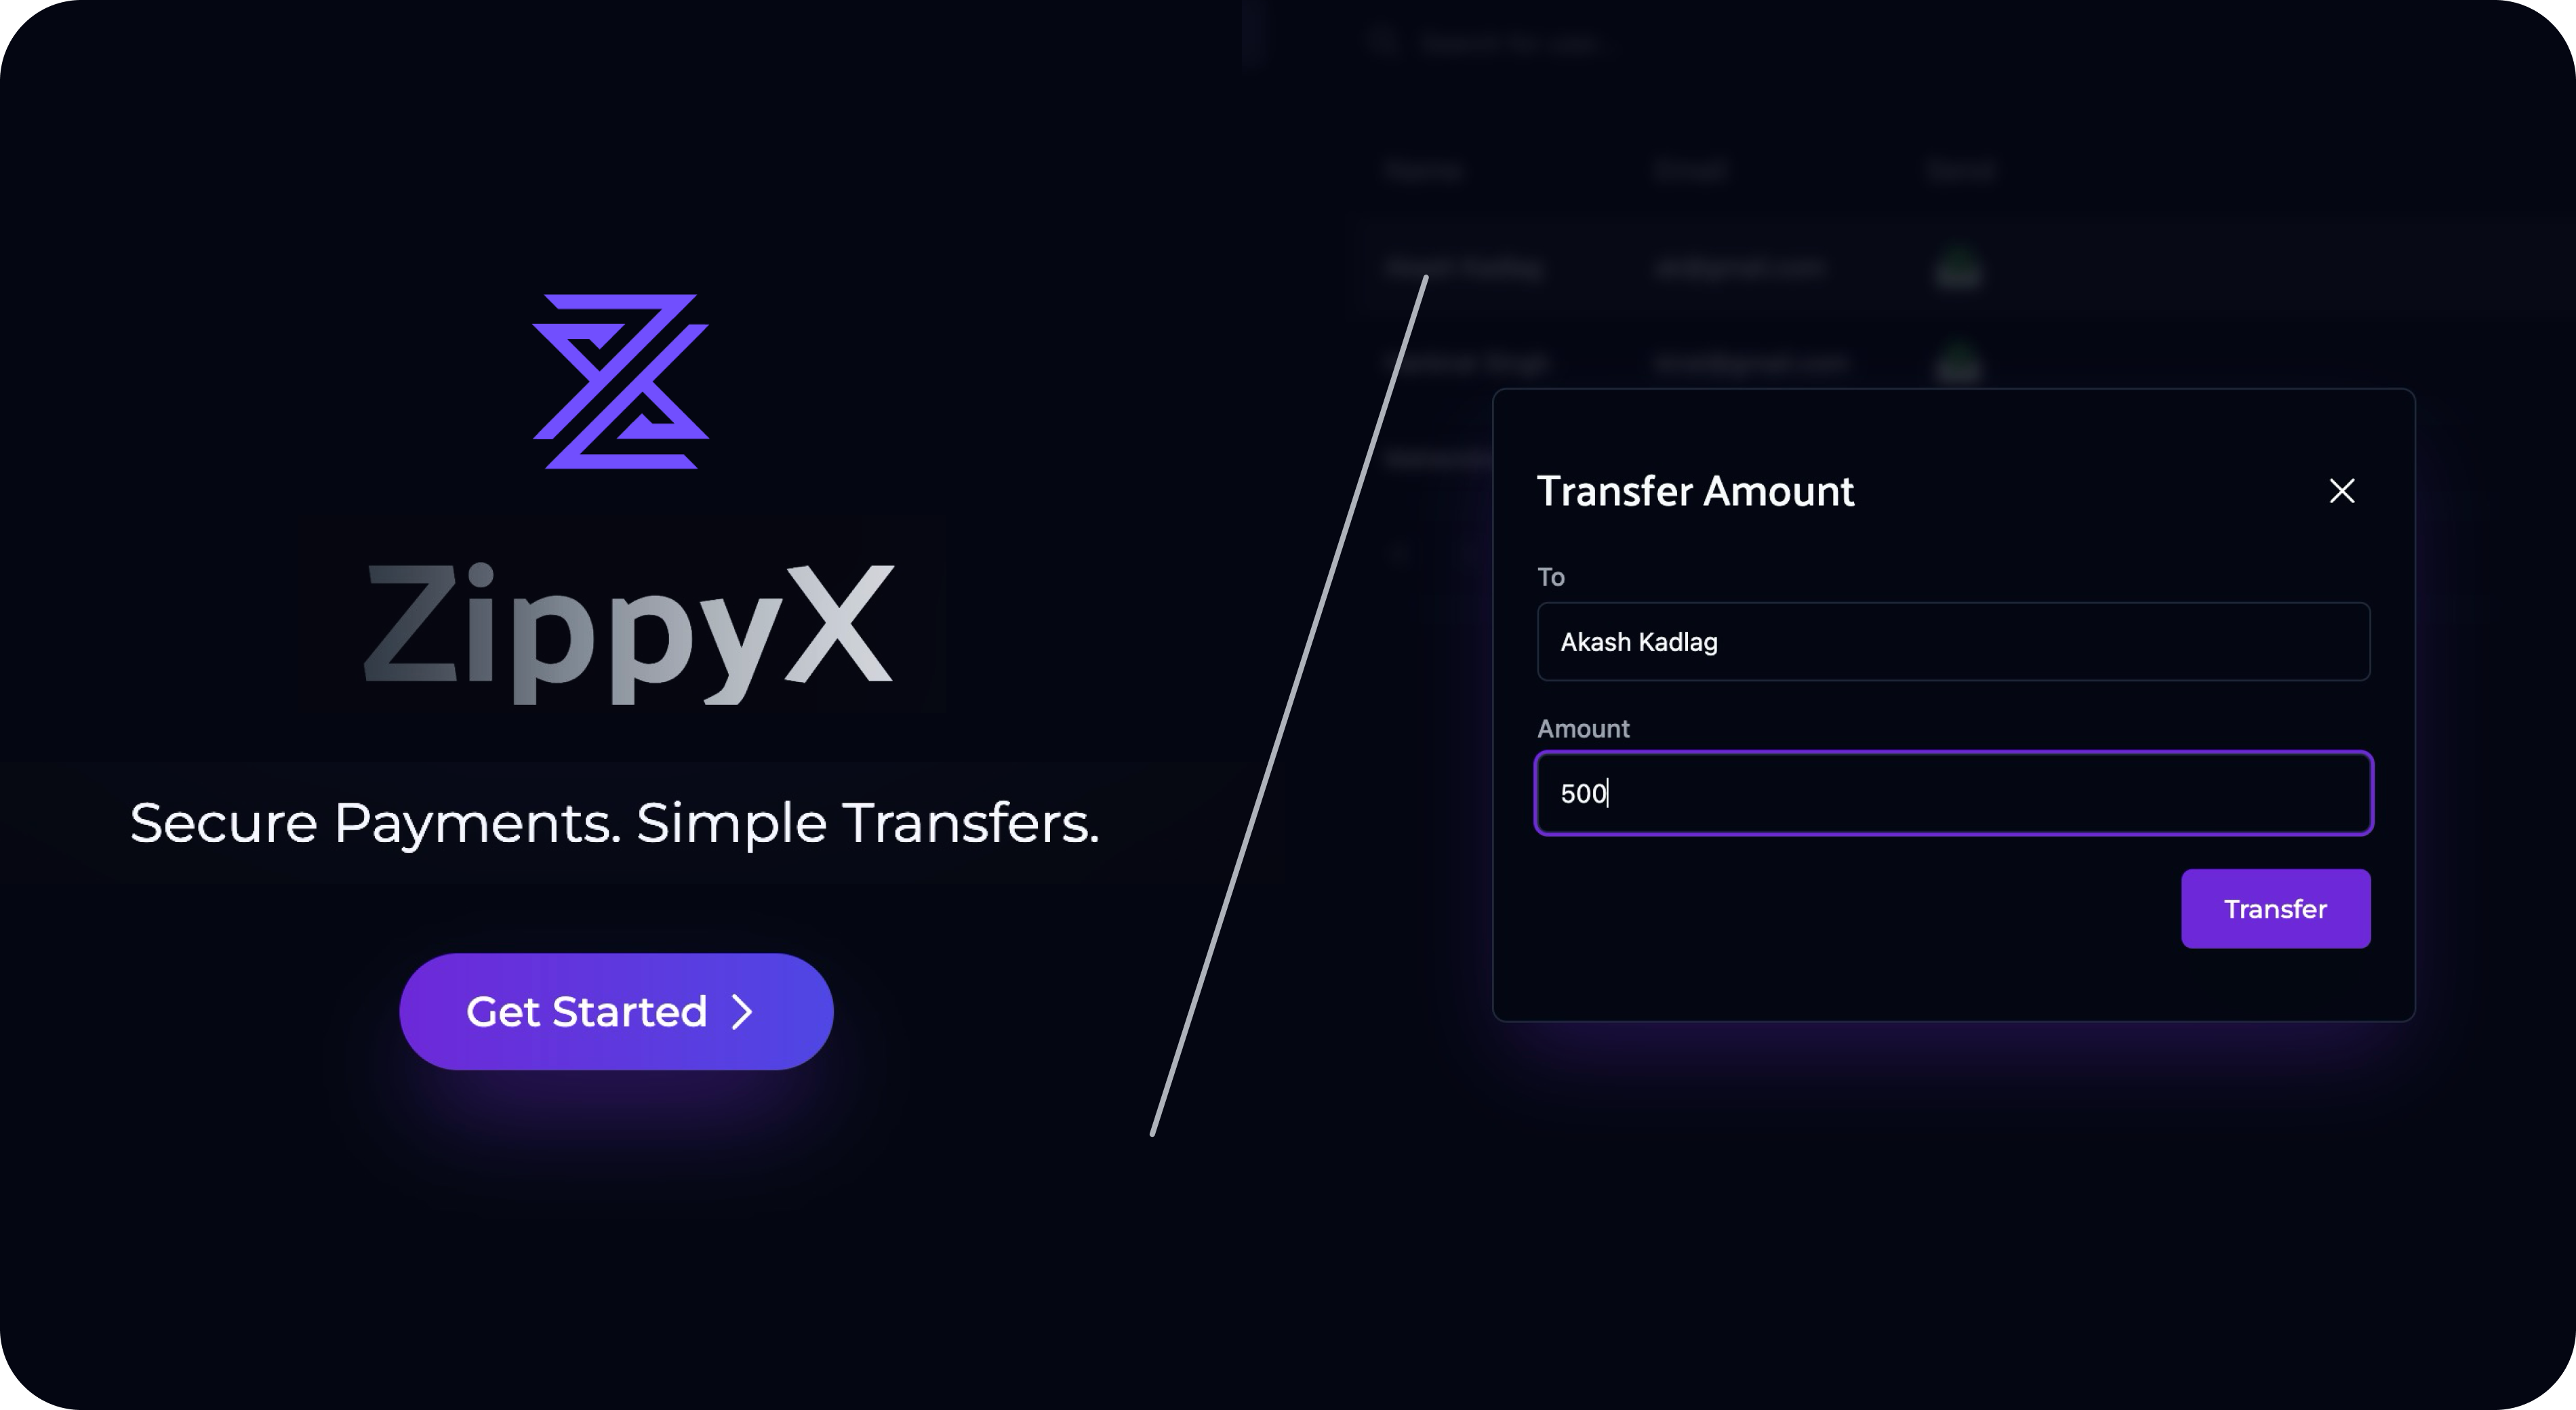
Experience seamless transactions and effortless money transfers with ZippyX. Delve into the codebase to explore more.
-
Organized File and Folder Structure
-
Fully Responsive Design
-
Well-organized & intuitive UI
-
Server Side State Management & Caching using React Query.
-
Client Side States Management with Recoil
-
Custom Hooks
-
Schema Validation using zod.
-
Robus Authentication
-
Google SSO (Single Sign-On)
-
Security Measures like rate limiting and referesh tokens.
-
Documentation with local development setup guide.
-
Dark and Light Mode
-
MongoDB – database
-
Express – framework
-
React – frontend
-
Node.js – JavaScript runtime
-
Tailwind CSS – CSS
-
Recoil – state management
-
Tanstack Query – asynchronous state management
-
Mongoose – ODM
-
Git – versioning
-
Docker – containerziation
-
Vite – building
-
Vercel – deployments
-
Prerequisites
Make sure you have the Docker installed on your machine.
-
Clone the repository:
git clone https://github.com/yntpdotme/zippy-x.git
-
Navigate to the project directory:
cd zippy-x -
Add Environment Variables:
Create
.envfiles in the server and client folder and copy paste the content of.env.sample# server side cd server cp .env.sample .env # then update `.env` with your creadentials. cd .. # client side cd client cp .env.smaple .env # then update `.env` if required. cd ..
-
Start all services using Docker Compose:
docker-compose up --watch

# --watch to Enable Watch (For Live Update aka Hot Reloading)
-
Prerequisites
Make sure you have the following installed on your machine: -
Clone the repository:
git clone https://github.com/yntpdotme/zippy-x.git
-
Navigate to the project directory:
cd zippy-x -
Setup Backend:
-
Navigate to the Backend Codebase:
cd server/ -
Install dependencies:
npm install
-
Add Environment Variables:
Create
.envfile in the root folder and copy paste the content of.env.samplecp .env.sample .env
Update credentials in
.envwith your creadentials. -
Start the Server:
npm start
-
Explore the API:
Access the project APIs at the specified endpoints using API Docs.
-
-
Setup Frontend:
-
Navigate to the Frontent Codebase:
cd client/ -
Install dependencies:
npm install
-
Add Environment Variables:
Create
.envfile in the root folder and copy paste the content of.env.samplecp .env.sample .env
If required, update necessary credentials.
-
Start the frontend app:
npm run dev
-
Start the backend server:
cd ../server npm start -
Open app in browser:
Visit https://localhost:5173 to access frontent.
-
Contributions are always welcome!
See CONTRIBUTING.md for ways to get started.
ZippyX is open-source under the MIT License. Feel free to learn, add upon, and share!