- About Me
- Introduction
- Watch the Video
- Infrastructure
- Rancher Kubernetes (RKE2)
- Rancher Multi Cluster Manager
- Rancher Longhorn
- Rancher NeuVector
- Final Thoughts
A little bit about me and my history...
- Former Contractor
- U.S. Military Reservist
- Open-Source Contributor
- Built and Exited a Digital Firm
- Active Volunteer Firefighter/EMT
In this deployment guide, we will be installing the entire Rancher Stack to include the following products:
- RKE2 (Kubernetes Distribution) - click learn more
- Rancher Manager (Cluster Management) - click to learn more
- Longhorn (Storage) - click to learn more
- Neuvector (Security) - click to learn more
- Three (3) Internet Connected Linux Servers
- Terminal Utility (Terminal, VSCode, Termius etc...)
If you would rather follow this guide with an awesome video... please click below (https://youtu.be/P65r2ODNlTg)!
For this deployment, we need three linux servers to be able to get everything up and running. I will be using three virtualized Rocky Linux 9.1 servers, provisioned by Rancher Harvester. Any linux distribution should work perfectly fine, as long as there is network connectivity. Here's a list of our supported operating systems. In order to configure these servers for Rancher, we will need these servers to be internet connected and accessible from your local device via ssh.
Here's an overview the architecture that we will be using for this deployment guide:
Let's run the following commands on each of the nodes to ensure they have the neccessary packages and configuration settings.
# server(s): rke2-cp-01, rke2-wk-01, and rke2-wk-02
# Install Packages
yum install -y iptables container-selinux libnetfilter_conntrack libnfnetlink libnftnl policycoreutils-python-utils cryptsetup
yum install -y nfs-utils iscsi-initiator-utils; yum install -y zip zstd tree jq

# Modify Settings
# Not required for every operating system
echo "InitiatorName=$(/sbin/iscsi-iname)" > /etc/iscsi/initiatorname.iscsi && systemctl enable --now iscsid
systemctl stop firewalld; systemctl disable firewalld; systemctl stop nm-cloud-setup; systemctl disable nm-cloud-setup; systemctl stop nm-cloud-setup.timer; systemctl disable nm-cloud-setup.timer
echo -e "[keyfile]\nunmanaged-devices=interface-name:cali*;interface-name:flannel*" > /etc/NetworkManager/conf.d/rke2-canal.confIn order to configure and install RKE2, you need to have Control/Server nodes and Worker/Agent nodes. We will start by setting up the Control/Server node and then setting up the Worker/Agent nodes. There are many ways to accomplish this and this guide is meant for an effortless and minimal installation, please review the rke2 docs for more information.
Let's start by configuring the RKE2 Control/Server Node, by adding the configuration file. Since we are completing a effortless installation, we are only adding the RKE2 Token configuration option. I'm using ssh with root to access the rke2-cp-01 server.
If you would like to see more ways to configure the RKE2 Control/Server, please check out the rke2 server docs.
# server(s): rke2-cp-01
# Create the RKE2 Directory
mkdir -p /etc/rancher/rke2/

# Create the RKE2 Configuration File
cat << EOF >> /etc/rancher/rke2/config.yaml
token: rke2SecurePassword
EOF
Now that the configuration file is completed, let's install and start the RKE2 Control/Server Node:
# server(s): rke2-cp-01
# Download the RKE2 Control/Server
curl -sfL https://get.rke2.io | INSTALL_RKE2_CHANNEL=v1.27 INSTALL_RKE2_TYPE=server sh -

# Start the RKE2 Control/Server Service
systemctl enable rke2-server.service && systemctl start rke2-server.service
Let's verify that the RKE2 Control/Server is running using systemctl status rke2-server. It should look like this:
Now that we see that the RKE2 Control/Server is running, let's verify using kubectl.
# server(s): rke2-cp-01
# Symlink kubectl and containerd
sudo ln -s /var/lib/rancher/rke2/data/v1*/bin/kubectl /usr/bin/kubectl
sudo ln -s /var/run/k3s/containerd/containerd.sock /var/run/containerd/containerd.sock

# Update and Source BASHRC
cat << EOF >> ~/.bashrc
export PATH=$PATH:/var/lib/rancher/rke2/bin:/usr/local/bin/
export KUBECONFIG=/etc/rancher/rke2/rke2.yaml
export CRI_CONFIG_FILE=/var/lib/rancher/rke2/agent/etc/crictl.yaml
alias k=kubectl
EOF

# Verify RKE2 is Running/Ready
kubectl get nodes
It should look like this:
Again, let's start by configuring the RKE2 Worker/Agent Nodes, by adding the configuration file. Since we are completing a effortless installation, we are only adding the RKE2 Server and RKE2 Token configuration options. I'm using ssh with root to access the rke2-wk-01 and rke2-wk-02 servers.
If you woud like to see more ways to configure the RKE2 Worker/Agent, please check out the rke2 agent docs.
Note: You need to complete each of these steps on each worker/agent server.
# server(s): rke2-wk-01 and rke2-wk-02
# Create the RKE2 Directory
mkdir -p /etc/rancher/rke2/

# Create the RKE2 Configuration File
cat << EOF >> /etc/rancher/rke2/config.yaml
server: https://10.0.0.15:9345
token: rke2SecurePassword
EOF
Now that the configuration file is completed, let's install and start the RKE2 Worker/Agent Nodes:
# server(s): rke2-wk-01 and rke2-wk-02
# Download the RKE2 Worker/Agent
curl -sfL https://get.rke2.io | INSTALL_RKE2_CHANNEL=v1.27 INSTALL_RKE2_TYPE=agent sh -

# Start the RKE2 Worker/Agent Service
systemctl enable rke2-agent.service && systemctl start rke2-agent.service
Let's head back to the rke2-cp-01 server and verify the worker/agent nodes sucessfully joined the cluster.
# server(s): rke2-cp-01
# Verify RKE2 is Running/Ready
kubectl get nodes
It should look like this:
Congraulations!! In a few minutes, you now have a RKE2 Cluster up and running! If you are already familiar with Kubernetes or RKE2, feel free to explore the cluster using kubectl. We are going to move onto installing the Rancher Multi Cluster Manager, Rancher Longhorn, and Rancher NeuVector.
When most folks are starting their Kubernetes journey and their journey with Rancher Kubernetes, there is some confusion about the layers of Kubernetes. RKE2 is our Kubernetes distribution and the Rancher Multi Cluster Manager is our single pane of glass dashboard for managing any type of Kubernetes cluster (including our not to be named competitors). In order to run our Rancher Manager, we needed to start with a Kubernetes cluster and that's why we started with installing RKE2!
Let's get started with installing the Rancher Manager! In order to get the bits required to configure and install it, we need to use the Helm CLI for package management and then grab Cert Manager and the Rancher Manager. Let's use ssh with root to access the rke2-cp-01 server and run the following commands:
# server(s): rke2-cp-01
# Download and Install Helm CLI
mkdir -p /opt/rancher/helm
cd /opt/rancher/helm

curl -fsSL -o get_helm.sh https://raw.githubusercontent.com/helm/helm/main/scripts/get-helm-3
chmod 755 get_helm.sh && ./get_helm.sh
mv /usr/local/bin/helm /usr/bin/helm
Now let's add the Helm Repositories for Cert Manager and the Rancher Manager!
# server(s): rke2-cp-01
# Add and Update the Helm Repositories
helm repo add jetstack https://charts.jetstack.io
helm repo add rancher-stable https://releases.rancher.com/server-charts/stable
helm repo update
It should look like this:
Now let's install Cert Manager with the following commands:
# server(s): rke2-cp-01
# Create the Cert Manager Namespace and Install Cert Manager
kubectl create namespace cert-manager

helm upgrade -i cert-manager jetstack/cert-manager --namespace cert-manager --set installCRDs=true

# Wait for the deployment and rollout
sleep 60

# Verify the status of Cert Manager
kubectl get pods --namespace cert-manager
It should look like this:
Now let's install the Rancher Manager with the following commands:
# server(s): rke2-cp-01
# Create the Rancher Namespace and Install Rancher
kubectl create namespace cattle-system

helm upgrade -i rancher rancher-stable/rancher --namespace cattle-system --set bootstrapPassword=rancherSecurePassword --set hostname=rancher.10.0.0.15.sslip.io

# Wait for the deployment and rollout
sleep 45

# Verify the status of the Rancher Manager
kubectl get pods --namespace cattle-system
It should look like this:
Once all the pods show as Running in the cattle-system namespace, you can access the Rancher Manager! Since we are using sslip.io as our Hostname/DNS, we do not need to configure anything else to access the Rancher Manager. Let's head over the domain name and take a look at the Rancher Manager!
For my deployment, I will be using https://rancher.10.0.0.15.sslip.io to access the Rancher Manager.
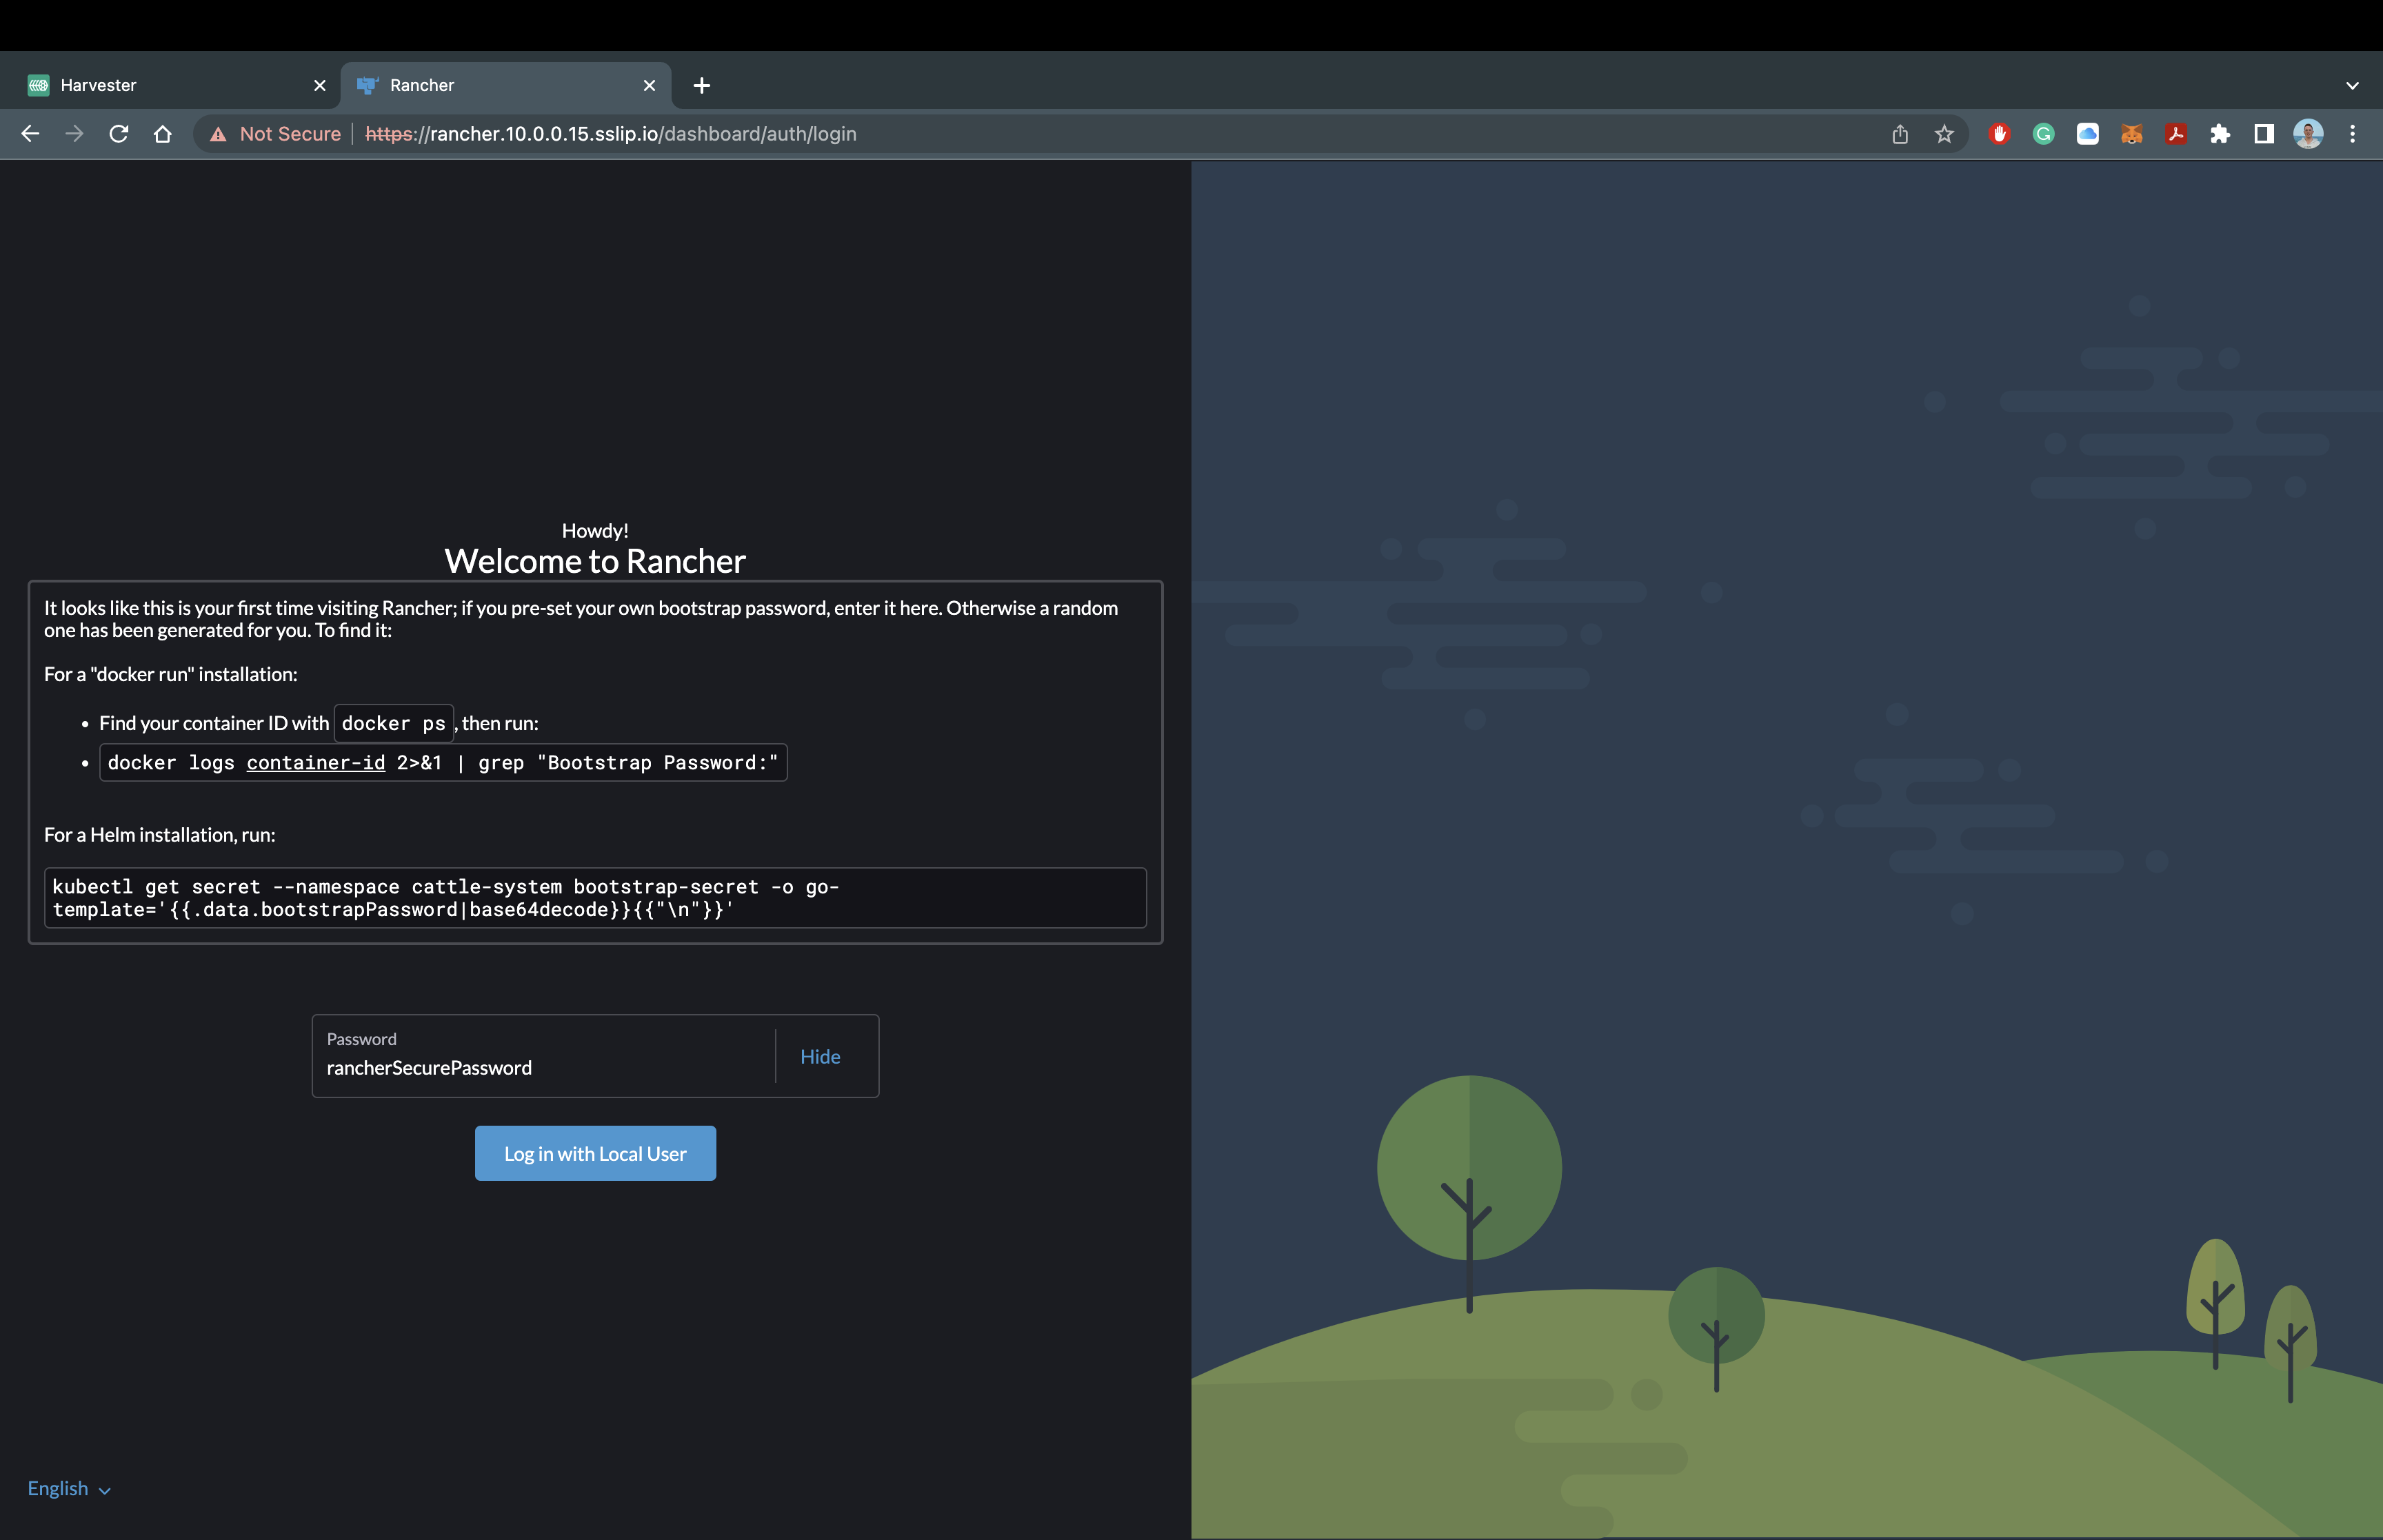
It should look like this:
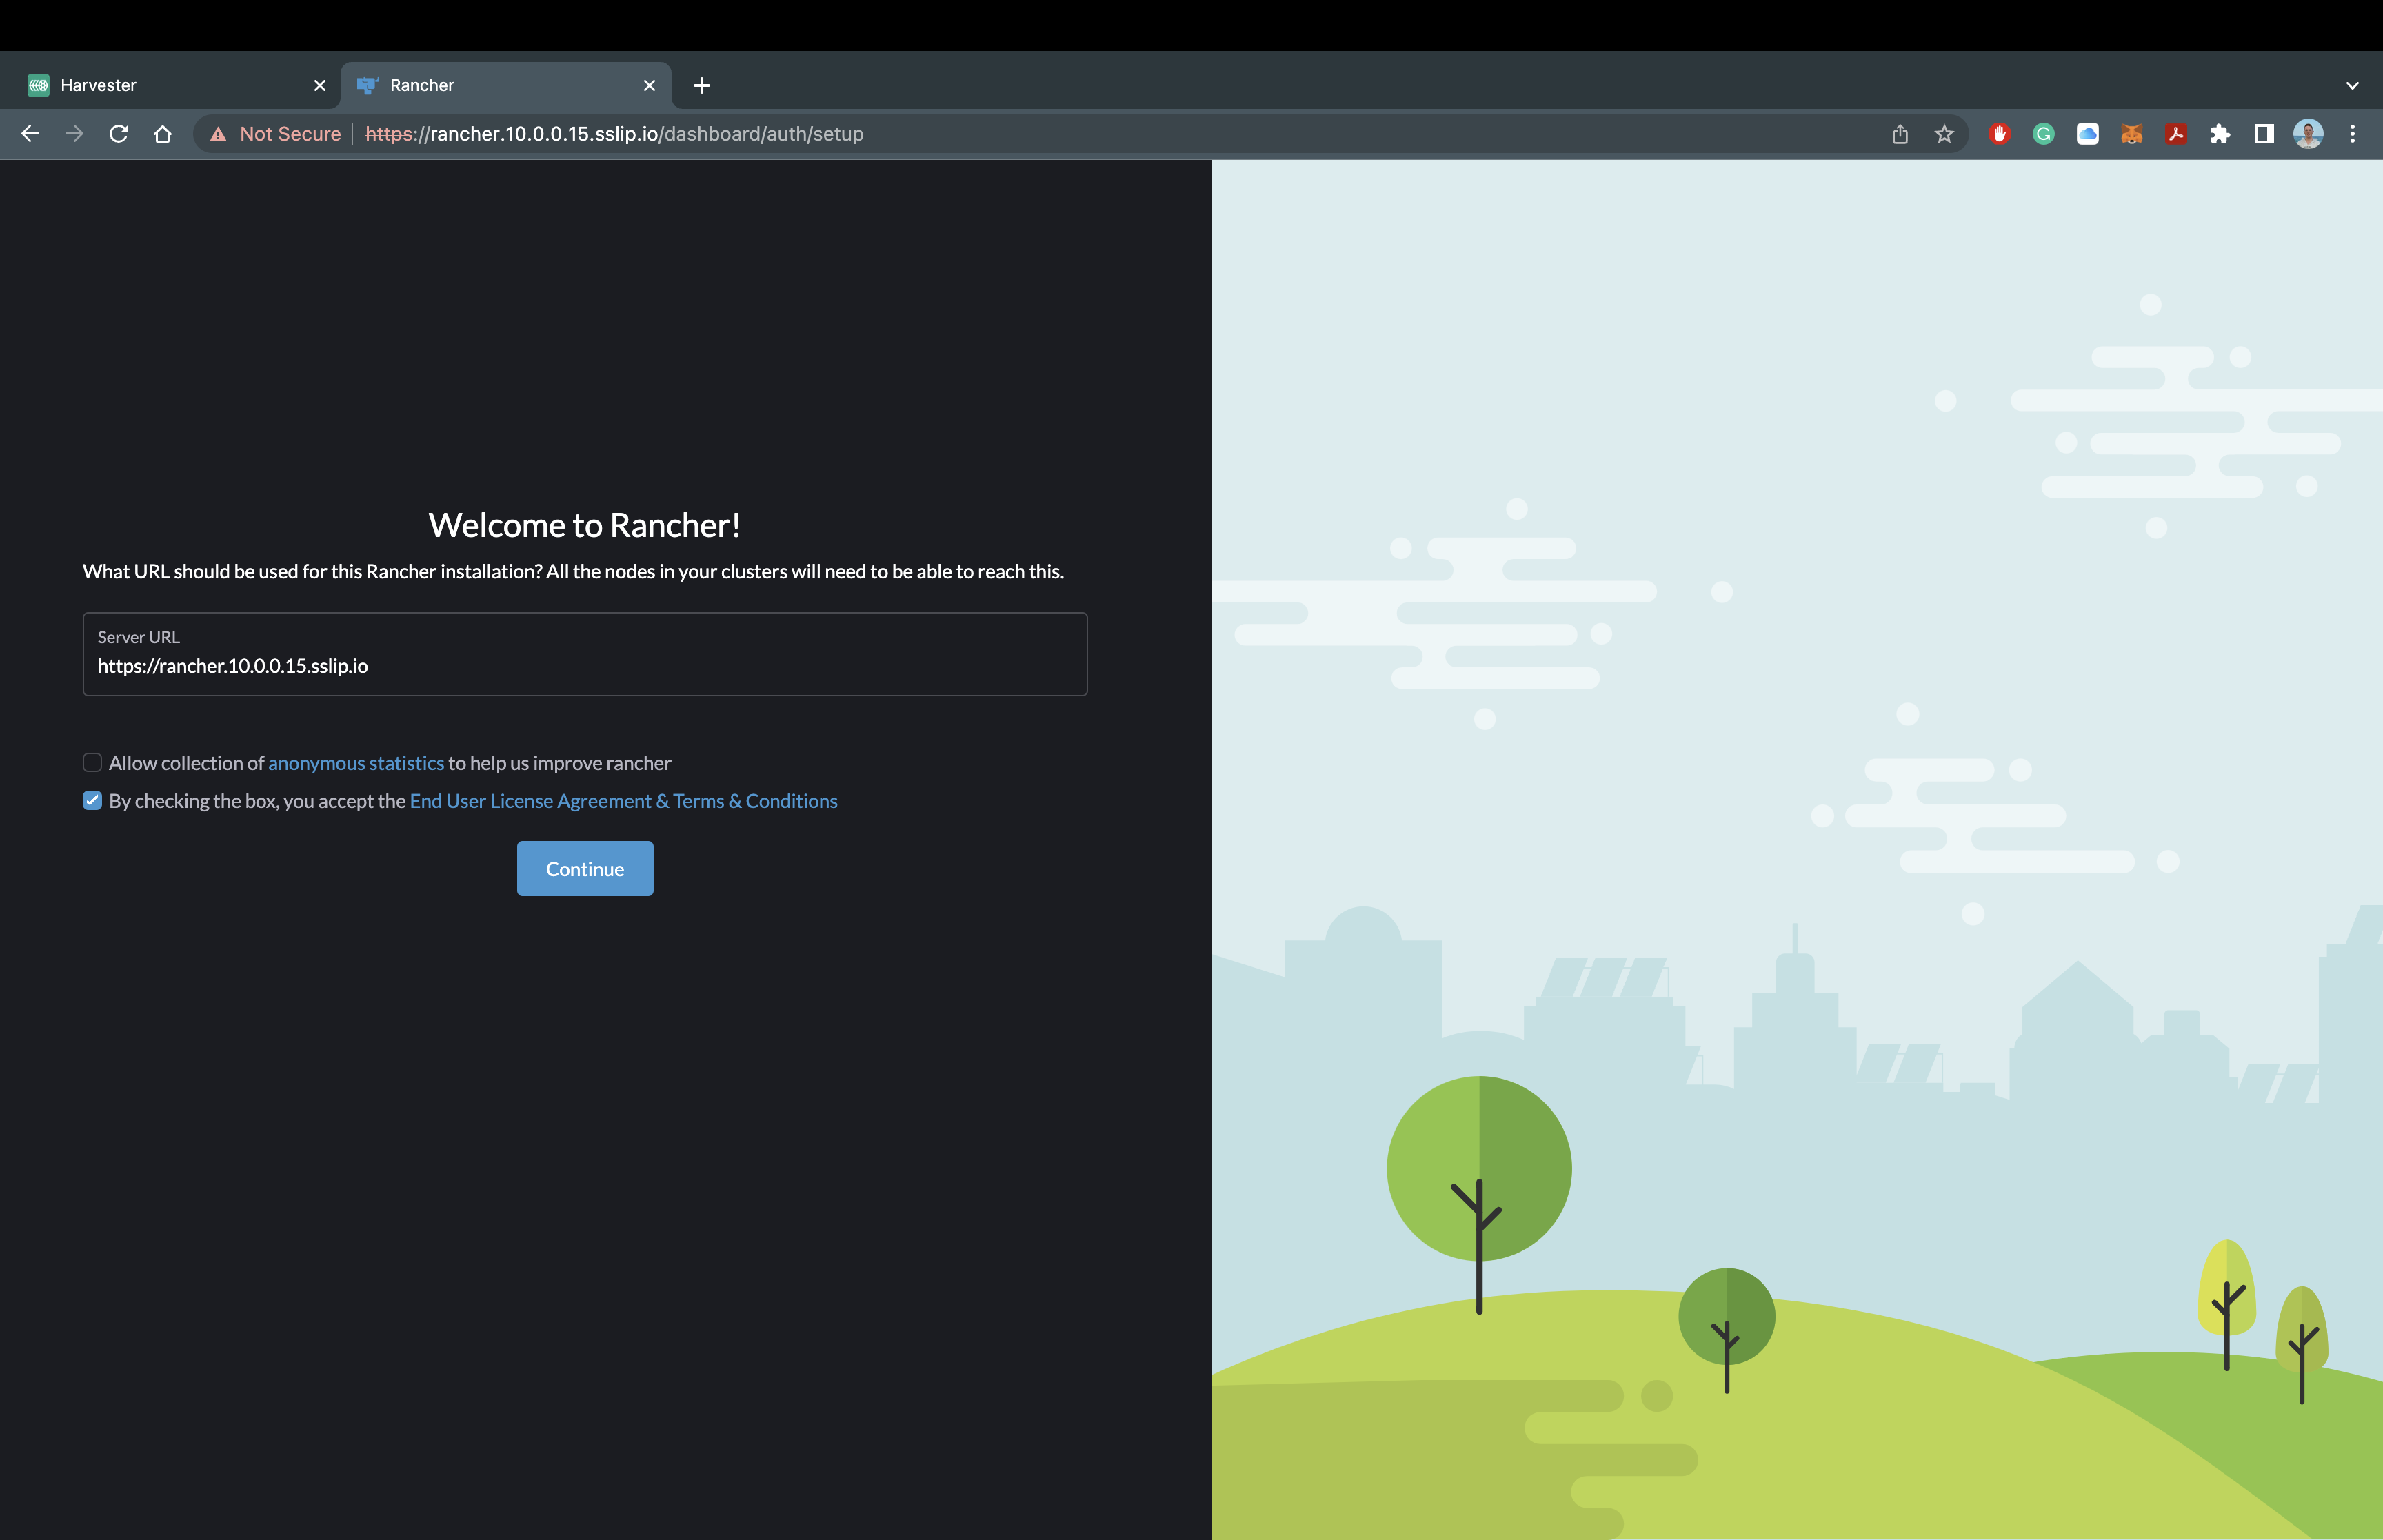
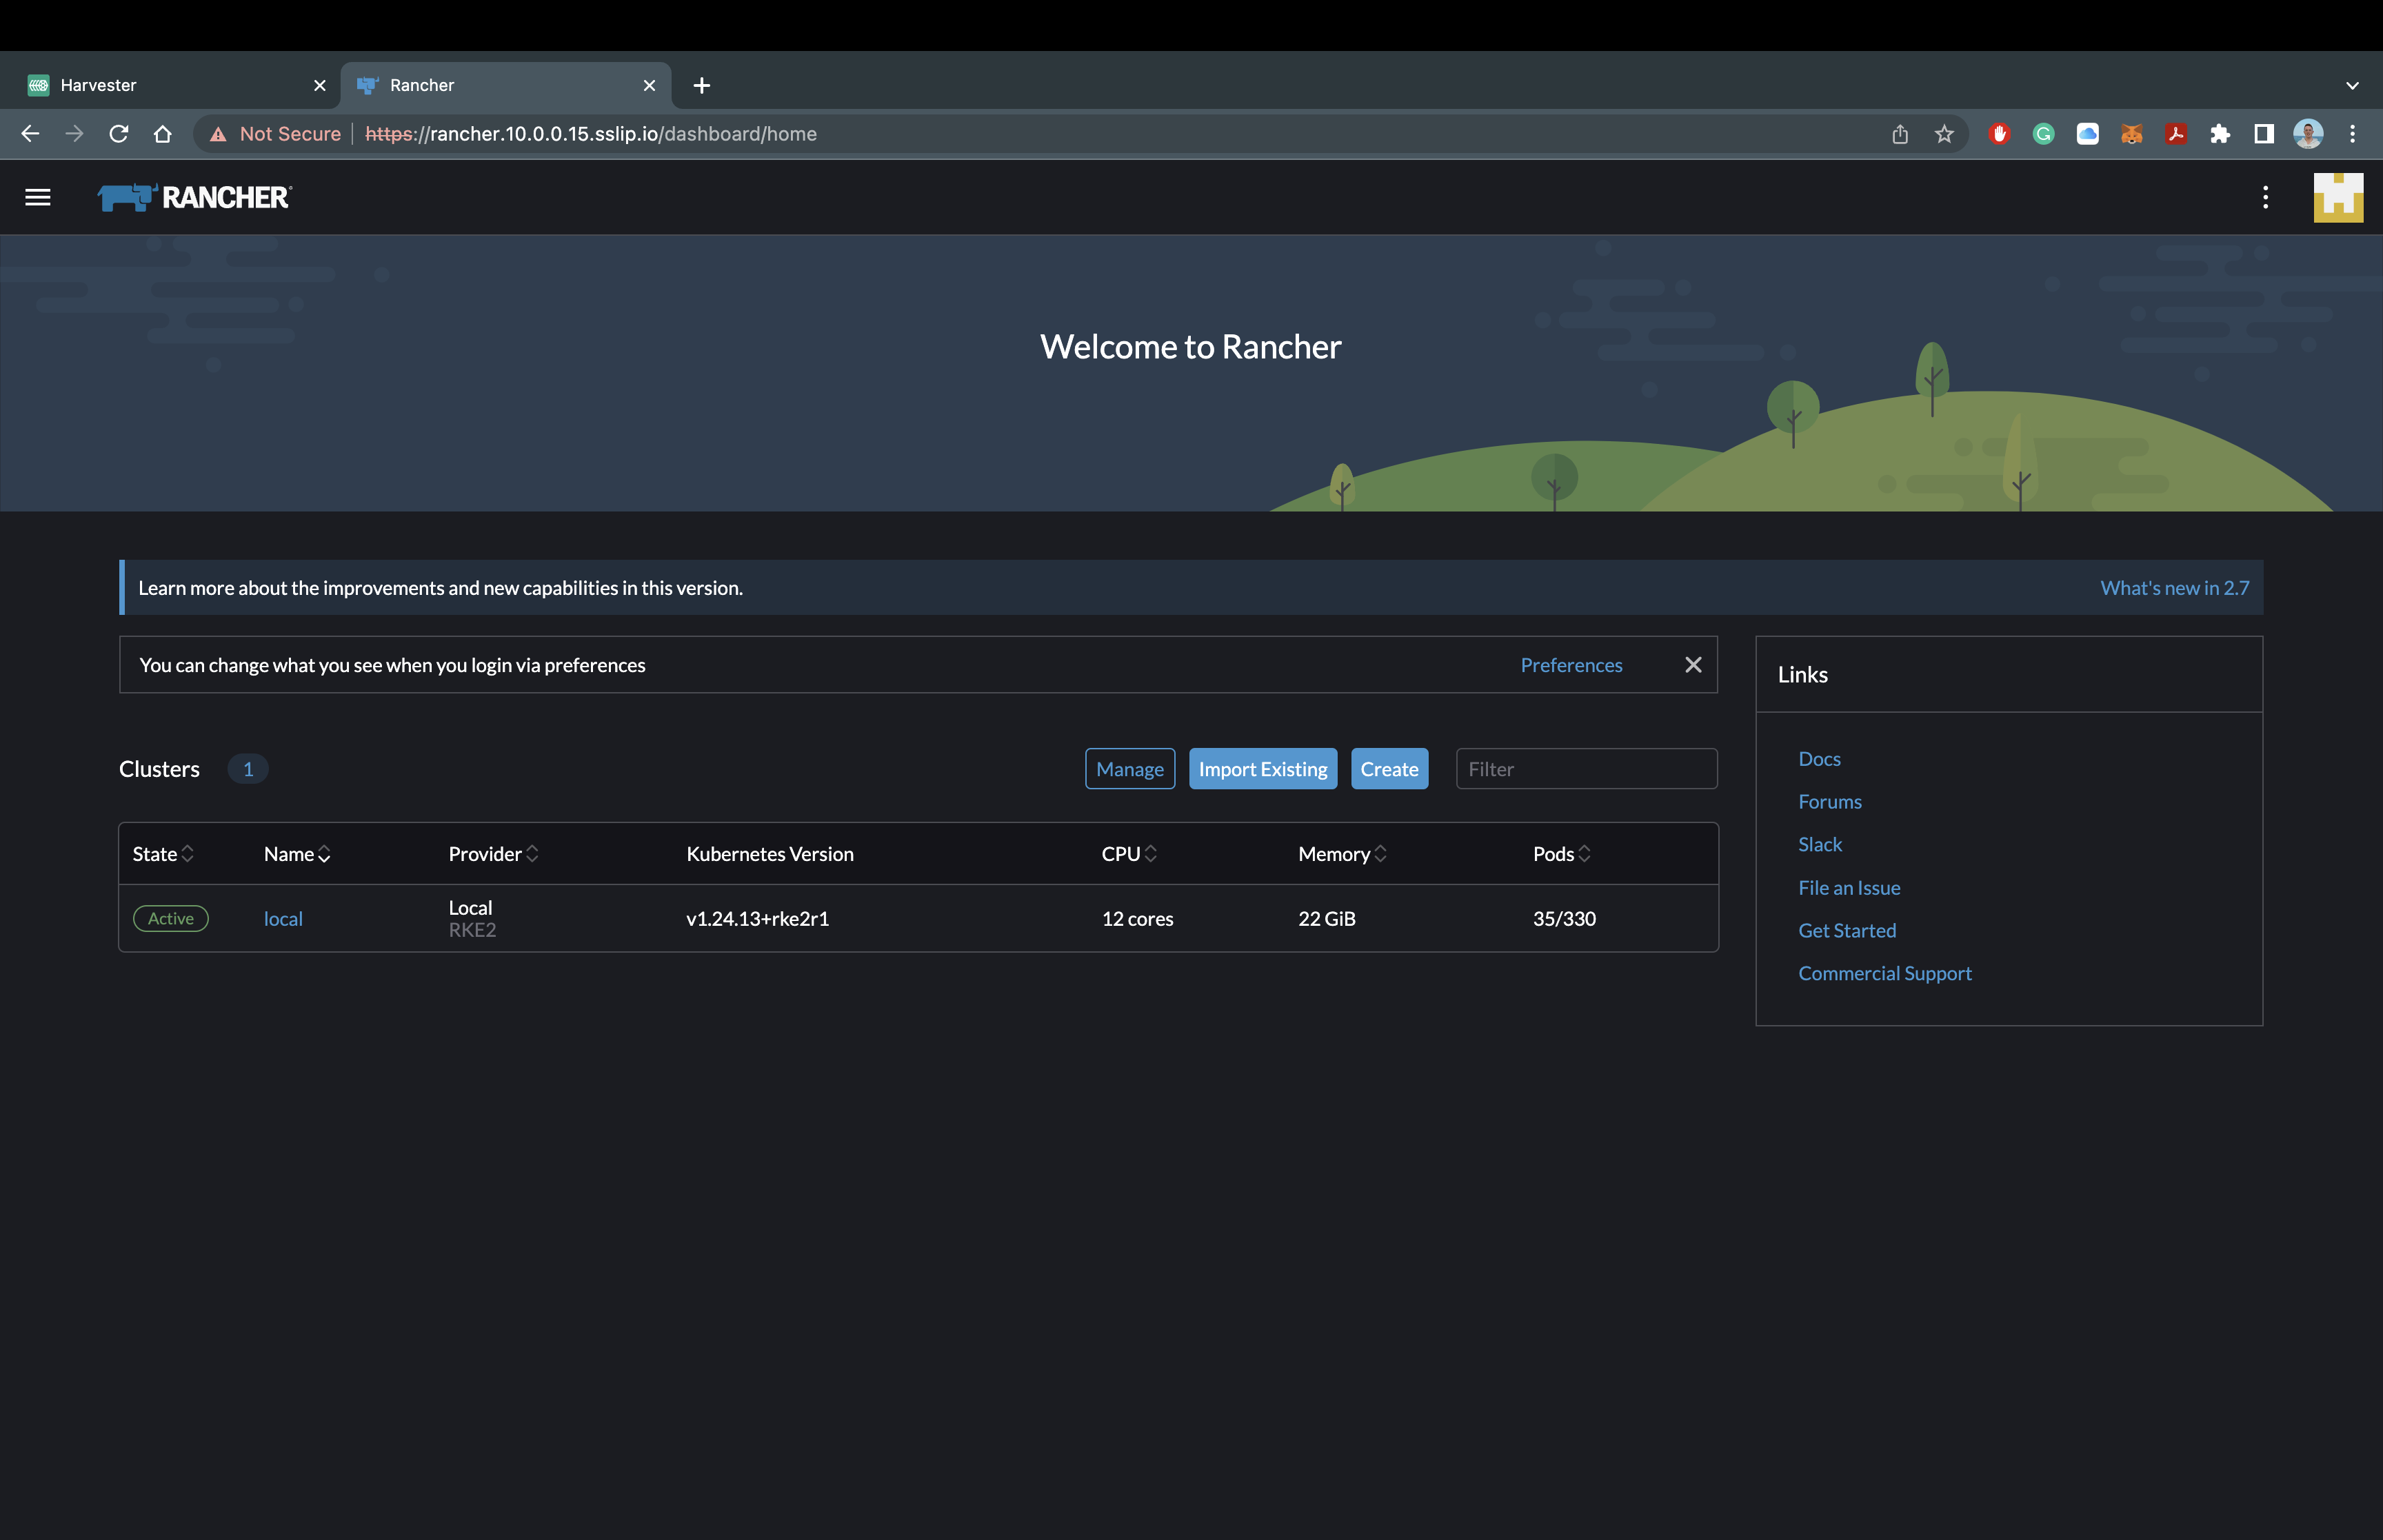
You should now see the Rancher Manager asking for a password that we set during installation. For my deployment, I will be using rancherSecurePassword. You will also have to verify the Rancher Manager URL and accept the Terms and Conditions. Once that is completed... It should look like this:
You now have the Rancher Manager sucessfully deployed on our RKE2 Kubernetes Cluster!!! Remember there are many ways to configure and this was only a minimal installation. Feel free to explore everything you are able to do inside of the Rancher Manager, or we can move onto the next step of installing Rancher Longhorn.
Let's move up the stack and start thinking about storage. Rancher Longhorn provides cloud native and highly available persistent block storage for Kubernetes, with backups and disaster recovery. In order to install Longhorn onto our cluster, we pretty much follow the same steps as we did for Cert Manager and the Rancher Manager.
Let's add the Helm Repository for Longhorn!
# server(s): rke2-cp-01
# Add and Update the Helm Repository
helm repo add longhorn https://charts.longhorn.io
helm repo update
It should look like this:
Now let's install Longhorn with the following commands:
# server(s): rke2-cp-01
# Create the Longhorn Namespace and Install Longhorn
kubectl create namespace longhorn-system

helm upgrade -i longhorn longhorn/longhorn --namespace longhorn-system --set ingress.enabled=true --set ingress.host=longhorn.10.0.0.15.sslip.io

# Wait for the deployment and rollout
sleep 30

# Verify the status of Longhorn
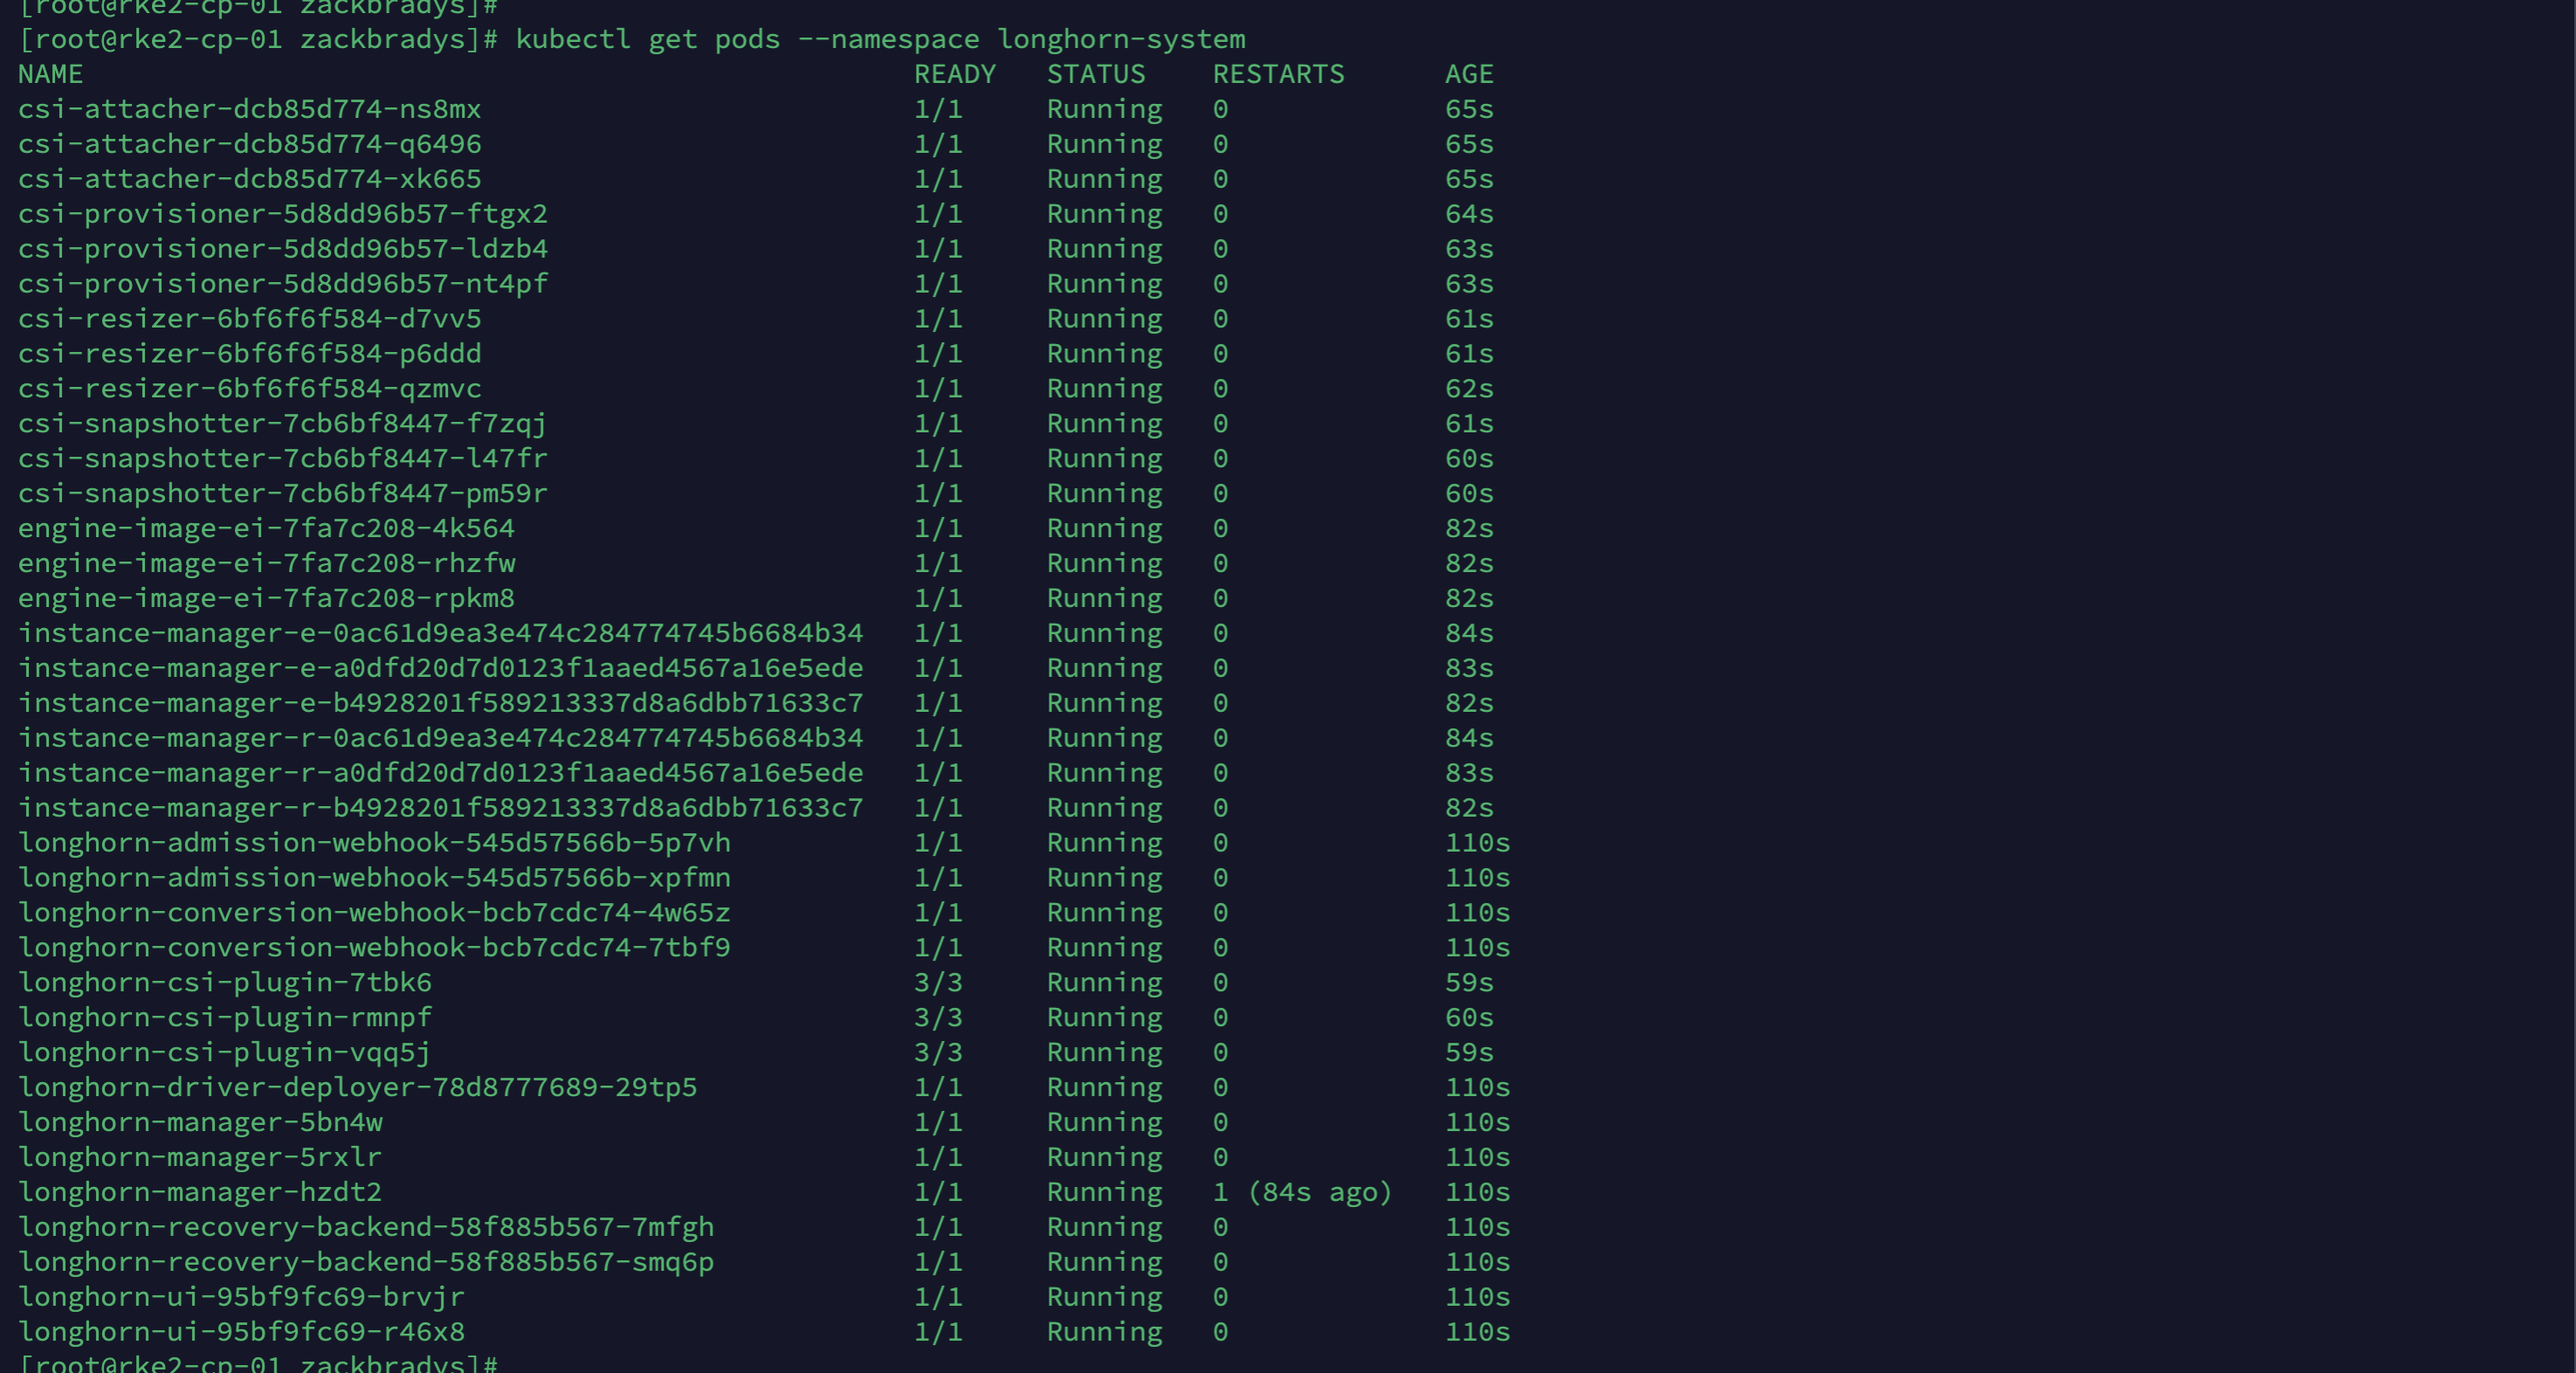
kubectl get pods --namespace longhorn-system
It should look like this:
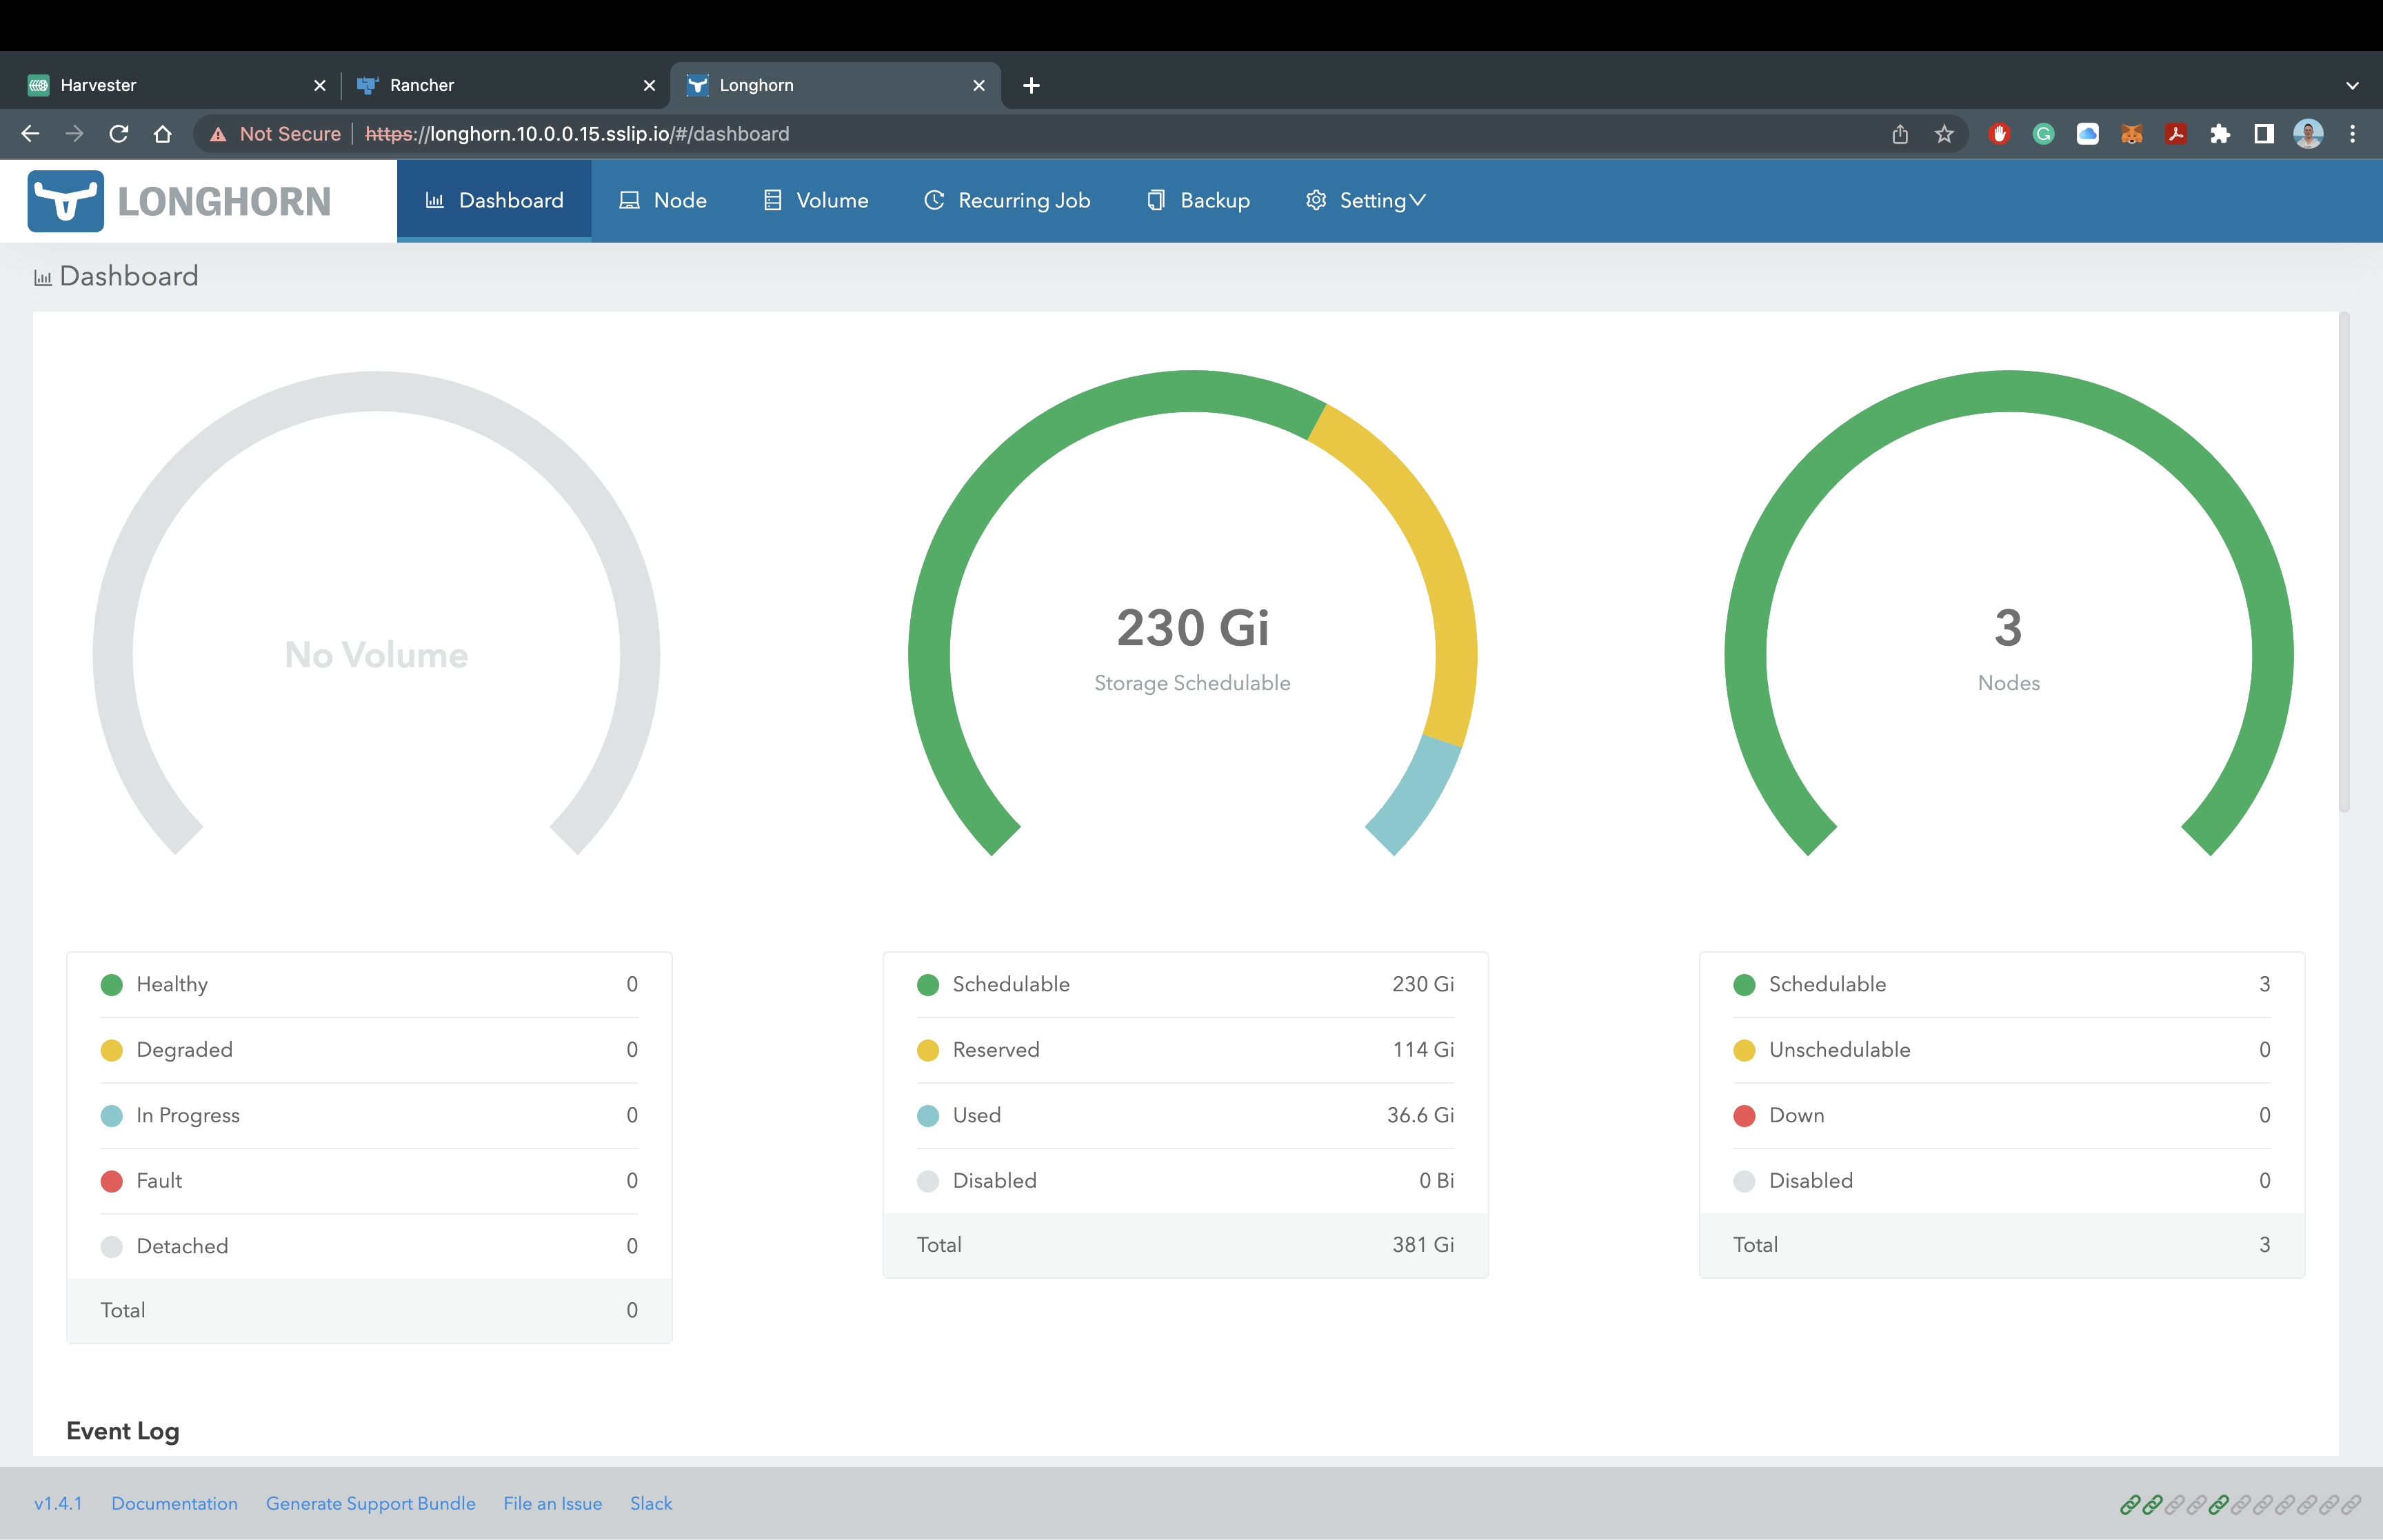
Once all the pods show as Running in the longhorn-system namespace, you can access Rancher Longhorn! Just like the Rancher Manager, we are utilizing sslip.io, so there is no additional configuration required to access Longhorn. Let's head over to the domain name.
For my deployment, I will be using https://longhorn.10.0.0.15.sslip.io to access Rancher Longhorn.
It should look like this:
You now have Rancher Longhorn successfully deployed on our RKE2 Kuberenetes Cluster with the Rancher Manager!! Feel free to explore the Longhorn dashboard and see how easy it is to manage your volumes, backup to an S3 Bucket, or setup cross-cluster disaster recovery. Once you're ready, let's move onto Rancher NeuVector.
Let's add the Helm Repository for NeuVector!
# server(s): rke2-cp-01
# Add and Update the Helm Repository
helm repo add neuvector https://neuvector.github.io/neuvector-helm
helm repo update
It should look like this:
Now let's install NeuVector with the following commands:
# server(s): rke2-cp-01
# Create the NeuVector Namespace and Install NeuVector
kubectl create namespace cattle-neuvector-system

helm upgrade -i neuvector neuvector/core --namespace cattle-neuvector-system --set k3s.enabled=true --set manager.ingress.enabled=true --set manager.svc.type=ClusterIP --set controller.pvc.enabled=true --set manager.ingress.host=neuvector.10.0.0.15.sslip.io --set global.cattle.url=https://rancher.10.0.0.15.sslip.io --set controller.ranchersso.enabled=true --set rbac=true

# Wait for the deployment and rollout
sleep 30

# Verify the status of Longhorn
kubectl get pods --namespace cattle-neuvector-system
It should look like this:
Once all the pods show as Running in the cattle-neuvector-system namespace, you can access Rancher NeuVector! Just like the Rancher Manager and Rancher Longhorn, we are utilizing sslip.io, so there is no additional configuration required to access NeuVector. Let's head over to the domain name.
For my deployment, I will be using https://neuvector.10.0.0.15.sslip.io to access Rancher NeuVecutor.
It should look like this:
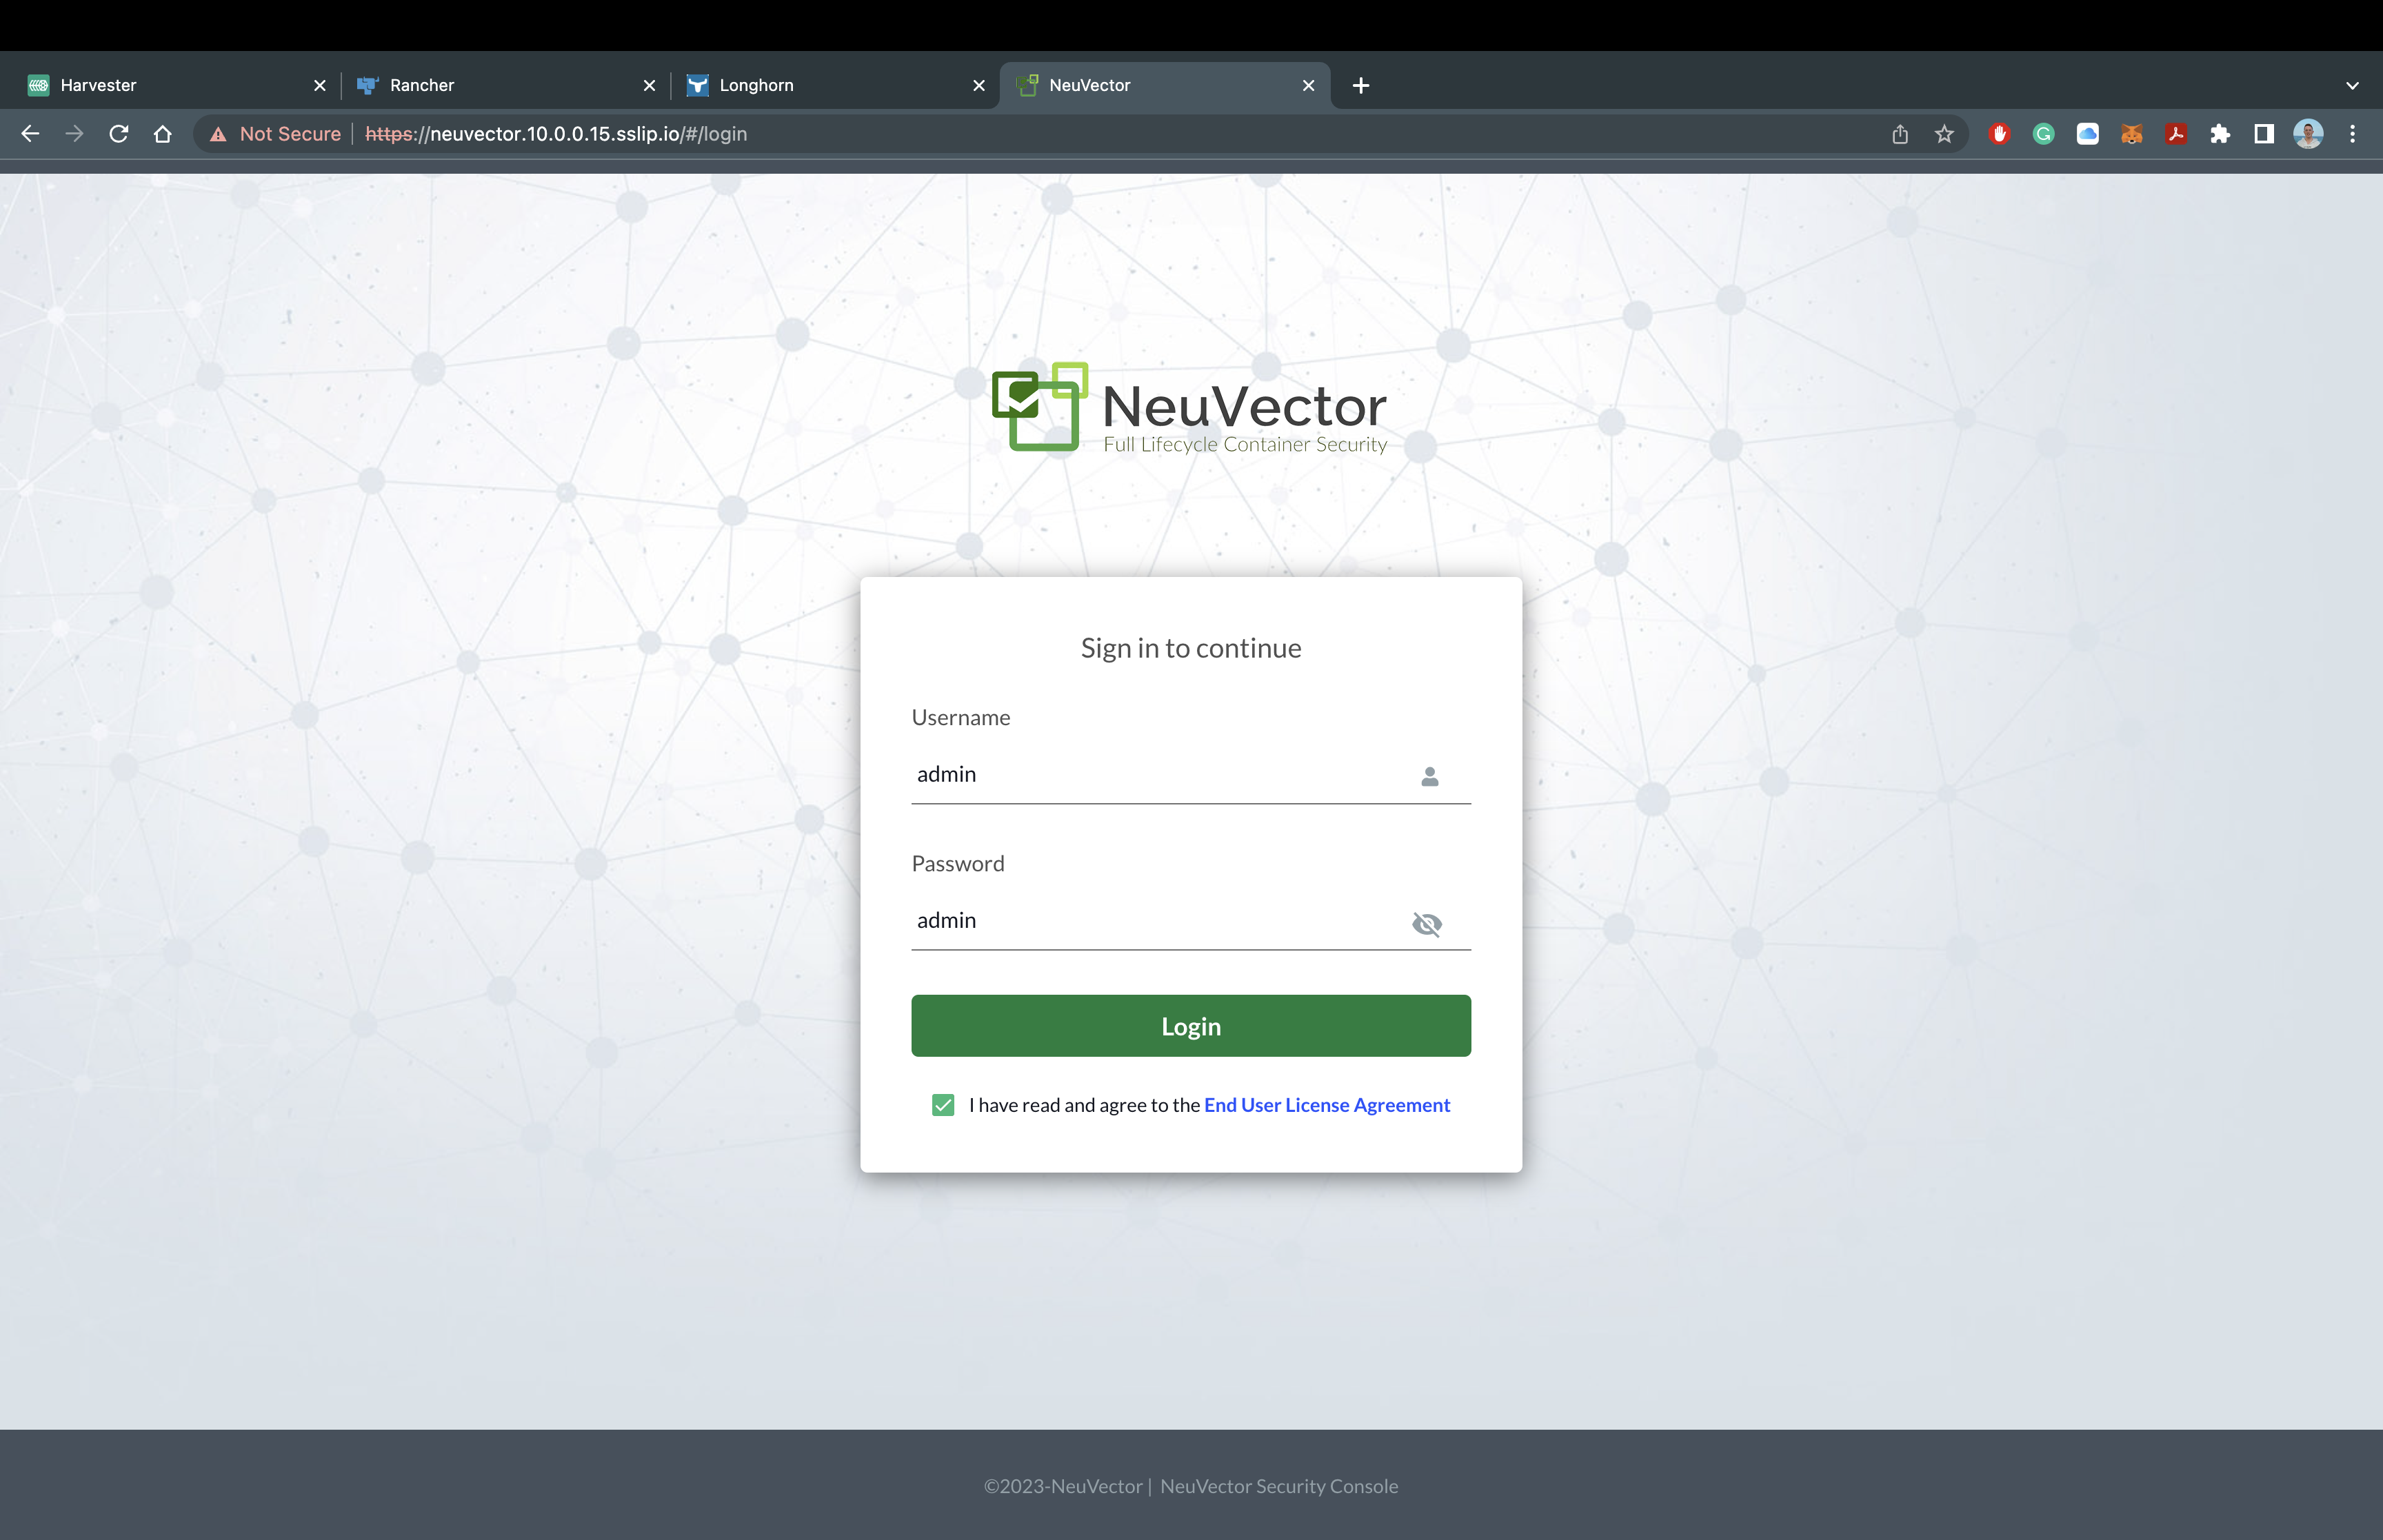
You should now see NeuVector asking for a the default username and password. The default username is admin and the default password is admin.
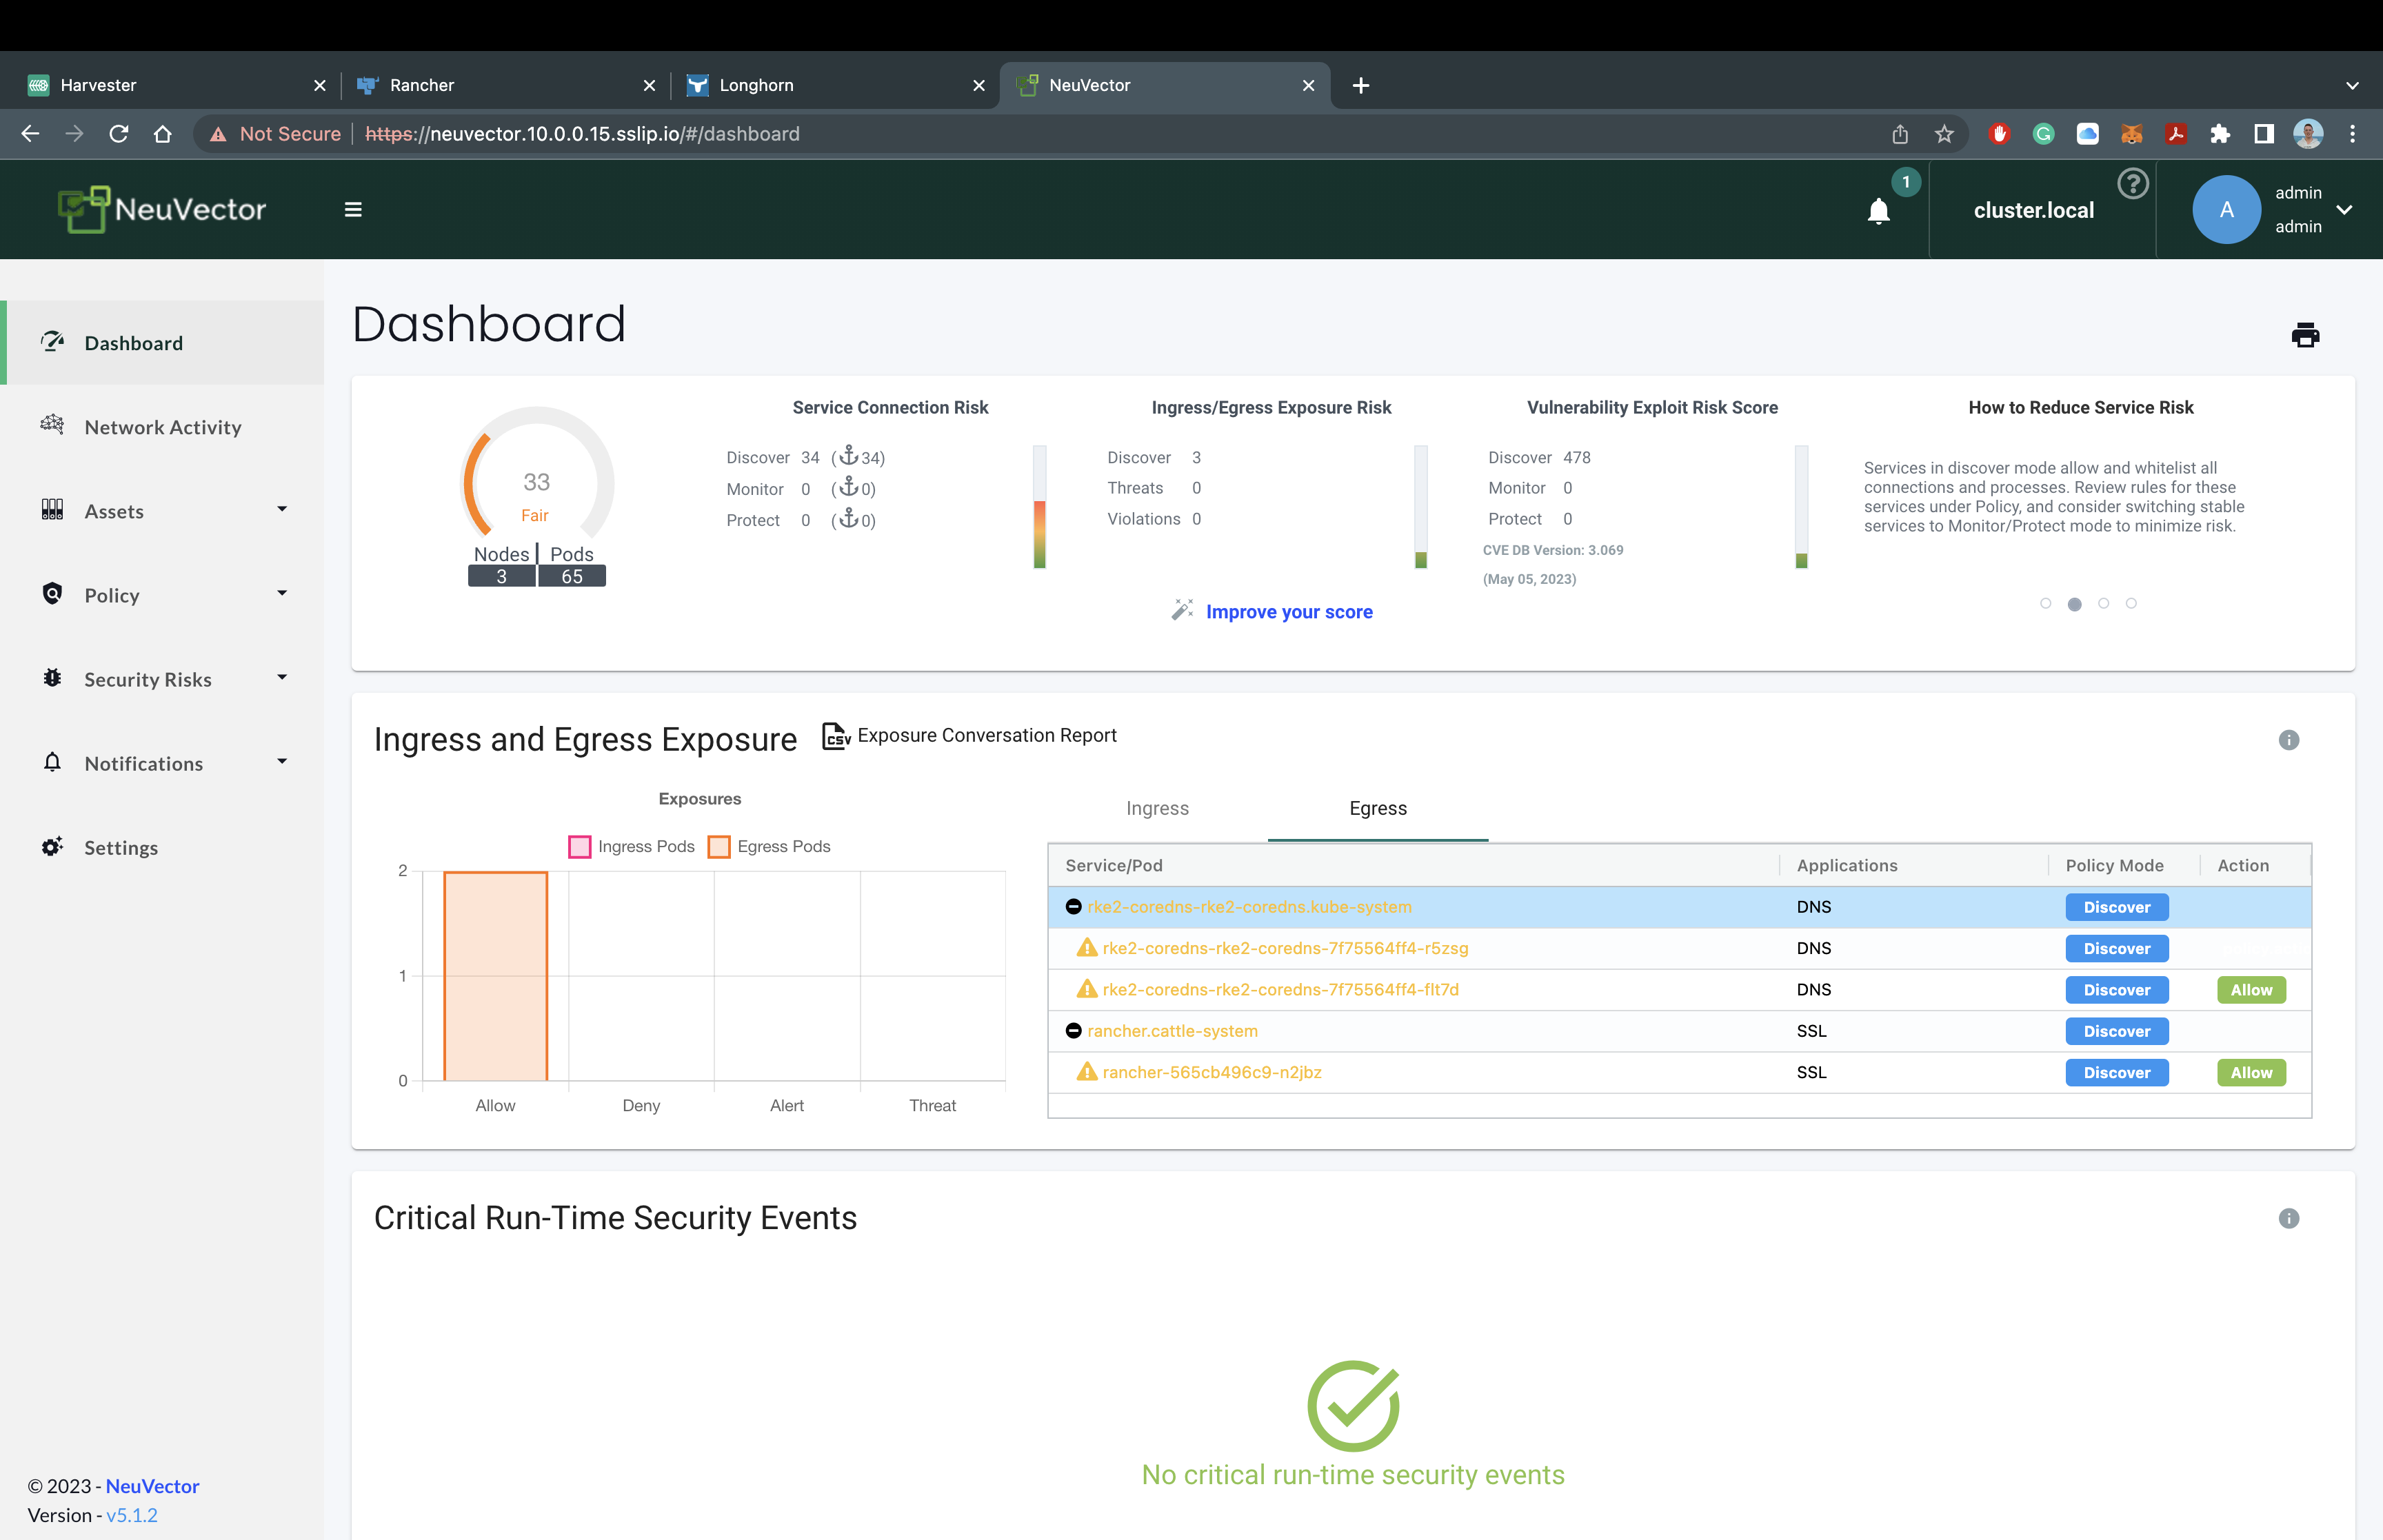
It should look like this:
You now have Rancher NeuVector deployed on our RKE2 Kuberenetes Cluster with the Rancher Manager and Rancher Longhorn!! Feel free to explore the NeuVector and run vulneriablity scans, investigate cluster assets, or check out your network activity. Here is where we would usually recommend users to try creating a new cluster or deploying a few test applications to see the true power behind Rancher. For now, we're going to move onto our final thoughts...
In a few easy steps and a few minutes of your time, you have the core Rancher Stack deployed out and ready for use. I would say that statement alone is a very powerful considering the alternatives out there.
If you have any issues with this deployment guide, please submit an issue or merge on this repo. Feel free to reach out to me as well!
