WebRTC-streamer is an experiment to stream video capture devices and RTSP sources through WebRTC using simple mechanism.
It embeds a HTTP server that implements API and serves a simple HTML page that use them through AJAX.
The WebRTC signaling is implemented through HTTP requests:
-
/api/call : send offer and get answer
-
/api/hangup : close a call
-
/api/addIceCandidate : add a candidate
-
/api/getIceCandidate : get the list of candidates
The list of HTTP API is available using /api/help.
Nowdays there is builds on CircleCI, Appveyor, CirrusCI and GitHub CI :
- for x86_64 on Ubuntu Bionic
- for armv7 crosscompiled (this build is running on Raspberry Pi2 and NanoPi NEO)
- for armv6+vfp crosscompiled (this build is running on Raspberry PiB and should run on a Raspberry Zero)
- Windows x64 build with clang
The webrtc stream name could be :
- an alias defined using -n argument then the corresponding -u argument will be used to create the capturer
- an "rtsp://" url that will be openned using an RTSP capturer based on live555
- an "file://" url that will be openned using an MKV capturer based on live555
- an "screen://" url that will be openned by webrtc::DesktopCapturer::CreateScreenCapturer
- an "window://" url that will be openned by webrtc::DesktopCapturer::CreateWindowCapturer
- a V4L2 capture device name
It is based on :
- WebRTC Native Code Package for WebRTC
- civetweb HTTP server for HTTP server
- live555 for RTSP/MKV source
pushd ..
git clone https://chromium.googlesource.com/chromium/tools/depot_tools.git
export PATH=$PATH:`realpath depot_tools`
popd
mkdir ../webrtc
pushd ../webrtc
fetch --no-history webrtc
popd
cmake . -DWEBRTCBUILD=<Release or Debug> -DWEBRTCROOT=<path to WebRTC>
make
where WEBRTCROOT and WEBRTCBUILD indicate how to point to WebRTC :
-
$WEBRTCROOT/src should contains source (default is $ (pwd)/../webrtc) - $WEBRTCROOT/src/out/$WEBRTCBUILD should contains libraries (default is Release)
./webrtc-streamer [-H http port] [-S[embeded stun address]] -[v[v]]  [url1]...[urln]
./webrtc-streamer [-H http port] [-s[external stun address]] -[v[v]] [url1]...[urln]
./webrtc-streamer -V
    	-v[v[v]]           : verbosity
    	-V                 : print version

    	-H [hostname:]port : HTTP server binding (default 0.0.0.0:8000)
	-w webroot         : path to get files
	-c sslkeycert      : path to private key and certificate for HTTPS
	-N nbthreads       : number of threads for HTTP server
	-A passwd          : password file for HTTP server access
	-D authDomain      : authentication domain for HTTP server access (default:mydomain.com)

     	-S[stun_address]   : start embeded STUN server bind to address (default 0.0.0.0:3478)
     	-s[stun_address]   : use an external STUN server (default stun.l.google.com:19302)
     	-t[username:password@]turn_address : use an external TURN relay server (default disabled)
    	-a[audio layer]    : spefify audio capture layer to use (default:3)

	-n name -u videourl -U audiourl : register a name for a video url and an audio url
     	[url]                           : url to register in the source list
	-C config.json                  : load urls from JSON config file
Arguments of '-H' are forwarded to option listening_ports of civetweb, then it is possible to use the civetweb syntax like -H8000,9000 or -H8080r,8443s.
webrtc-streamer rtsp://wowzaec2demo.streamlock.net/vod/mp4:BigBuckBunny_115k.mov
We can access to the WebRTC stream using webrtcstreamer.html for instance :
- https://webrtc-streamer.herokuapp.com/webrtcstreamer.html?rtsp://wowzaec2demo.streamlock.net/vod/mp4:BigBuckBunny_115k.mov
- https://webrtc-streamer.herokuapp.com/webrtcstreamer.html?Bunny
An example displaying grid of WebRTC Streams is available using option "layout=x"
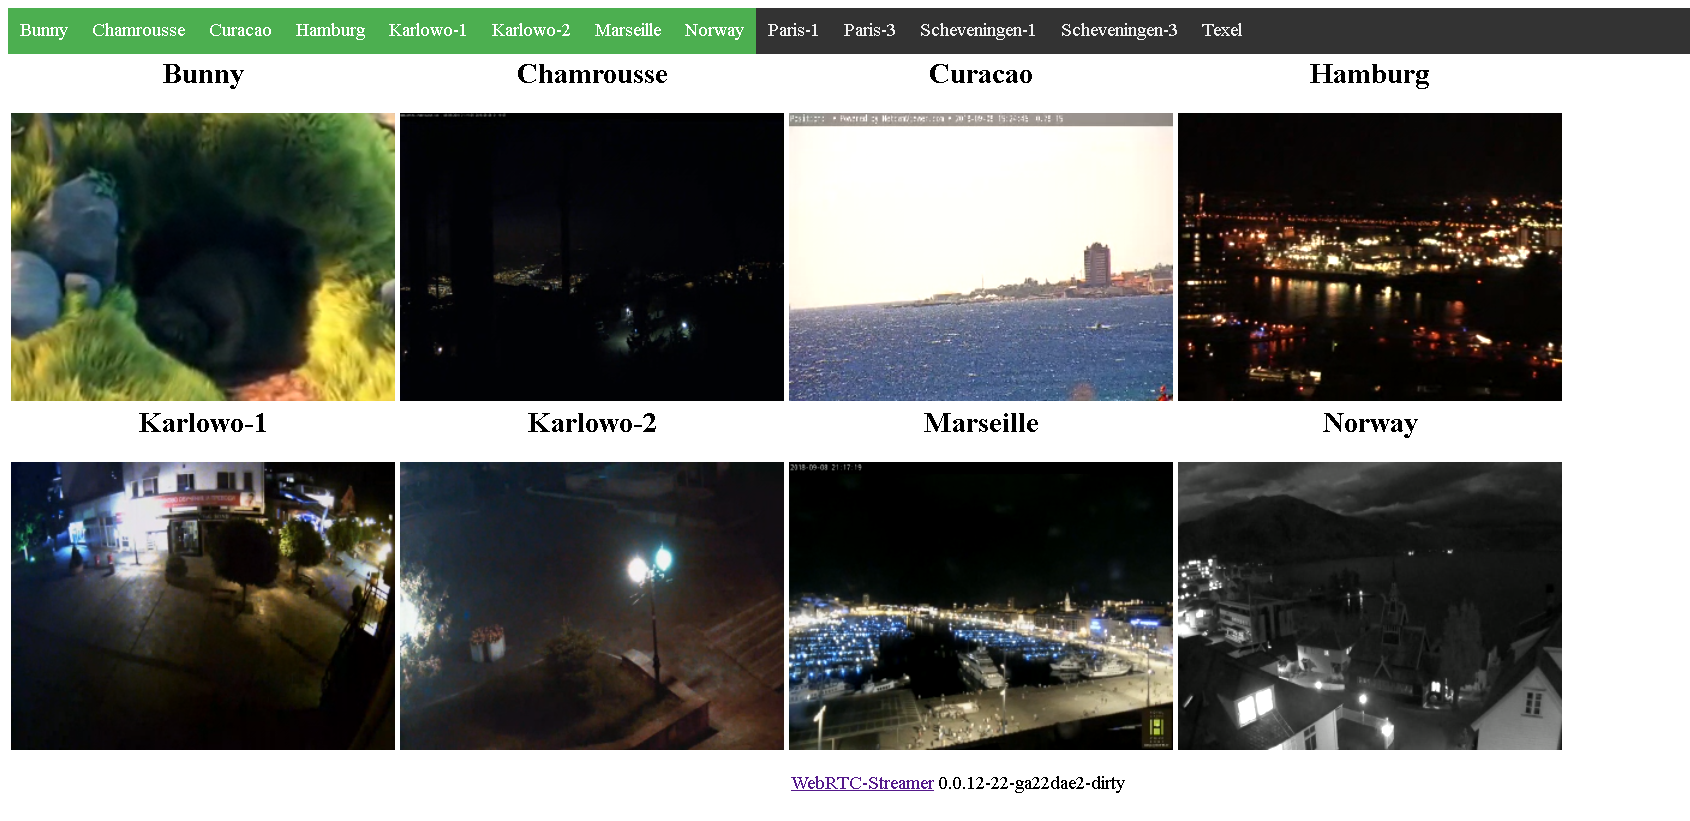
Instead of using the internal HTTP server, it is easy to display a WebRTC stream in a HTML page served by another HTTP server. The URL of the webrtc-streamer to use should be given creating the WebRtcStreamer instance :
var webRtcServer = new WebRtcStreamer(<video tag>, <webrtc-streamer url>);
A short sample HTML page using webrtc-streamer running locally on port 8000 :
<html>
<head>
<script src="libs/request.min.js" ></script>
<script src="libs/adapter.min.js" ></script>
<script src="webrtcstreamer.js" ></script>
<script>
    var webRtcServer      = null;
    window.onload         = function() {
        webRtcServer      = new WebRtcStreamer("video",location.protocol+"//"+window.location.hostname+":8000");
	webRtcServer.connect("rtsp://wowzaec2demo.streamlock.net/vod/mp4:BigBuckBunny_115k.mov");
    }
    window.onbeforeunload = function() { webRtcServer.disconnect(); }
</script>
</head>
<body>
    <video id="video" />
</body>
</html>
Using web-component could be a simple way to display some webrtc stream, a minimal page could be :
<html>
<head>
    <script type="module" src="webrtc-streamer-element.js"></script>
</head>
<body>
   <webrtc-streamer url="rtsp://wowzaec2demo.streamlock.net/vod/mp4:BigBuckBunny_115k.mov"></webrtc-streamer>
</body>
</html>
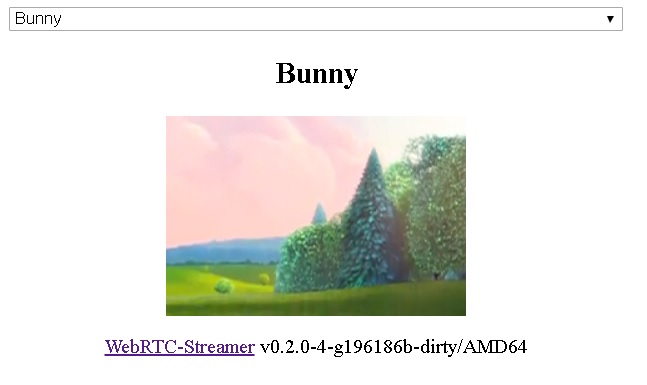
Using the webcomponent with a stream selector :
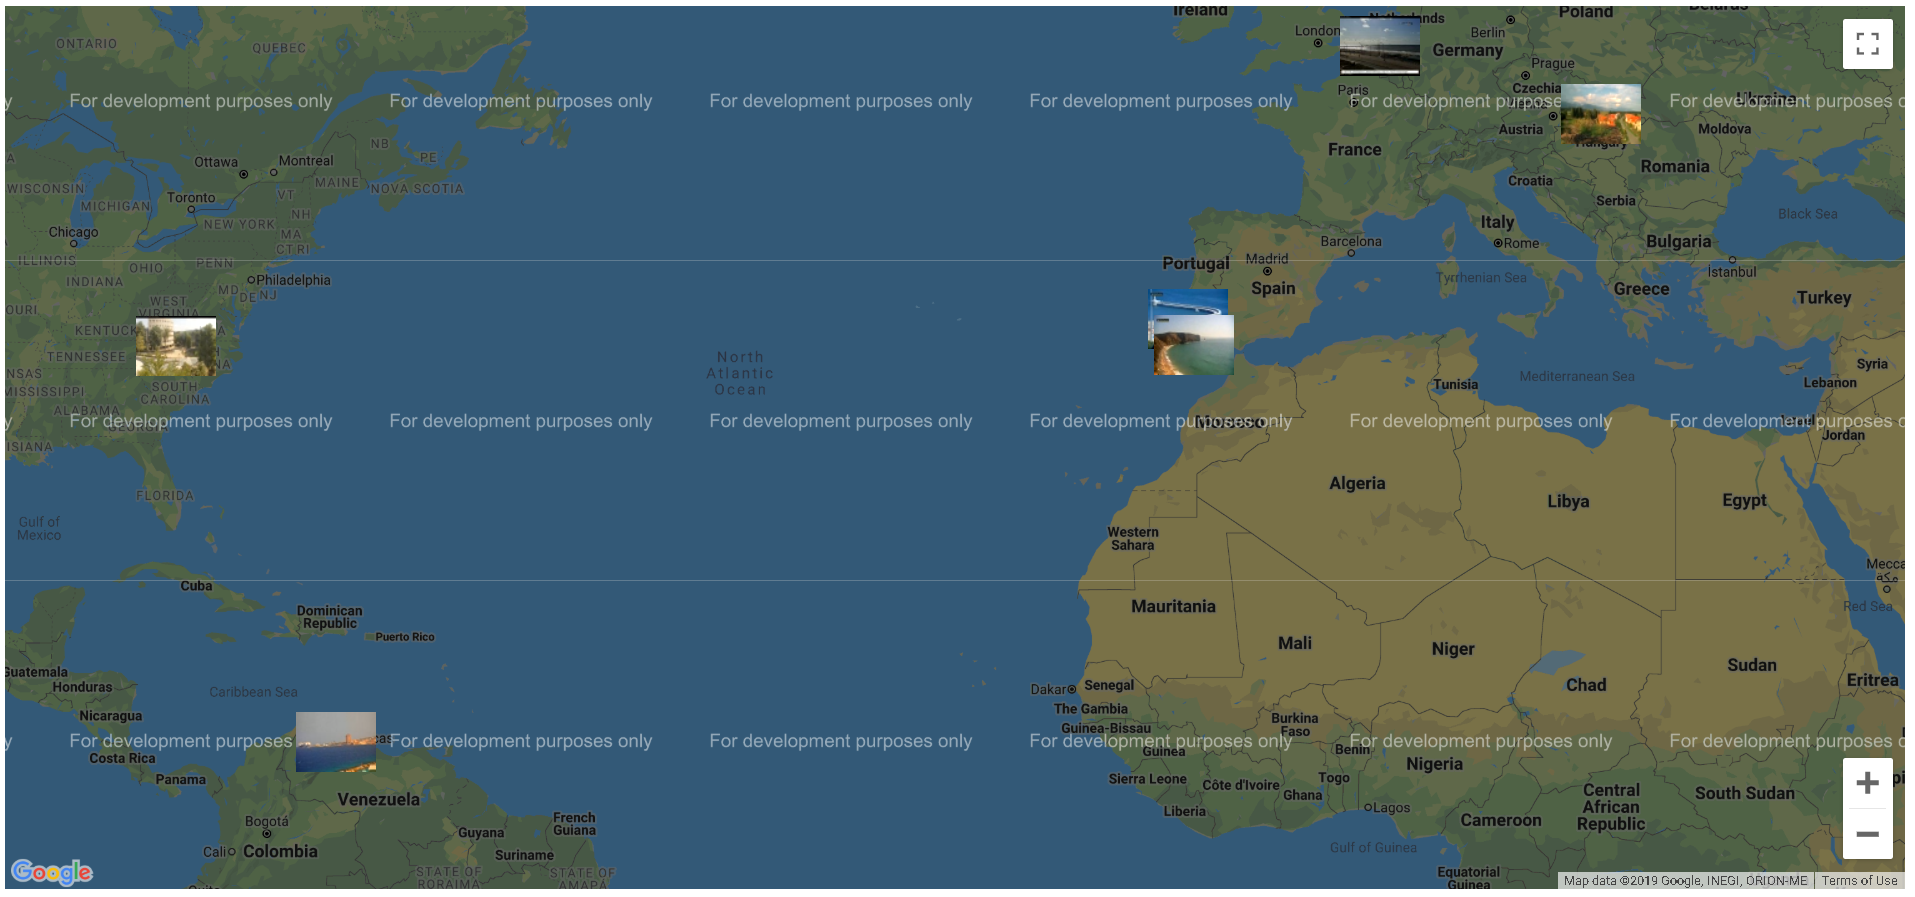
Using the webcomponent over google map :
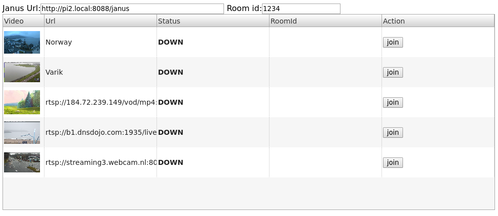
A simple way to publish WebRTC stream to a Janus Gateway Video Room is to use the JanusVideoRoom interface
var janus = new JanusVideoRoom(<janus url>, <webrtc-streamer url>)
A short sample to publish WebRTC streams to Janus Video Room could be :
<html>
<head>
<script src="libs/request.min.js" ></script>
<script src="janusvideoroom.js" ></script>
<script>
	var janus = new JanusVideoRoom("https://janus.conf.meetecho.com/janus", null);
	janus.join(1234, "rtsp://pi2.local:8554/unicast","pi2");
	janus.join(1234, "rtsp://wowzaec2demo.streamlock.net/vod/mp4:BigBuckBunny_115k.mov","media");
</script>
</head>
</html>
This way the communication between Janus API and WebRTC Streamer API is implemented in Javascript running in browser.
The same logic could be implemented in NodeJS using the same JS API :
global.request = require('then-request');
var JanusVideoRoom = require('./html/janusvideoroom.js');
var janus = new JanusVideoRoom("http://192.168.0.15:8088/janus", "http://192.168.0.15:8000")
janus.join(1234,"mmal service 16.1","video")
A simple way to publish WebRTC stream to a Jitsi Video Room is to use the XMPPVideoRoom interface
var xmpp = new XMPPVideoRoom(<xmpp server url>, <webrtc-streamer url>)
A short sample to publish WebRTC streams to a Jitsi Video Room could be :
<html>
<head>
<script src="libs/strophe.min.js" ></script>
<script src="libs/strophe.muc.min.js" ></script>
<script src="libs/strophe.disco.min.js" ></script>
<script src="libs/strophe.jingle.sdp.js"></script>
<script src="libs/jquery-1.12.4.min.js"></script>
<script src="libs/request.min.js" ></script>
<script src="xmppvideoroom.js" ></script>
<script>
	var xmpp = new XMPPVideoRoom("meet.jit.si", null);
	xmpp.join("testroom", "rtsp://wowzaec2demo.streamlock.net/vod/mp4:BigBuckBunny_115k.mov","Bunny");
</script>
</head>
</html>
You can start the application using the docker image :
docker run -p 8000:8000 -it mpromonet/webrtc-streamer
You can expose V4L2 devices from your host using :
docker run --device=/dev/video0 -p 8000:8000 -it mpromonet/webrtc-streamer
The container entry point is the webrtc-streamer application, then you can :
-
get the help using :
docker run -p 8000:8000 -it mpromonet/webrtc-streamer -h -
run the container registering a RTSP url using :
docker run -p 8000:8000 -it mpromonet/webrtc-streamer -n raspicam -u rtsp://pi2.local:8554/unicast -
run the container giving config.json file using :
docker run -p 8000:8000 -v $PWD/config.json:/app/config.json mpromonet/webrtc-streamer


