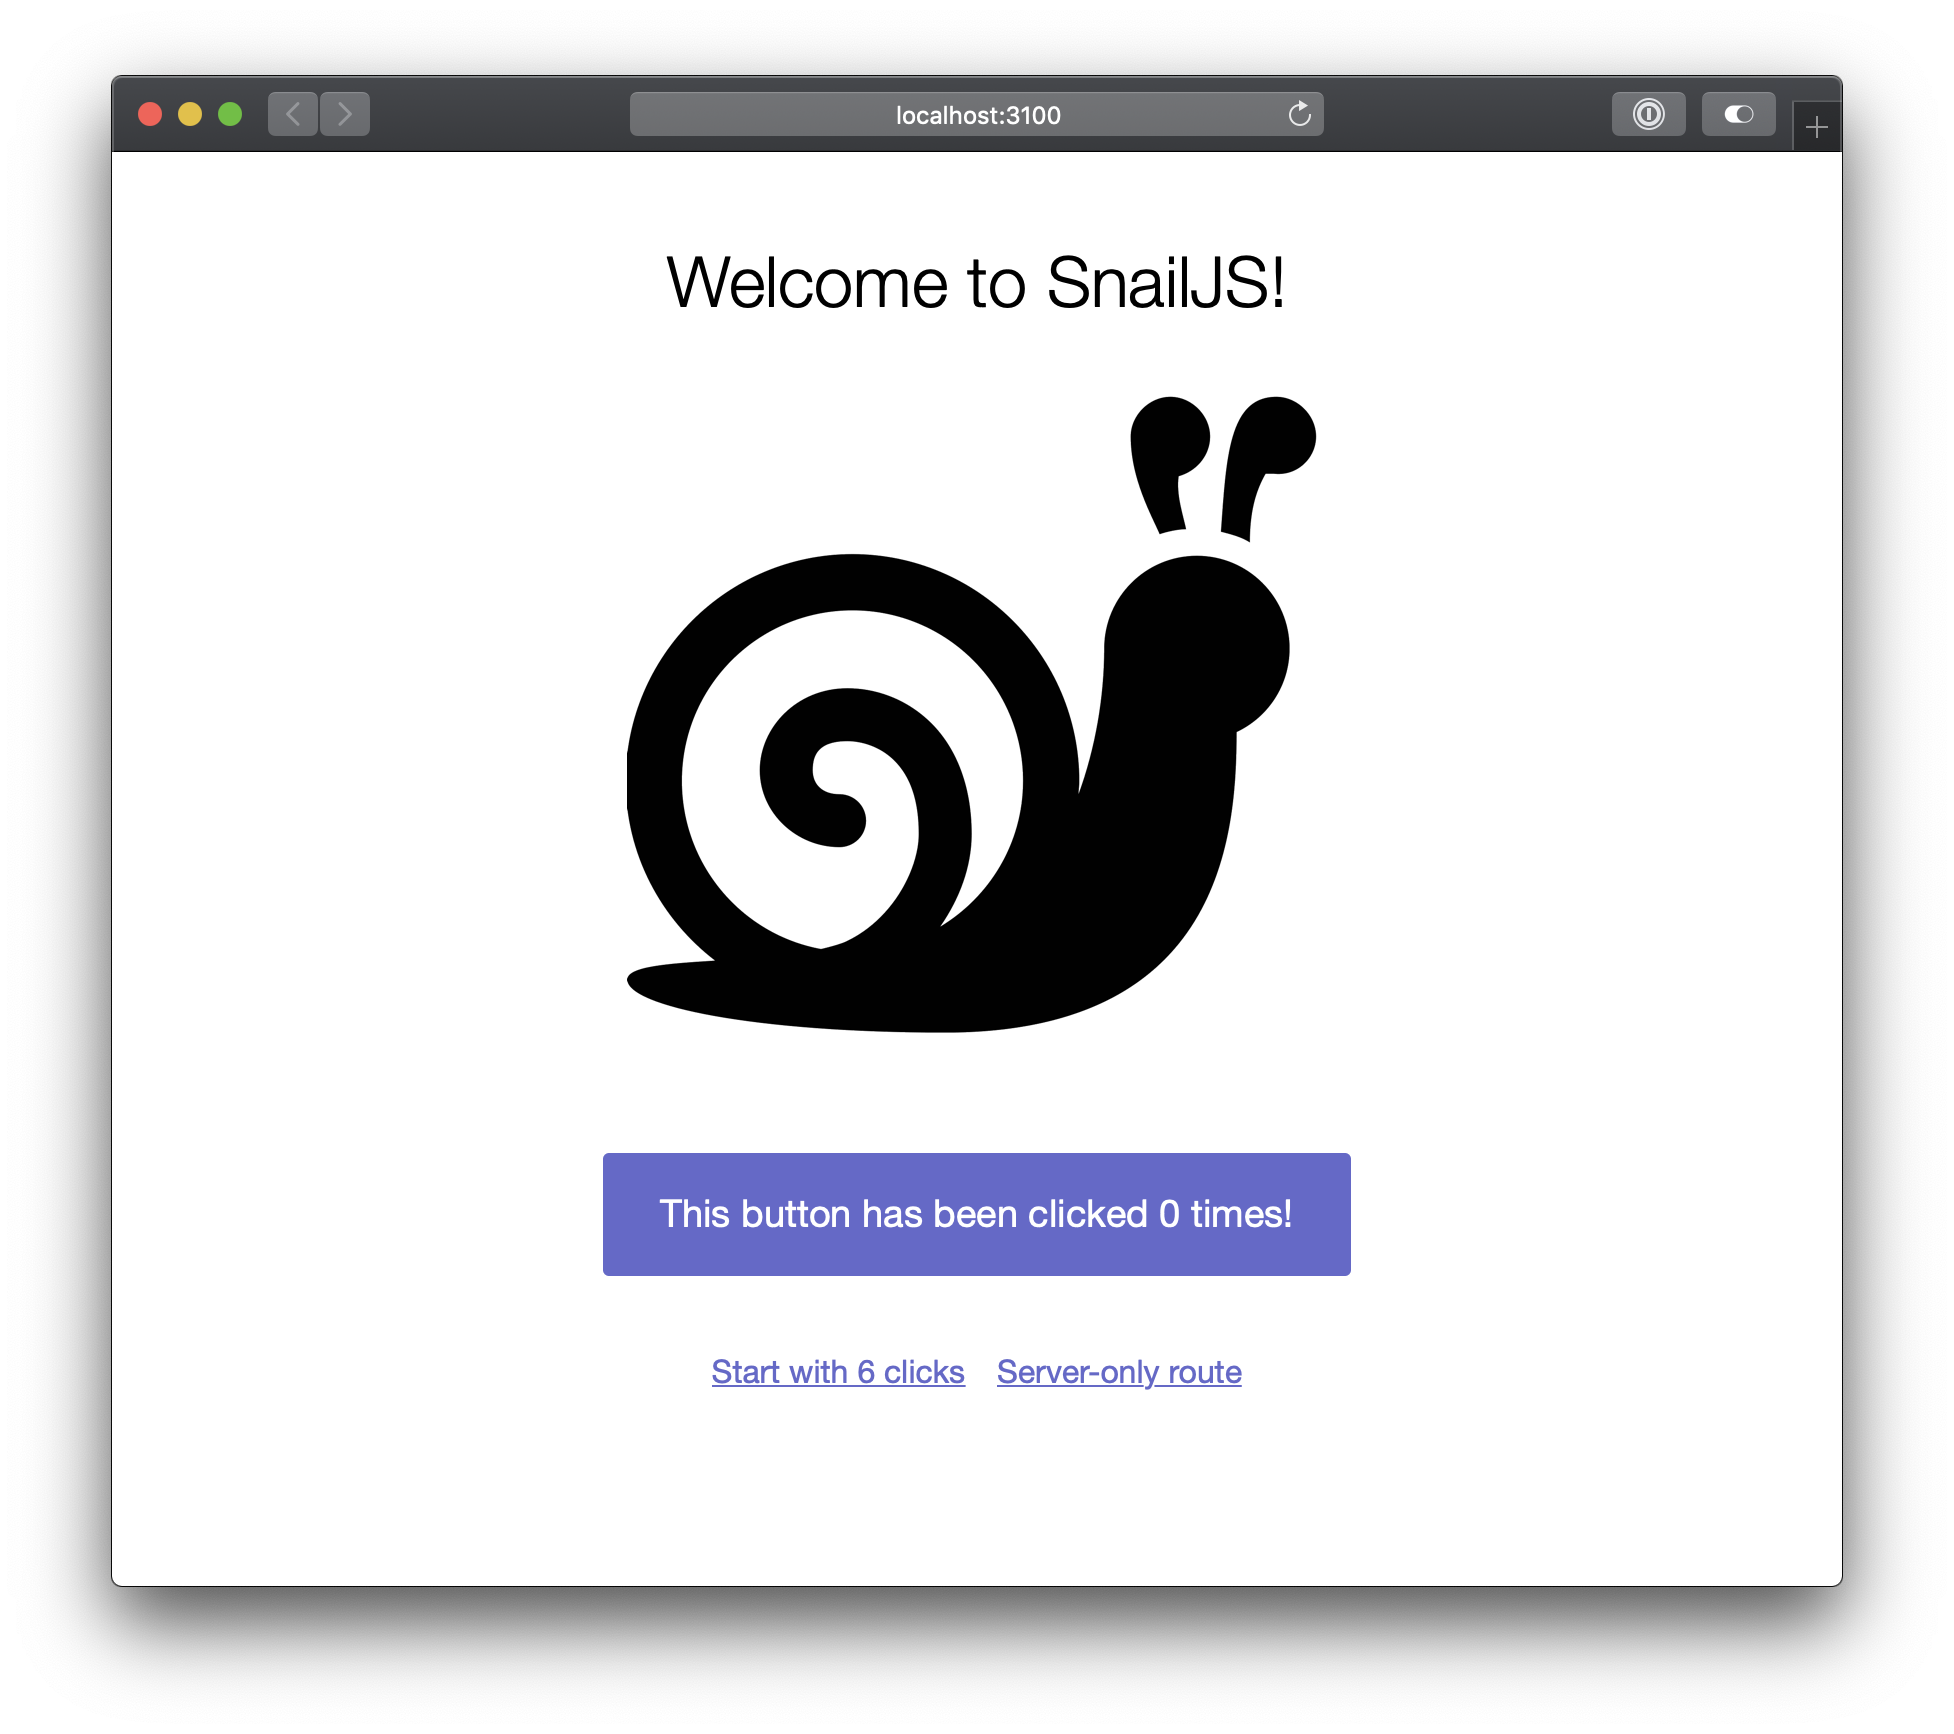
SnailJS is a starter/boilerplate app that attempts to define some structure for projects where the people involved want to dedicate some thought into how they will be built, don't want to give up control, and want to be fairly optimized.
It's not very opinionated. It's meant to build an app using Webpack (for dev/prod optimizations), Babel (for the nice import syntax and other goodies), a Koa backend, a React frontend, and Flow static typing, with some common needs like routing, absolute paths, SASS parsing, tests, and build processes.
Other than that, it doesn't force you to specific tech solutions like how to code split, redux, mobx, mustache, mongo, mysql, etc. There are other tools for that kind of opinionated app building like SailsJS.
If you need a simple frontend app, try create-react-app. If you need a bit more complexity (or a "webpacked" node app), Neutrino is pretty good as well.
This really serves the purpose of someone wanting/needing something like SailsJS but without all the magic/opinionated code.
node (ideally via nvm, so .nvmrc is respected) and yarn.
make install or make setup for getting everything setup
make start for dev build. Check if you want to update your .env.local file (it's unversioned)
make lint to run linting and flow type checking
make test to run make lint and tests
make pretty to run prettier on all code
make test/pretty to check if prettier needs to change anything
make build for prod build
make test/build for prod build and serving it locally in production mode
make deploy will deploy a server to DigitalOcean with the app (read more below). Make sure to run make build first
make deploy/update will update the frontend and backend of a deployed server (so make deploy has to have been executed first, and make sure to have run make build)
make deploy/destroy will destroy the infra/server
Note this is a simple deployment setup. It's scalable, but not necessarily following best security practices. Ideally you'll have/use a non-root user, VPNs/VPCs, load balancers, and all that, but you never need that upfront, so this is meant to help get your feet off the ground and into space, not Mars (and it should define a structure to get there when you need to).
Before you run make deploy, set the variables inside the deploy/variables.tf file. Here's a sample with fake data that explains where/how to get them:
variable "do_token" {
  default = "Token From DigitalOcean. Get it at https://cloud.digitalocean.com/account/api/tokens"
}
variable "pub_key" {
  default = "~/.ssh/id_rsa.pub"
}
variable "pvt_key" {
  default = "~/.ssh/id_rsa"
}
variable "ssh_fingerprint" {
  default = "The MD5 Fingerprint from your SSH Key at https://cloud.digitalocean.com/account/security"
}
That assumes DigitalOcean already has your ~/.ssh/id_rsa.pub key in https://cloud.digitalocean.com/account/security.
After you run make deploy you'll be able to ssh root@IP_ADDRESS and cd /app && ./stop.sh, cd /app && ./start.sh, orcd /app && ./restart.sh. Ideally you'll also setup a cron or manually run certbot renew to update the SSL certificates.
If you need to update the app, just run IP=IP_ADDRESS make deploy/update and it'll build the assets, push them over, and restart the server.
There's a couple of manual things you need to do right now for the first time deploying (this can totally be improved with some more dedicated time), like setting up nginx properly and the certificates:
ssh root@IP_ADDRESS

certbot --nginx -d example.com -d www.example.com
# I'd recommend option 2 (redirect HTTP to HTTPS).

nano /etc/nginx/sites-enabled/default
# Add the content below inside the main `server` block, near the bottom, for the `listen 443` piece:
location / {
proxy_pass http://localhost:3000/;
proxy_http_version 1.1;
proxy_set_header Upgrade $http_upgrade;
proxy_set_header Connection 'upgrade';
proxy_set_header Host $host;
proxy_set_header X-Real-IP $remote_addr;
proxy_set_header X-Forwarded-For $proxy_add_x_forwarded_for;
proxy_cache_bypass $http_upgrade;
}Now start the app: /app/restart.sh.
