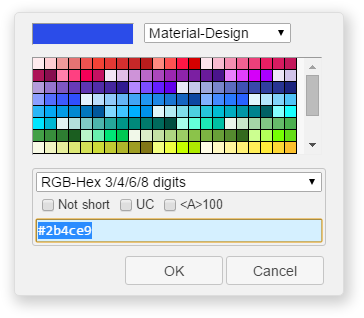
Color Picker for VS Code
Helper with GUI to generate color codes such as CSS color notations.
And, a command Convert Color to change the color notation.
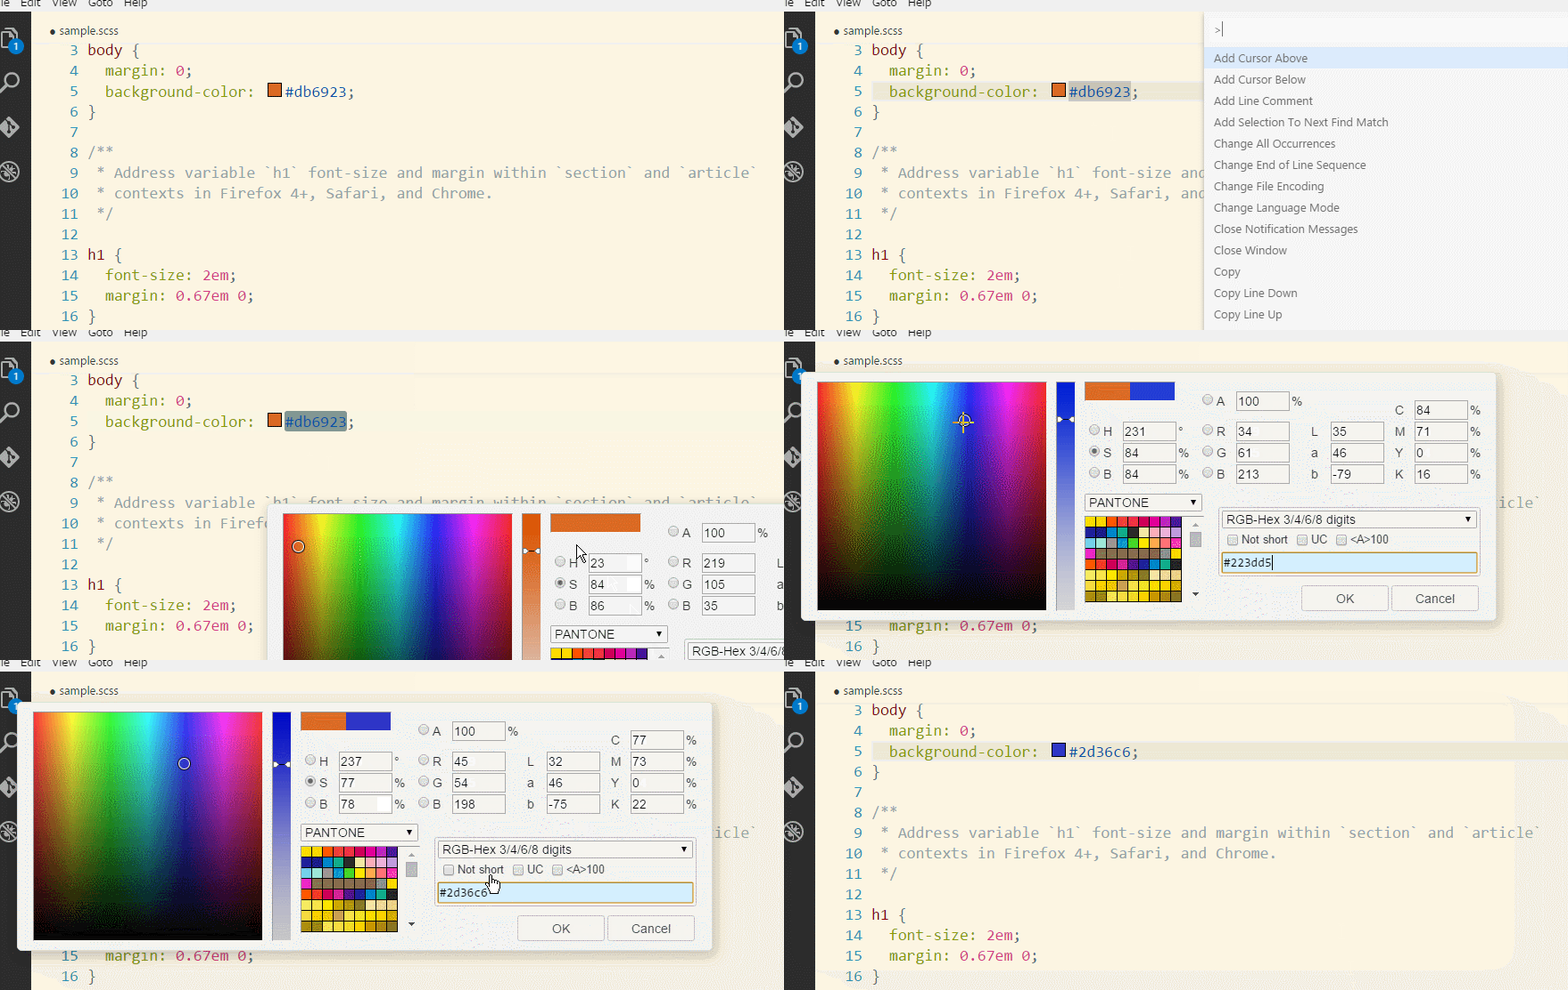
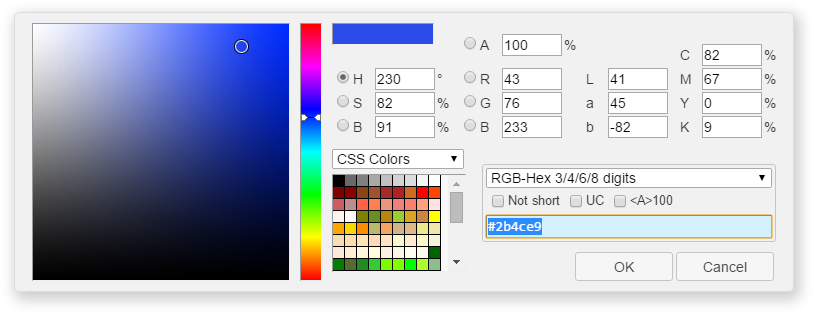
A dialog box is shown by pressing Alt + C P keys or command Pick Color. If a cursor is positioned on a string that is color notation at that time, that string is selected as target for editing.
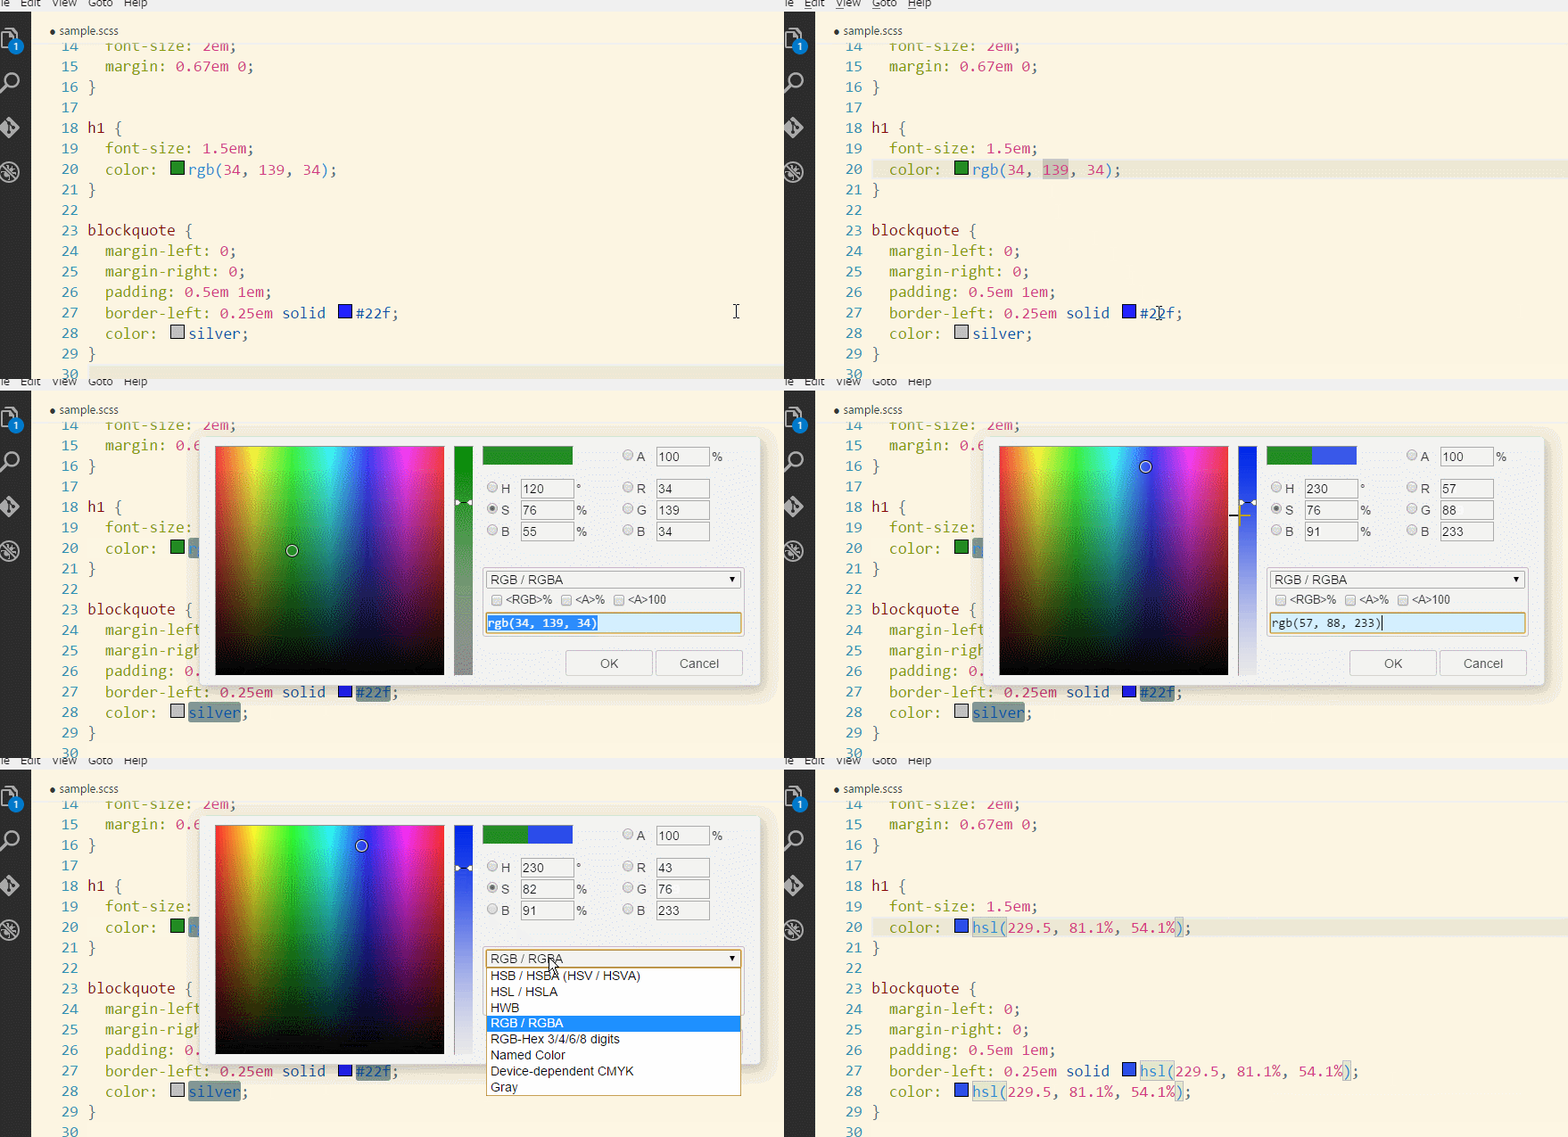
- Supported color spaces to edit the color: HSB (HSV), RGB, Lab, and CMYK. With alpha channel.
- Supported color notations to output the color:
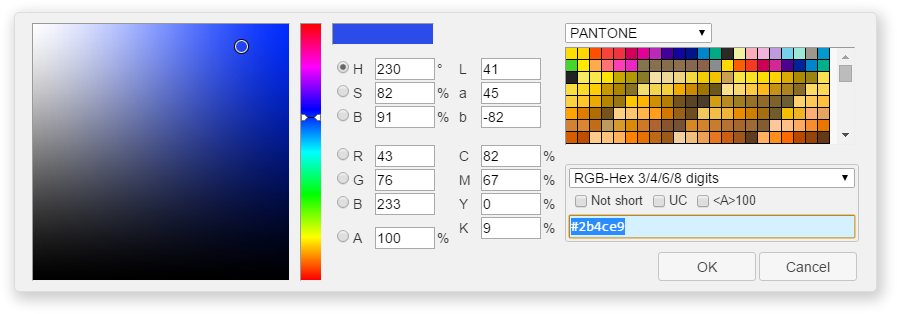
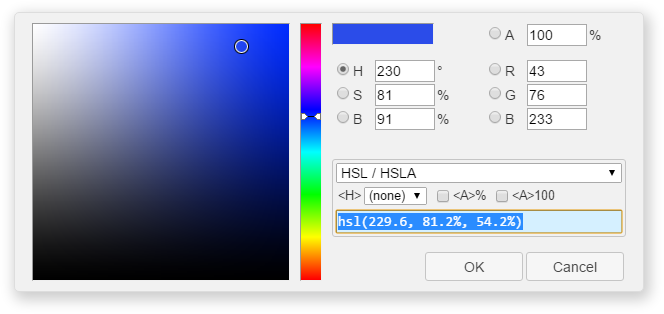
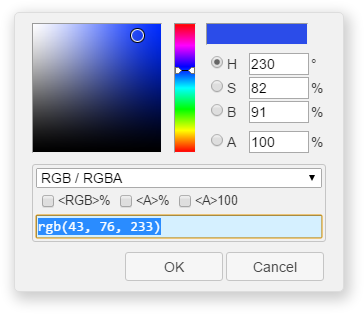
hsb()/hsba(),hsl()/hsla(),hwb(),rgb()/rgba(), RGB-Hex 3/4/6/8 digits, CSS Named Color,device-cmyk()andgray(). - Custom color palettes supported.
Convert Colorcommand to change the color notation supported.- Multiple cursors supported.
Install
You need Node.js (including NPM) installed and available in your $PATH.
Note: If you use a Node Version Manager (e.g. nvm), the Node.js might not be available in a process VS Code will run, until you make it. (Especially in Windows 10 / Vista, the NPM might not be available.)
Then, launch the Command Pallete (Ctrl + Shift + P or Cmd + Shift + P) and type ext install, and then look for "Color Picker".
Note: If a few NPM modules that the extension uses are not found in your computer, those will be installed automatically. Then, only when first launching, it may take some little time for setting up. (Please wait for the finish without closing VS Code.)
Note: For alternative NPM (e.g. you are in China and you are using CNPM), see Manual installation NPM modules.
Usage
A dialog box is shown by pressing Alt + C P keys (press P after release Alt and C) or command Pick Color.
If a cursor is positioned on a string that is color notation at that time, that string is selected as target for editing. The color notation is recognized even if it includes line-breaks and comments.
For example:
background-color: hsl(
  136,
  77%, /* When it is blurred, change to 32% */
  84%
  );
Multiple cursors also supported.
You can see tooltip information for some controls in the dialog box by hovering a mouse on those.
Convert Color
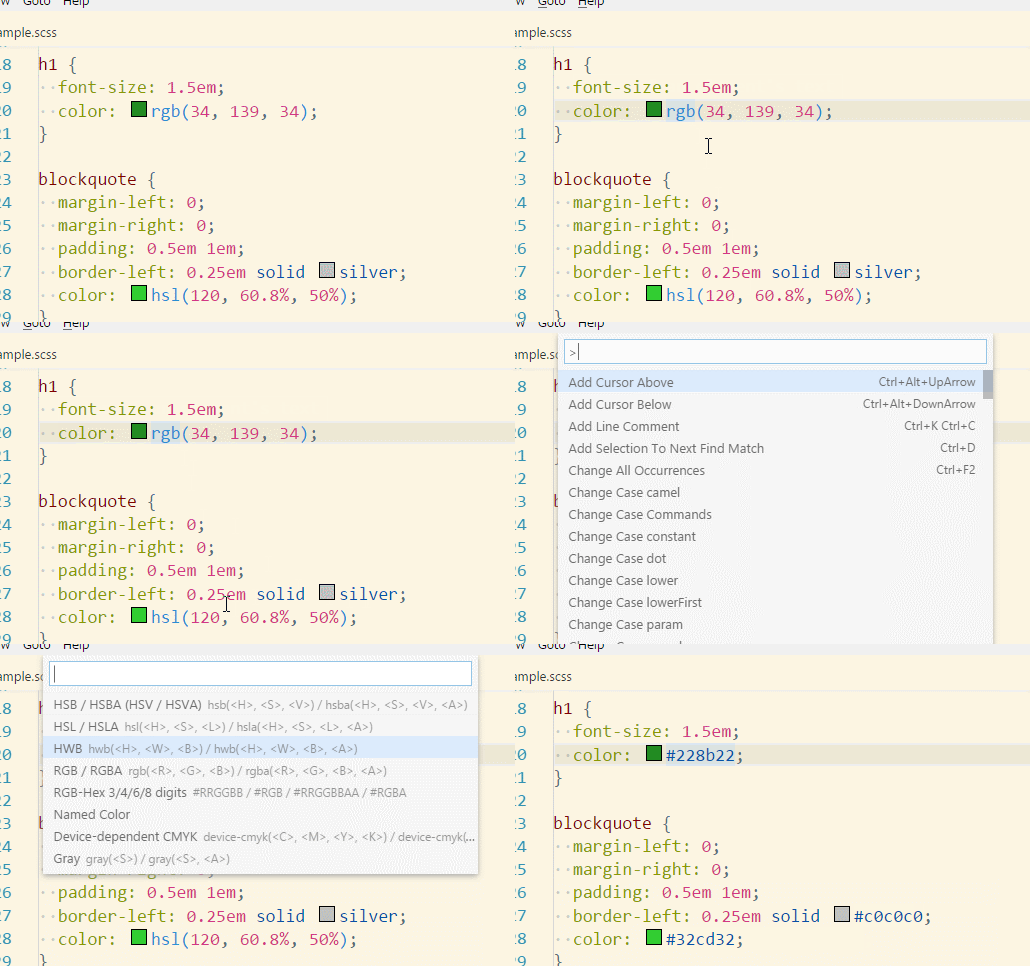
When a cursor or multiple cursors are positioned on strings that are color notation, press Alt + C C (press C after release Alt and C) keys or run a command Convert Color.
Then a list of color notations is shown. The target strings are converted to each color with the notation you chose.
It is converted with the notation you chose and current state of Pick Color dialog box.
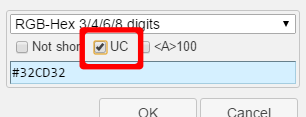
For example, you turned on an UC (upper-case) checkbox of RGB-Hex in the dialog box, and you invoked the command Convert Color with a string white as a target and RGB-Hex notation, then that white is converted to #FFF. If you turned off that checkbox, it is converted to #fff.
Color palettes
You can create custom color palettes. Also, you can specify color palettes that are loaded always, or color palettes that are loaded for only a project.
For example, a color palette as a design theme (or template) for your website is loaded only when that website project is being opened by VS Code.
See colorHelper.storeDir option.
Options
You can specify following options by User Settings or Workspace Settings.
colorHelper.pickerForm
A name of preset package that switches UI and features.
Allowed values are:
"default"
"largePalette"
"simple"
"compact"
"compact2"
"byPalette"
colorHelper.storeDir
A path to directory that contains your color palettes.
For information about color palettes, see README.md that is found in that directory.
colorHelper.resident
Stands by for a quick response.
After the dialog box is opened, it stays in memory even after it is closed until VS Code is exited (or VS Code might unload it).
colorHelper.formatsOrder
An array that indicates the order of formats in UI (e.g. drop-down list).
Allowed items are "hsb", "hsl", "hwb", "rgb", "hex", "named", "cmyk" or "gray".
This array doesn't have to contain all formats. The formats that are not contained in the array are moved to the top of the list in UI automatically when it was used. If you want to make the list static, specify all formats in the order you desire, e.g. ["hsb", "hsl", "hwb", "rgb", "hex", "named", "cmyk", "gray"].
Rendering trouble
If your GPU driver has a problem, the dialog box might not be shown correctly. The following options try to avoid the problem.
Note: You should not use these if there is no problem. Also, it is not a solution to the root of the problem, and it might not solve the problem.
Steps:
- If the dialog box is not shown correctly, set
colorHelper.disableGputo1. - If that wasn't solved yet, set
colorHelper.disableShadowtotrue. - If that wasn't solved yet, set
colorHelper.disableTransparenttotrue. - If that wasn't solved yet, please visit support page.
colorHelper.disableGpu
If 1 is specified, disable GPU rendering on Windows. By default (-1), it is switched automatically dependent on current platform.
colorHelper.disableShadow
If true is specified, disable drop shadow effect of the dialog box.
colorHelper.disableTransparent
If true is specified, disable transparent window as the dialog box.
Manual installation NPM modules
You might be using your favorite alternative NPM. Also, if you're in China, maybe you are using CNPM instead of NPM.
The following steps install NPM modules manually:
- Install the Color Picker extension (see Install), and don't launch the extension yet.
- Command:
cd /d "%USERPROFILE%\.vscode\extensions\anseki.vscode-color-x.x.x"(Windows)
cd ~/.vscode/extensions/anseki.vscode-color-x.x.x(others)
Thex.x.xabove is a version of the extension. - Execute installation command. For example, CNPM:
cnpm install - Launch the extension after the installing NPM modules was finished.


