| 1.8.2 | 1.6.0 | 1.5.0 | 1.4.3 | 1.4.0 | 1.0.0 |
|---|---|---|---|---|---|
| - Optimized UI - Randomization Feature - New Functional Buttons - Resizable Text Fields - Improved Panel Animations - Dropdown Bug Fix - Stabilized Connection |
- 2x Smoother experiance - Real-Time Workflow Sync With Photoshop - Fixed "couldn't load" issue - Preview on "Send to PS" node - 3x simpler workflow redesign - Removed 12 EveryWhereNode from workflow - Improved readability on nodes (background dims on hover) - Enhanced image saving process |
- Mask preview on node - Fix black in mask (Lama inpaint) - Plugin install button (right-click on node) - 6x faster Start-Up - Connection issues fixed including firewall - Re-wrote whole backend |
- Non-English PS fixed - Added UTF-8 support - Support for all macOS versions - Node freeze issue fixed - Access issues resolved |
- macOS Support - Embedded ComfyUI - Remote Rendering - Settings Page - Preview Mode Options - Photopea Integration - Dynamic Previews - Load Workflow Button - Simplified Operations - Boosted Performance |
Initial release with basic features |
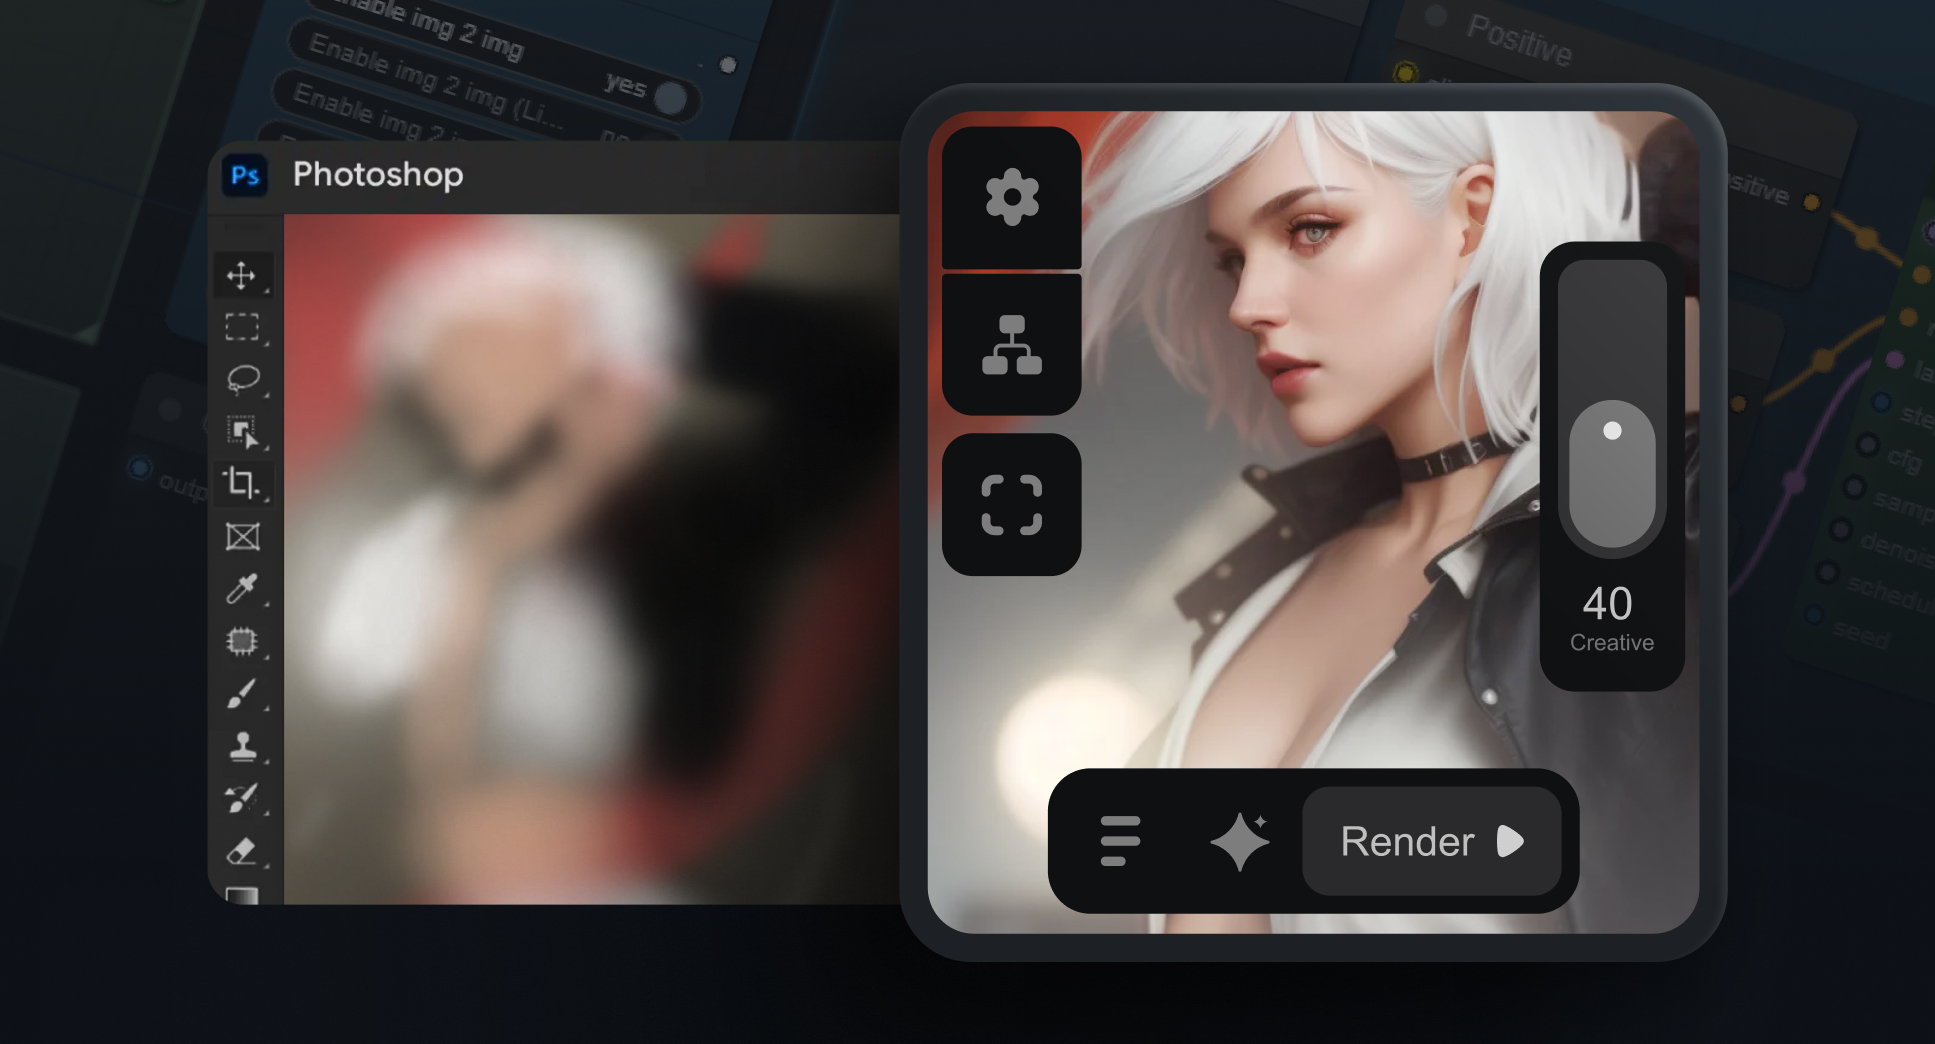
- Unlimited Generative Fill: Create AI-infused content in selected image areas.
- Customizable Back-End: change the workflow from you ComfyUi webpage.
- AI-Powered Artistry: Generate or transform images with advanced AI.
- One-Click Transformation: Turn images into art with a single click.
- Graphics Memory: Minimum 6GB (may decrease soon!)
- RAM: Minimum 12GB
-
Install Photoshop Plugin:
- install it using 📄This .CCX file, then set it up with ZXP UXP Installer.
-
Set Up ComfyUI Workflow:
- Grab 📄THIS Workflow and drop it onto your ComfyUI.
- Install any missing nodes using "ComfyUI Manager."
Don't have ComfyUI & ComfyUI Manager? No worries! Follow THIS tutorial for a step-by-step guide on installation.
-
Check points: (Place in ComfyUi/Models/Checkpoints/ folder)
- Default: EpicRealism Natural Sin RC1 VAE ⬇️.
- In-Painting: EpicRealism pure Evolution V5-inpainting ⬇️
-
Loras (Place in ComfyUi/Models/Loras/ folder)
- Detailer Lora: Doownload ⬇️
-
Install via ComfyUI manager > install Models > search • LCM LoRA SD1.5 • ControlNet-v1-1 (lineart; fp16) • ControlNet-v1-1 (scribble; fp16) • ControlNet-v1-1 (inpaint; fp16) • 4x-UltraSharp
Run into a snag or have a brilliant idea? 🤔 Open an issue on GitHub and let's make ComfyUI even better together! Your contributions are highly appreciated.


