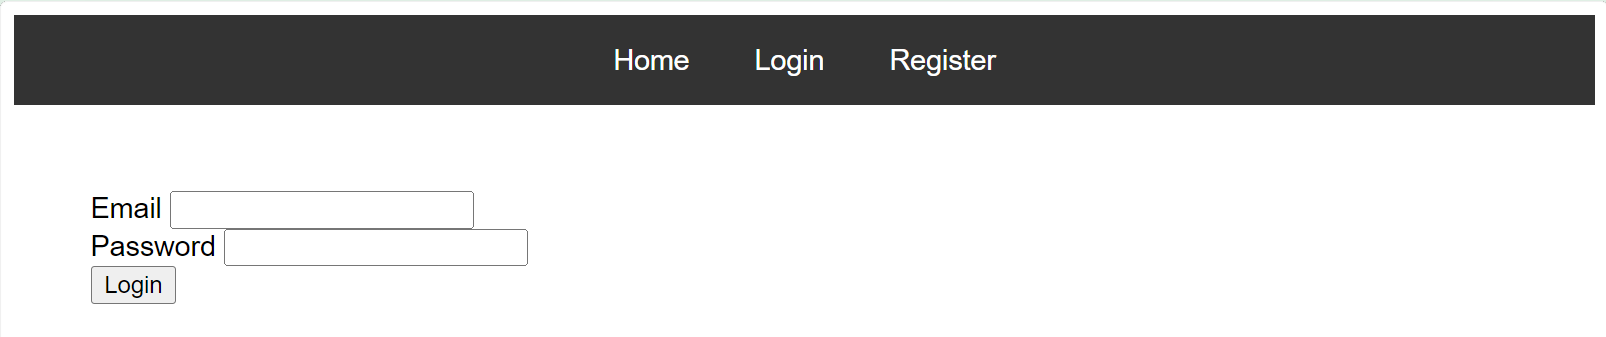
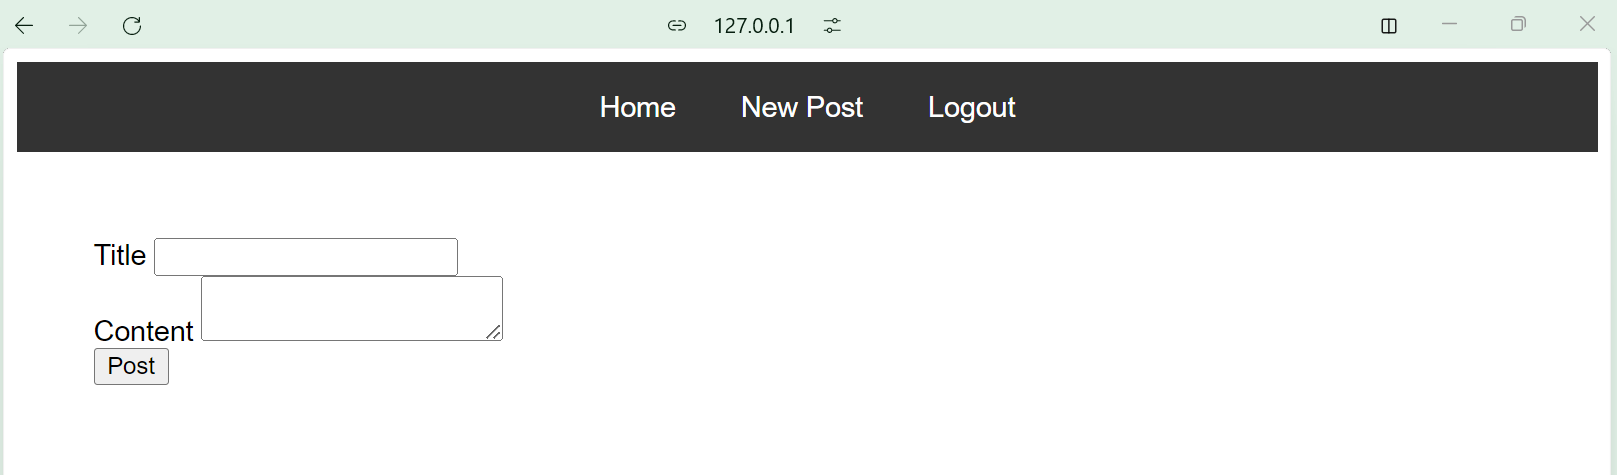
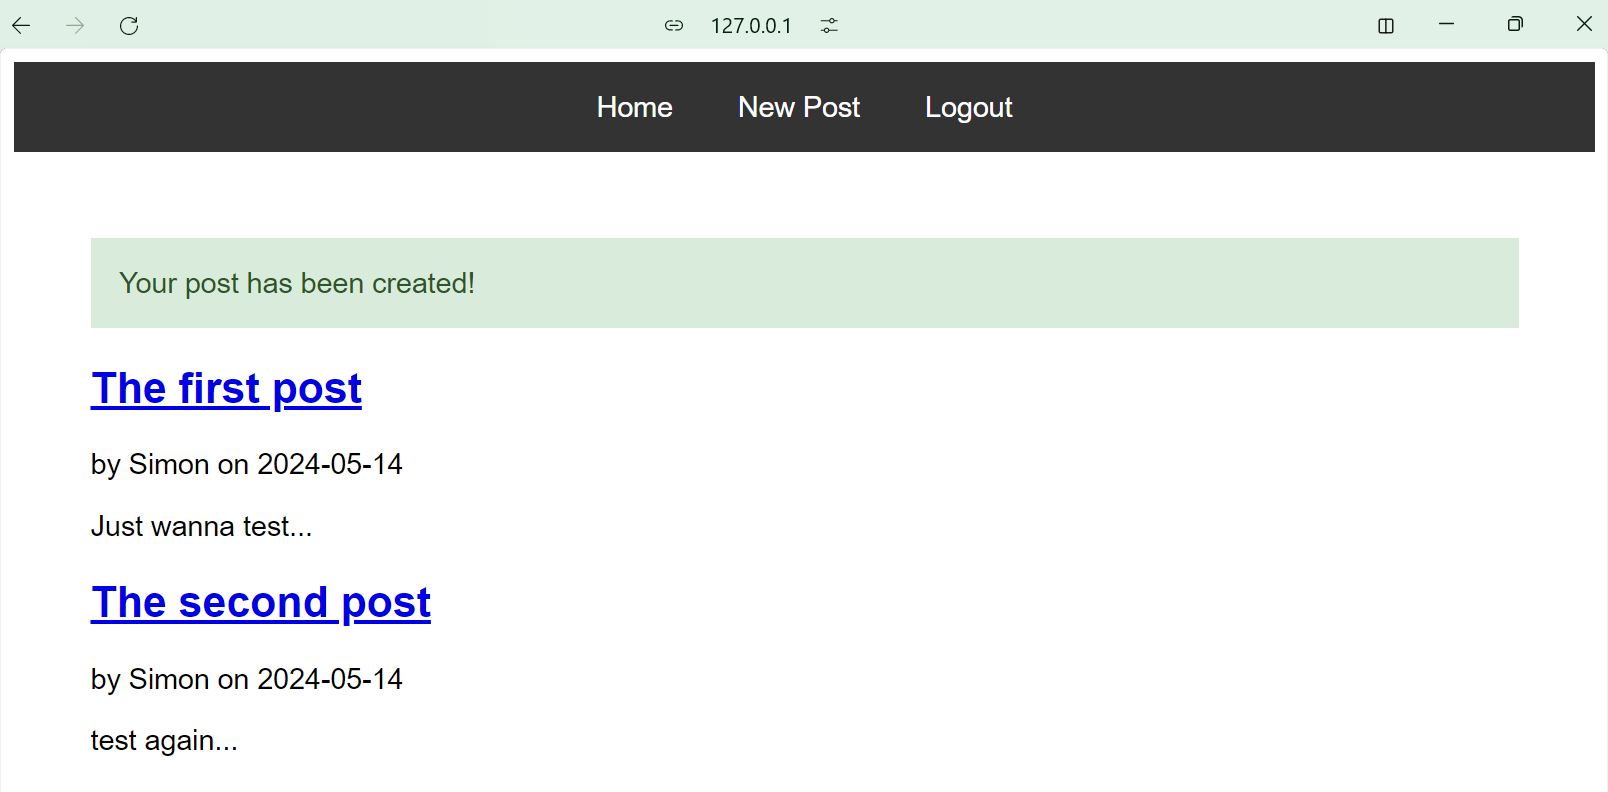
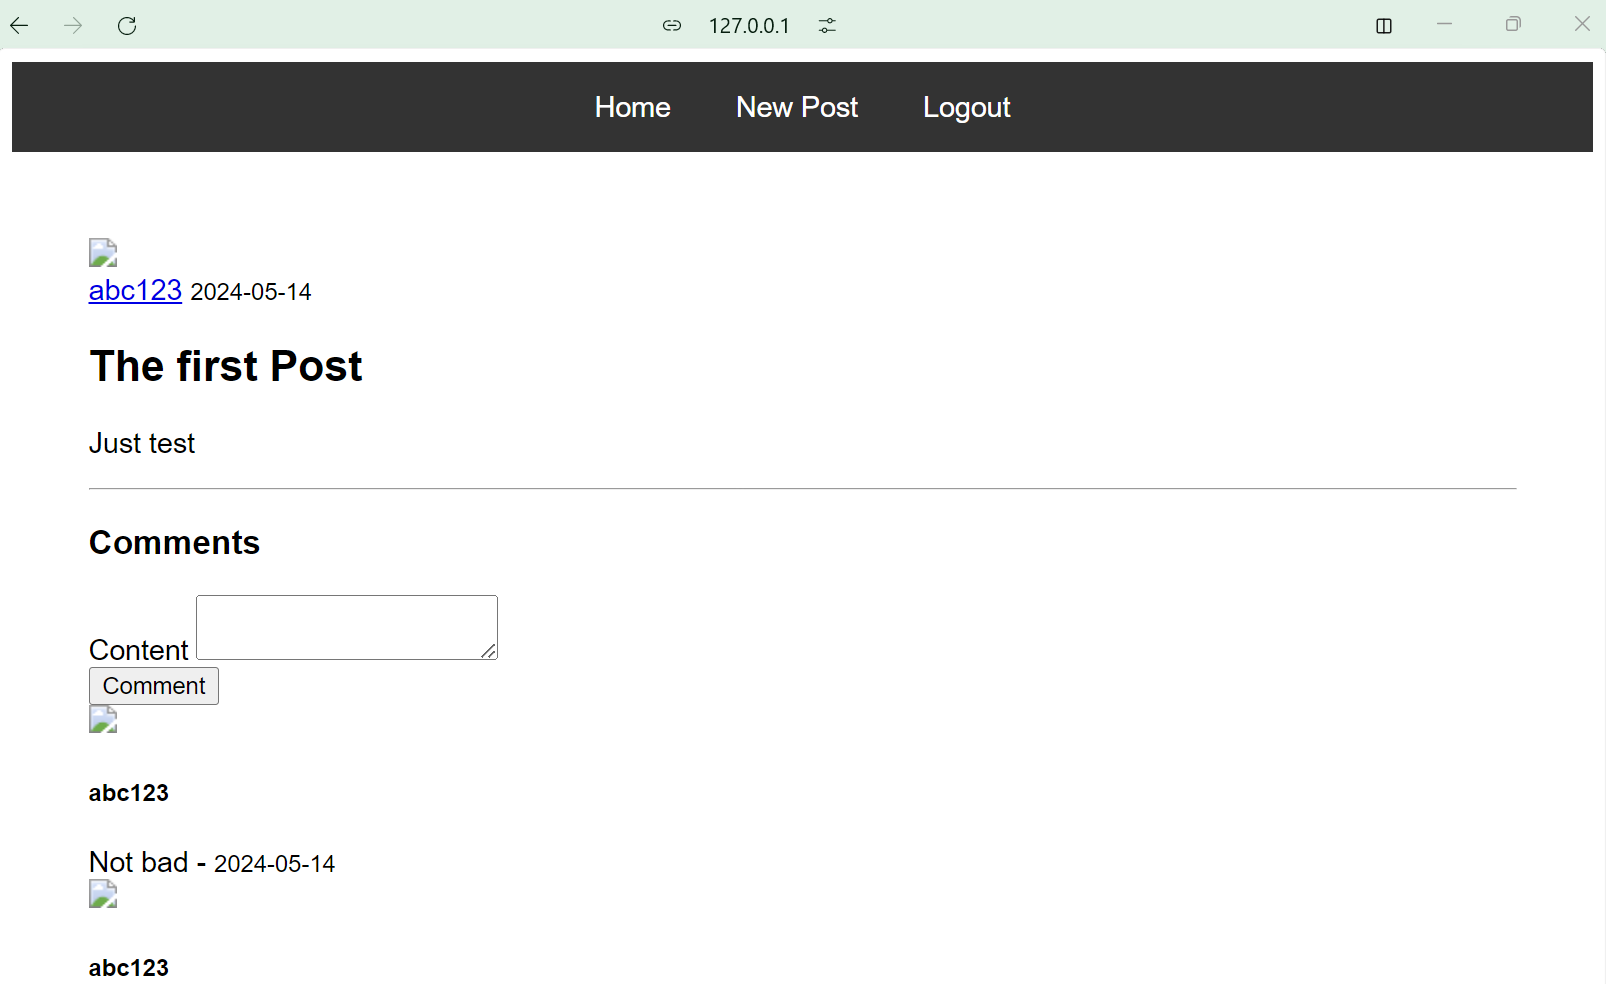
This is a simple blog application built using Flask, a lightweight WSGI web application framework in Python. The application allows users to register, log in, create posts, edit posts, delete posts, and comment on posts.
- User registration and login

- Post creation, editing, and deletion
- Post commenting


- Python: The programming language used for the backend logic.
- Flask: The web framework used to build the application.
- Flask-SQLAlchemy: An extension for Flask that adds support for SQLAlchemy, an ORM (Object Relational Mapper).
- Flask-Bcrypt: An extension for Flask that provides bcrypt hashing utilities for password hashing.
- Flask-Login: An extension for Flask that provides user session management.
- Flask-WTF: An extension for Flask that integrates WTForms, which provides form rendering, validation, and CSRF protection.
flask_blog/
    ├── app.py            # Entry point for running the application
    ├── create_db.py      # New file for initializing the database
    ├── __init__.py       # Initializes the Flask application and its extensions
    ├── routes.py         # Contains the route definitions and view functions
    ├── models.py         # Defines the database models
    ├── forms.py          # Defines the WTForms forms used in the application
    ├── templates/        # Contains HTML templates
    │   ├── layout.html
    │   ├── home.html
    │   ├── login.html
    │   ├── register.html
    │   ├── post.html
    │   └── single_post.html
    ├── static/           # Contains static files (e.g., CSS)
    │   └── style.css
    └── venv/             # Virtual environment directory (should be in .gitignore)
- Ensure you have Python installed on your system. You can download it from python.org.
- Ensure you have VS Code installed. You can download it from code.visualstudio.com.
-
Clone the Repository: If you haven't cloned the repository yet, clone it using:
git clone <repository_url>
-
Open the Project in VS Code: Open VS Code and use
File -> Open Folder...to open theflask_blogproject folder. -
Create and Activate the Virtual Environment: Open the integrated terminal in VS Code (
View -> Terminal) and run the following commands:python -m venv venv venv\Scripts\activate
-
Install Dependencies: With the virtual environment activated, install the necessary dependencies:
pip install flask flask_sqlalchemy flask_bcrypt flask_login flask_wtf wtforms
-
Initialize the Database: Initialize the database by running the following commands in the terminal:
set PYTHONPATH=.
python
In the Python interactive shell, run:
from __init__ import db
db.create_all()
exit()
-
Run the Flask Application: Run the application using:
python app.py
-
Open the App in a Browser: Open your web browser and go to
http://127.0.0.1:5000/to see your Flask app in action.
- Ensure your
PYTHONPATHis set correctly to recognize the package structure. - If you encounter any issues, check the terminal output for error messages and resolve any missing dependencies or incorrect paths.